If you’ve ever looked at handmade cards and thought, there’s no way I can afford that, I want you to pause right here. Card making does not have to be expensive, complicated, or require an entire room full of craft supplies. In fact, you can create beautiful handmade cards with just a few basic tools, many of which you probably already have at home.
In this post, I’m breaking down the very basics: what you truly need to get started, what’s nice to have but optional, and what you can absolutely skip for now. If you’re new to card making (or feeling overwhelmed by all the things people say you “need”), this will help you start with confidence and keep crafting fun.
🎥 I also made a video about these Jumbo Paper Hearts. You can watch the YouTube Video Here.
As an Amazon Associate, I earn from qualifying purchases. This post contains affiliate links. I may receive a commission if you purchase an item from one of my links. This will not change the price you pay.
Must Have Supplies
Before we get into the list, I want to be very clear about what I mean by must-haves. These are the supplies that make card making possible, not fancy, not extra, and not expensive. If you have these few basics, you can start making handmade cards right away. No overwhelm, no giant shopping list, and no feeling like you need to “upgrade” before you even begin.
1) Cardstock
Let’s start with the most important supply of all: cardstock. This one isn’t optional. Cardstock is the foundation of every handmade card, and investing in a good quality white cardstock will take you far.
White cardstock is your workhorse. It’s your card base, it’s an accent layer, and it plays nicely with just about every design style. If you buy nothing else, buy white cardstock first.

From there, you can gradually add colored cardstock if desired. Some people prefer 8.5″ x 11″ sheets, others love 12″ x 12″ sheets; either works just fine. You’ll also see paper pads at craft stores, and these are honestly a beginner’s dream. Every pattern coordinates, so you don’t have to overthink color choices, and many pads even include sentiments you can cut out and use on your cards.

These are the exact supplies that I use:
2) Paper Cutter
A paper cutter is the tool you’ll reach for over and over again. The biggest thing to look for here is size. You want a paper cutter that can comfortably cut an 8.5 x 11 sheet of cardstock in half, both lengthwise and widthwise.
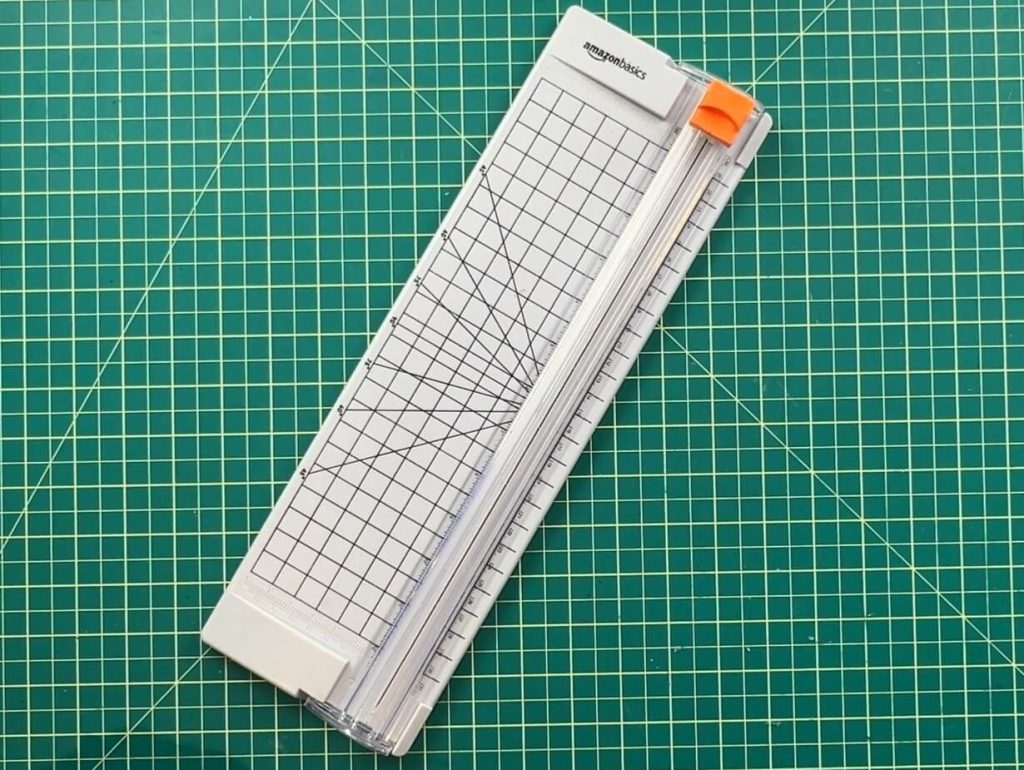
That sweet spot is at least 5.5 inches wide. With that, you can cut one sheet of cardstock into two perfectly sized card bases in seconds.
Many paper cutters have replaceable blades, which is a huge bonus, and some even include a built-in scoring tool. That makes folding your cards straight and clean much faster. This is hands-down one of the most-used tools in card making.
These are some paper cutter options:
- Paper cutter: (the one I have is a smidge too short for cutting 8.5″x11″ in half)
- This Paper Cutter has longer sides than mine.
3) Scissors
Good news: you don’t need fancy scissors to start making cards. Any scissors you already own will work just fine.
As you gain experience, you might find you enjoy having smaller scissors for detailed or “fussy” cutting, or even decorative scissors that create fun edges. Some crafters love spring-loaded scissors because they’re easier on the hands, especially for longer crafting sessions.
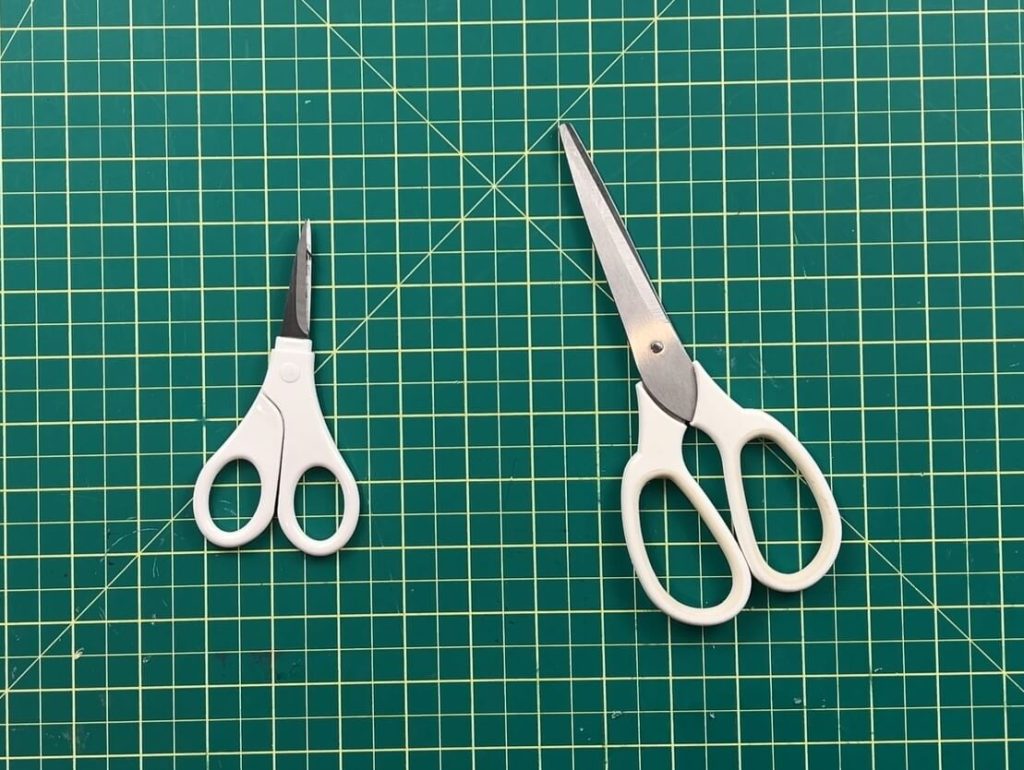
But for now? Use what you have. There is zero need to buy new scissors just to get started.
Scissor options:
4) Glue
Glue is another must-have, but it doesn’t need to be expensive. Craft glue is great, but regular white glue works, too. What matters most is control.
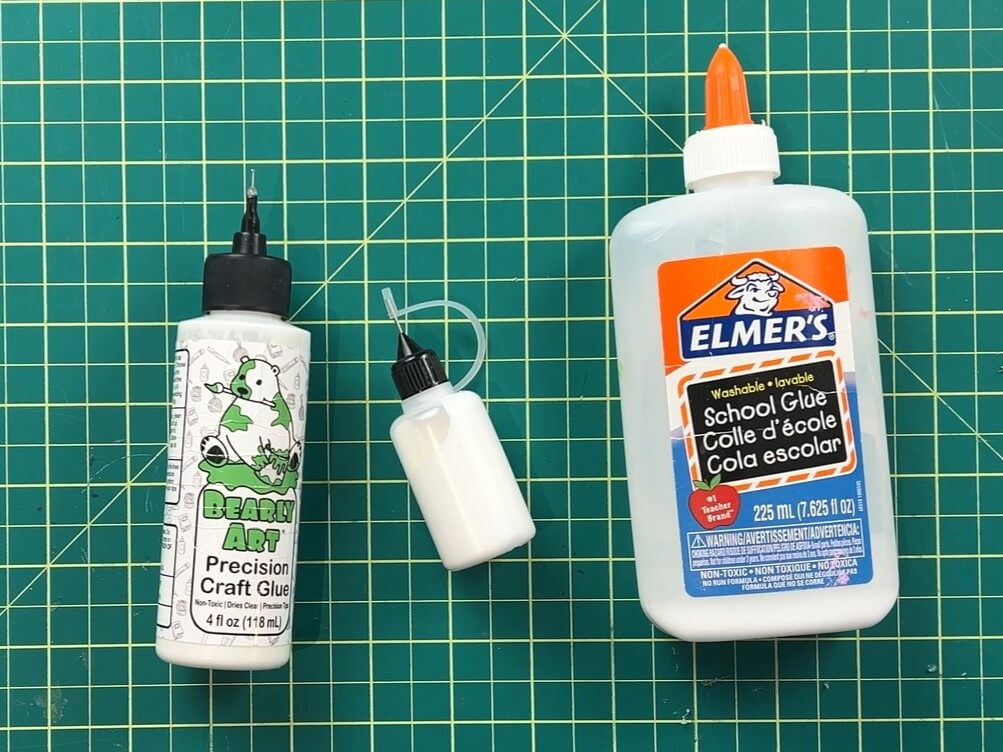
Small squeeze bottles with fine tips are a game-changer. They help you apply tiny amounts of glue exactly where you need it, and trust me, a little glue goes a long way in card making. Just remember to cap it when you’re done so it doesn’t dry out.
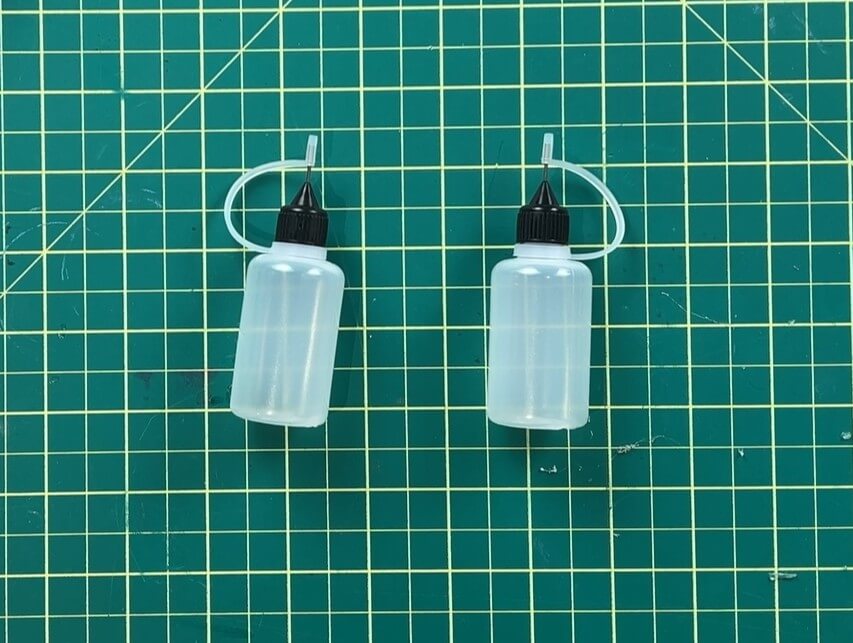
Everyone has a glue preference, whether it’s liquid glue, glue sticks, or something stronger, and that’s something you’ll figure out over time.
These are the glues I use and the glue bottles I use:
Optional Supplies
Now that we’ve covered the true essentials, let’s talk about the supplies that are nice to have, but not required. These tools can make things a little easier, a little faster, or a little more polished — but you can absolutely make beautiful cards without them. Think of these as helpers you can add over time, not things you need to buy all at once.
1) Ruler
A ruler is one of those tools that quietly does a lot of work. It helps keep lines straight, assists with light sketching, and makes folding easier. It pairs beautifully with other tools and is something most people already have lying around the house.
The Rule I use:
2) Scoring Stylus
A scoring stylus is basically a pen that doesn’t write. Instead, it creates an indented line in your paper, making folds crisp and professional-looking.
If you don’t have one, don’t worry. A dead pen, a credit card edge, or anything with a firm tip can do the same job. This is a great example of a tool that’s helpful but absolutely not required when you’re starting out.
The Scoring Stylus I use:
3) Work Mat
You don’t need a huge craft room to make cards, but having a work mat really helps keep your space clean and contained. A small self-healing mat is perfect for beginners and easy to tuck away when you’re done.
Something around 18 x 12 inches is a great starter size. It protects your table, gives you a defined workspace, and makes cleanup much easier.
I started with a small one and have worked my way up to one that covers my whole space. There are also very fancy glass ones that look beautiful and are easy to clean. One day, I may venture that way, but for now, my large self-healing mat does the trick.
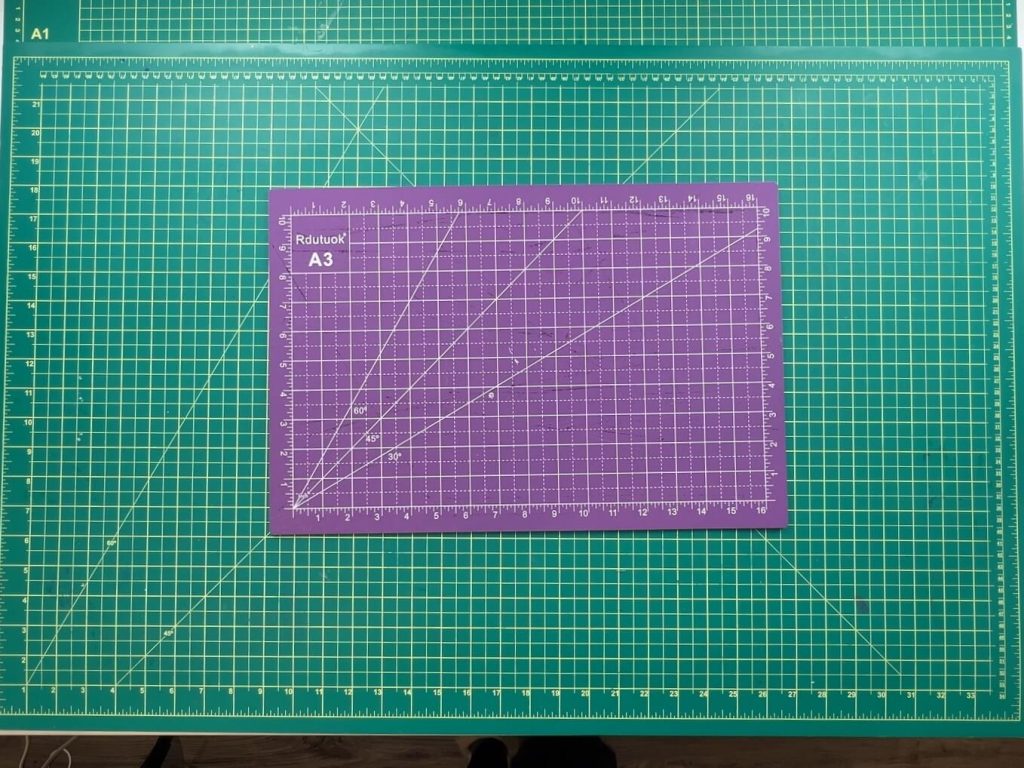
Working Mat Options:
4) Printer
This one surprises a lot of people, but a printer can be an incredibly powerful card making tool. You can print sentiments, simple designs, or decorative elements and then cut them out with your paper cutter or scissors.
It’s an easy way to make your cards look polished and professional without investing in specialty equipment.
Printer I use:
5) Double-Sided Foam Tape
If you want to add instant dimension to your cards, double-sided foam tape is your friend. It lifts sentiments and images off the card base, creating depth with almost no effort.
Foam tape comes in strips, rolls, and dots, and while it’s not essential, it’s a fun upgrade that really makes cards pop.
This is the double-sided foam tape I use:
Supplies You Do Not Need… Yet
This is where I really want you to breathe easy. You do not need cutting machines when you’re just starting out.
Electronic machines, manual die cutters, and all their accessories can absolutely make beautiful cards — I own some of them myself, but they’re expensive, bulky, and take up space. And honestly? I rarely use them for everyday card making.
Before investing in big equipment, give yourself time to explore what you can create with basic supplies. You might be shocked at how much you can do with just paper, scissors, glue, and a little creativity.
But just for fun, if you want to see some cutting machine options, there are some favorites:
Final Comments On Basic Supplies Needed to Make Cards
Your first handmade cards might not feel perfect, and that’s okay. New skills take time, and crafting is meant to be enjoyable, not stressful.
Remember, you are always your own worst critic. The people receiving your cards will see the love and effort you put into them, and they’ll cherish that far more than perfection.
If you’re just starting your card-making journey, take it one simple supply at a time. You truly don’t need much to create something meaningful.
🎥 I also made a video about these Jumbo Paper Hearts. You can watch the YouTube Video Here.
If you enjoyed this blog post and want to learn more about making cards, you can read more of my card crafts below:
- How to make cards from 12×12 paper samplers
- Spring Has Sprung Card
- Mother’s Day Heart Balloon Card
- Mother’s Day Flower Pot Card
- Super Simple Christmas Cards
- How to Make a Minecraft Card
- How to make an 80th Birthday Shaker Card
- Hoppy Easter Shaker Card
- Valentine’s Day Shaker Card
Happy crafting 💖