I am seldom excited to spend money on items that are meant to be broken and thrown in the garbage. So, I decided I needed to learn how to make a pinata from a cereal box. I chose a cereal box because we go through cereal like it is going out of style at our house, so I always have a surplus of these.
It was surprisingly quick and easy. And aside from the cost of candies, it was made with stuff that I had lying around the house.
How to Make a Piñata from a Cereal Box
Who does not need a homemade piñata? I mean, you get to smash it, and candy comes flying out! That sounds like a great idea! So, let us get our supplies and start to make one!
What You Need:
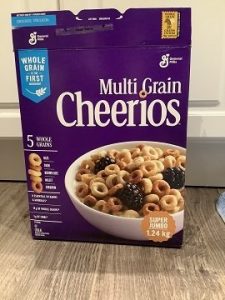
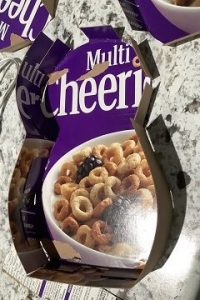
- An empty cereal box – If you have kids, you will have lots of these.
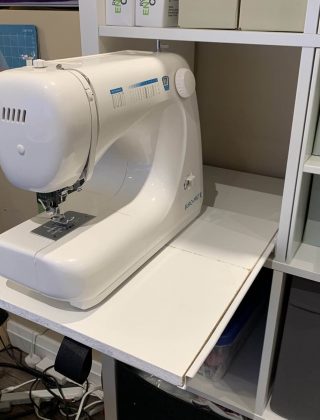
- Cutting tools – Scissors, cutting knife, cutting machine (I use my Cricut)
- Tissue paper – I always have tons of this lying around from gift bags, so I did not need to buy any
- Glue
- Candy – I bought a bunch at the bulk barn, so there was a variety of candy.
- String/twine – required to hang up the piñata when done.
Let’s Begin!
Piñata Design
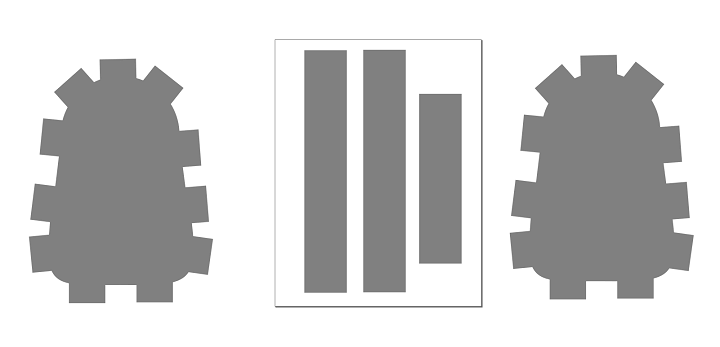
I designed a cutout in Inkspace for my Cricut. You can get a copy below.
You can print off the PDF and trace it onto a cereal box, or you can use the SVG and upload it to your Cricut.
If you want to start from scratch – that works as well.
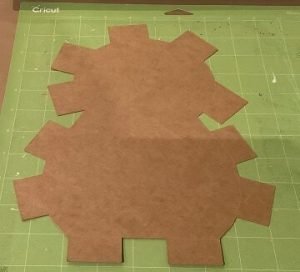
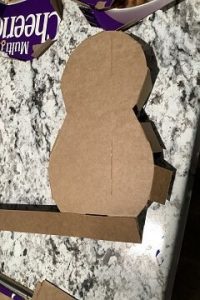
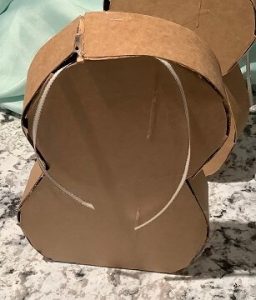
The design I created was 2 circles with tabs around the sides. This was to accommodate a picture on the front as per my children’s requests.
But you could easily make a square or a triangle.
I allowed for a 1.5-inch gap between the front and the back.
Get a Free Piñata Cutout!
Sign up to get your free downloadable
Piñata Cutout (PDF & SVG)
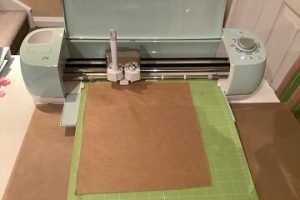
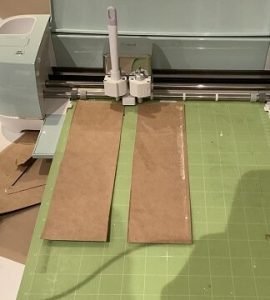
Cut the Cereal Box
I used my Cricut to cut the design, but it can easily be cut with scissors or a crafting knife.
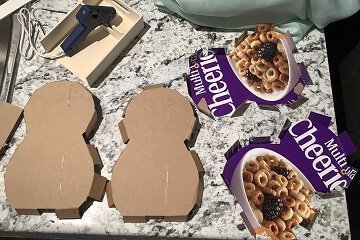
Assemble
Assembly is simple.
You need to have the front/back pieces and the side panel pieces and glue for this.
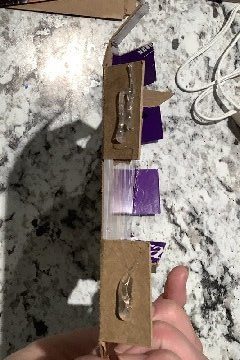
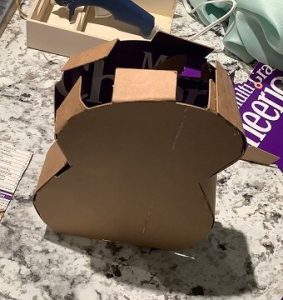
Fold the cereal box at the tabs at a 90degree angle from the front/back pieces.
Apply glue to the tabs and press the side panel onto the tabs.
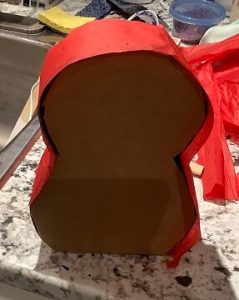
Don not glue all of the side panels on, so you need to leave a spot for the candy to go in before you seal it up.
I tried gluing the front to the sides first and then gluing the back on. I also tried gluing the front and back on at the same time to the side panels. There was no difference. Once the box starts to get closed up, it just gets tricky no matter what.
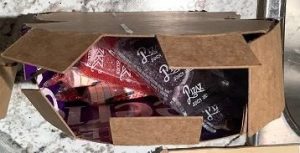
Insert Candy
Before the box is glued shut and assembled, insert all of the candy.
Finish Gluing
Finish gluing the piñata shut. When you are about to glue your last tab on, make sure you get your string ready and loop it around the top tab.
This is easier to do now than to pull it through once it is all glued together.
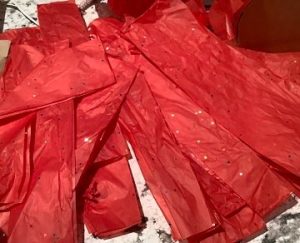
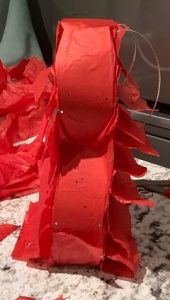
Apply tissue Paper
Cut up tissue paper into strips and got it ready for gluing.
I simply used a paintbrush and some white glue to apply the tissue paper on.
I only used a small amount of glue at the top of the tissue paper so that there was some excess floating around.
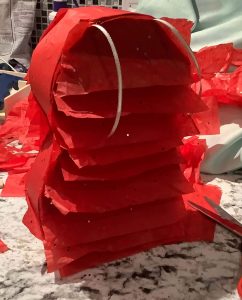
After all of the tissue paper was glued on and dried, I cut notches into the tissue paper to give it some character. Hindsight being 20:20, I should have cut the notches beforehand, but it made no difference in the end.
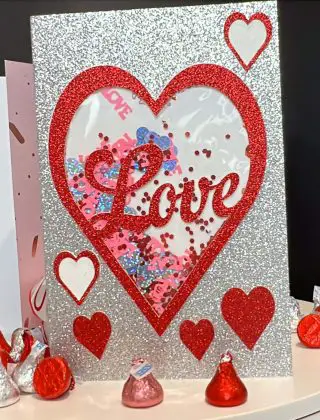
Add a Picture to the Front of the Pinata
My kids had requested that I make them a picture to color. You can learn how to do that here with your Cricut.
I cut out a backing piece from the cereal box so that the picture would have some rigidity.
Then I printed off the design and glued it onto the piñata.
And That’s It! You’re Done!

Some Important Notes:
While going through this activity, I learned a bunch of tricks I would like to share:
- The size I used was to allow for one Piñata to be made from one Cereal Box. A larger Piñata can be made similarly, but more cereal boxes would be required.
- Do not send your husband to the store to buy candy. He will come home with 10 times as much as you need. This is bad for your waistline as we all know this surplus of candy is not going to the kids.
- Try to get candy that is securely wrapped in bags/wrappers. Candy that is in a box, such as Nerds, will explode inside the piñata when you are hitting it. The contents of these boxes will go flying everywhere, and kids will cry.
- Cereal boxes and glue are surprisingly sturdy. If you want to give your kids a workout, add glue to all of the tabs. But if you want your kids to get the candy after 3-4 hits, use glue sparingly and not on every location.
- Use filler in the box (ie: tissue paper). You do not need to fill the box with candy. Let’s be honest, you do not want your kids eating that much candy anyway.
- Some feelings will probably get hurt if you are using one piñata per child. So adding 2 or 3 of each candy (depending on the number of kids you have) to keep everyone happy is not a bad idea.
- If possible, do it outside, so there is less mess to clean up inside. 🙂
And finally – ENJOY!
Was this Tutorial Helpful?
Did you find this tutorial on how to make a piñata from a cereal box helpful? Let me know your thoughts in the comments below!
If you liked this tutorial, be sure to check out my other tutorials here.
Get a Free Piñata Cutout!
Sign up to get your free downloadable
Piñata Cutout (PDF & SVG)
I love that you can choose whatever image you like for these for piñata. And I love the additional notes. The Nerds comments sounds like the voice of experience!
I’m not going to lie, a lot of Nerds were lost… there were a lot of tears… but the kids loved the pics On tip and played with them for weeks.
Fantastic idea and tutorial! Wish I’d known about this when my little was littler! But…I’ve got friends who would love this…will definitely share.
Who’s to say when someone is too old for a piñata? I mean, we could all use something to smash every once in a whole 😉
This is sooo cool! I agree about not wanting to spend money on things going into the trash either. That’s especially true for things getting destroyed and then going into the trash. Also, I relate so much to tip #2!! 😂
I’ve seen them being sold at the local dollar store for a few bucks, but even that is too much for me… and it’s a fun activity to do.
What a great tutorial ! Great way to reuse before recycling
It was. They kids loved it, although I’m not totally sure the garbage man agreed with which box it went into 🤣
What a cute and eco-friendly idea!
I try to rescue things as much as I can. Even if it’s for a on-off smashing event. Thanks!
This is such a great idea!