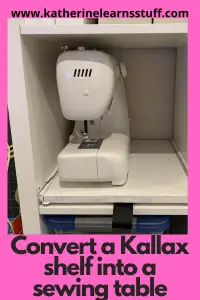
I recently upgraded my crafting space from plastic containers and yard sale tables to an Ikea Kallax shelf. Not a huge step up, but they are nice units as they have lots of storage space. And as a crafter, storage space is a must. One other item I was getting rid of was my old-school sewing table. It was not being used to its full potential and taking up more space than I could spare. So, I decided to make my own sewing table from an Ikea Kallax shelf.
As an Amazon Associate, I earn from qualifying purchases. This post contains affiliate links. I may receive a commission if you purchase an item from one of my links. This will not change the price you pay.
What you need to make a sewing table from an ikea Kallax shelf
- An Ikea Kallax shelf. It needs to be a Kallax shelf that is 4 cubes high or higher. It can be either 1, 2, 4 or 5 cubes wide. The 2 cube x 2 cube one will not work, or you will be sitting on the floor while sewing.
- Drawer Slides – This is simply hardware that you install on the bottom of drawers to have them slide open and closed.
- Scrap wood – I used surplus 3/4″ melamine particle board from previous projects, but any wood board will do. It will need to be but to approximate 12-1/4″ wide by 14″ deep as I detail later.
- Tools – A saw, drill and safety glasses.
- A sewing machine, because otherwise, you do not need a sewing table.
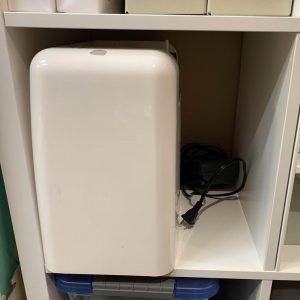
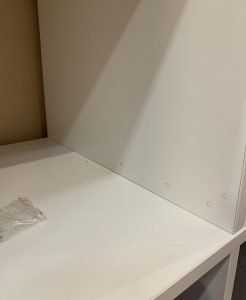
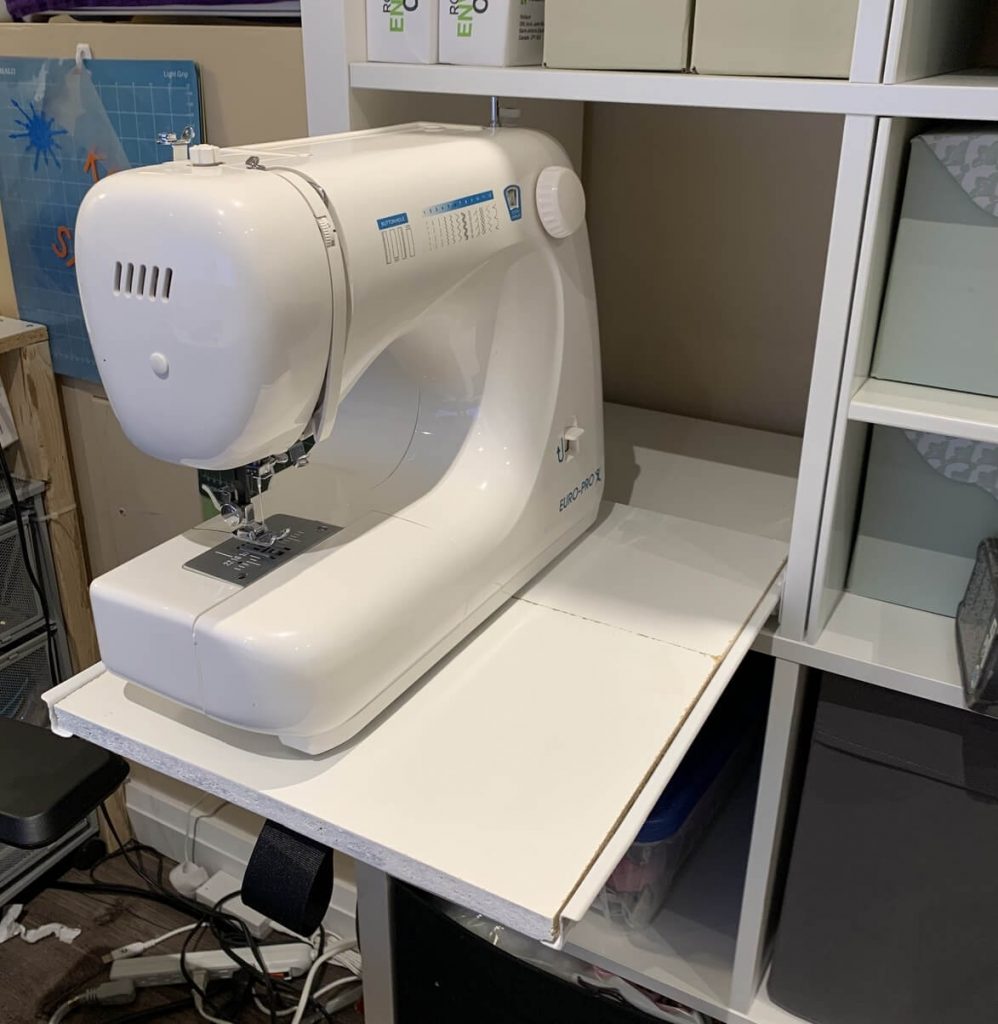
Sewing machine in Kallax Before
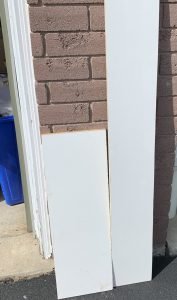
Scrap Wood
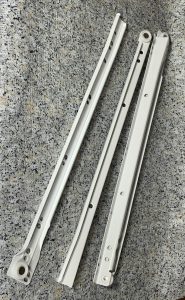
Drawer Slides
Let’s start making our sewing table From an Ikea Kallax Shelf!
Measure the height of your sewing machine
Before we start, I want you to make sure that you measure your sewing machine. Not all sewing machines are the same size, and some may not fit! You need your sewing machine to be no more than 12-1/4″ high. My spool holder is removable, so I just squeaked in under 12-1/4″. If your sewing machine is taller than 12-1/4″, you will need to make additional modifications to the Kallax shelf, use a thinner baseboard for your shelf, or some other possible solutions. Please make sure you measure before you start!
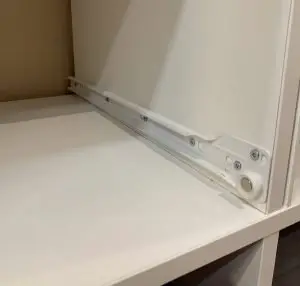
Install Drawer Sliders to Kallax Shelf
These drawer slides are simple to install. All you need to do is place them against the inside of the shelf and mark off the holes.
You do not want the inside wall slide being all the way down to the bottom of the shelf. There needs to be clearance under the slide, to prevent the screw from rubbing and dragging along the Kallax shelf. This will wear the Kallax shelf, damage the screws, and possibly loosen the screws
I simply used a piece of shim to elevate the outer slide pieces and marked my holes with a pencil.
I drilled in pilot holes with 1/8″ bit so as not to ruin the Kallax shelf.
Once the holes are drilled, install the outer sliders onto the inner walls of the Kallax shelf with 1/2″ screws.
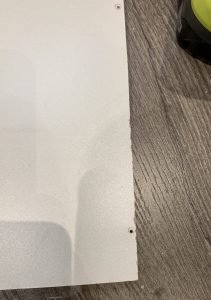
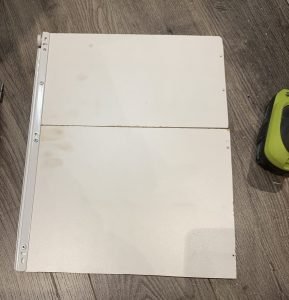
Measure and cut the sewing table base to fit into the Kallax Shelf
The inner dimension of one of the cubes on the Kallax shelf is 13-1/4″. Based on the design of the slides, you need to account for 1/2″ on each side of the slides, so you will at most be able to have a sewing shelf base of 12-1/4″. However, I recommend measuring the space available with the outer and inner sliders in, just to make sure. You can cut the board smaller if it is too big, but you cannot uncut a board that is cut too small.
My measurements came out to be 12-1/4″ along the length of the slides.
I had several pieces of scrap wood that measured the full depth of the shelf, so I simply cut 2 12-1/4″ wide pieces. I double-checked the cut against the inner shelf space and slides after the first cut, to make sure it fit. Once I was happy with the result, I cut the second piece.
This can be done with one piece of wood if you have a large enough piece of wood.
Install sliders onto sewing table base
I loosely assembled the boards and the sliders into the shelving unit. I then marked off my screw locations by fully extending the table base on the slides.
Pulling all the loose pieces out, I drilled pilot holes into the wood and then drilled 1/2″ screws into the sewing table base, attaching the slides.
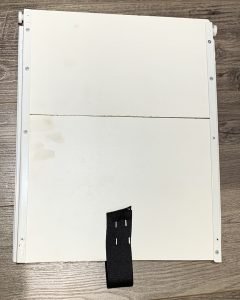
Install a pull handle on the sewing table
I needed a handle to pull the table out, but I did not want to have a rigid handle installed because it would protrude from the edge of the shelf, and I do not have the space to lose an inch for a rigid handle.
I simply took some 1-1/2″ thick ribbon and stapled it to the underside of the base. Check to make sure that your finger can fit in to pull it out.
Final finishing touches
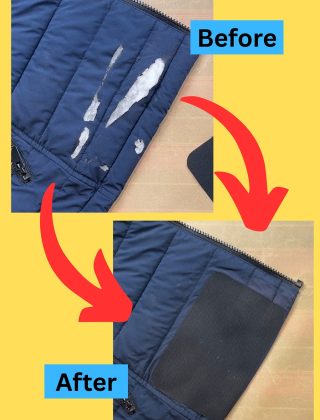
I used melamine particle board, so the front face of my sewing tables had unfinished wood exposed. There are 2 options – I could either finish it with an iron-on laminate finish or paint it white to make it look nicer. I picked painting. I sanded the end of the sewing table to smooth the surface to let the paint adhere smoothly.
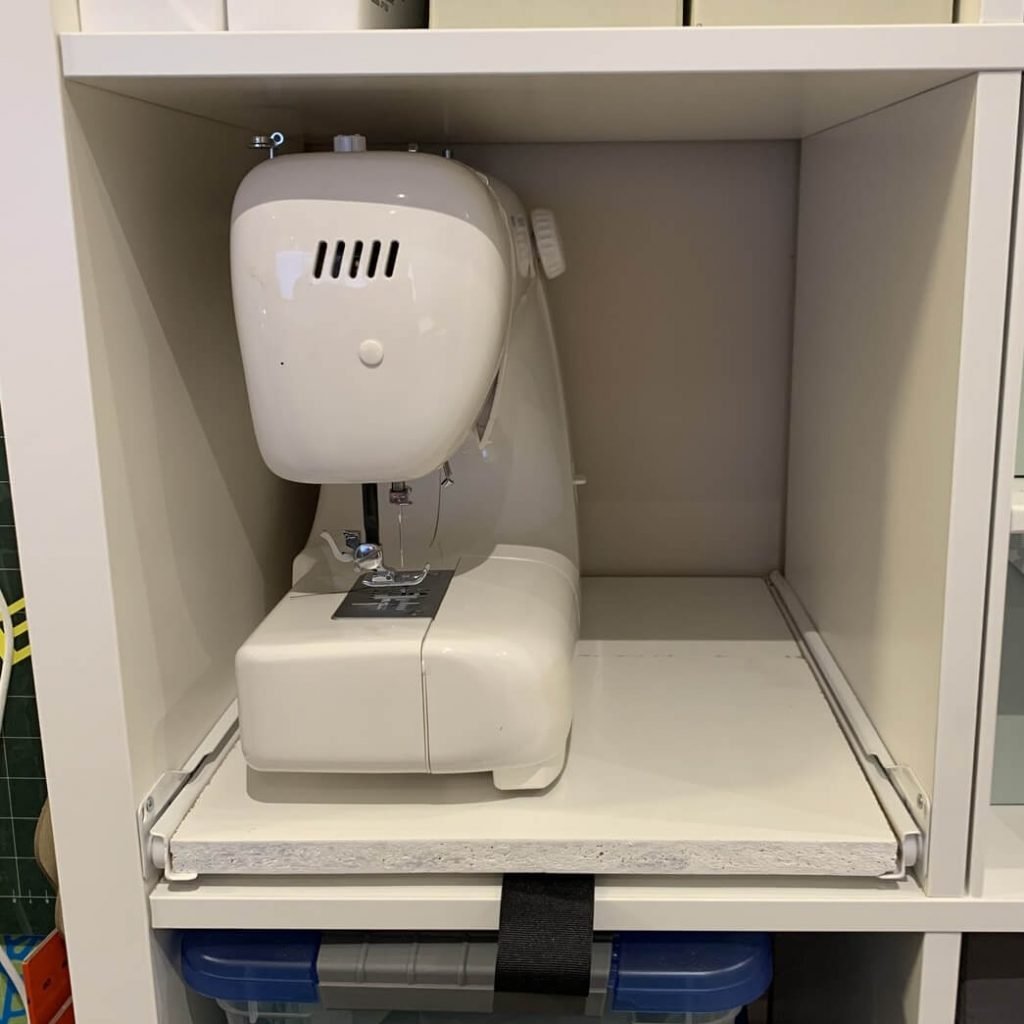
Install your sewing machine
And that’s it! All that is left is to put your sewing machine onto the sewing table and you’re done!
That’s it! Your sewing table from an Ikea kallax shelf is done!
Don’t want to Read? Check out my Video instead
Frequently Asked questions about installing a sewing table into a Kallax shelf
What if my sewing machine is too big?
If your sewing machine is larger than that 12-1/4″ I mentioned above, there are a few options.
You can use a thinner board for the base. This can gain about 1/4″-1/2″ of extra height.
You can make additional modifications to the Kallax shelf, like removing/cutting out sections of the existing structure. The only problem with this is, that it will reduce the structural rigidity of the unit, and you will need to add additional reinforcements to the shelf so that it does not break.
Some sewing machines have adjustable legs and additional padded feet. These can be adjusted down and/or removed to gain potentially another 1/4″ of height.
My top spool holder is removable and adds 2″ in height to my machine. I can remove mine and put it back on when needed, but I can also add a spool holder on the shelving unit to have one permanently installed to save time when setting up to sew a new project.
Is this sewing table sufficient for big project?
I do not sew for hours on end. Most of my projects require 10-20 minutes of sewing. The majority of the time is spent cutting, measuring, and pinning.
The height of the third cube on the Kallax shelf is the perfect height for a sewing table. I have had no issues with the sewing table as of yet.
Things I learned along the way while making a sewing table from an ikea kallax shelf
The depth of the shelf is 15″. When I was making this sewing table, I had a 16″ slider. I also have baseboards around my walls, so the Kallax shelf is not flush against the wall. This allowed me to use the 16″ drawer slider, giving me 2 extra inches of sewing table space. 15″ is not a standard size for sliders so you will be limited to 14″ or 16″. Both will work.
The screws that came with the drawer slider were about 1/2″ long. This is probably the longest screw you can use on the inner section without the screw popping through the other side. You can you longer screws on the outer wall of the Kallax shelf as that wall is an inch-and-a-half thick.
I have my sewing machine set up so it can be pulled out to start sewing. I find that I always have a 10-second patch or hem to do on kids clothes’, so having the machine easily accessible all the time is a bonus. And now it does not take up a whole table and is stored away nicely.
Did you find this tutorial helpful?
Did you find this tutorial on how to make a sewing table from an Ikea Kallax shelf helpful? Let me know in the comments below, or share a picture!
If you liked this tutorial, check out some of my other organizational crafting posts here.