Stop buying tassels. You can make your own in under five minutes, and they look just as polished (if not better).
In this step-by-step tutorial, you’ll learn how to make tassels two ways:
- With embroidery floss for a sleek, refined finish
- With yarn for a soft, cozy look
Both tassels use the exact same method, just adjusted slightly for thickness.
These DIY tassels are perfect for bookmarks, gift tags, packaging, journals, and handmade gifts.
🎥 I made a video of this as well, in case you want to watch instead of read! Watch it here 🎥
Supplies Needed to Make DIY Tassels
As an Amazon Associate, I earn from qualifying purchases. This post contains affiliate links. I may receive a commission if you purchase an item from one of my links. This will not change the price you pay.
You only need a few basic supplies:
- Embroidery floss
- Yarn
- Scissors
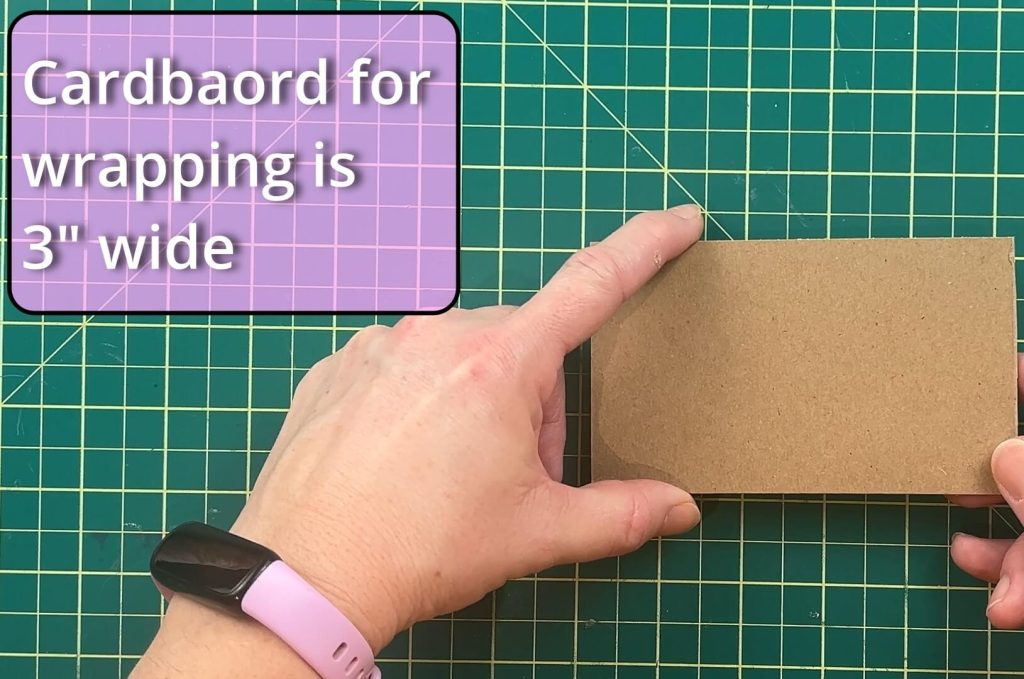
- A 3-inch piece of cardboard (or any sturdy template to wrap around)
- Optional: Crochet hook (for hiding knots neatly)
That’s it, no specialty tools required.
How to Make a Tassel with Embroidery Floss
Embroidery floss tassels have a smooth, elegant finish. They’re ideal for bookmarks and more delicate projects.
Step 1: Wrap the Floss
- Use a 3-inch piece of cardboard as your template.
- Wrap the embroidery floss around the cardboard 25 – 30 times.
- The more wraps you do, the fuller your tassel will be.
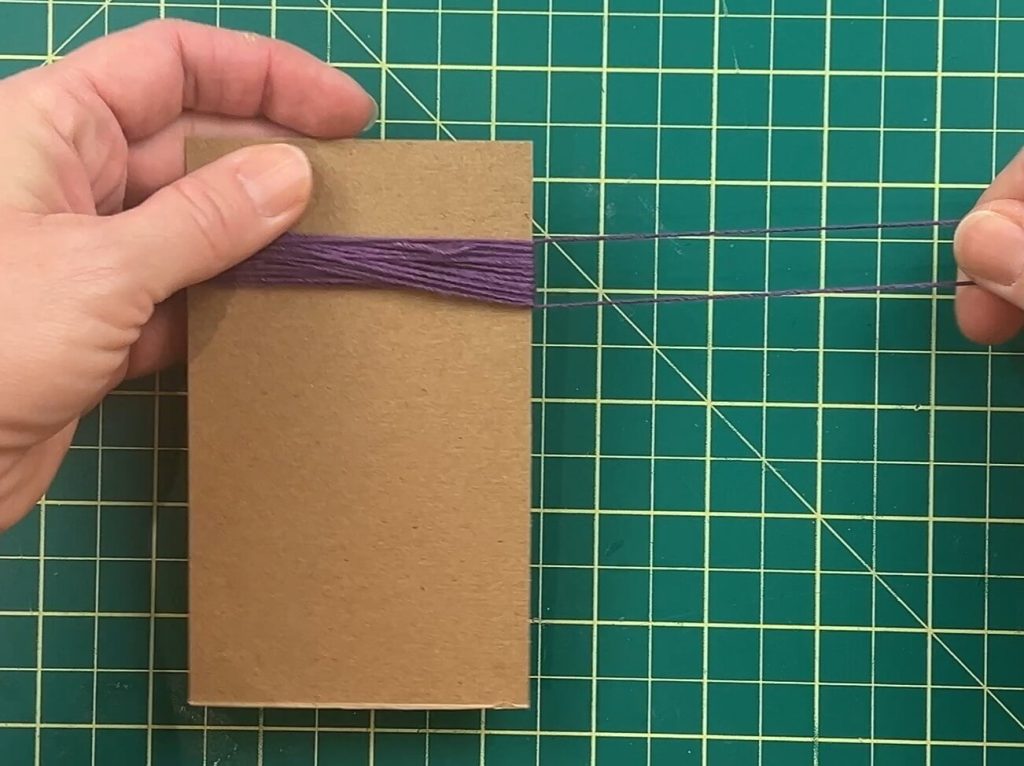
Once finished, cut the working end of the floss.
Step 2: Add the Top Hanging Loop
Before removing the floss from the cardboard:
- Cut a separate piece of floss about 10 inches long.
- Slide it through the top of the wrapped floss (between the cardboard and the thread).
- Tie a tight knot at the top.
Rotate the knot so it hides inside the wrapped threads.
Trim any excess.
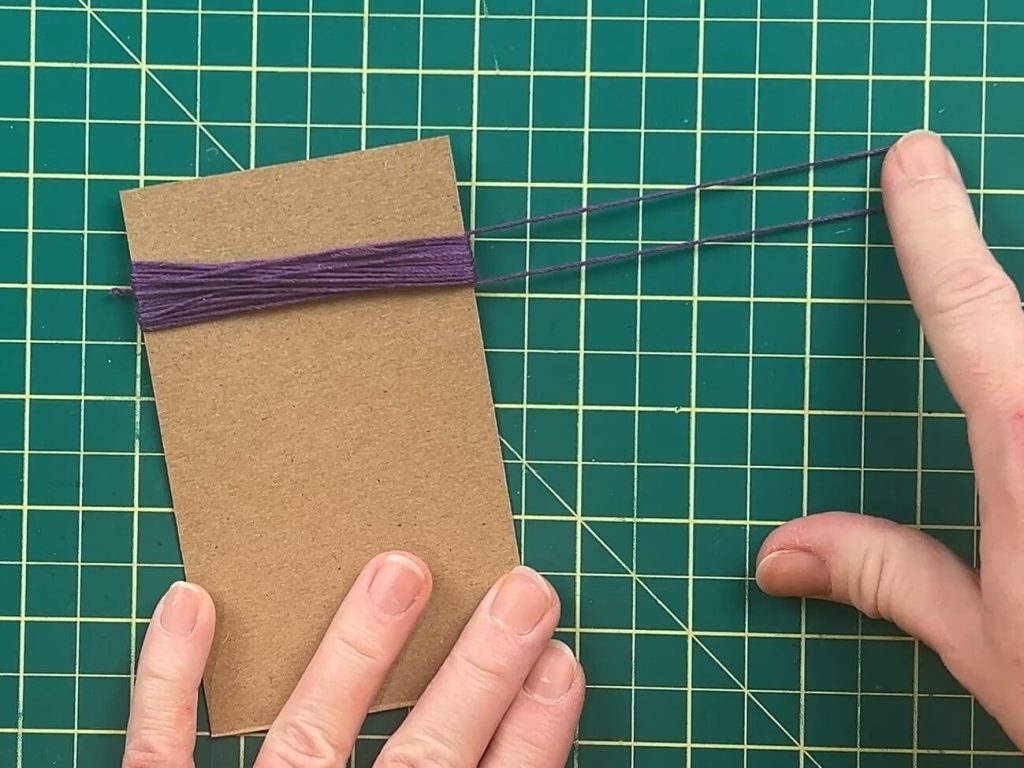
This piece becomes your hanging loop for attaching to a bookmark, tag, or gift.
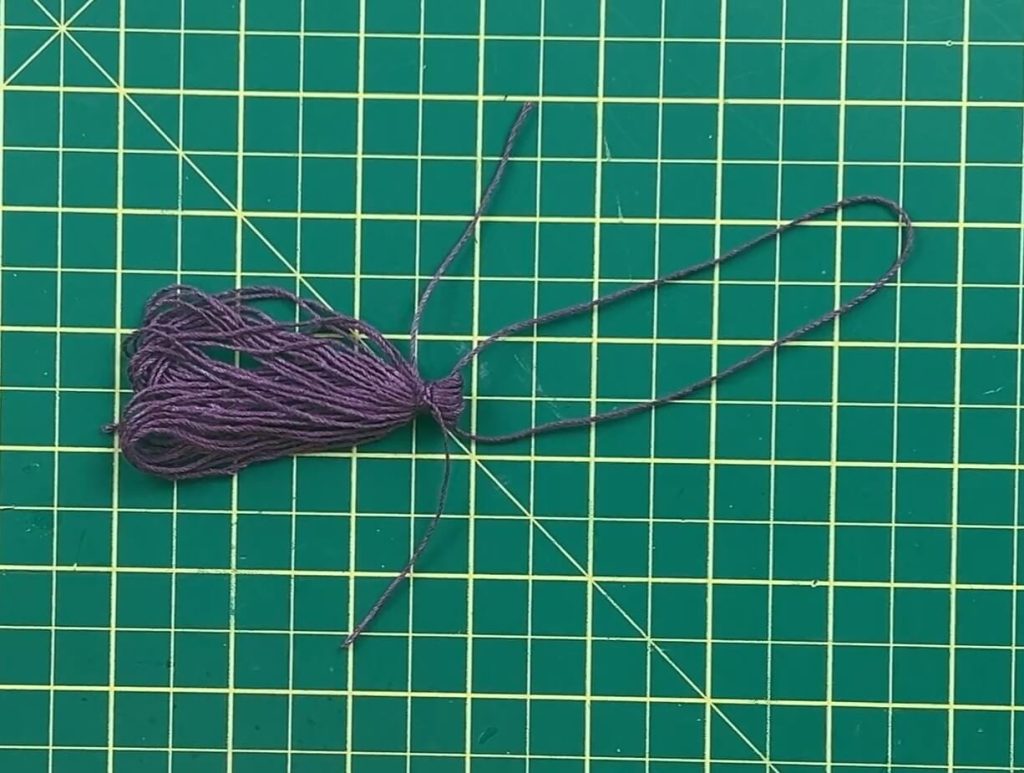
Step 3: Create the Tassel Head
Next:
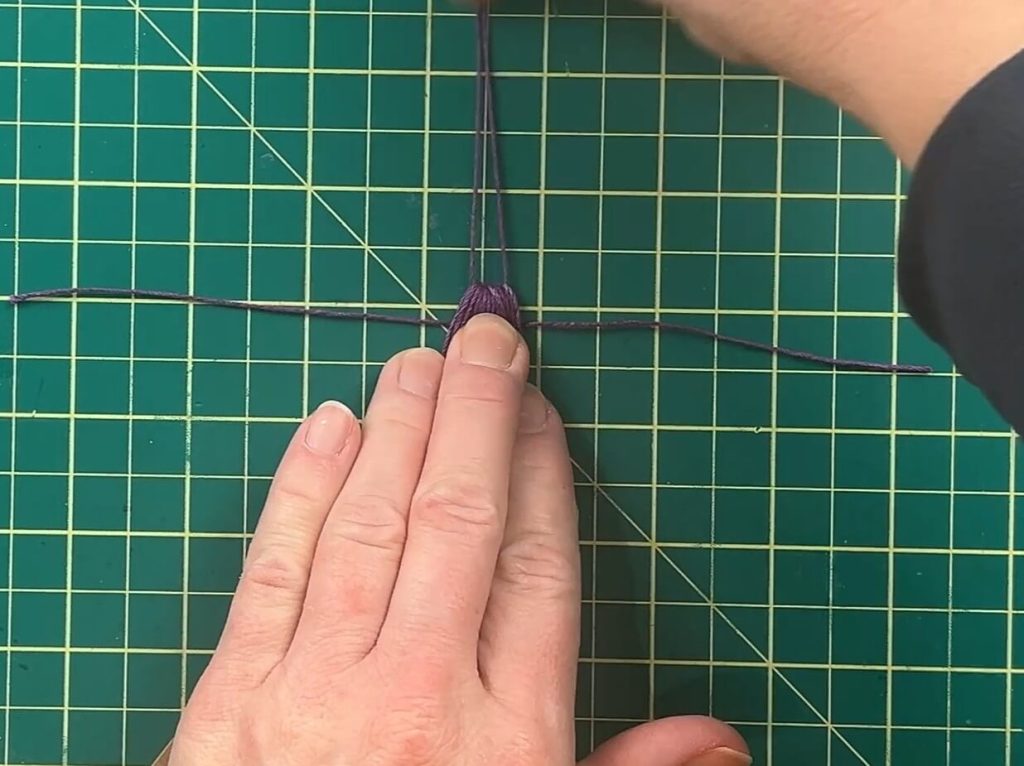
- Cut another piece of floss about 7 – 8 inches long.
- Carefully slide the wrapped floss off the cardboard.
- Wrap this new piece around the tassel about ½ inch down from the top.
Wrap several times to create a neat “neck” for the tassel.
Tie a tight knot.
Then tie a second knot for security.
Step 4: Hide the Knots
To give your tassel a clean, professional look:
- Use a crochet hook to pull the loose ends down through the center of the tassel.
- This hides both the knot and the extra thread inside.
If you don’t have a crochet hook, you can gently push the thread through with scissors or your fingers, but a hook makes it much easier.
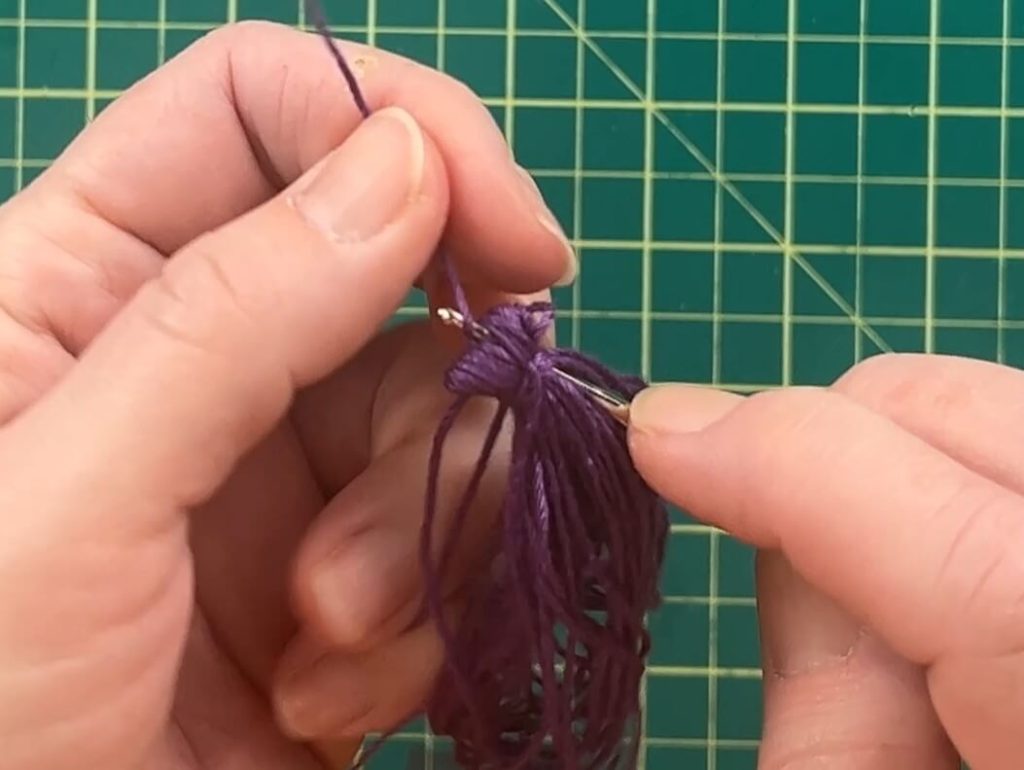
Tie one final tight knot close to the tassel head to keep everything secure and prevent shifting.
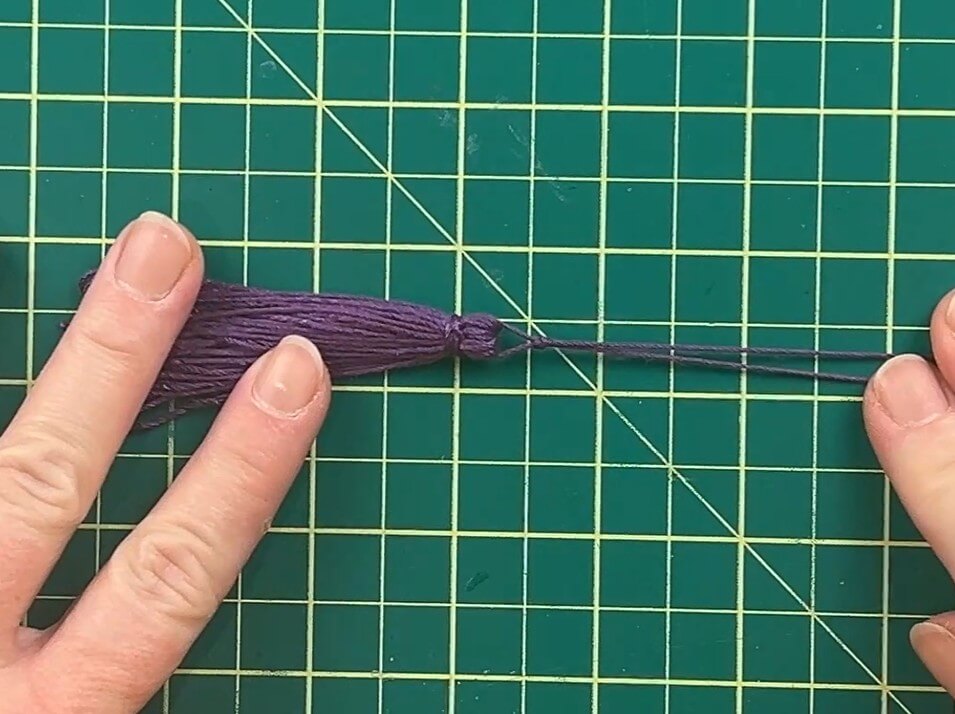
Step 5: Cut and Trim
- Cut the bottom loops open.
- Trim the ends so they are all even.
If some pieces are slightly uneven, just give the bottom a quick snip.
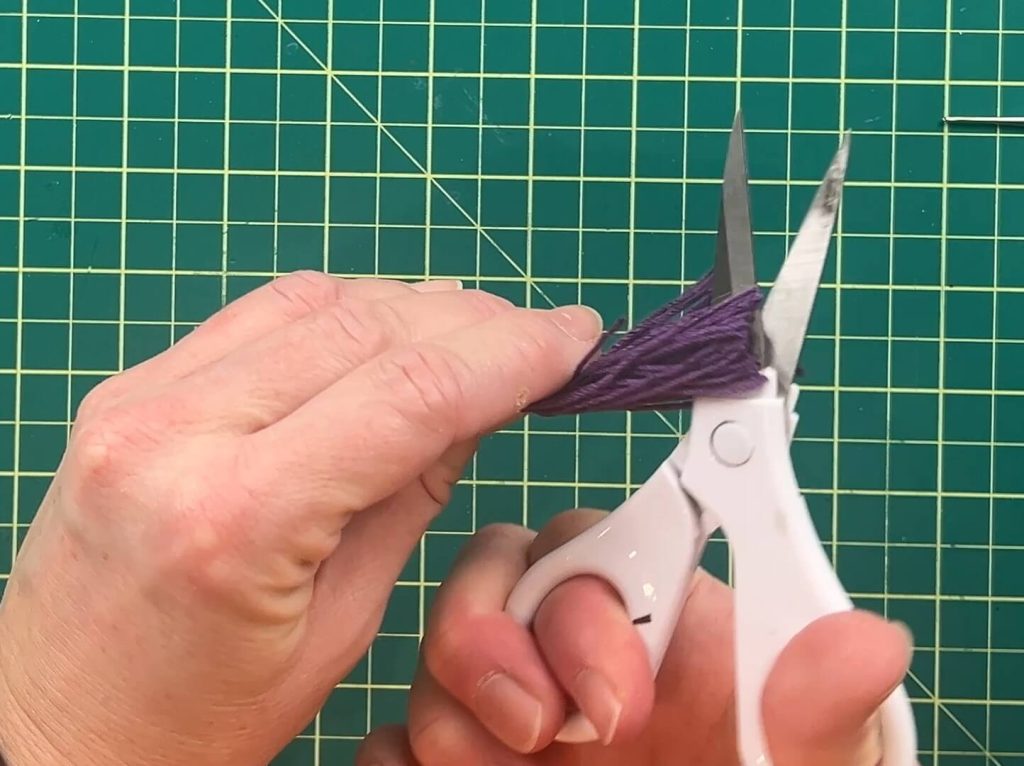
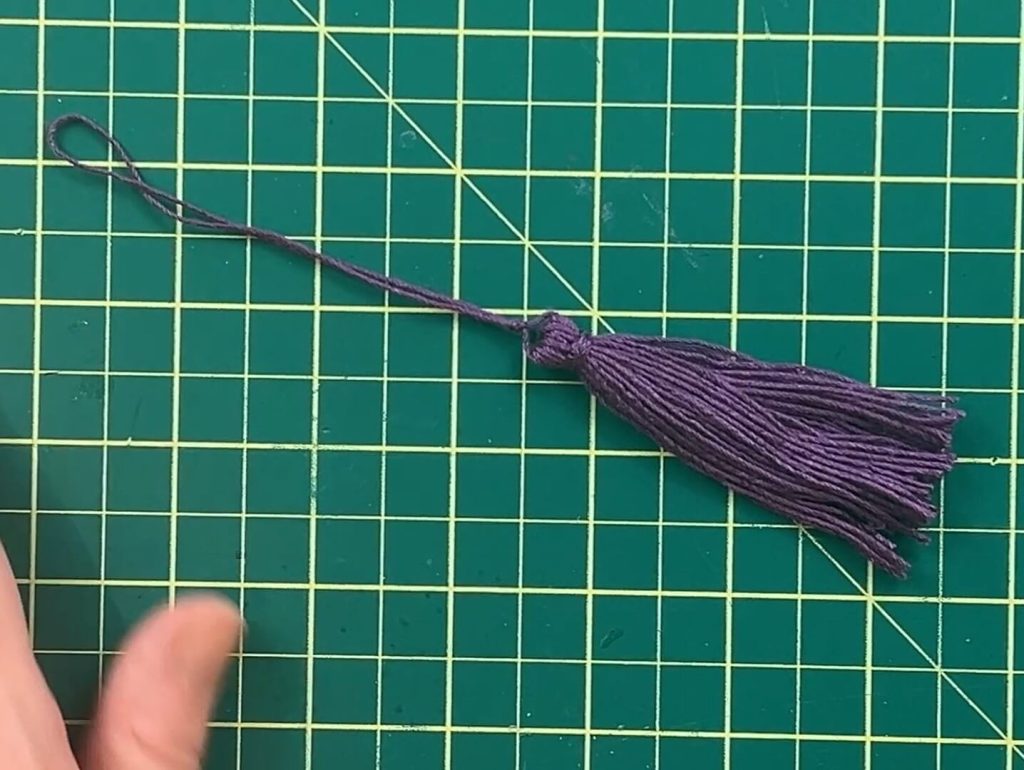
Your embroidery floss tassel is complete!
How to Make a Yarn Tassel
The yarn tassel follows the same process, but you’ll adjust the number of wraps.
Because yarn is thicker, fewer wraps are needed.
Step 1: Wrap the Yarn
- Wrap yarn around the 3-inch cardboard 10 – 15 times.
- Cut the working end.
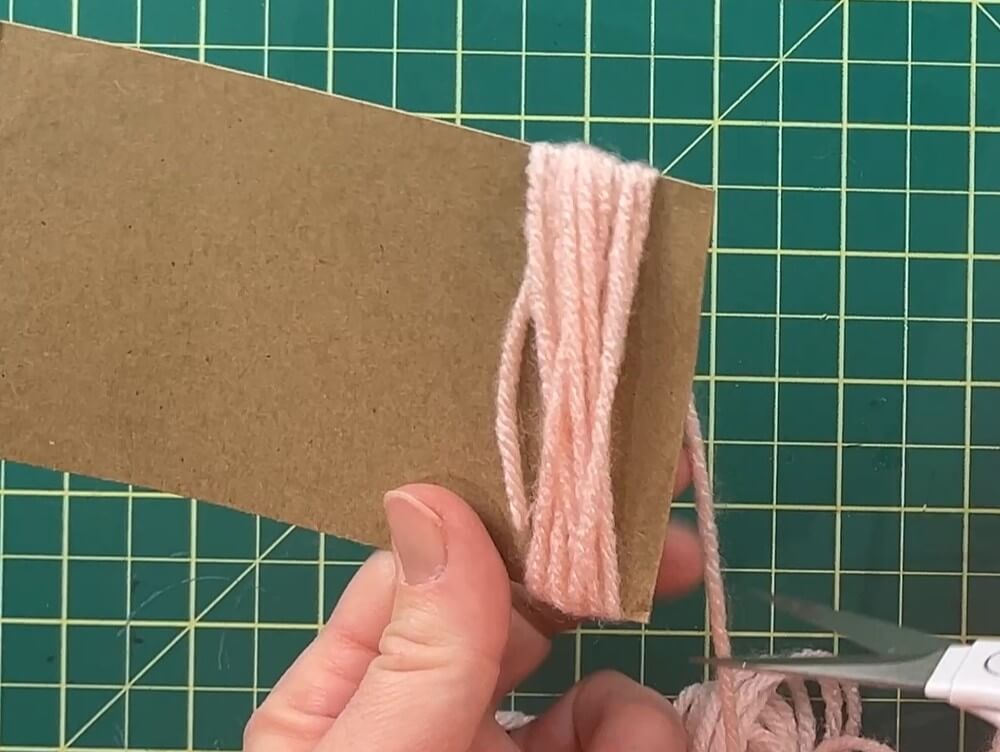
If you wrap too many times, the tassel head will become overly bulky.
Step 2: Add the Top Loop
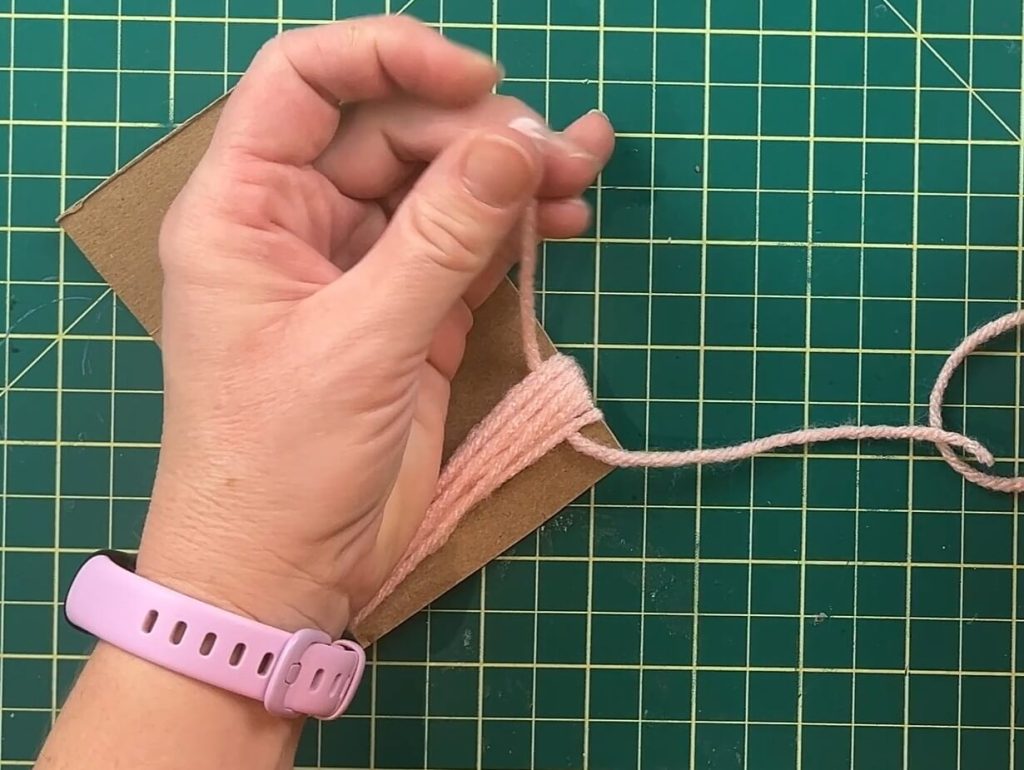
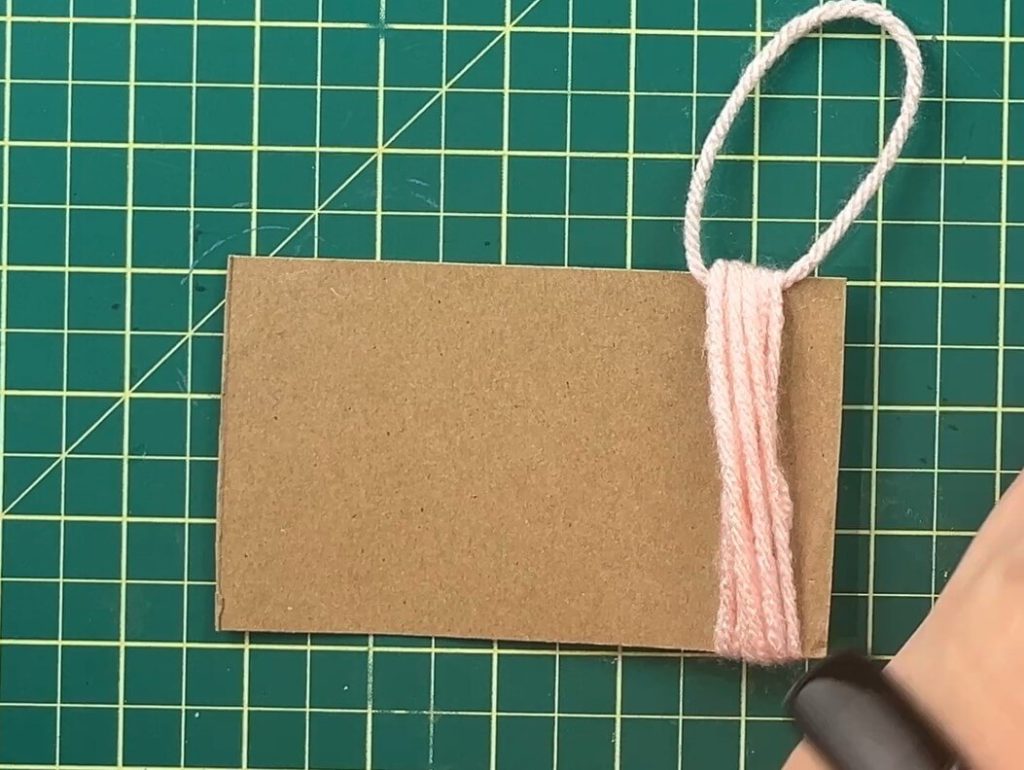
- Cut a 10-inch piece of yarn.
- Slide it through the center at the top.
- Tie a tight knot.
- Trim excess and hide the knot inside the strands.
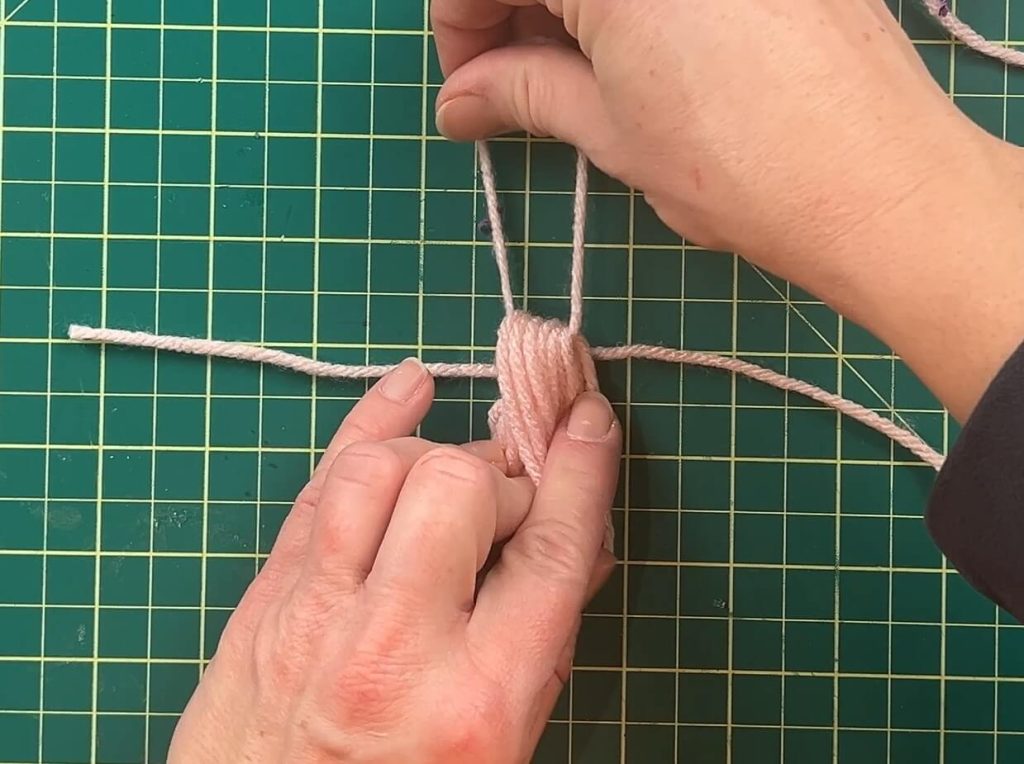
Step 3: Form the Tassel Head
- Cut another 8-inch piece of yarn.
- Slide the wrapped yarn off the cardboard.
- Wrap the new yarn around the bundle about ½ inch down.
Wrap several times, keeping tension tight.
Tie two knots to secure.
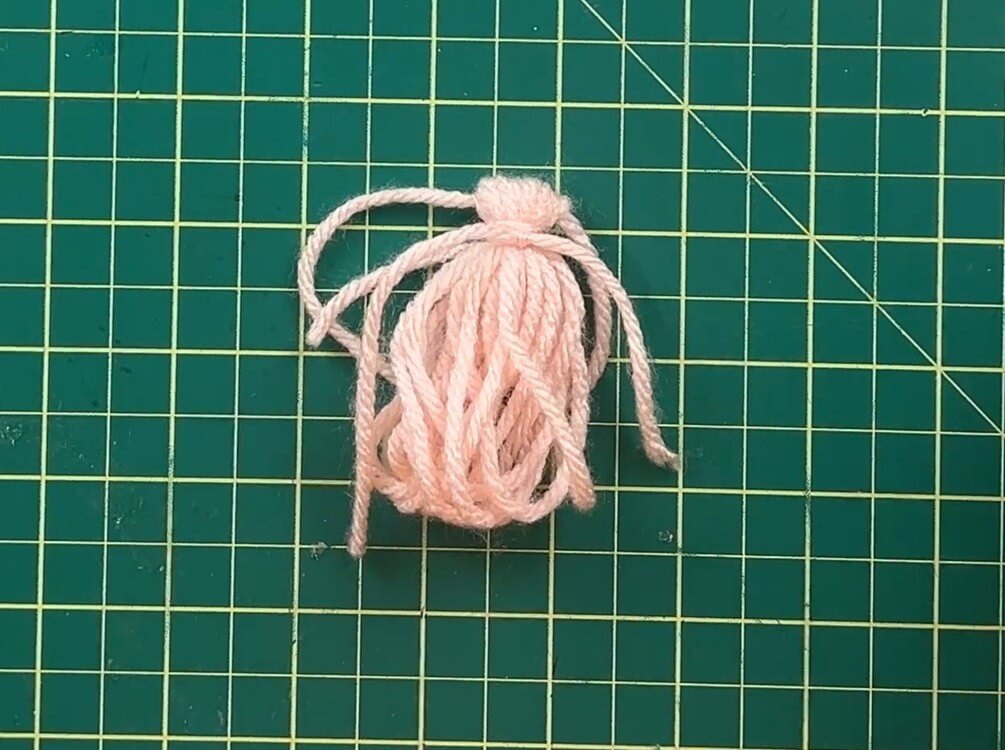
Step 4: Hide the Ends
Use a crochet hook to pull the loose ends down through the center of the tassel so the knots stay hidden.
Tie one final knot close to the tassel head to prevent shifting.
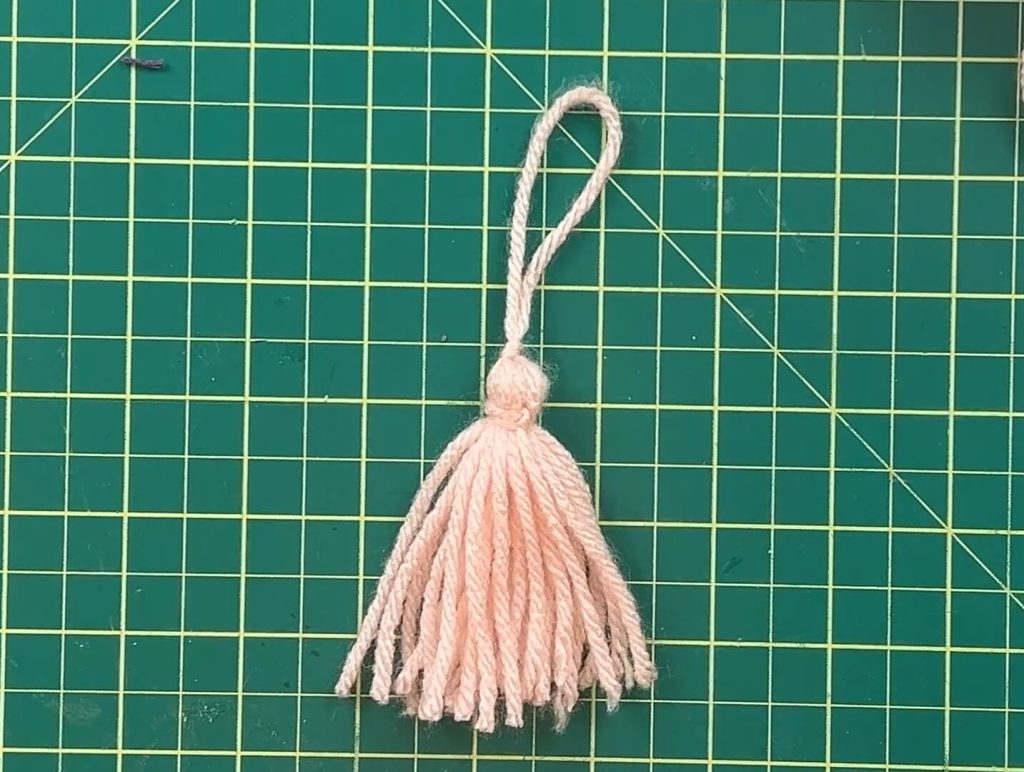
Step 5: Cut and Trim
- Cut the bottom loops open.
- Trim to even out the ends.
Because yarn is bouncier than floss, you may notice it shrinks slightly once released. This gives it more body and a softer look.
Your yarn tassel is finished!
Embroidery Floss Tassel vs. Yarn Tassel
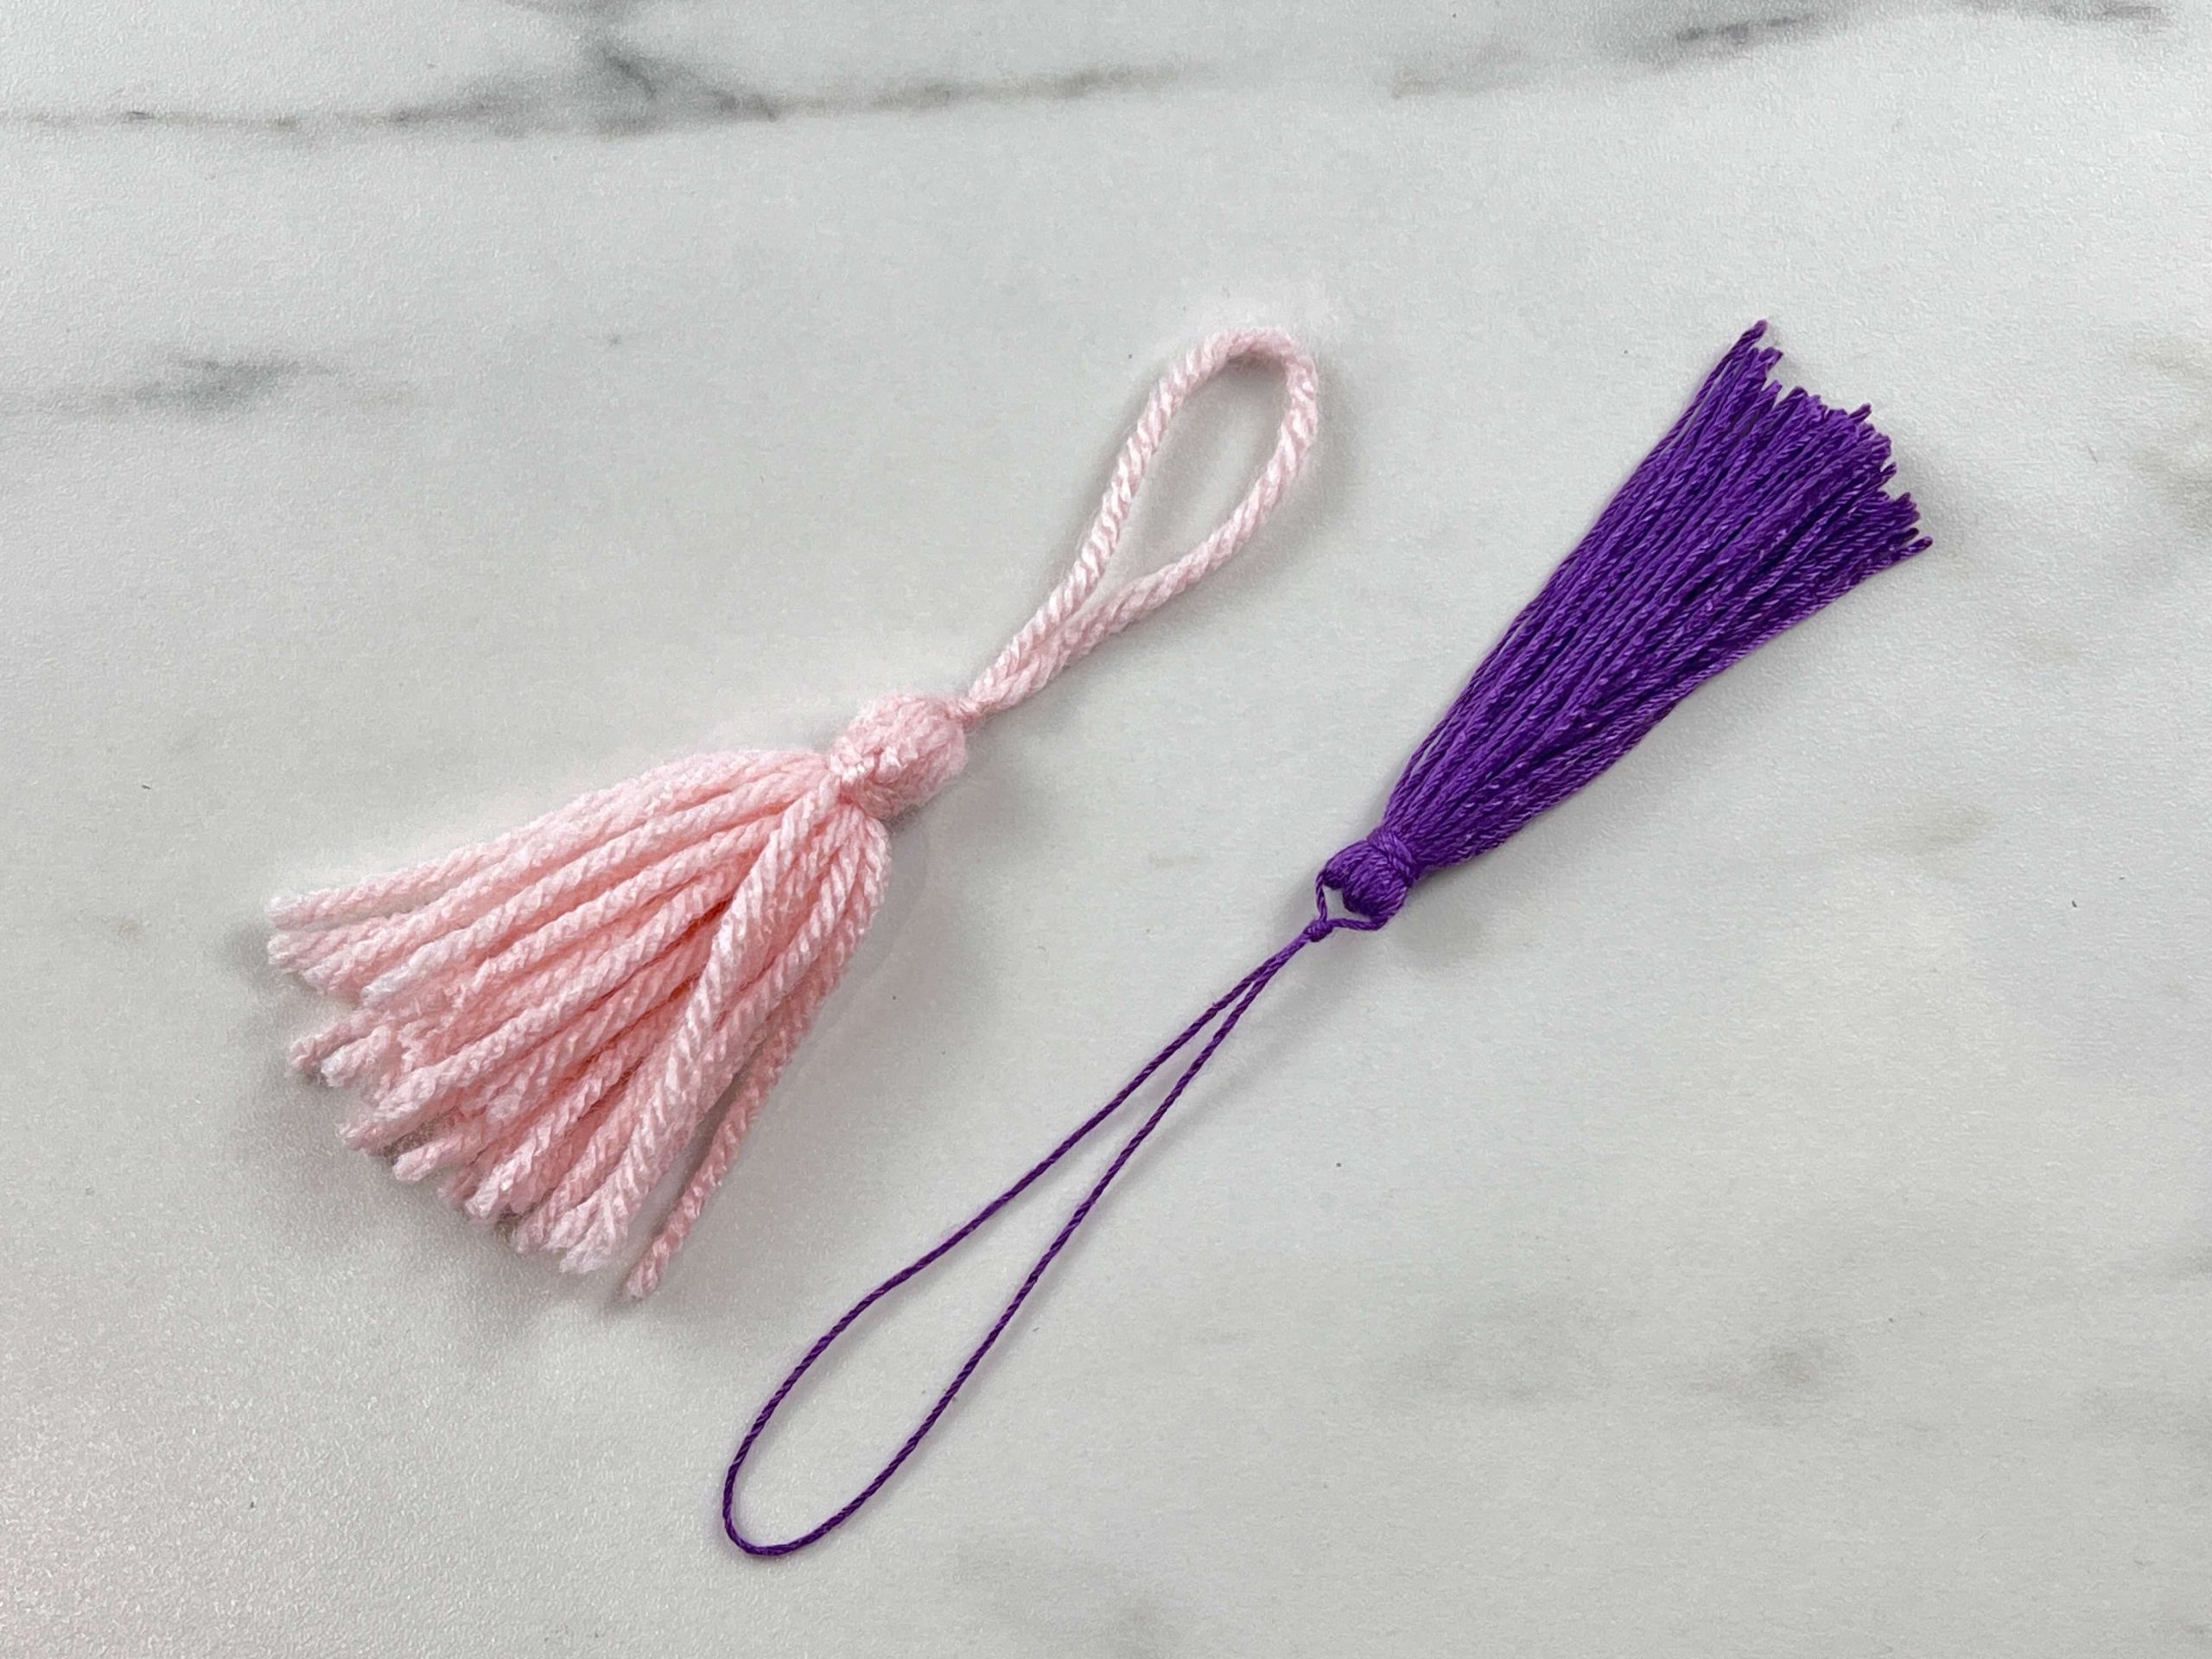
Here’s how they compare:
Embroidery Floss Tassel
- Wrapped 30 times
- Sleeker and more refined
- Thinner strands
- Great for elegant bookmarks or tags
Yarn Tassel
- Wrapped 15 times
- Fuller and softer
- More texture and body
- Ideal for rustic or cozy projects
Even when using the same template size, yarn tassels tend to look thicker and slightly shorter due to their bounce.
Personally, embroidery floss creates a more polished finish, but yarn works beautifully if that’s what you have on hand.
Where to Use Handmade Tassels
Once you know how to make tassels, you’ll start adding them everywhere.
Try them on:
- Bookmarks
- Gift tags
- Wrapped presents
- Treat bags
- Planner charms
- Junk journals
- Party favors
They’re small details that make handmade projects feel intentional and elevated.
Why You Should Make Tassels Instead of Buying Them
Store-bought tassels can add up quickly, especially if you need multiple colors or sizes.
Making your own means:
- You control the size.
- You customize the color.
- You adjust the fullness.
- You save money.
And each one takes less than five minutes.
If you’re already crafting bookmarks or gift packaging, this is an easy skill that instantly upgrades your projects.
If you enjoyed this blog post, check out my other tips and tricks here.
🎥 I made a video of this as well, in case you want to watch instead of read! Watch it here 🎥