If you just got your Cricut Joy (or… let’s be honest… pulled it out of the closet after it’s been collecting dust 😅), you’re probably wondering:
“What do I actually need to get started?”
And more importantly…
“What can I skip so I don’t waste money?”
You are not alone. Most beginner crafters, especially busy moms just trying to squeeze in a little creative time, end up buying way more than they need.
So let’s keep this simple, budget-friendly, and totally doable.
I’m walking you through:
- The must-have Cricut Joy supplies
- The nice-to-haves (but not urgent)
- And the things you can skip for now
By the end, you’ll know exactly what to grab so you can start crafting today, without the overwhelm.
As an Amazon Associate, I earn from qualifying purchases. This post contains affiliate links. I may receive a commission if you purchase an item from one of my links. This will not change the price you pay.
My Cricut Joy Quick Picks
If you just want the short version, these are the supplies I’d start with first:
- Standard Grip Cricut Joy Mat
- Cricut Joy Card Mat
- Basic weeding tool
- Scraper/squeegee
- Permanent vinyl
- Transfer tape
- Cardstock
- Cricut Card Insert Pack
You do not need to buy everything at once. Start with the supplies that match the kind of project you want to make, then add more as you go.
Cricut Joy Essentials: What You Actually Need to Start
Let’s start with the basics, the things you’ll realistically use right away.
Cutting Mats (Yes, You Need More Than One)
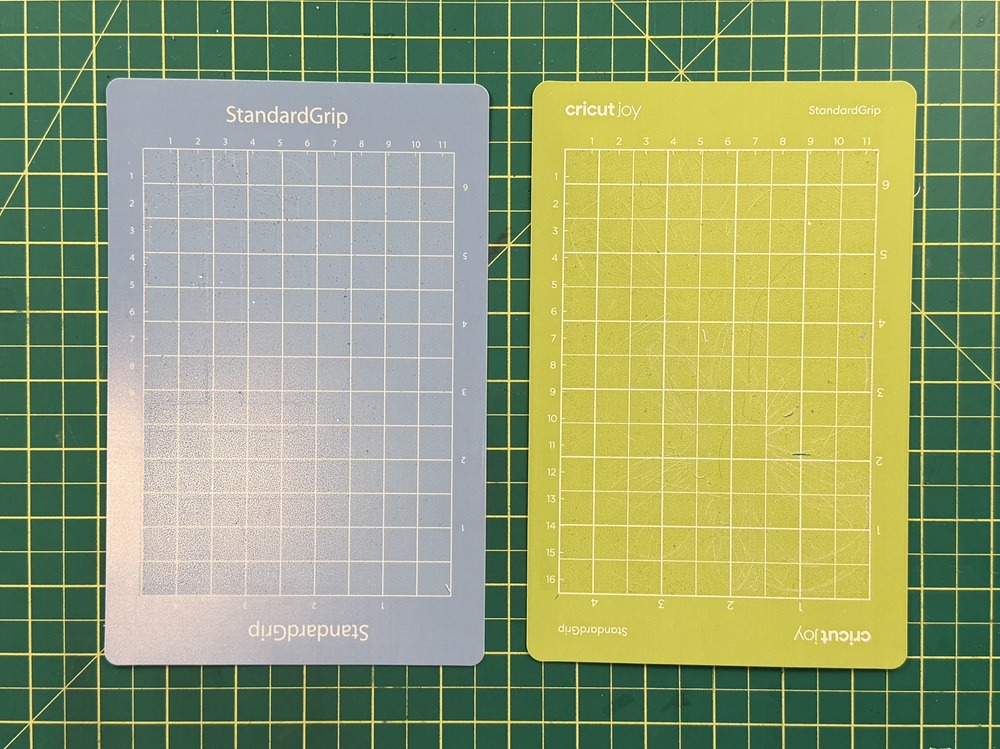
Your Cricut Joy likely came with a standard grip mat, and that’s a great starting point.
Because the Joy is smaller, it works within a 4.5-inch width, so everything you cut needs to fit that space.
But there’s one extra mat I highly recommend:
Card Mat (Game-Changer for Beginners)
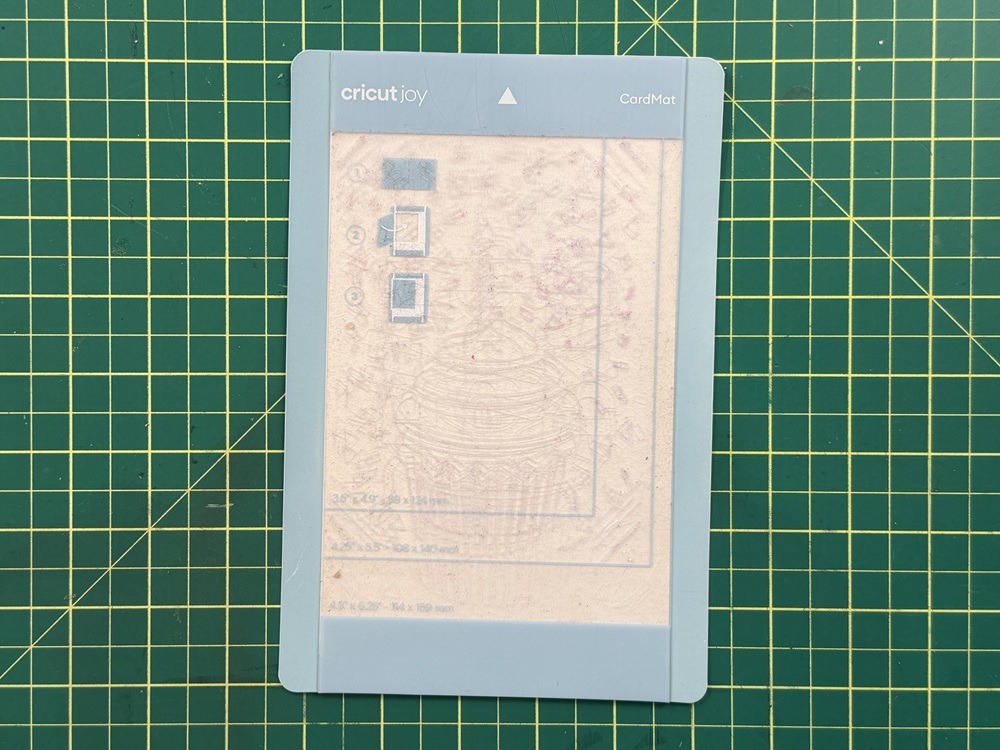
If you’re even thinking about making cards (and trust me, you will), the card mat is worth it.
It lets you:
- Insert a card.
- Cut only the front.
- Keep the inside perfectly intact.
This is one of the easiest ways to create something that looks super impressive with very little effort.
Budget Tip (Because Crafting Adds Up Fast)
You don’t have to buy brand-name mats.
Off-brand options (even from places like Dollar Tree) often work just as well for beginners. If you’re testing the waters, this is an easy place to save money.
Must-Have Cricut Tools for Beginners
You don’t need a huge toolkit, but a few key tools will make your life so much easier.
Supplies List:
- Cutting mat (standard grip)
- Card mat
- Cricut Joy blade (or off-brand blades)
- Scraper or squeegee
- Weeding tool
- Spatula
- Scissors
- Paper cutter (trimmer)
- Ruler or measuring tape
- Tweezers (reverse tweezers are amazing)
- Cricut Joy pens (optional but helpful)
Let’s Talk About the Important Ones
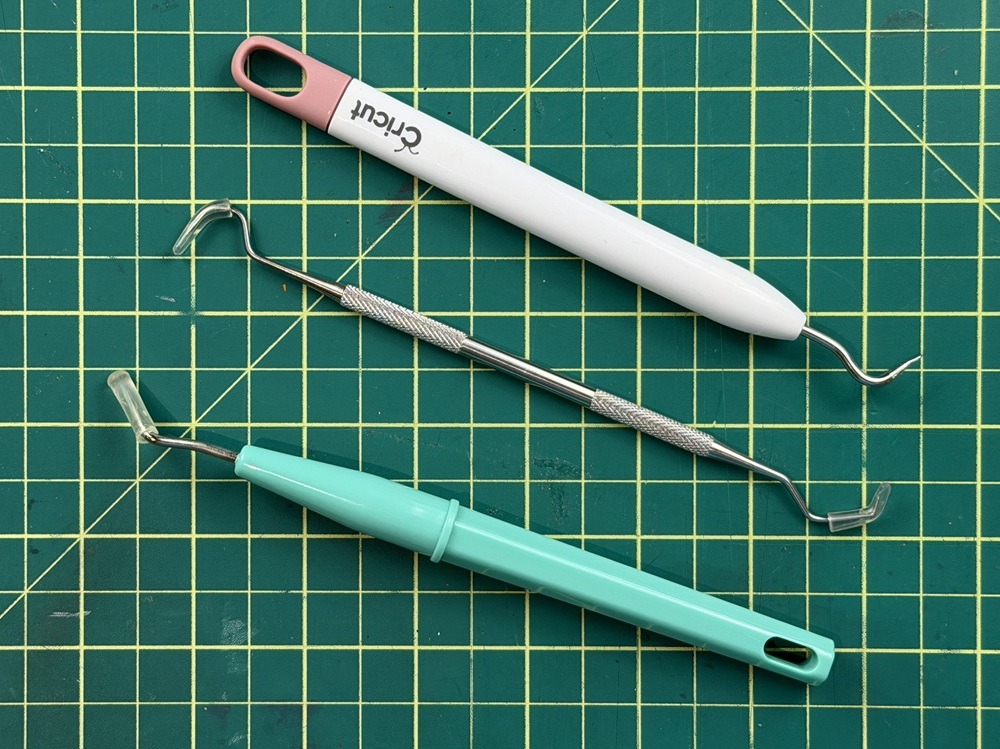
Weeding Tool
The weeding tool helps you remove tiny pieces from your designs (especially vinyl).
It looks a little like a dentist tool, and yes, it’s just as sharp. Keep the cap on!
Scraper / Squeegee
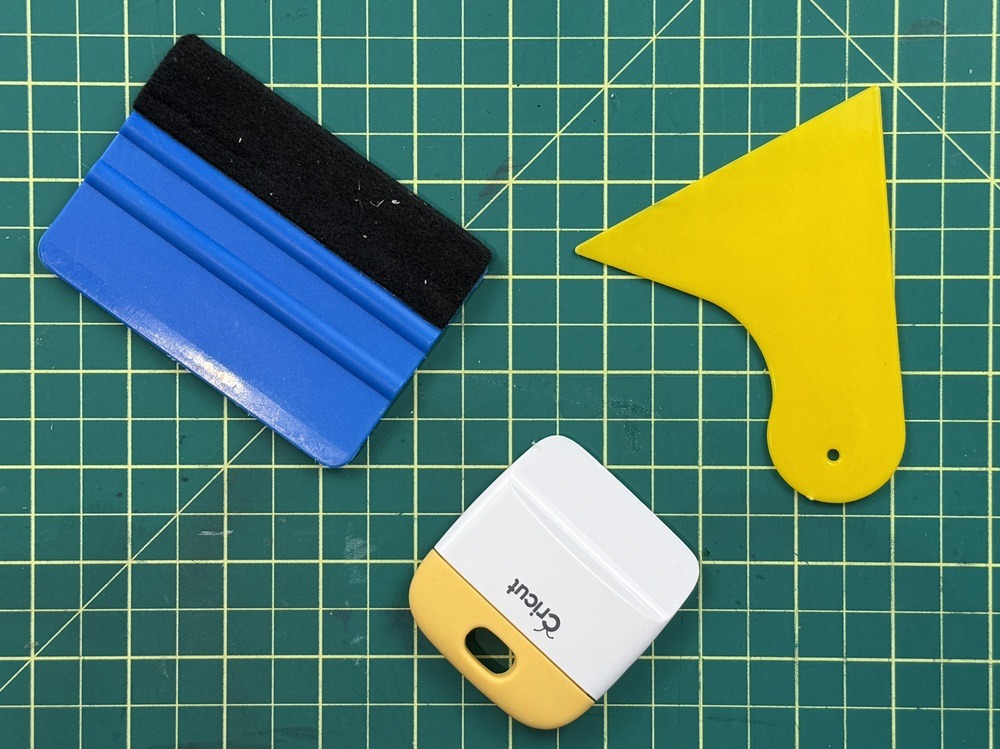
The scraper and squeegee are perfect for:
- Smoothing materials onto your mat
- Applying vinyl without bubbles
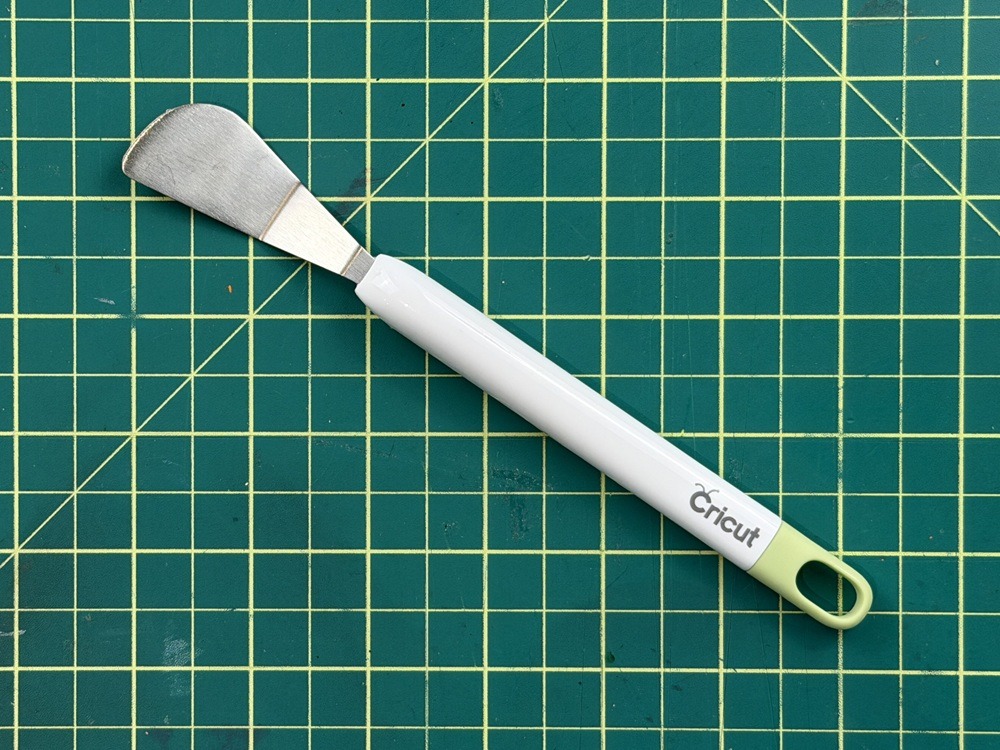
Spatula
If you plan on doing paper crafts (like cards), the spatula is so helpful for lifting delicate designs off your mat without tearing them.
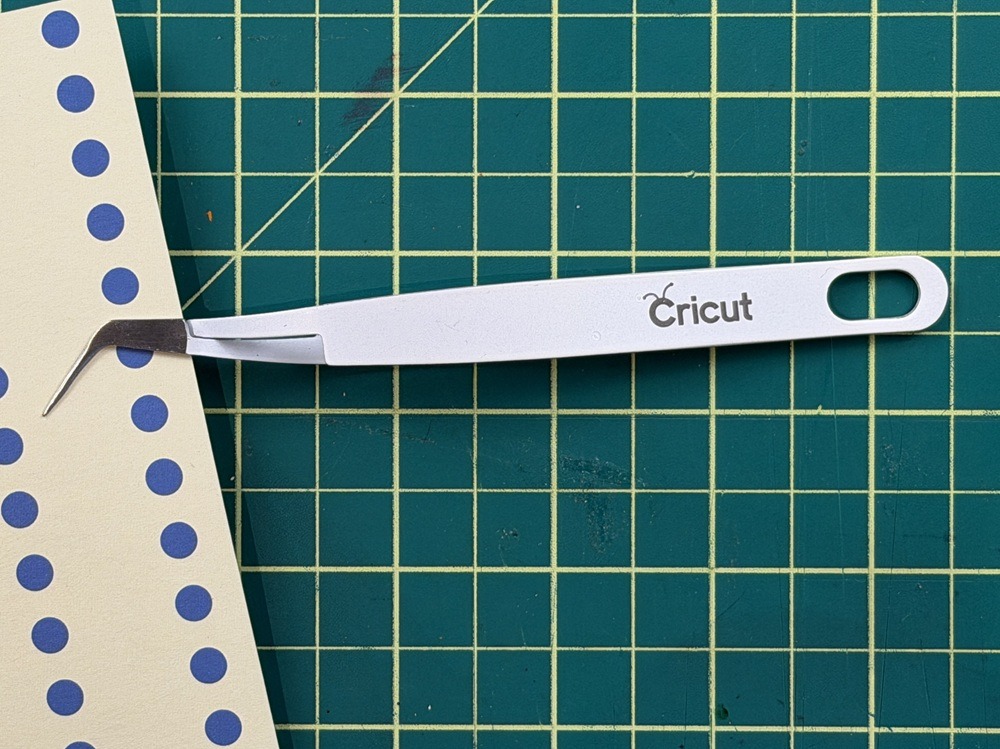
Tweezers (Underrated Hero)
Reverse tweezers = less hand strain.
Once you try them, you won’t go back.
Cricut Joy Vinyl Guide (Made Simple)
Vinyl is one of the most popular materials, and also one of the most confusing when you’re starting out.
Let’s break it down in plain English.
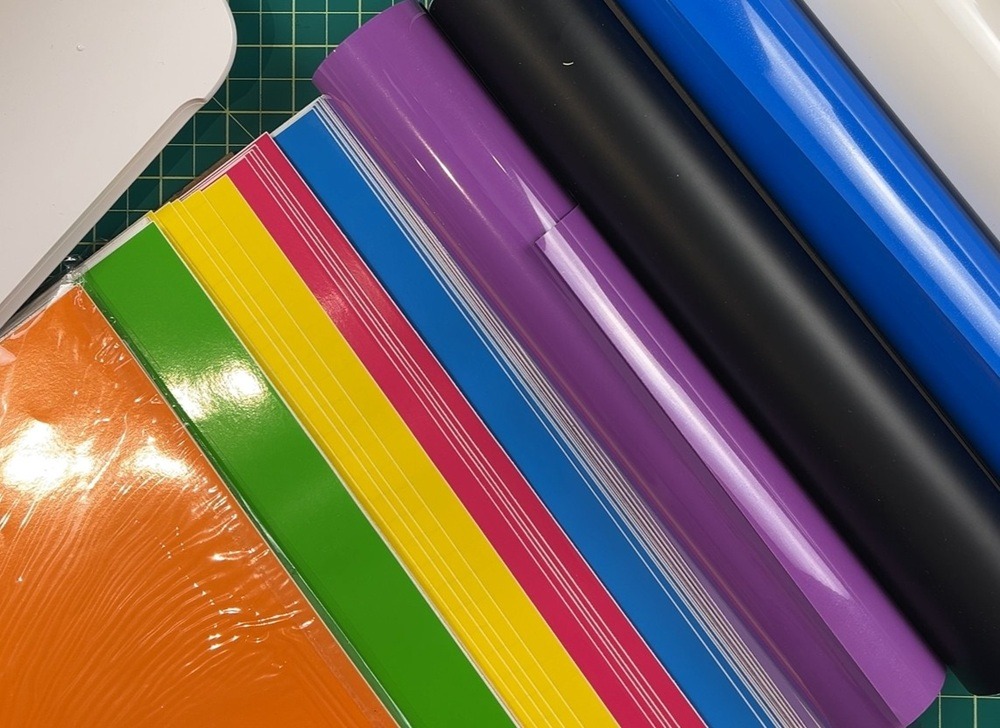
Permanent vs. Removable Vinyl
- Permanent vinyl = stays put (great for mugs, labels, decor)
- Removable vinyl = temporary (great for walls)
If you’re unsure?
Start with permanent vinyl for most projects.
Do You Need Smart Vinyl?
Short answer: Nope.
Smart vinyl feeds directly into your machine without a mat… which sounds great, but it’s usually more expensive.
A better beginner option:
- Buy regular vinyl
- Cut it to size
- Use it with your mat.
Same result, less cost.
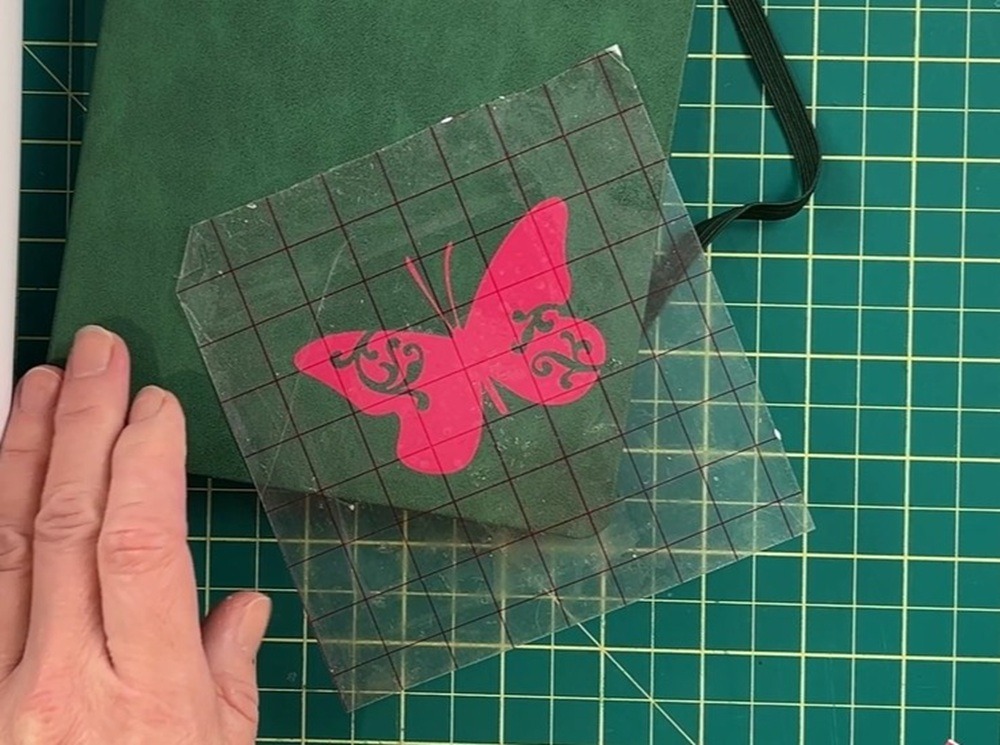
Don’t Forget Transfer Tape
Transfer Tape is what helps you move your design from the backing onto your project.
Beginner tip:
Go with medium adhesion transfer tape.
Too sticky = frustrating
Not sticky enough = doesn’t work
Medium is your sweet spot.
Heat Transfer Vinyl (HTV): Do You Need It?
HTV (also called iron-on vinyl) is what you use for:
- T-shirts
- Tote bags
- Fabric projects
Here’s the honest truth:
You can use HTV with a Cricut Joy…
But it’s not always the easiest or fastest option for bigger projects.
What You Need for HTV:
- Heat transfer vinyl
- Iron or heat press
- Protective sheet (like Teflon or parchment paper)
Beginner Advice:
Start with an iron.
Seriously, you don’t need a heat press right away.
If you fall in love with making shirts later, then upgrade.
Paper Crafts with Cricut Joy (Perfect for Busy Moms)
If you want quick, satisfying projects…
Paper crafts are where the Cricut Joy really shines.
Think:
- Cards
- Bookmarks
- Decorations
- Gift tags
Cardstock Basics
You can use:
- 8.5″ x 11″ sheets
- 12″ x 12″ sheets
- Patterned paper packs (great for matching designs)
You’ll just trim everything down to fit your mat.
Cricut Joy Insert Cards (My Favorite Shortcut)
These Card Insert Packs are honestly one of the best beginner-friendly supplies.
Each set includes:
- Card base
- Insert
- Envelope
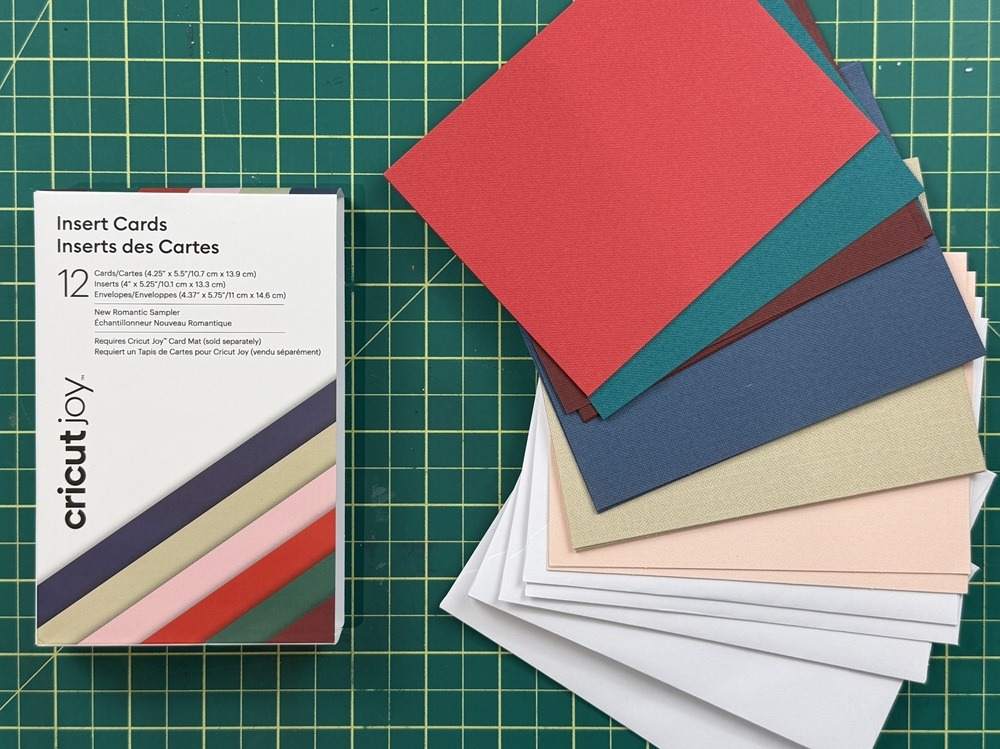
You just:
- Slide the card into the card mat.
- Let your machine do the cutting.
- Pop in the insert.
And suddenly you have a beautiful, personalized card in minutes.
No stress. No overthinking.
What You DON’T Need (Right Away)
Let’s save you some money real quick.
You can skip:
- Fancy tool kits with 15+ pieces
- Smart vinyl (unless you really want it)
- Heat press (for now)
- Every color/material “just in case.”
Start simple. Build as you go.
Final Thoughts: Keep It Simple and Start Crafting
Here’s the thing most beginners don’t realize:
You don’t need a huge craft room or a giant supply stash to make something amazing.
Your Cricut Joy is meant to be:
- Simple
- Fun
- Stress-free
So start with the basics: pick one type of project (cards are a great choice 👀), and just start.
You’ll learn way faster by doing than by over-researching.
If you’re getting started, I’d love to know—
Are you using a Cricut Joy, Maker, or Explore?
And if you want more easy, beginner-friendly Cricut ideas (that actually fit into real life), stick around; I’ve got plenty more coming your way 💕✂️
Ready to Make Something With Your Cricut Joy?
Now that you know which supplies you actually need, let’s put them to work!
My DIY Gift Bag Tags are a quick and easy Cricut Joy project that uses just a little cardstock, a pen and some ribbon — and you can make one in about five minutes.
It’s a great way to get comfortable with your machine without committing to a big project.
MAKE DIY GIFT BAG TAGS WITH YOUR CRICUT