If you love easy crafts and reach for your glue gun on the regular, you’re going to want to bookmark this one.
Today I’m sharing 10 glue gun hacks that will make your crafting faster, cleaner, and honestly… way more fun. Some of these are simple little fixes, and others? Total game-changers—especially if you’re tired of burnt fingers and messy glue strings.
Let’s jump right in.
Why Every Beginner Crafter Needs These Glue Gun Hacks
If you’ve ever:
- Burned your fingers
- Had glue strings everywhere
- Watched your glue gun slowly tip over 😩
…you’re not alone.
Glue guns are amazing, but they definitely come with a learning curve. These tips will help you skip the frustration and get straight to the fun part—actually making your projects look good.
Supplies You’ll Want on Hand
As an Amazon Associate, I earn from qualifying purchases. This post contains affiliate links. I may receive a commission if you purchase an item from one of my links. This will not change the price you pay.
- Glue gun (mini or full size)
- Glue sticks (regular + colored if you want to get creative)
- Large binder clips
- Scrap cardboard or wood
- Teflon sheet or silicone craft mat
- Finger protectors
- Parchment paper
- Glitter (optional but fun!)
- Coins (for stamping trick)
Glue Gun Setup Hacks That Make Life Easier
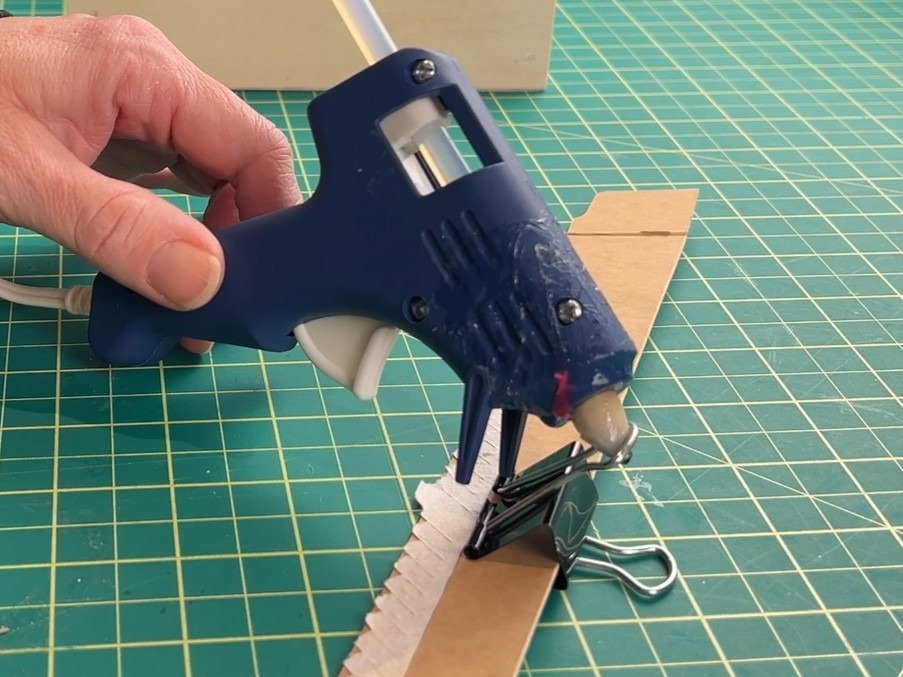
1. Use Binder Clips as a DIY Glue Gun Stand
No stand? No problem.
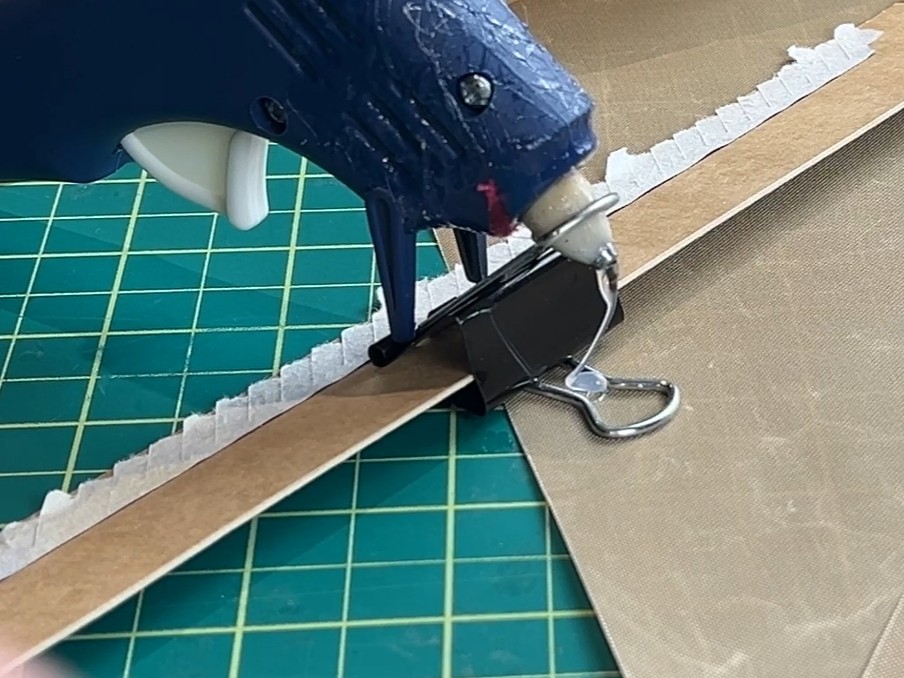
Grab a large binder clip and slide your glue gun into the metal loop; it instantly becomes a stand.
Now, quick heads up: lighter glue guns (especially corded ones) can still tip over. If that happens, just slide a piece of cardboard underneath the clip to stabilize it.
Not fancy but totally effective.
2. Stop Glue From Ruining Your Table
Let’s be real, glue guns drip. All of them.
Instead of letting glue harden onto your table (and dealing with that mess later), place something underneath your glue gun, like:
- A Teflon sheet
- A silicone mat
Once the glue dries, you can literally peel it right off. No scraping. No stress.
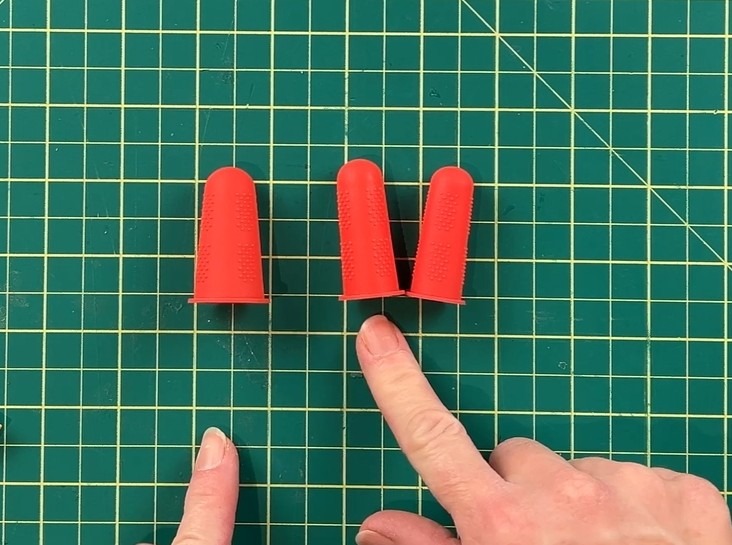
3. Use Finger Protectors (Seriously, Just Do It)
If you’ve ever burned your fingers with hot glue… You already know why this matters.
Finger protectors let you:
- Hold glued pieces in place safely.
- Avoid burns and blisters.
- Work faster without hesitation.
They’re one of those things you don’t think you need until you try them.
4. Make Your Glue Sticks Last Longer
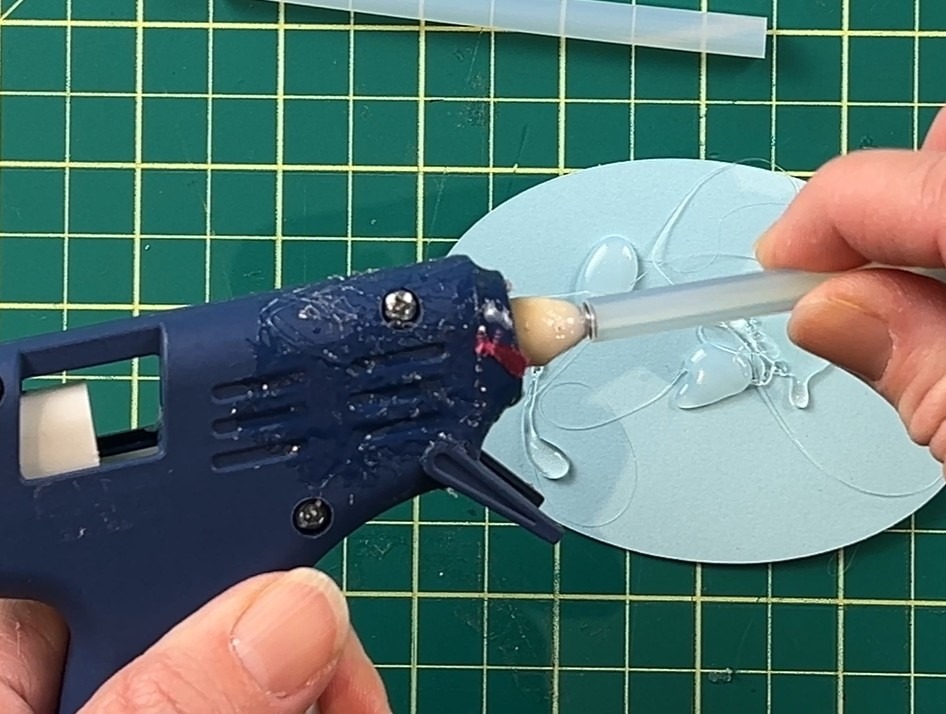
Mini glue guns have one annoying problem: the glue stick stops feeding before it’s actually done.
Easy fix? Glue two sticks together.
Just:
- Heat the end of one glue stick.
- Press it onto another.
- Let it cool.
Now you’ve got a longer stick that feeds smoothly, no more constant reloading.

5. Stop Those Annoying Glue Strings
You know those thin spiderweb strings that show up everywhere? Yep, those.
Here’s the trick:
After applying glue, release the trigger and gently “swirl” or swoop the glue gun tip over the glued area.
It takes a little practice, but it dramatically reduces stringing.
Creative Glue Gun Tricks for Craft Projects
Now for the fun part, actually using your glue gun creatively.
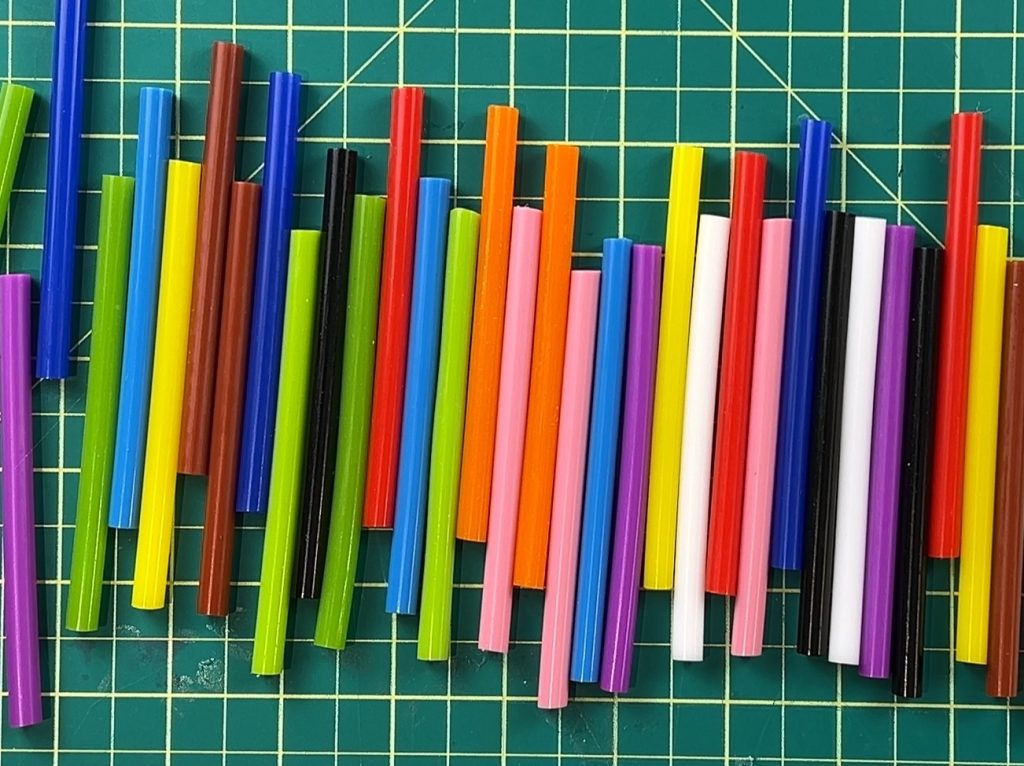
6. Use Colored Glue Sticks for Cleaner Designs
Colored glue sticks are a game-changer.
Instead of clear glue standing out, you can:
- Match your glue to your project.
- Use black glue on dark designs.
- Add red for themed crafts (Hello, Halloween 👀)
It’s a small upgrade that makes a big difference in the final look.
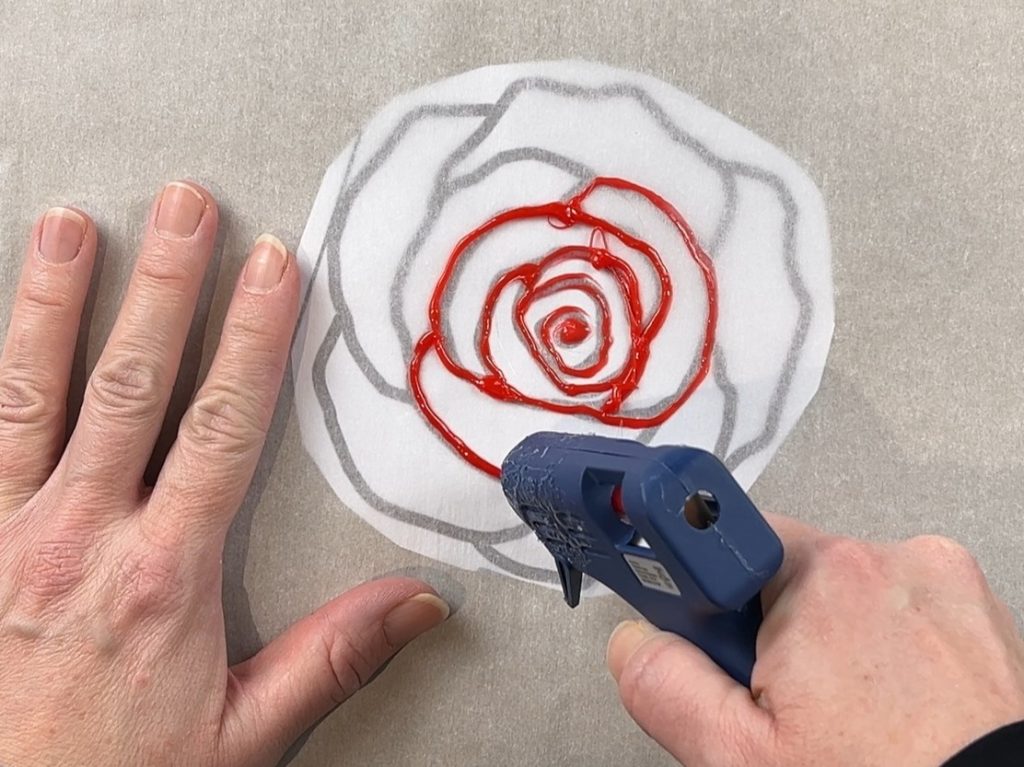
7. Create 3D Glue Art (So Cool!)
This one feels a little magical.
Here’s how it works:
- Print a design.
- Place parchment paper over it.
- Trace the design with hot glue.
Once it dries, peel it off, and you’ve got a 3D embellishment you can frame or use on other projects.
8. Make DIY Glue Embellishments
You can create your own embellishments in seconds.
Just:
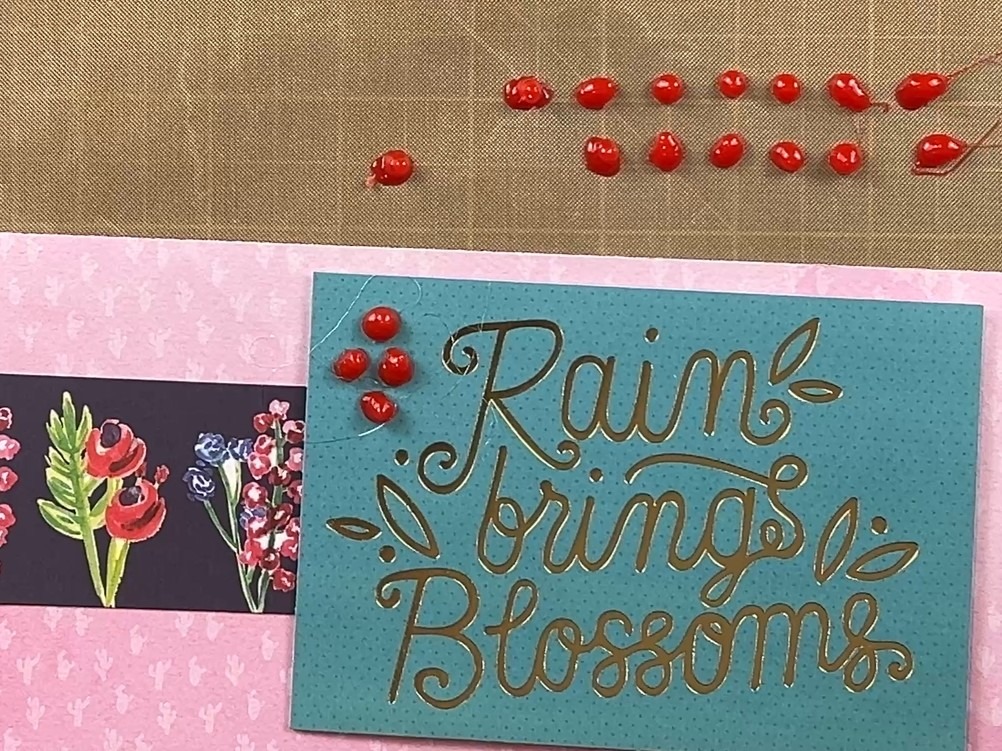
- Drop small dots of glue onto your mat.
- Let them cool.
- Peel them off.
Now you’ve got little “gems” you can add to cards, scrapbook pages, or decorations.
9. Draw Shapes & Designs with Glue
Hearts, swirls, abstract shapes, you can literally draw with glue.
Draw them on Teflon paper or silicone mats, and once dry, peel them off and glue them onto your project for a raised, textured look.
It takes a little practice, but it adds such a fun, handmade touch.

10. Add Glitter for Instant Sparkle
If you love a little sparkle (same 🙋♀️), try this:
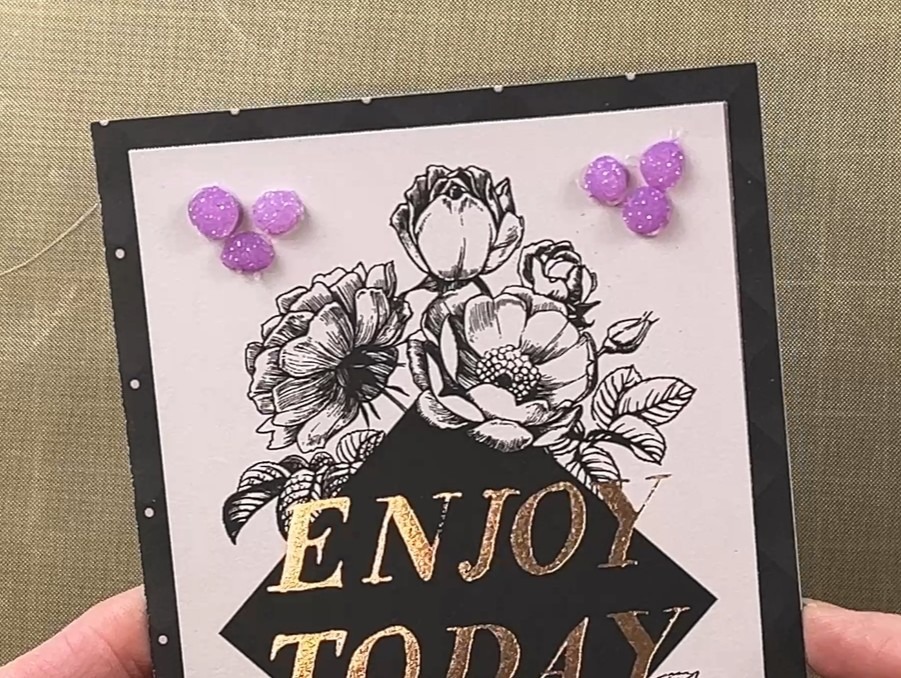
- Apply a dot of hot glue.
- Sprinkle glitter on top immediately.
- Let it cool and shake off the excess.
Now you’ve got sparkly embellishments that look like mini rhinestones.
Bonus: Seal Envelopes with a Glue “Wax Stamp”
This one is SO fun and gives major vintage vibes.
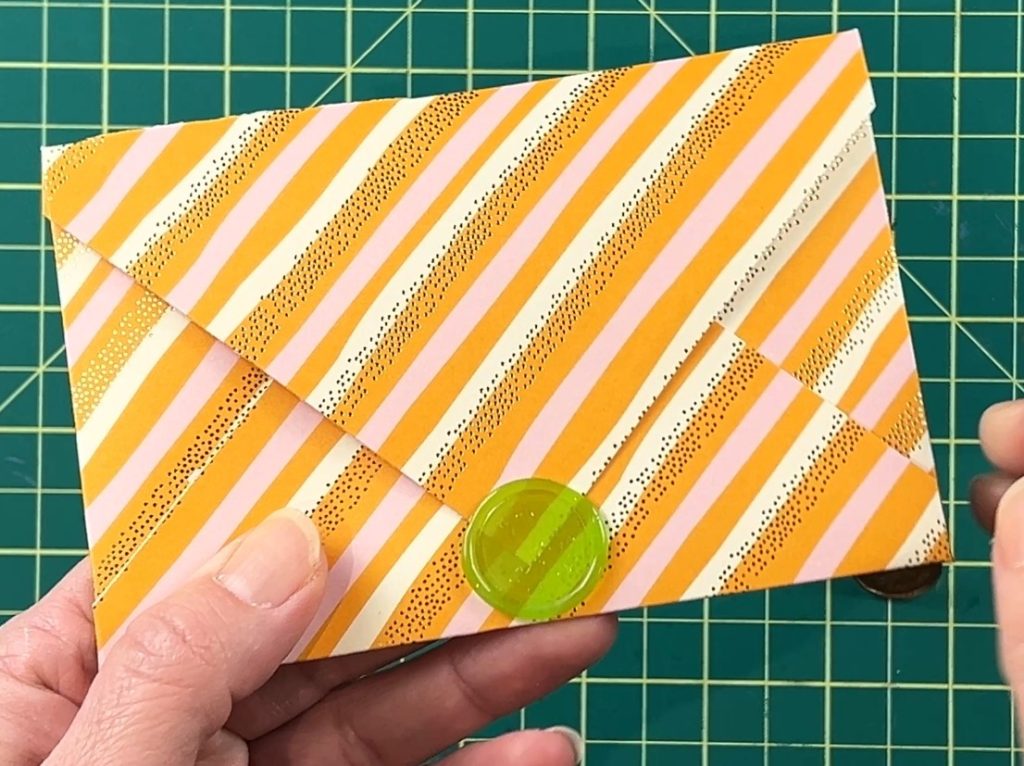
- Add a blob of hot glue to your envelope flap.
- Press a coin into it.
- Let it cool, then remove the coin.
You’re left with a stamped design that looks like an old-school wax seal.
Final Thoughts: Small Hacks, Big Crafting Wins
The best part about these glue gun hacks? They’re simple.
You don’t need fancy tools or complicated steps, just a few tweaks that make crafting easier and more enjoyable.
If you try any of these, I’d love to know which one becomes your go-to. And if you’ve got your own glue gun trick, don’t keep it a secret, share it!
If you enjoyed these Tips and Tricks check out more here.
Happy crafting 💕