I have been making more and more cards recently. Sadly, they require quite a lot of work and time, glue and paper and maybe some gray hair…. so I am trying to switch things up and make some super simple Christmas cards.
But be warned, in my effort to keep things simple, there may have been some overcomplication, as well! So, let’s make some super simple Christmas cards!
As an Amazon Associate, I earn from qualifying purchases. This post contains affiliate links. I may receive a commission if you purchase an item from one of my links. This will not change the price you pay.
Supplies needed to make Super Simple Christmas Cards
As this is supposed to be a super simple craft, the supplies list will also be super simple. So, here’s what we need to make super simple Christmas cards:
- Cardstock – I used two different types of cardstock for this project.
- Glue – I used my trusted Bearly Art Crafting Glue
- Cutting Machine – I used my Cricut Explore Air 2 but any cutting machine will work, as will scissors.
- Scoring Stylus for your cutting machine
- Optional – SVG design for cards – I have made an SVG file for these exact cards which you can get here, but you can create your own designs based on my notes below.
So, now that we have all our supplies let’s start making super simple Christmas cards!
Super Simple Christmas Cards SVG file Modifications
Ok, so if you are using my file, which you can get here there are just a few minor modifications or adjustments you need to make so the card comes out perfect for you. So, let’s do a quick review:
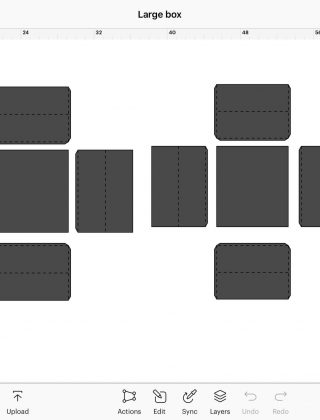
- Import the file into Cricut Design Space:
- Select the Upload icon.
- Select the Upload Image button.
- Select the file from the location where you saved it.
- Select the design so that it has a rectangle around it.
- Verify that the dimensions lock is locked.
- Change the width of the design file to 10″. This will make the card 5″ x 5″. You can change it to a different size if you prefer.
- Select the Ungroup icon to ungroup the design
- Select the line going through each card and change them from a Basic Cut to a Draw-score.
- Select the white card and the score line (not the backing paper that is colored) and Attach them together.
- You can modify the colors of any parts by selecting them and choosing a different color in the color pallet next to the Operation. Read the section below first to get an idea about colors and whatnot.
- Once happy with your size and colors, select Make.
Super Simple Christmas Card Paper Assembly
So, I have tried to keep things simple this year and have somehow made them more complicated. Honestly, I did not want to, so bear with me as we assemble the super simple Christmas Cards. Because they are simple, but I have gone way overboard, or at least that’s how I feel.
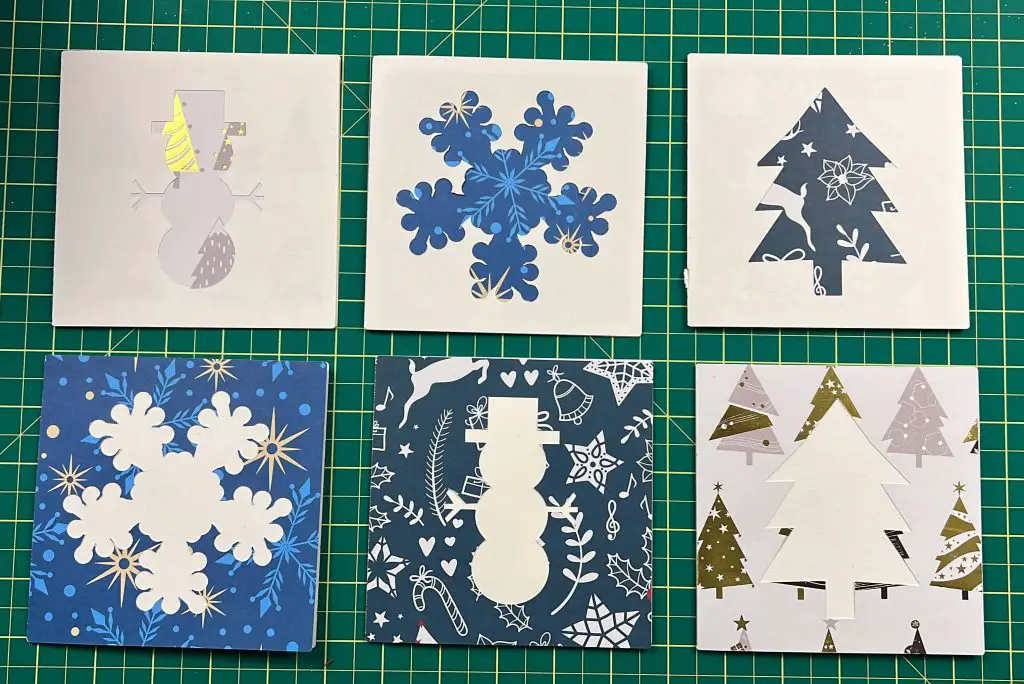
Christmas Card Color Option 1
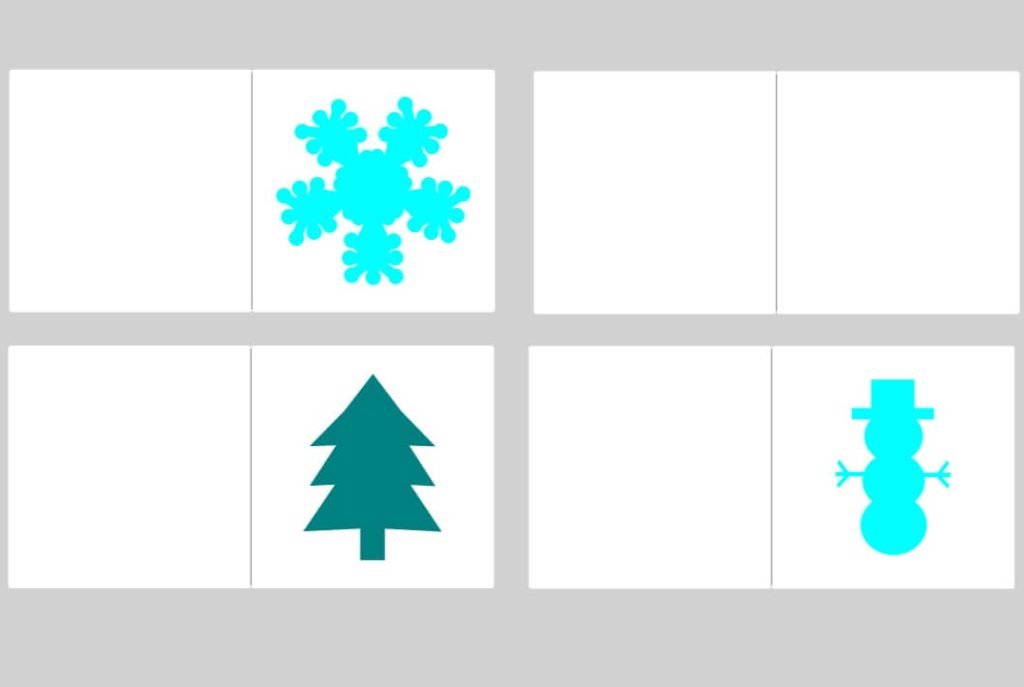
We will start with the base option for the card and use the file as originally intended. That means, we will use a white card and a Christmas theme card insert.
So, we take our card and fold it on the score line.
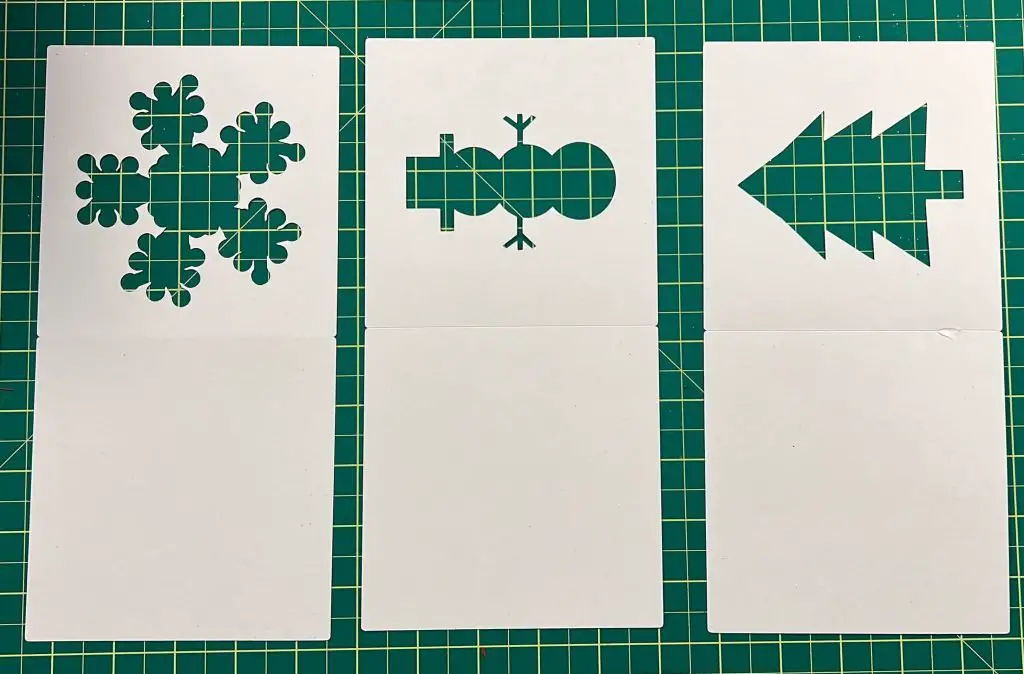
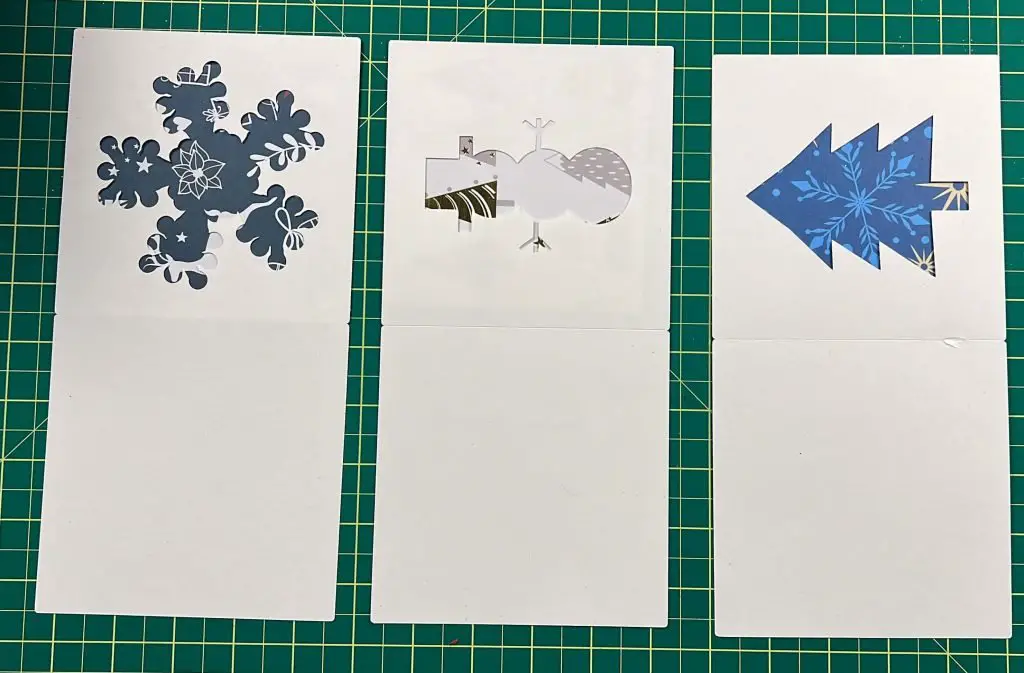
Apply the glue to the inside of the white card and place the card inset into it. The card insert should be facing outward so you can see the Christmas theme on the front of the card when closed.
You can add a sentiment on the front if desired. And add your sentiments and well wishes inside the card.
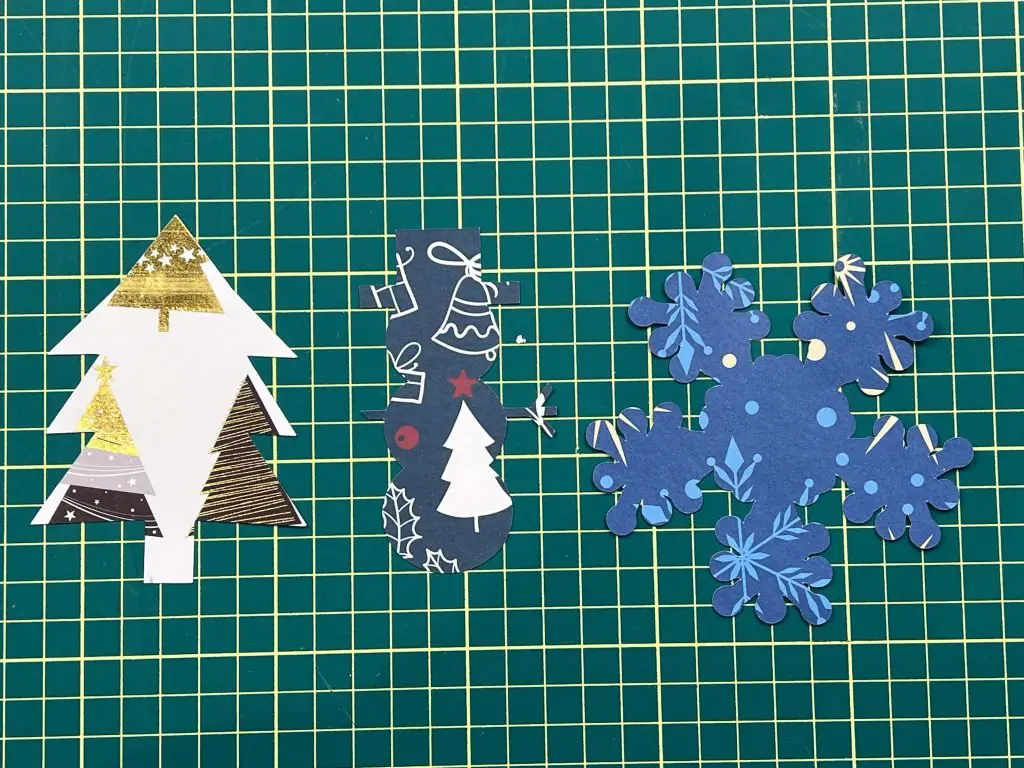
But before you move on, keep the Christmas-themed paper with the cut-outs of your card, so the snowman, snowflake and tree, are for later.
Christmas Card Color Option 2
So now we are going to flip things around. Instead of using white for the card, we will use our Christmas-themed paper and white cardstock for the card insert.
Again, we take our card and fold it on the score line.
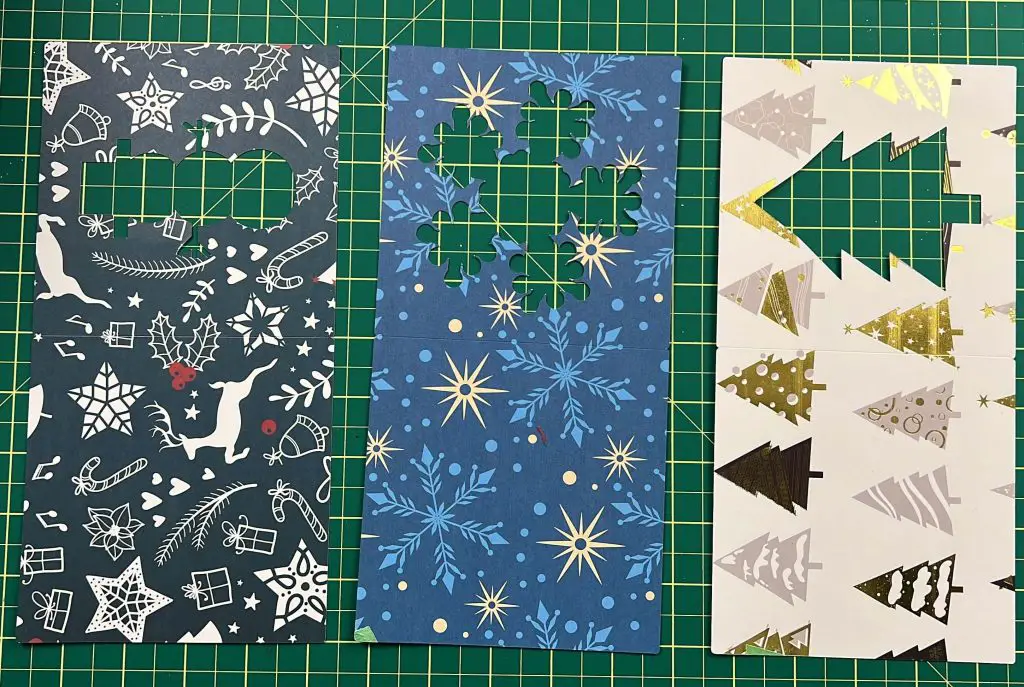
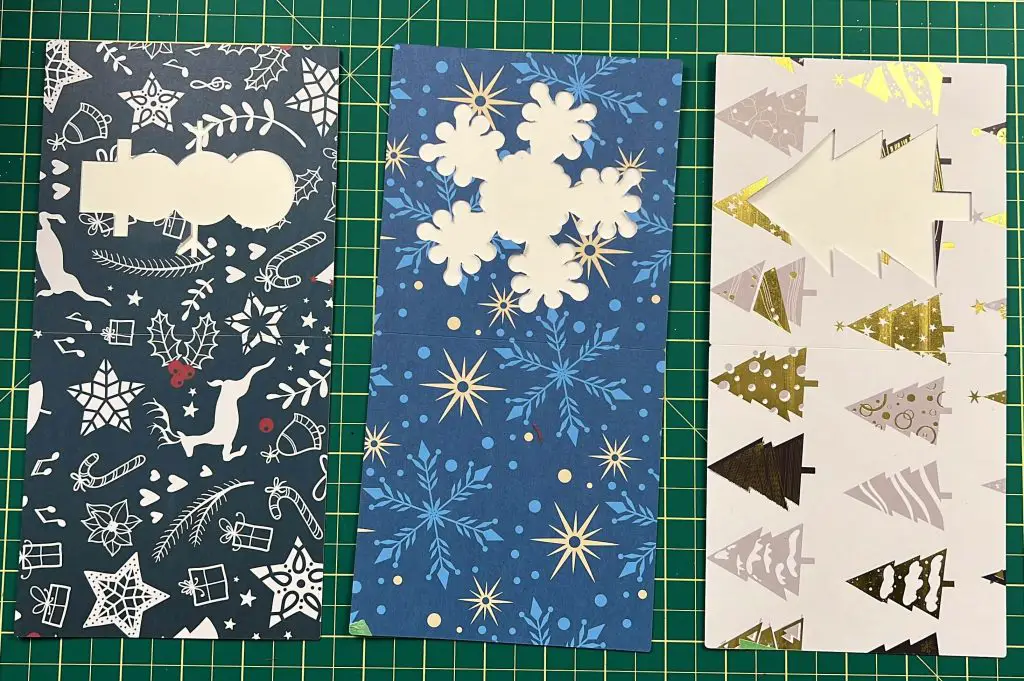
Apply the glue to the inside of the white card and place the card inset into it. The card insert should be facing outward so you can see the Christmas theme on the front of the card when closed.
You can add a sentiment on the front if desired. And add your sentiments and well wishes inside the card.
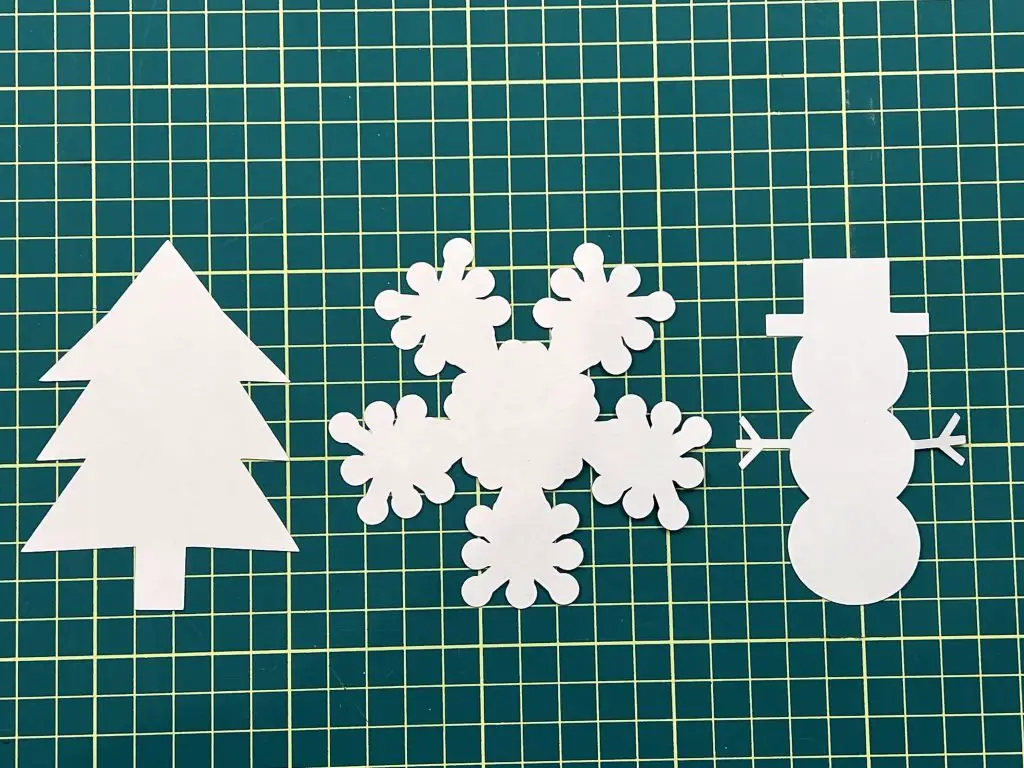
But before you move on, keep the white cut-out bit of your card, so the snowman, snowflake and tree, are for later.
Christmas Card Color Option 3
So, if you recall, the SVG file I made had 4 cards. The fourth card was just plain with nothing. This is the card you need. For the third color option, I recommend cutting out 3 of these in white.
Again, we need to fold the card on our score line to make the card fold.
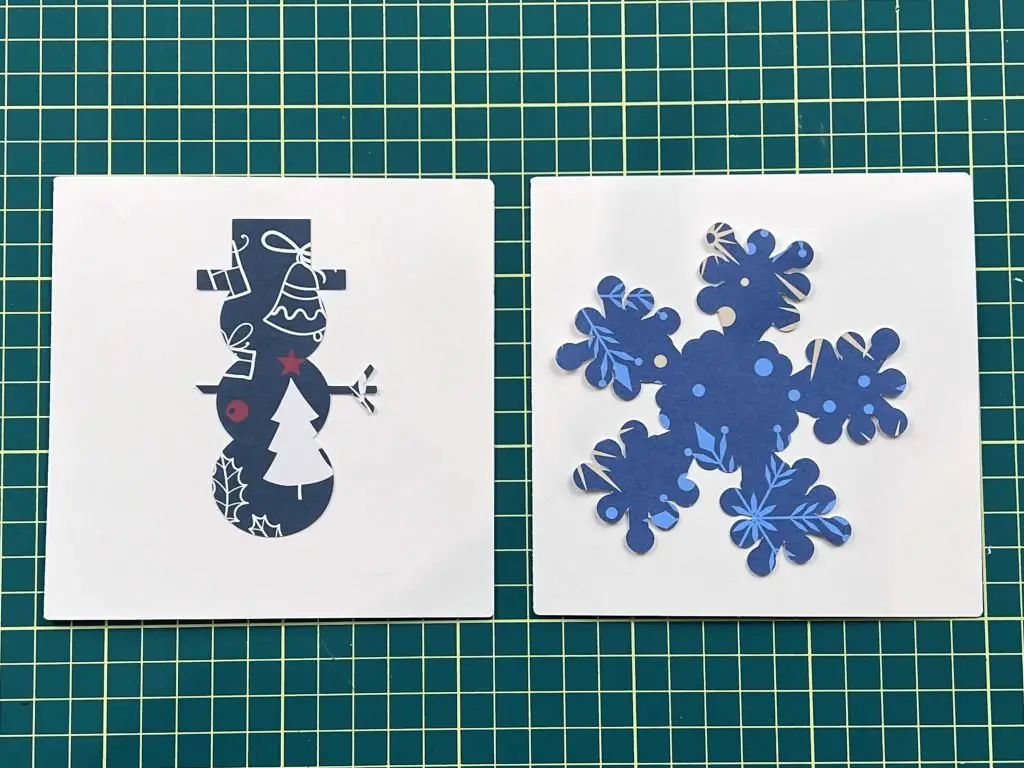
Using the leftover 3 shapes cut out in Christmas-themed paper, from color option 1 above, glue them onto the front of the card. Our Christmas Card Color Option 3 is done!
Christmas Card Color Option 4
Again, we are going back to our SVG file to work with the blank card. This time, cut it out into 3 different Christmas-themed sheets of cardstock.
Fold the card on the score line to have a nice folded card.
This time, using the 3 white shapes from Christmas Card Color Option 2 above, glue them onto the Christmas-themed cardstock cards.
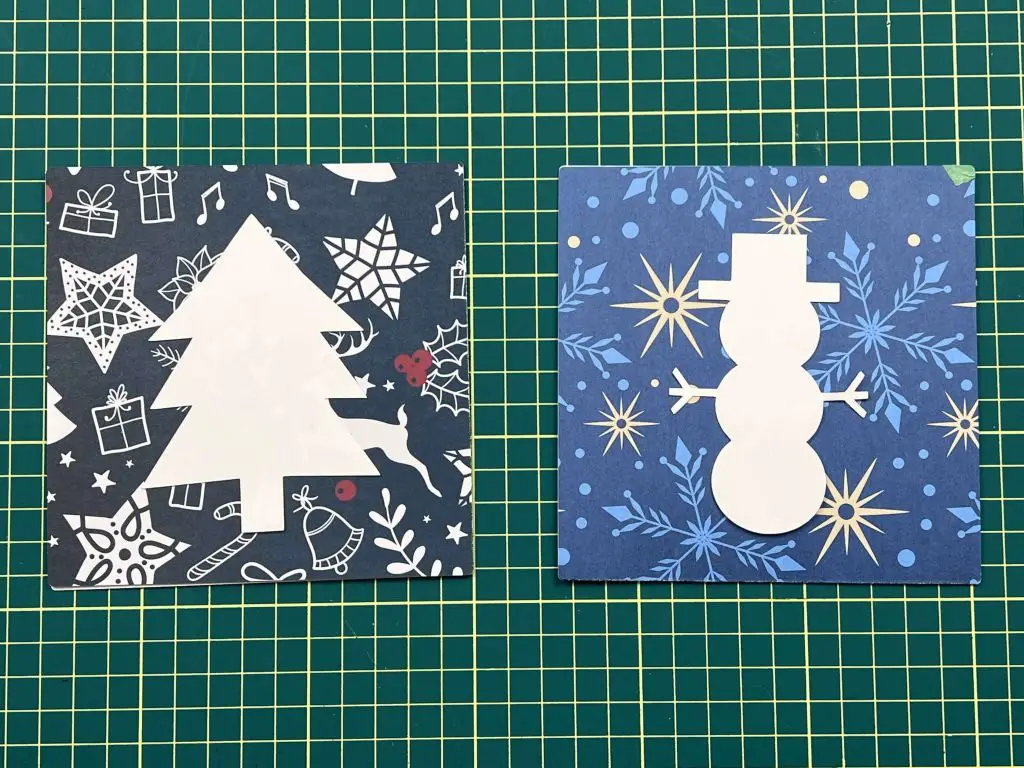
And there you have it! Super Simple Christmas Cards are done!
Things I learned While Trying to make these super simple Christmas Cards
Ok, so if you have been paying attention to my Christmas posts this year, you will notice that even though I have been trying to make things simple, they all somehow get away from me and become less than simple. And that was the case with these cards, and I learned quite a bit here. So, let’s jump in:
- This really was supposed to be a quick and simple set of 3 cards. Cut, fold, glue and done. But when I finished my first set of cards, I realized I should make more, and then more, and then more…. So there are a lot of cards this year…. And although they are simple, the color combinations can get away from you, as you can see they did with me.
- Although I cut out the shape in the card first and then glued cardstock inside the card, it would have been easier to simply cut out a bunch of white cards and shapes to glue on top. And that’s why I went the extra step to glue more cards together.
- I wanted to make smaller cards than normal, as the standard 5″x7″ cards take up a whole sheet of 8.5″ x 11″. But changing the size to 5″ x 5″ didn’t help with that issue for 8.5″ x 11″ cardstock. But it was manageable on a 12″ x 12″ sheet of cardstock.
Did you enjoy this craft?
Did you enjoy making these super simple Christmas cards? Let me know if you made them and share how they turned out!
If you enjoyed this Christmas project, be sure to check out my other Christmas Projects here.
If you like making paper cards, check out some of my other cards:
- How To Make An 80th Birthday Shaker Card
- How To Assemble A Mother’s Day Shaker Card
- Hoppy Easter Shaker Card
- Valentine’s Day Shaker Card
- How To Make A Minecraft Card