Ok, so we have been doing a lot of pretty and pink things in the last while, and now it is time to change gears and do some green. We have more birthdays in our household here, so that means we need to make some more birthday-themed items. And, if you are like me and have little ones, Minecraft seems to be THE thing, so we are doing a DIY Minecraft Birthday Banner.
So, let’s jump in and do a DIY Minecraft Birthday Banner
As an Amazon Associate, I earn from qualifying purchases. This post contains affiliate links. I may receive a commission if you purchase an item from one of my links. This will not change the price you pay.
Supplies needed to make a DIY Minecraft Birthday Banner
For this craft, we are going to switch up our working materials and supplies a bit, so here is what we need:
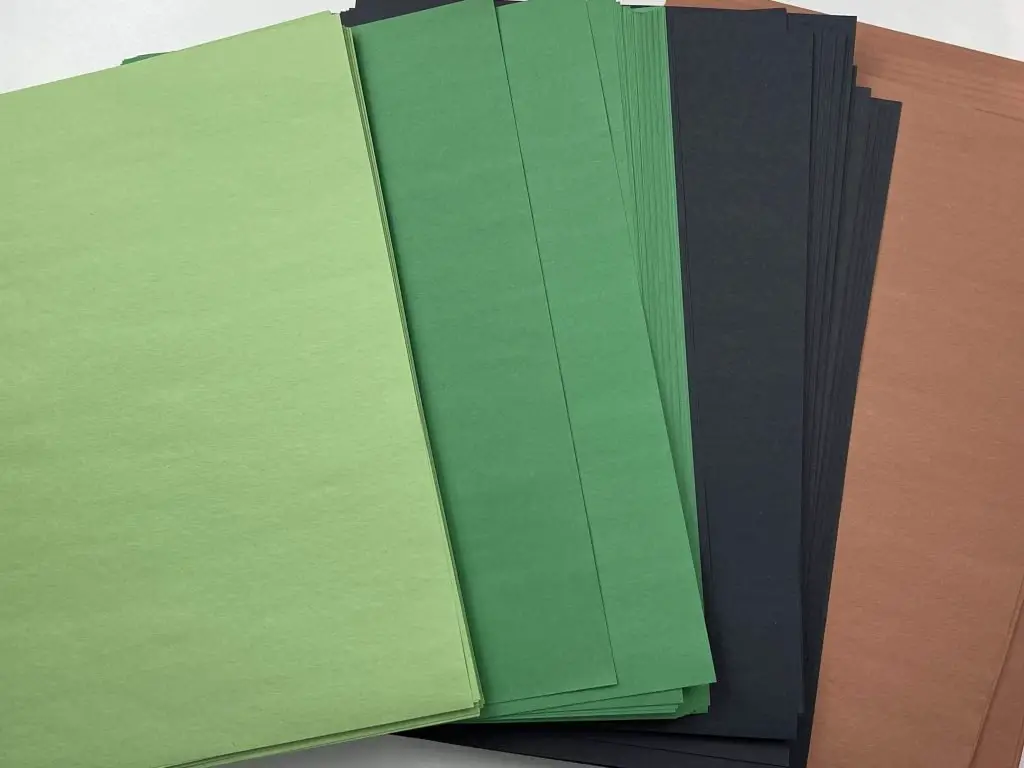
- Construction paper or craft paper – As this is for a kids’ party, I am opting to use craft paper as it costs less, and looks great for kid’s events. However, if you want to use cardstock, you are more than welcome to.
- Glue – any craft glue will work. You do not need to use your expensive quick dry, clear dry stuff, but again, you can. But remember, you get what you pay for, so cheaper glue will result in cheaper final product.
- Scissors or a paper cutter – For this project, I am not using my Cricut as I can cut squares faster with my paper cutter than I can with my Cricut.
- Hole Puncher
- Ribbon/String/Twine – To attach the pins together
- 40 minutes of time, not including drying time.
Prepare your Minecraft banner Pieces
If you know anything about Minecraft, you will know that it is all about squares and pixels, so everything will be a square.
Each letter on the banner will require its own square (which I will refer to as a pin) – so for the phrase Happy Birthday, you will need 13 squares. If you want to add a name as well, you will need additional squares for each letter of the name.
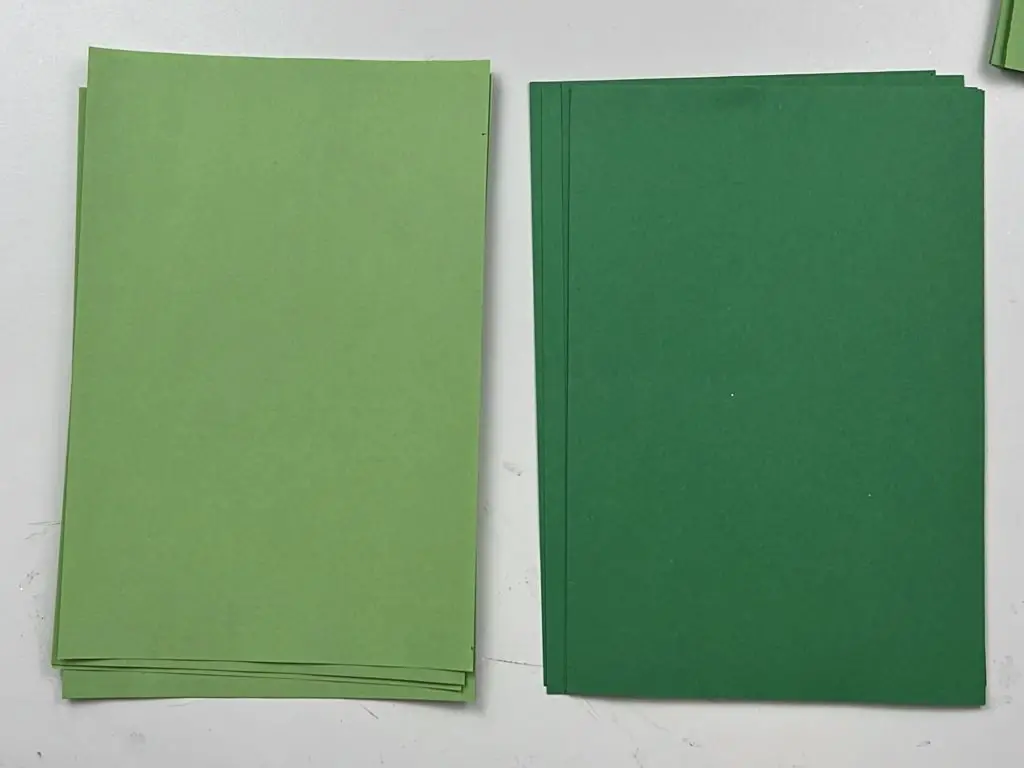
Using the craft paper from above which is 9″x12″, cut it in half, into rectangles that are 9″ x 6″. I use my paper cutter for this as it is quick to cut straight lines. You can choose to make a background color the same for each square or you can alternate between 2, 3 or more colors. In my case, I’m using 2 colors, dark green and light green.
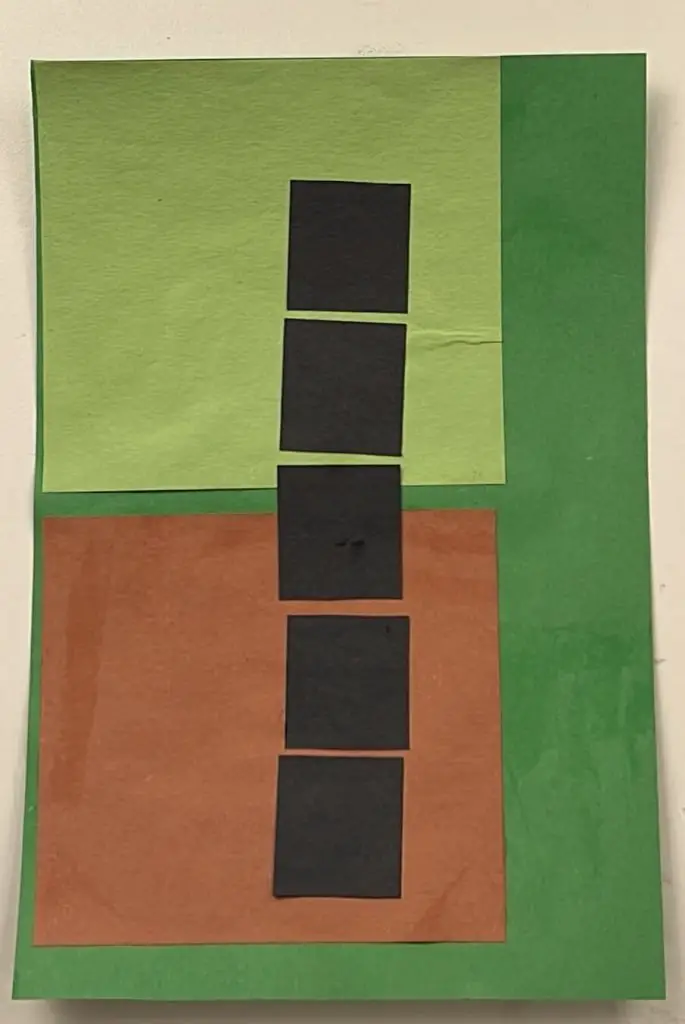
Next, we need to cut out a bunch of medium squares. These are going to be the pixels on our background piece. Using the same 9″x12″ craft paper, I tried to maximize the quantity and cut them into 4″x4.5″ rectangles. That way, I wasn’t wasting any paper. But you could go for 4″x4″ to make it square. These should be in 2-3 different colors, different shades of greens or grays, or browns. I’m using 3 colors, dark green, light green and brown.
Finally, you will need black squares for the letters. Each square will be 1.25″x1.25″. You can go as big as 1.5″x1.5″, but this will leave a smaller border around the letters, or as small as 1″x1″ which gives a very large border around the letters. Each letter from Happy Birthday will be made out of a bunch of squares. So, you will need the following H= 11, A =10, = P= 8, P= 8, Y=7 , B= 10, I=5 , R=10 , T= 7, H= 11, D= 10, A= 10 , Y = 7, for a total of 114 squares.
All of these squares are cut with my paper cutter. The smaller ones are done in multiple strips making cutting faster.
Assemble Each pin for the Minecraft banner
Now for the fun and messy part of the DIY Minecraft Birthday banner. Glue all the squares together, to make them look Minecraft-y.
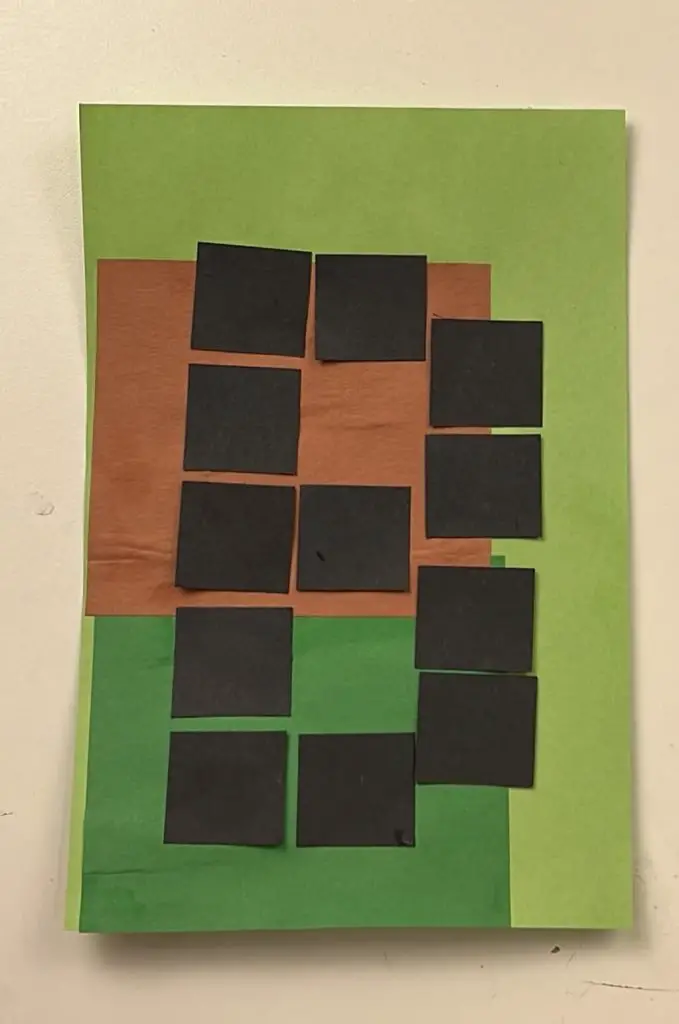
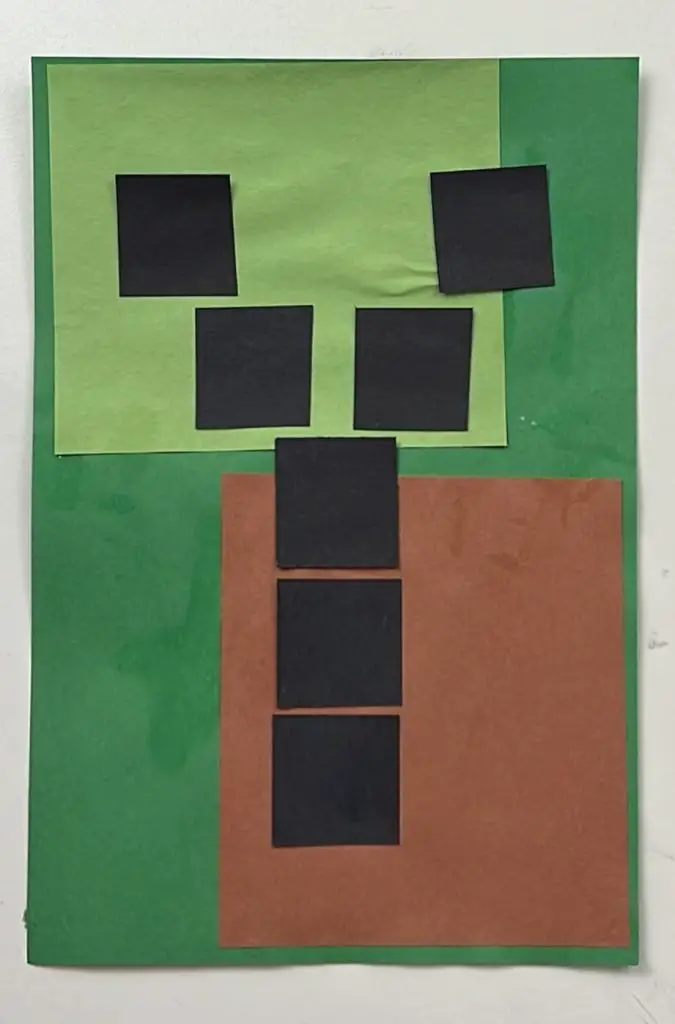
Pick out one large square that we cut first and glue 1-3 of the medium square onto these. If you use liquid craft glue, like Elmer’s glue, I find that pouring a bunch into an egg tray and using a paintbrush to spread it out makes the process easy. A glue stick works well also. Regardless of glue type, make sure you get the edges so they do not curl up.
Now, repeat this process for all of the large squares.
Once you are done gluing all the pixels on the pins, I like to lay them flat under a heavy object to help them dry straight.
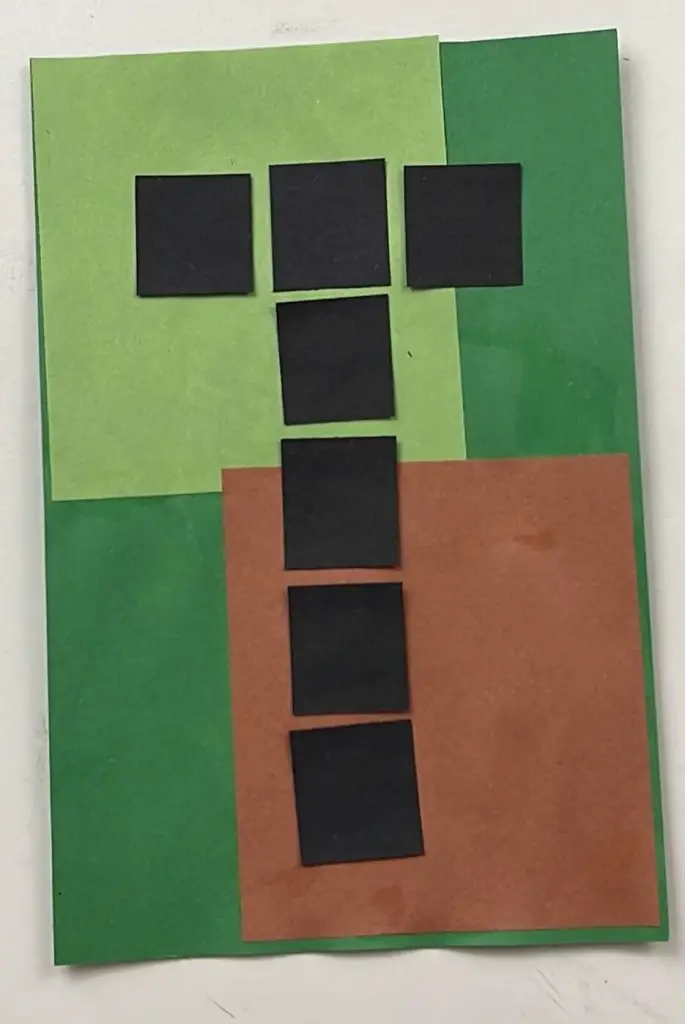
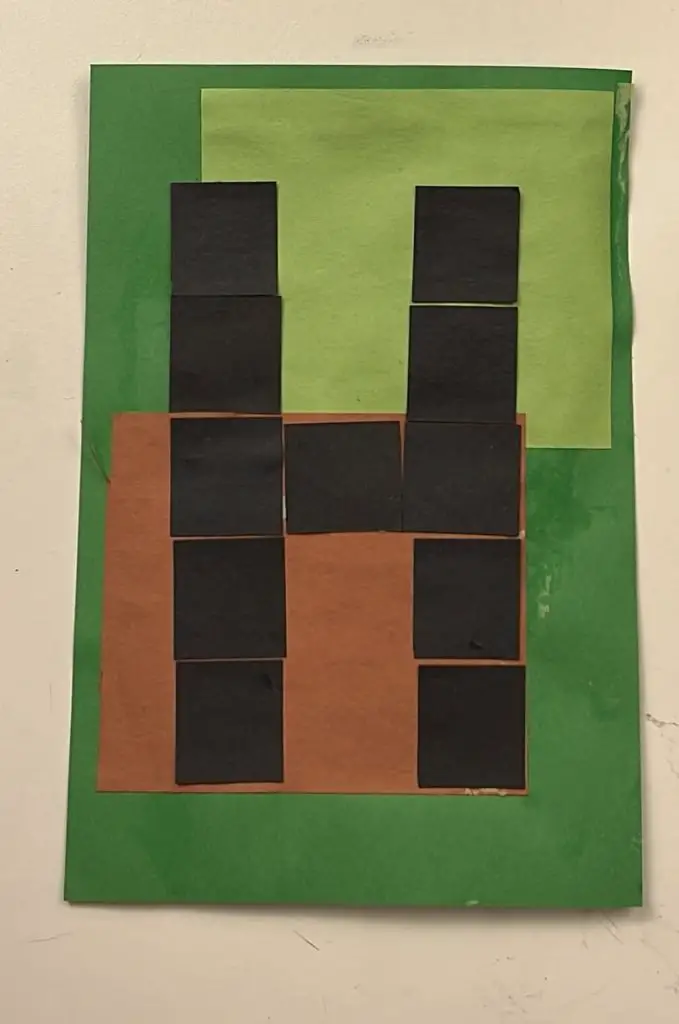
Once all the pixels are on the pins, it is time to work on the letters.
Gluing on the letters can be time-consuming and works best after the initial glue has dried from the medium squares.
Before you start with the glue, make sure you have your pins in order and arranged the way you want. If you have 2-3 alternating colors, line up the pins in that order so you do not mistakenly put the wrong letter on the wrong color.
Once you are ready, start gluing on the squares to make all the letters for HAPPY BIRTHDAY. Since these pixels are small, I used a medium tip on my glue and just poured a small bead of glue around the edges of each pixel.
Again, when you are done gluing, I find it best to place the pins under books or heavy objects to let them dry flat.
Assemble the Minecraft Banner
Now that our pins are all done, we need to attach the pins together to hang the Minecraft banner.
Using a hole punch, make a hole at each of the top corners for each letter – for a total of 2 holes on each pin.
Using string, twine, or ribbon, attach the letters together.
Depending on how you want to display the phrase, you can have it at one line of text, 2 lines of text, or 3 lines of text if you have the name included.
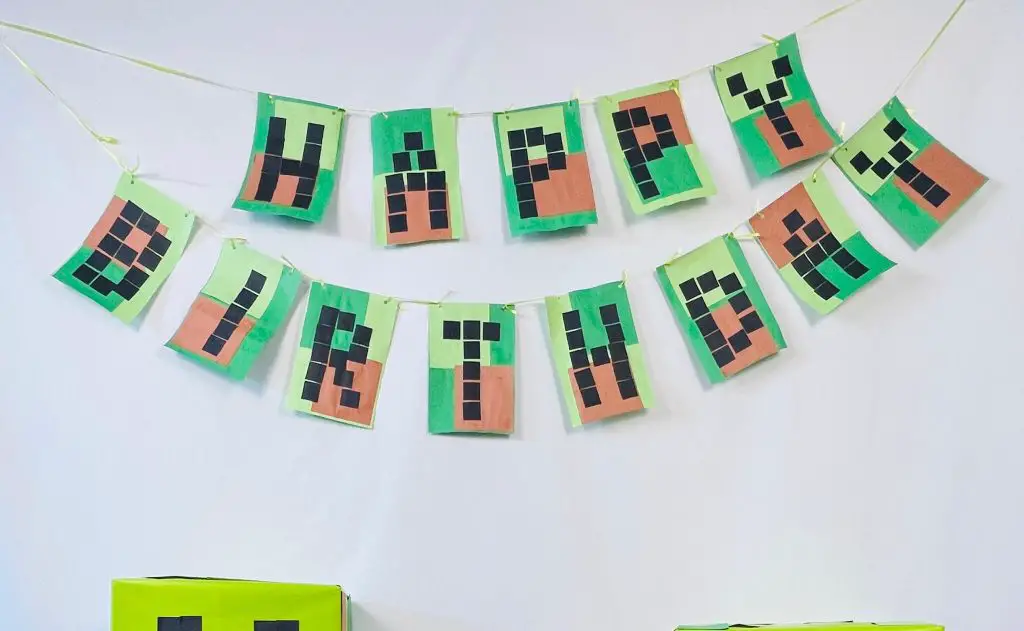
Once you are done tying the letters together, you are done!
And that’s it! Your DIY Minecraft Birthday Banner is done!
Frequently asked questions about DIY Minecraft Birthday Banner
Do I need a printer to make a dIY Minecraft birthday banner?
No, you don’t! For this DIY Minecraft Birthday Banner, you do not need a printer. You can cut out all the pieces you need on colored paper to save on ink.
What Do I do with the left over squares? What do I do with the left over pixels?
If you are making this DIY Minecraft Birthday Banner, then you are probably having a Minecraft-themed birthday party. If you have extra cut-out squares, you can put them on loot bags, or you can use them on other decorations such as for making a Minecraft creeper. I have a tutorial on how to do that here.
How long does it take to make a DIY Minecraft birthday banner?
Making this banner didn’t take very long.
Cutting out all the squares took about 5 minutes. Gluing the medium squares took about 10 minutes. Drying time after the first glue was about an hour. Then it took about 20 minutes to put all the letters onto the pins. Again, drying took a long time, about an hour. And finally, putting the string on to attach all the letters only took about 5 minutes.
This project can be done in one night, but you would have to skip one drying cycle and just put the letters on right after the medium squares.
What is the best glue to use for a DIY Minecraft Birthday Banner?
You can use any glue for this craft, but keep in mind, the cheap the glue, the cheaper the final result. I started off using regular kids’ craft glue, but I found it didn’t dry nicely and left a mess on a bunch of the pins, so I had to redo it. I didn’t have much of my Bearly Art Craft Glue left, so I didn’t use that, but hindsight being 20:20, next time I would use that for better results.
Did you enjoy this tutorial on how to make a DIY Minecraft Birthday Banner?
Did you enjoy this tutorial on how to make a DIY Minecraft Birthday Banner? Let me know in the comments below. If you tried it out, let me know how it turned out!
If you like this birthday party post, be sure to check out some of my other birthday party posts below:
And if you like Minecraft, you can check out my other DIY Minecraft decorations below: