A while back, my hubby asked me to make a travel dice tray. And I added it to my list, and it just sat there. Then, a few weeks after that, I drew up a sketch, and then it sat there again… well, vacation season is coming up soon, so it was time to FINALLY get this project started, and that is how the DIY Travel Dice Tray came to be.
As an Amazon Associate, I earn from qualifying purchases. This post contains affiliate links. I may receive a commission if you purchase an item from one of my links. This will not change the price you pay.
Supplies needed for a DIY Dice Tray
I wanted this travel tray to be quick and easy to make, and quick and easy to use, so I pulled out some of my less-used supplies and got it made. And here is what I used:
- Faux Leather – I wanted this dice tray to have a nice shape and color and thought that faux leather was the way to go. I used an 8” x 10” sheet. But any size sheet will work. And I’ll explain how later.
- Piece of thin-ish cardboard – I used my faithful old cereal box.
- HTV Vinyl – You will need a piece the same size as the faux leather. So, in my case, I cut out a piece that is 8” x 10”. You can choose a color that matches the faux leather, or if you want it to look like an old gaming table, you can go with green. But really, the choice is yours. I used white because I have a lot of white I can use.
- Snaps – I have a package of snaps that I use for everything, and they come in handy for simple projects like this. These ones are great and come in any color you want.
- Heat press or iron – I used my heat press because it is faster than an Iron, but an iron will work just as well.
- Teflon paper – this is to protect your heat press or iron from melted HTV Vinyl.
- Paper cutter and Scissors – I’m a fan of using a paper cutter for larger cuts, but there are a few precision cuts that we will need to perform, so you will need scissors as well.
- Ruler/straight edge – for measuring and marking straight lines.
- Pencil – for drawing fold lines.
- About 15 minutes to complete this craft
Ok, now that we have all our supplies, it is time to start making this project!
Let’s make this DIY Travel Dice Tray
Prepare your Faux Leather
So, the first thing we need to do is pick out our piece of faux leather. Depending on where you buy your faux leather, the size might be a bit different. And that doesn’t matter. You want to use a whole sheet. Be it an 8” x 10”, an A2, or whatever size you have. You can cut it to make it smaller, but I found that most faux leather sheets work. I used several different brands and all were a slightly different size. You just want it to be big enough to catch dice when rolled.
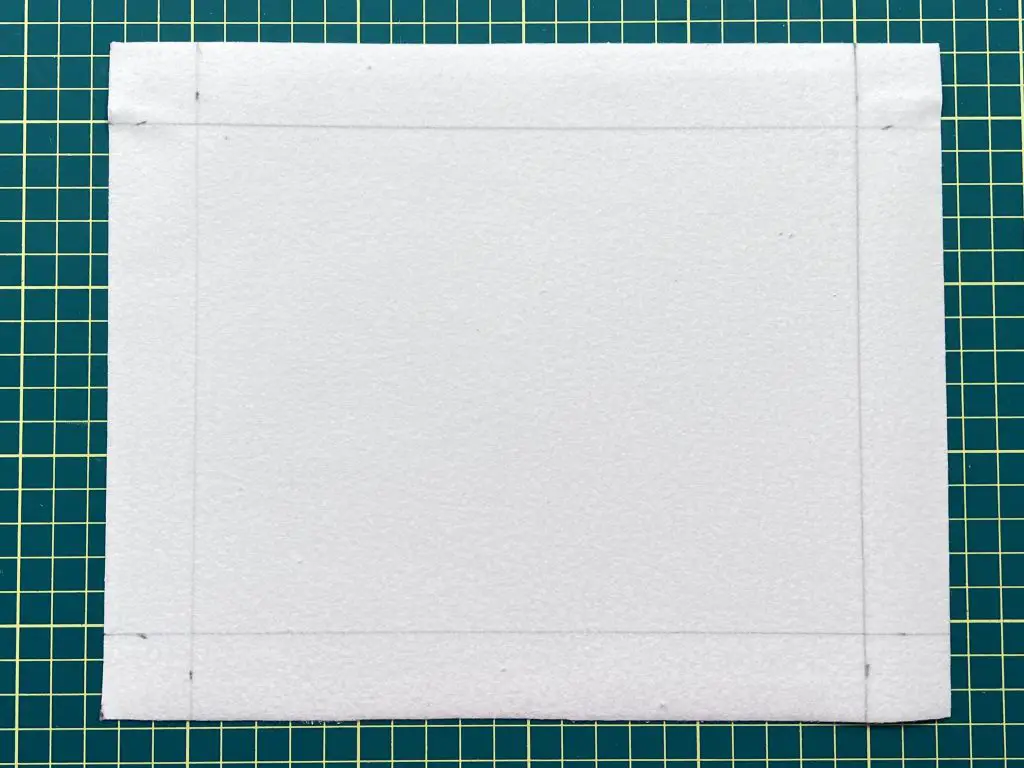
Using your pencil and ruler, measure 1 inch from the edge and draw a line on both lengths and widths.
I found that a 1″ line worked well for the walls on this tray. You can make the walls higher or lower.
This method will allow you to use any size of faux leather as you measure from the outside edges.
Prepare the Base of the Tray
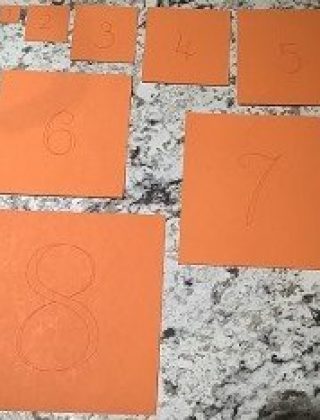
There are several options for the base of the tray. So you will need to pick one and work with that. You can have:
- a solid base
- a solid base that folds
- a base of only faux leather
Each of these bases has slightly different functionality. They will all lay flat in between papers, binders or bags. Which is the ultimate goal of the tray.
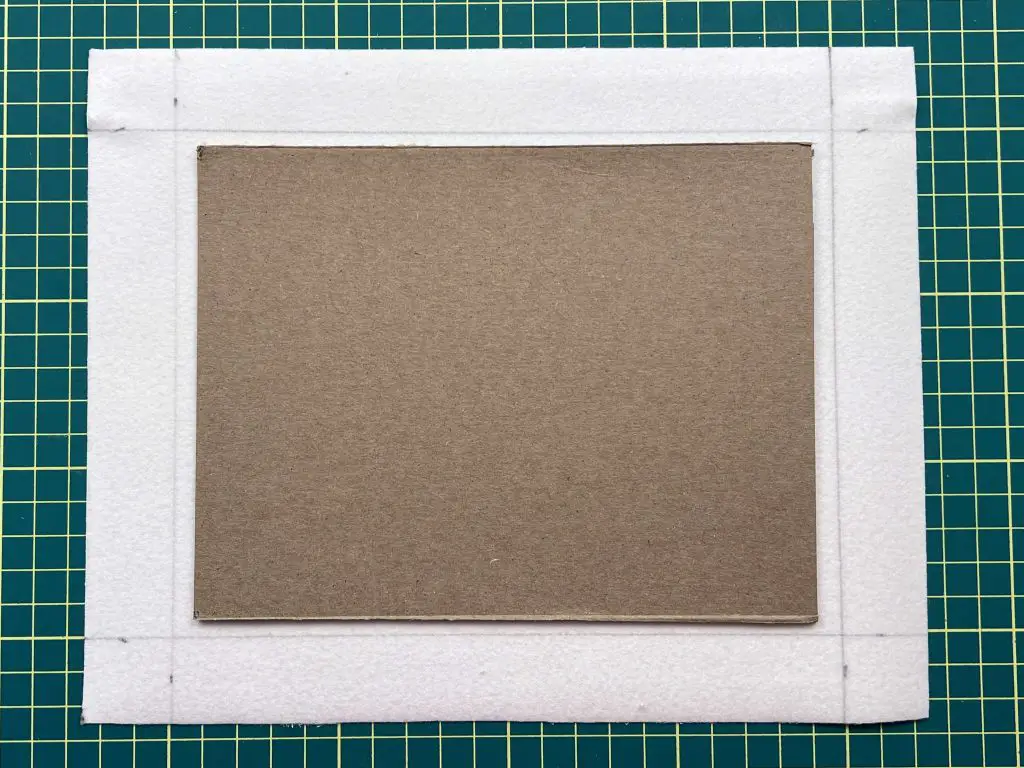
Solid Base on The Dice Tray
A solid tray will allow your dice to roll nicely. You will not have to worry about your dice hitting an edge or rolling up a curve. But this means you will have to keep it flat at the 8″x10″ size (or whatever size you picked). This is my favorite layout since it gives a solid base for the dice to land on.
Measure the rectangle that was drawn on the faux leather. You will want to cut out your cardboard box to be slightly smaller than this, about 1/8″ an inch on each side. This will allow your walls to stay 1″ in height and still have a full solid base.
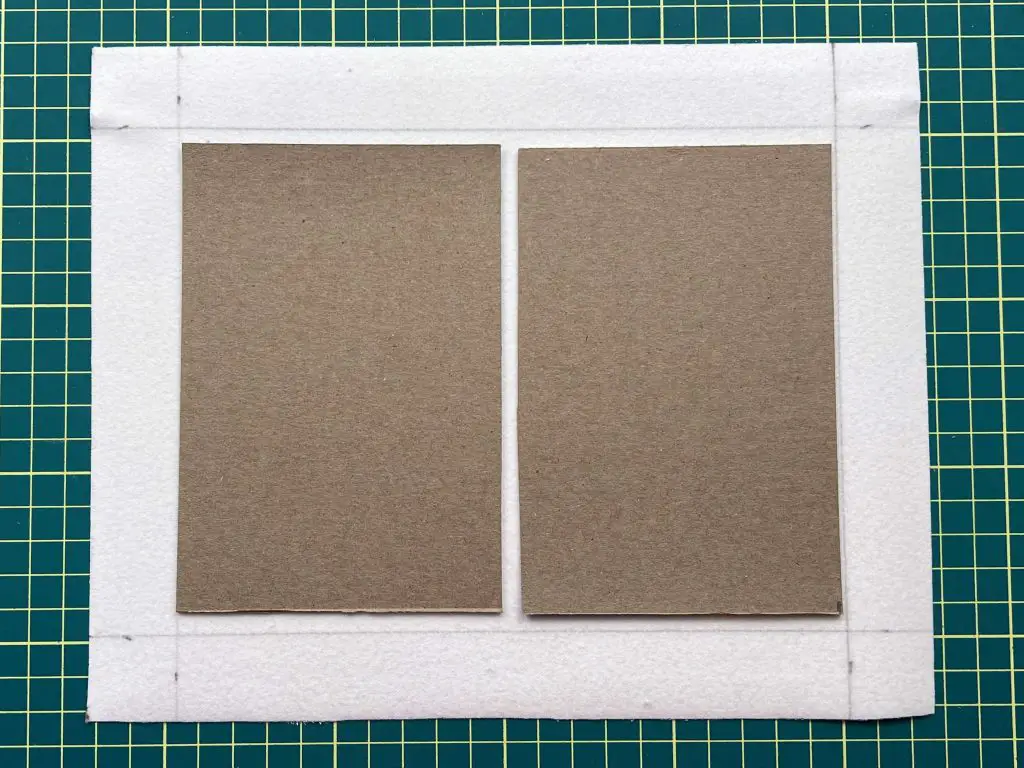
A Solid Base that Fold on The Dice Tray
If you are tight on space, and can’t afford to have a flat-packed tray that is an 8″x10″ size, this may be the option for you. This design will fold in half.
For this to work, we need to measure the inside box drawn in the faux leather. Cut the box to be about 1/8″ smaller around the edges, like above. Now, cut this piece of cardboard in half. From the inner edge on both sides of the cardboard, again, cut about 1/8″ off. This will allow the faux leather to bend without bending the cardboard.
A Faux Leather Base on the Dice Tray
If you do not want to have a hard base, if you need to roll up your dice tray or if you simply don’t like the look of having a solid base in your DIY Travel Dice Tray, this is the solution for you.
Above, we drew lines on our faux leather. For this option, you do not need to draw the lines, but they are helpful for the final steps later. So, you can draw them on if you would like.
Measure your HTV Vinyl
I initially wanted to use permanent vinyl for this craft, but it doesn’t stick well to the back of faux leather, so I went and used HTV Vinyl instead. It worked like a dream.
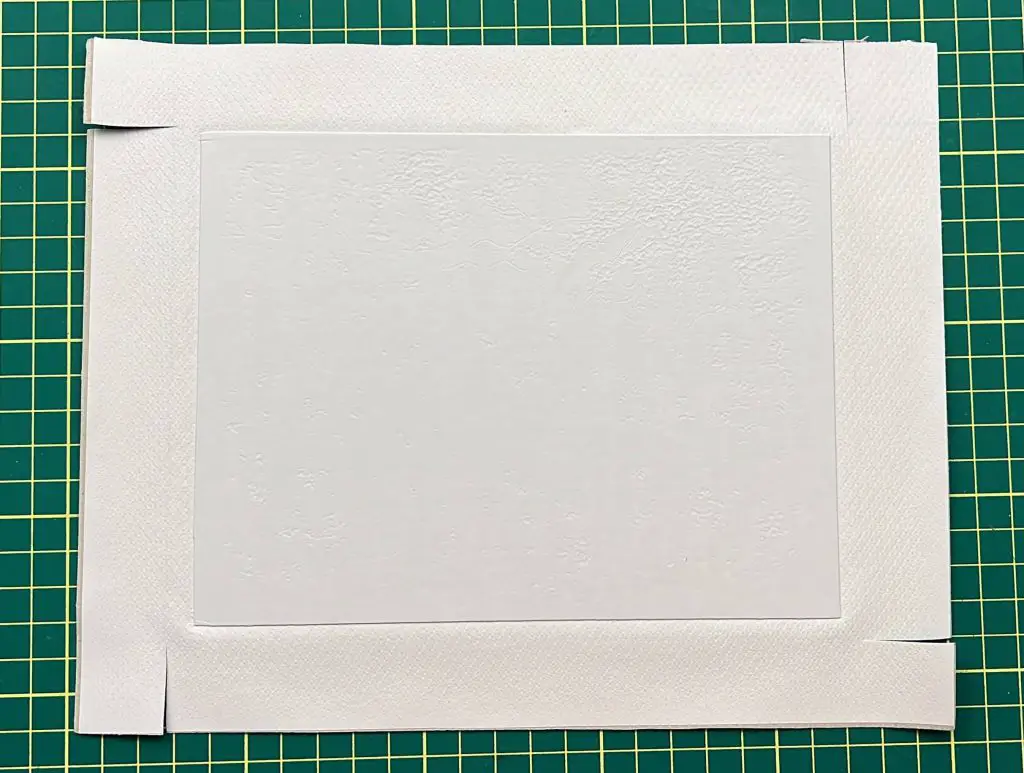
All you need to do is measure your faux leather and then cut out a square or rectangle the same size.
Press your DIY Travel Dice Tray – Heat Press setting for HTV
I used my heat press to apply the HTV to the faux leather, but an iron will work as well.
If using an iron, you need to press and hold over the whole faux leather systematically so the whole thing is heated.
I set my heat press to 305F and pressed for 30 seconds.
I recommend that you lay each piece of your project down onto the base of the heat press individually and not move it over from your workstation as one piece. You do not want the inner pieces moving around and being in the wrong spot after having pressed it.
So, you will want to place down:
- Faux Leather with pencil marking facing up
- Cardboard base (one or two pieces, or none if you are going for a no-base version)
- HTV layer
I also recommend using some Teflon paper on top of the HTV to protect your heat press.
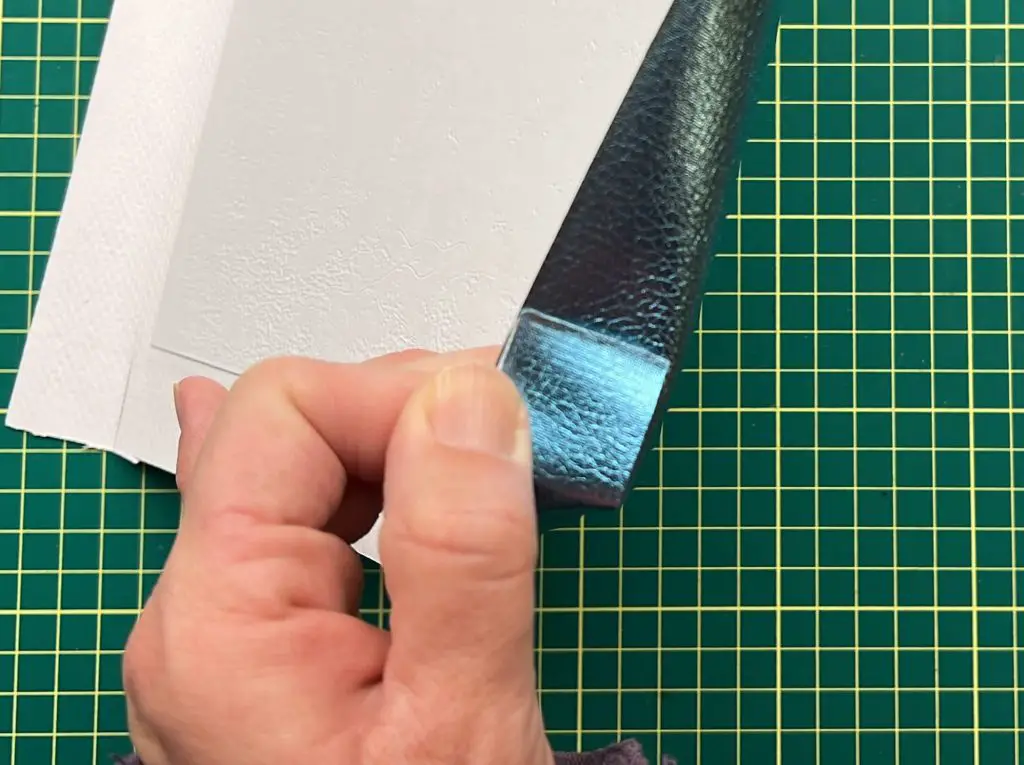
Once you have pressed the HTV onto the faux leather remove the carrier sheet.
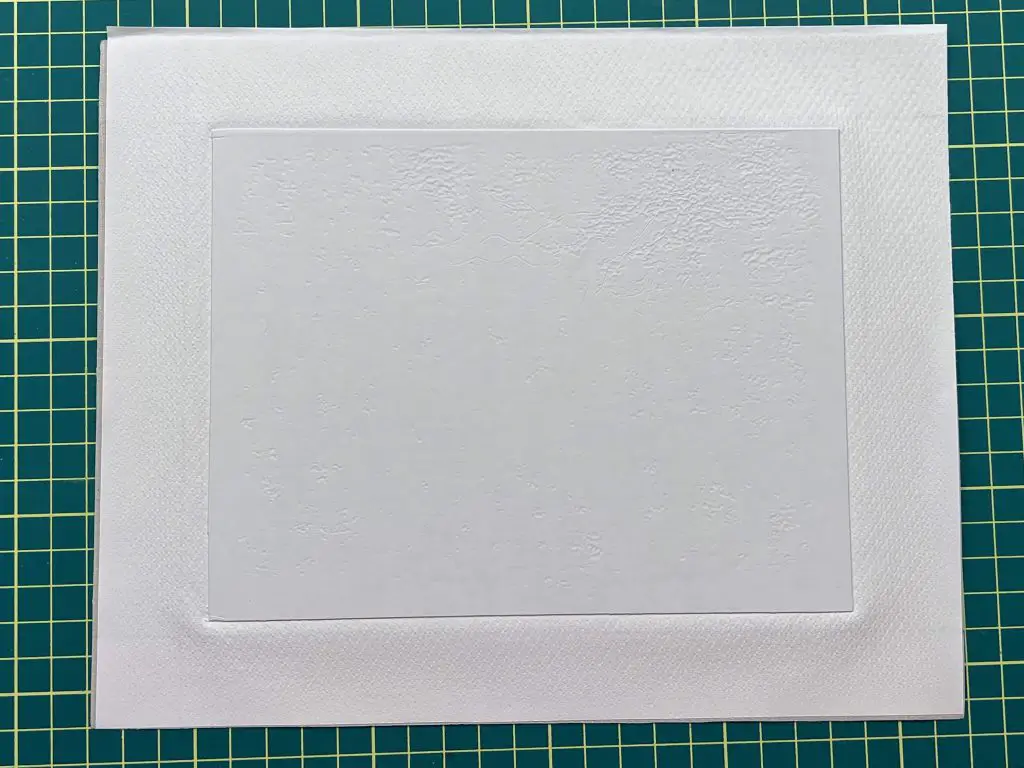
Solid Base
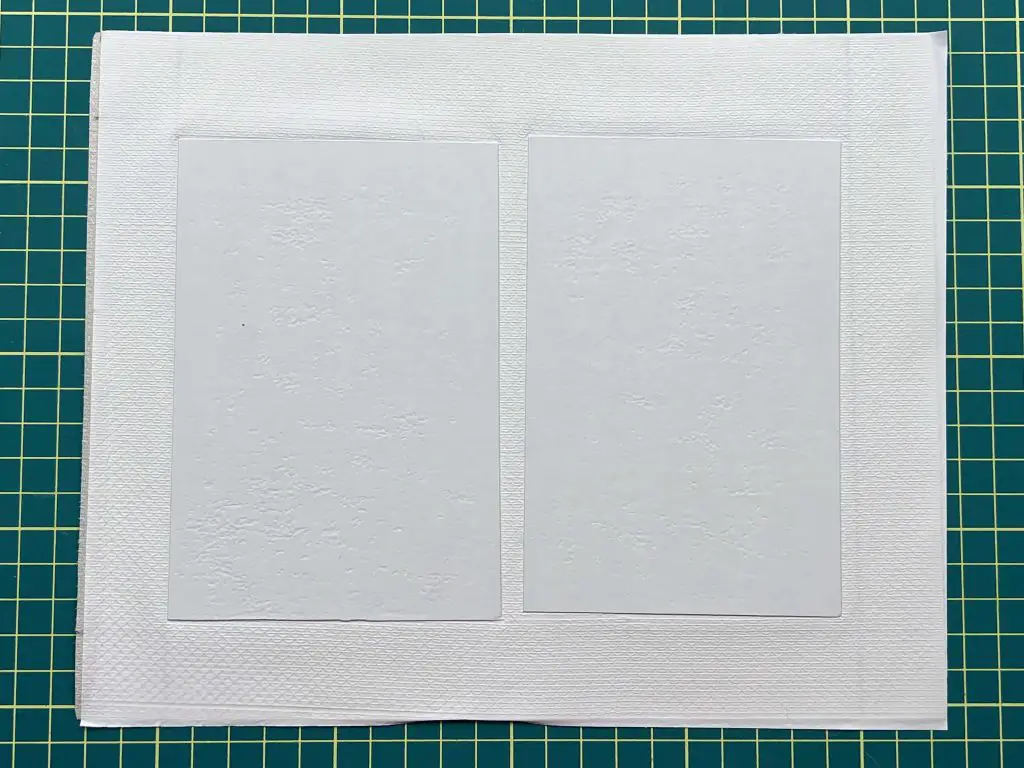
Folding Base
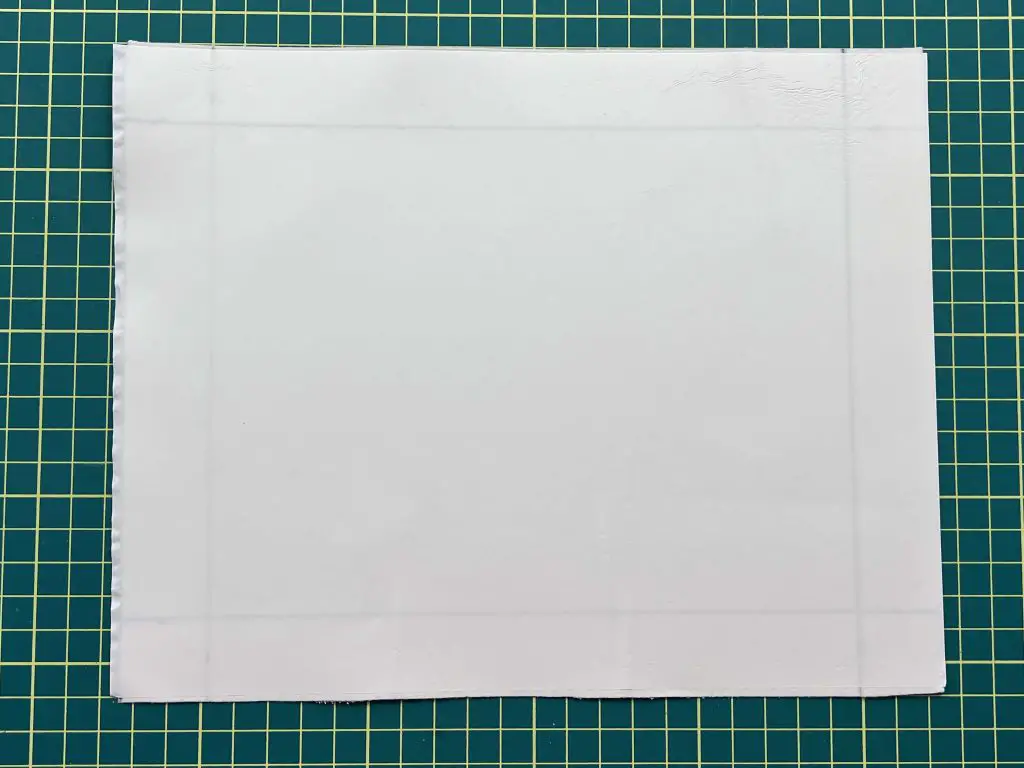
No Base
Cut the edges of your DIY Travel Dice Tray
Ok, so way up at the top of this post, we measure out a 1″ line. If you used white HTV, you should be able to see that line. If you did not use white HTV, or can’t see your line, you need to mark a 1″ line on one side of all 4 corners.
Next, cut a 1″ slit, 1″ down from the edge on 4 sides. You can cut this a few ways. You can:
- cut on both sides of both lengths
- cut on both sides of both widths,
- cut on 2 widths and 2 lengths, alternating between length and width – this is my preferred method.
Now, you should have 4 locations that can fold over onto the other side of the tray.
Add Snaps to the walls of the tray
Now is the final major step of our assembly, adding snap. If you have not worked with snaps before, here is a quick rundown.
Each connection point needs:
- 1 male end
- 1 female end
- 2 backings that go through each of the male and female ends.
So, for this assembly, you will need 4 male, 4 female and 8 backing pieces.
Start at one corner of the dice tray. Fold the cut end over the top of the wall adjacent to it. Pull it close. Once you have a nice corner, grab a backing piece and mark the location with the pin. You do not want to be too close to the edge. Release the corner and poke the backing piece through. You should be able to do this with your hands. But if not, you can use the poking tool that comes with the snap kit. Pick up the female end and place it over the pin of the backing piece. Make sure the faux leather is between the 2 pieces. Then, use the rivet tool and squeeze the 2 pieces together.
Now, still working on the same corner, pull the other piece back up to the one with the snap installed. Measure where the connecting snap will join. Using the backing piece, try to align it with the inner part of the female snap to get the most accurate location. Then, push the backing through the faux leather. Now, grab the male end, place it over the backing and squeeze it together using the riveting tool.
Repeat this for the remaining 3 sides. Make sure you are using 1 male and 1 female on each corner.
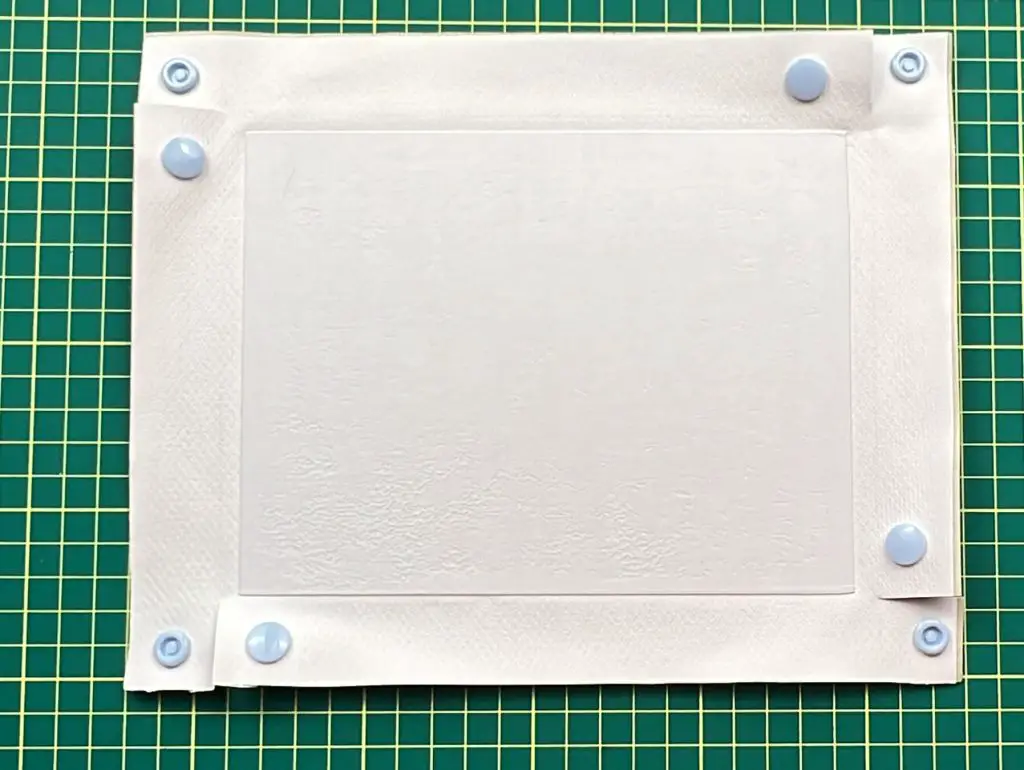
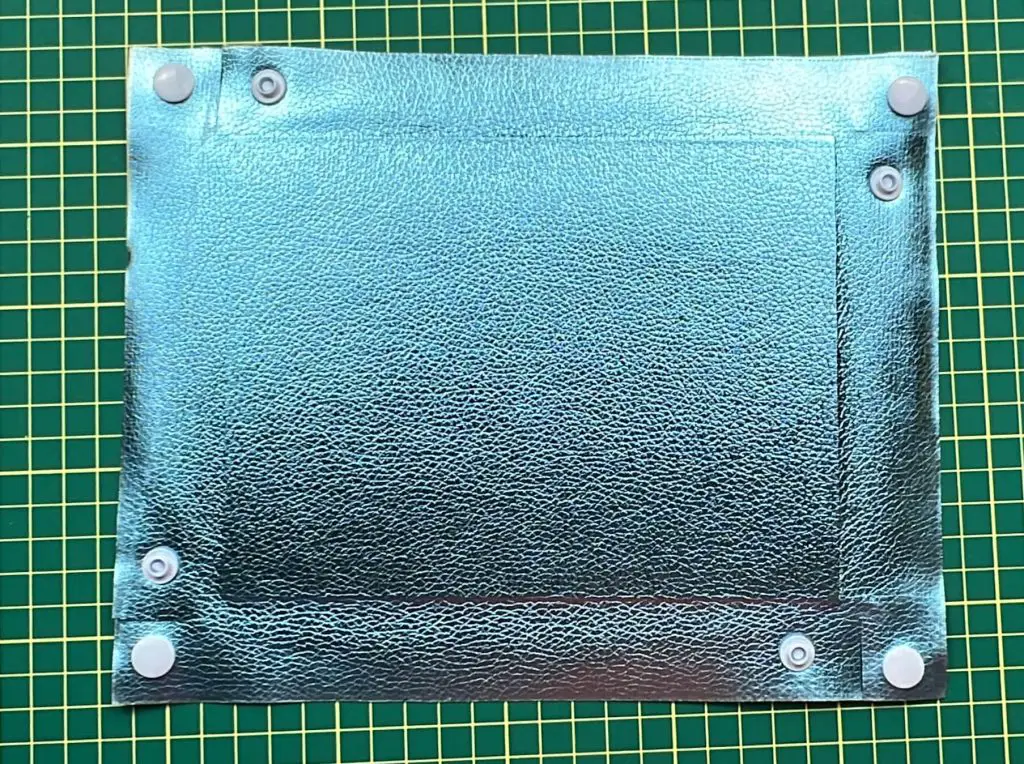
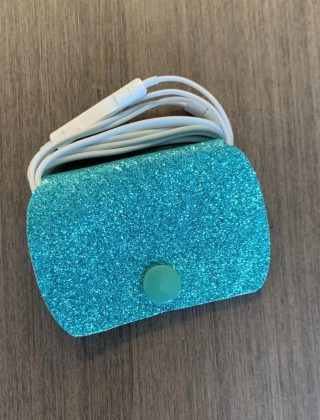
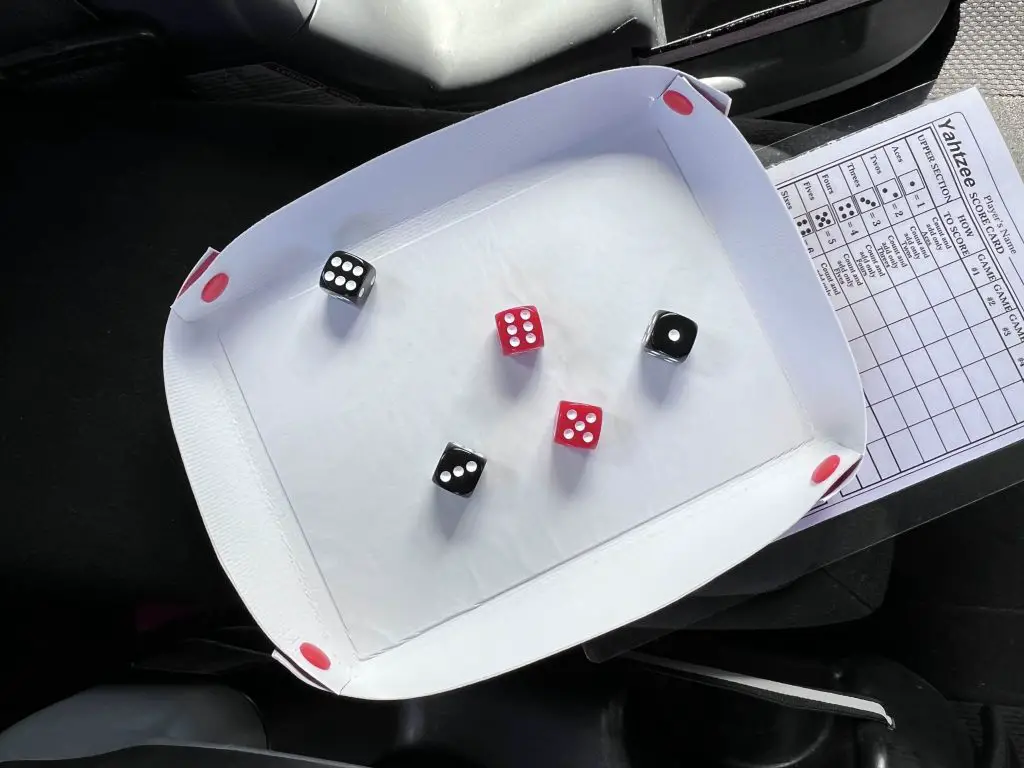
Once you have all of the snaps installed, you can snap them shut and give your DIY Travel Dice Tray a try!
And that’s it! Your DIY Travel Dice Tray is Complete!
Things I learned along the way
- I used white HTV vinyl on the back of the faux leather. And I gently marked the lines with a pencil. Even still, the lines were visible through the white HTV. So, if you are using white HTV do not use a dark pen or maker to draw your lines.
- When the snaps are new and fresh, they are tight. And they can be hard to pull apart. And if you pull on them too hard, when they release, the faux leather can rip. To avoid this, you can do a quick file on the male end of the snaps to loosen the connection for release. But do not file them so much that they do not hold.
- The HTV may move or shift when you are doing your pressing. All you need to do afterward is trim off any surplus HTV. You can cut off any areas of faux leather that did not get HTV on them, but that is unnecessary.
- When removing the carrier sheet from the HTV, if the HTV pulls or comes up a bit, you can simply repress it onto the faux leather.
- When I first removed the dice tray from my heat press, the HTV looked all warped, wrinkled and just not right. Once it cooled down (and before I removed the carrier sheet), the weirdness disappeared and the HTV looked nice and smooth.
- I really like the look of the fully solid base tray. However, my hubby likes the folding one because it is smaller and fits into smaller carrying cases better. And neither of us likes the no-base tray.
Did you enjoy this project?
Did you enjoy this project? Let me know in the comments below! If you tried it out, let me know how it turned out.
If you enjoyed this project, check out the following posts that might also be of interest: