Recently, I have been debating if I should add a new machine to my setup. And I was on the fence about what to buy or if I should buy anything at all. But in the end, there was a sale, and I bought myself a Cricut Joy! So, this is a bit of an unusual post, but here is my unboxing a Cricut Joy.
As an Amazon Associate, I earn from qualifying purchases. This post contains affiliate links. I may receive a commission if you purchase an item from one of my links. This will not change the price you pay.
What was in the box?
I purchased a whole bundle at Costco, and there was more in the box than just the Cricut Joy. A lot more. So, let’s go through all the pieces as they came out of the box. There was a LOT of packing paper in this box to keep everything safe, but we will not talk about that.
Unboxing the Cricut Joy
Ok, so after I pulled out all the paper and all the other loose pieces, I finally found the Cricut Joy Box. As is expected, it was a box inside a box.
The outer box was a plain brown shipping box. The inner box was a fancy Joy box. I had to use my scissors to cut all the tape circles off to get into the box.
Inside the box, there were:
- The Cricut Joy
- 1 Welcome page
- 1 Silver/Gray Smart Vinyl Sheet
- 1 Blue Card stock sheet
- 1 Power Cable
- 1 Fine Point Black Pen
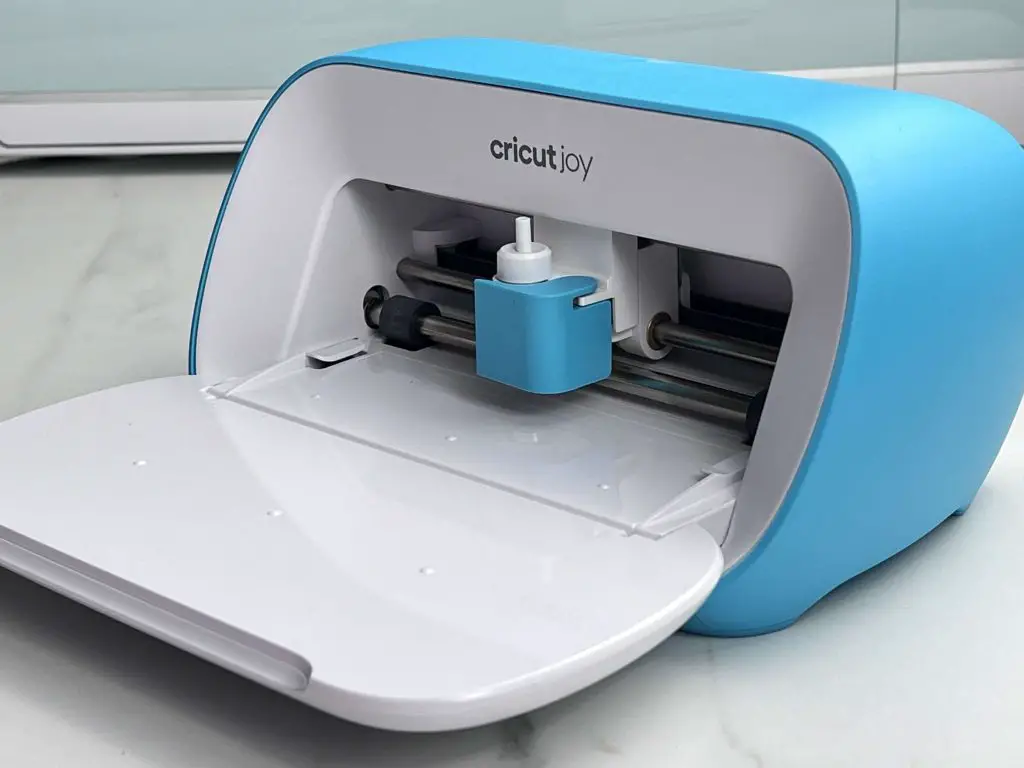
The Cricut Joy was sealed in a plastic wrap that needed to be cut off. Once I accessed the inside of the machine, I could see the cutting housing, which was secured in place with a foam pad that could easily be removed.
And that was it for the Cricut Joy Box. Keep reading, and I will go over my first cut as well!
Unboxing the Cricut Joy Carrying Case
The next box is the Cricut Joy Carrying Case. This came in its own box. Once out of the box, it was in a bag. And then, inside the carrying case, was a LOT of paper to help keep its shape.
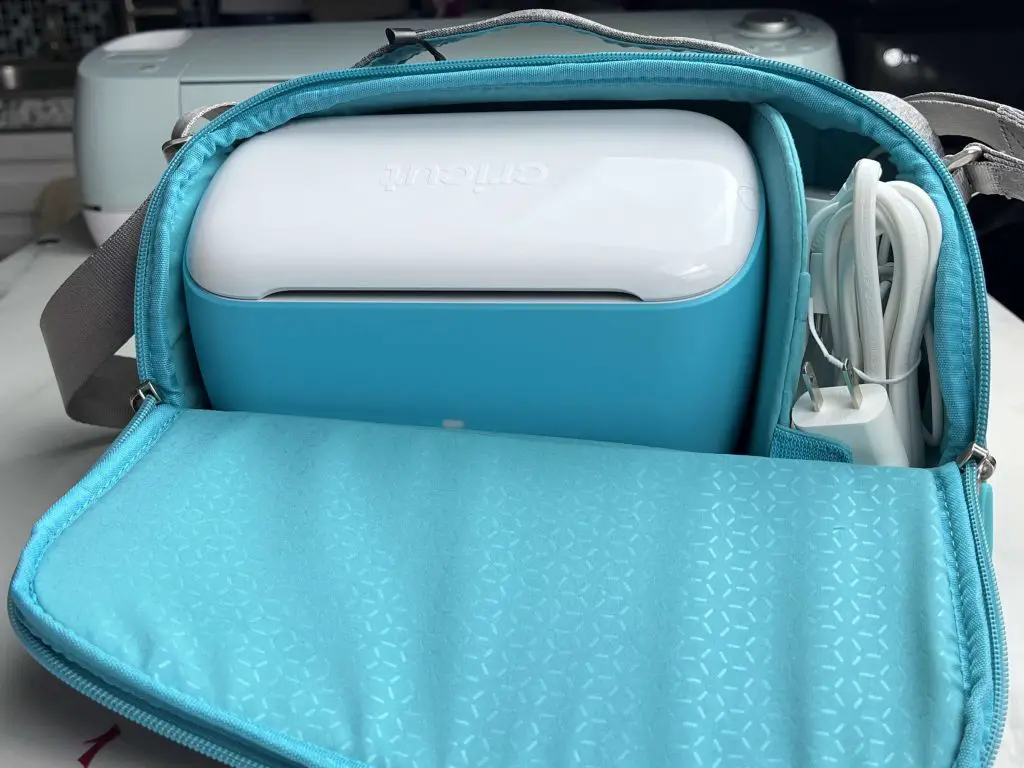
On the inside of the carrying case, there is a diagram of how to insert the Cricut Joy into this case so that it fits properly. It took me a while to figure that out, but if you read the label, the machine fits in quickly and nicely.

There is a separate side compartment inside the case for the power cable. This is a tight fit, but I’m not always the most efficient at cable tying.
Finally, there is a pocket on the outside back to store extra things, like a standard (small 4.5″x6.25″) cutting mat and some tools.
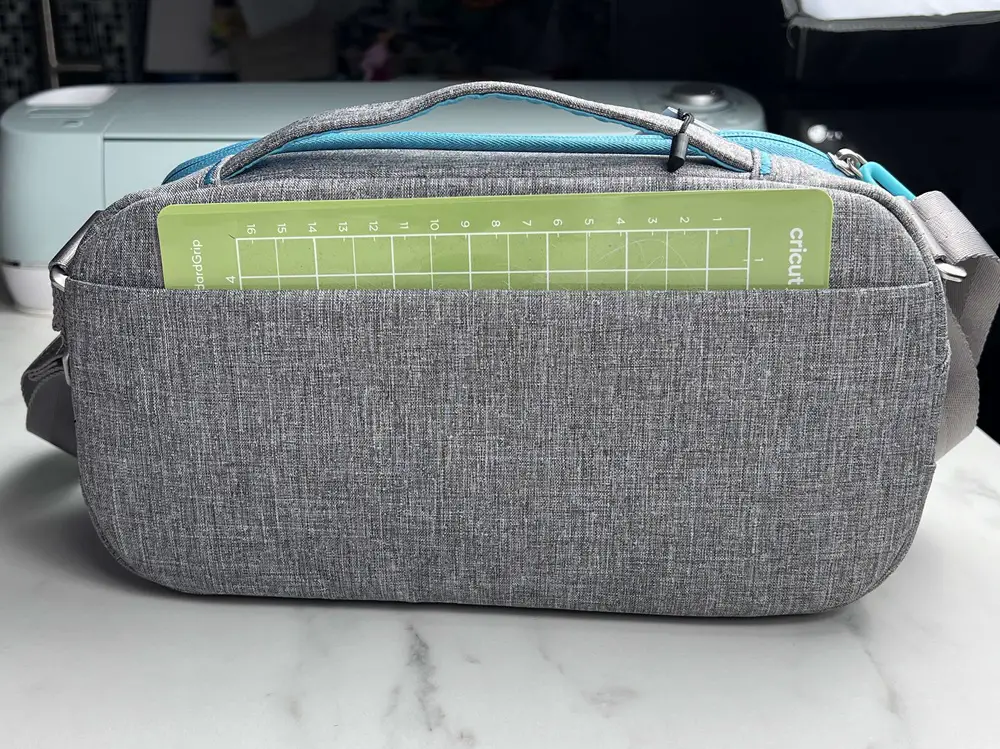
The Cricut Joy is supposed to be for easy transport, so this travel case should be handy.
Cutting Mats Included with The Cricut Joy Package
This package came with 2 cutting mats. Both were 3.5″x’6.25″ in size.
- Standard Grip Green cutting mat
- Blue Card Cutting Mat
I have used the green cutting mat. It works like the standard mats I would use with my Air 2. I have not had a chance to try out the blue card mat yet. But soon.

the Pens Included
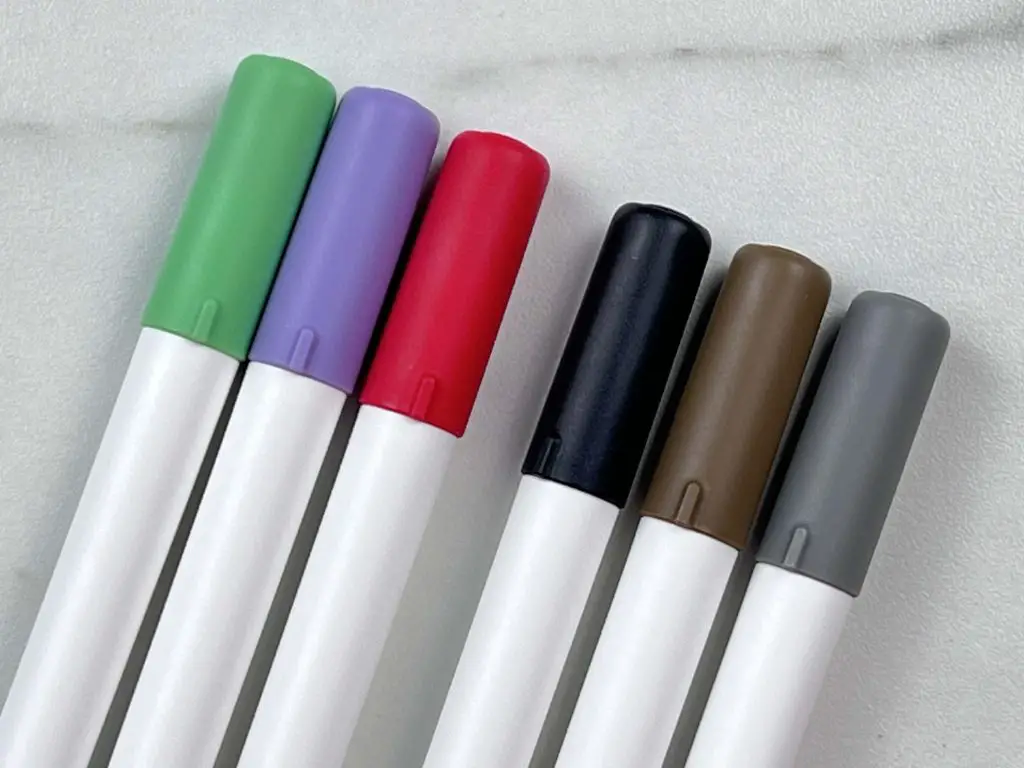
This package came with two 3 packs of pens. There was a:
- Pack of 3 Fine Point Pens 0.4, which included a Black, Brown and Gray Pen.
- Pack of 3 Fine Point Pens 0.4, which included a Red, Green and Violet Pen.
These look like standard pens, and they will be used while crafting! That is a guarantee!
the Tool Kit Included
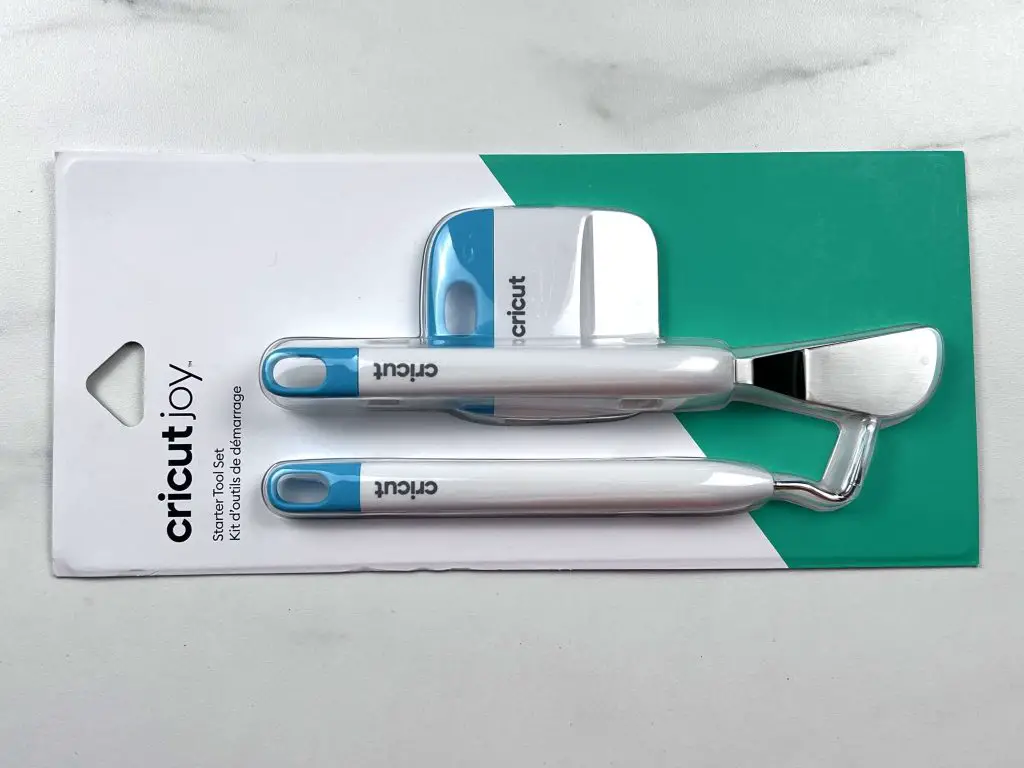
I have a lot of Cricut tool kits, and this one is nothing outside of the ordinary. It includes:
- a scraper,
- a spatula and
- a weeding tool
These ones are in the Cricut Joy Colors. I will use these as my scrapers and weeding tools get a lot of wear and tear, so they will for sure come in handy.
Card Packages Included with the Cricut Joy Package
The next part of my Unboxing a Cricut Joy Post will review the Paper Samplers that I purchased.
This Cricut Joy package came with 5 card packages. I have never made cards with these, so I am looking forward to it. But, until then, let’s see what was included and what it looks like.
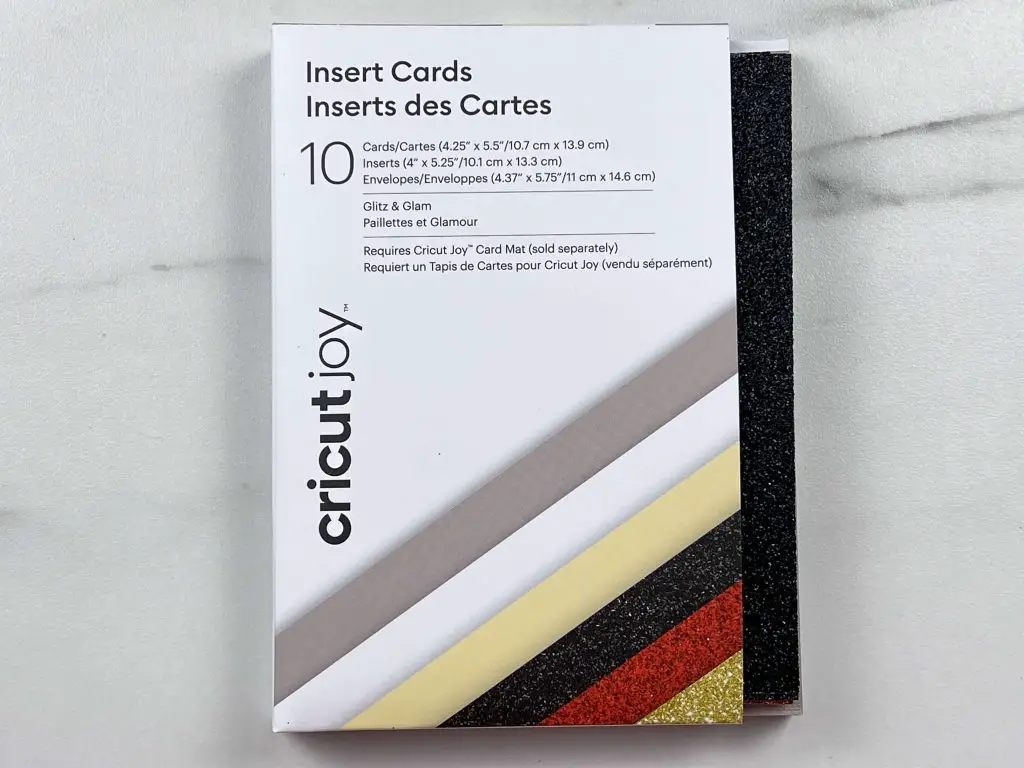
What does the Glitz & Glam Sampler Look like?
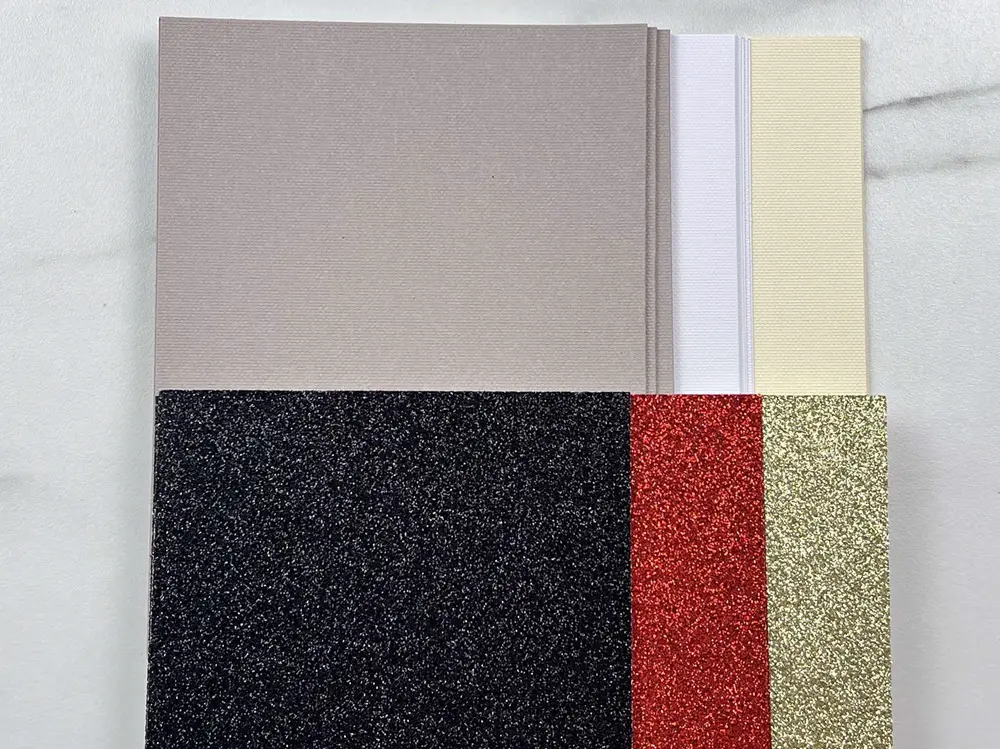
The Glitz and Glam Sampler may be my favorite as it has lots of glitter. And we all know I like glitter. All the pieces in this package are based on a 4.25″ x 5.5″ cards set. This package includes:
- 10 prescored cards –
- 4 Taupe
- 3 White
- 3 Cream
- 10 holographic inserts
- 3 Black Glitter
- 3 Red Glitter
- 4 Gold Glitter
- 10 envelopes.
I’m looking forward to using this set because of the glitter. I like glitter.
What does the Rainbow Scales Sampler Look like?
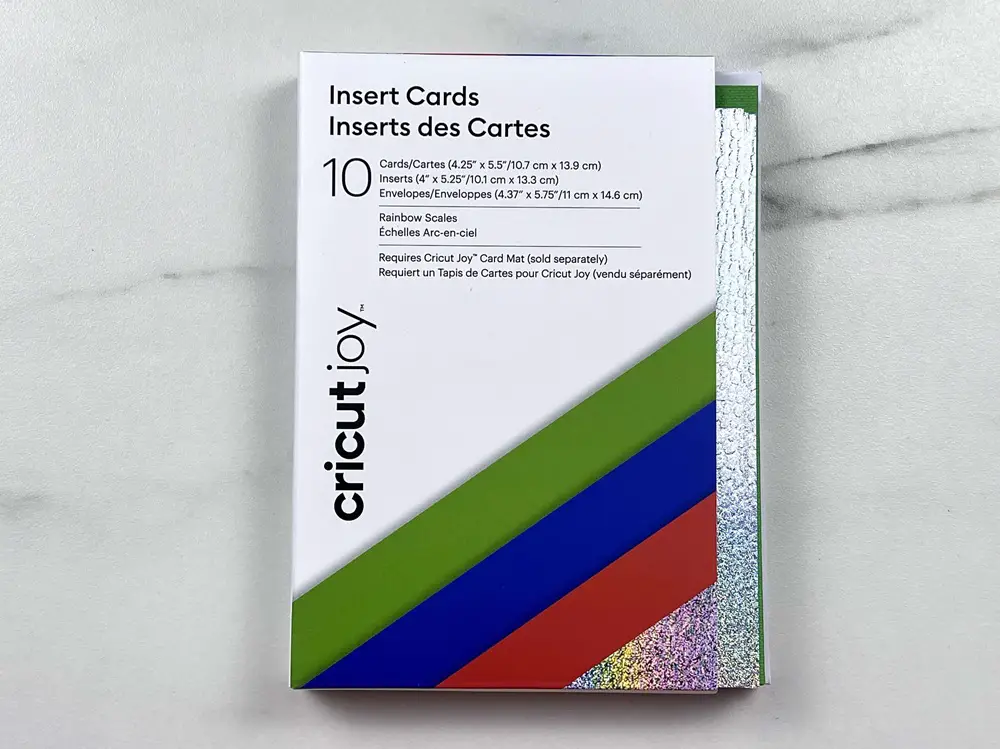
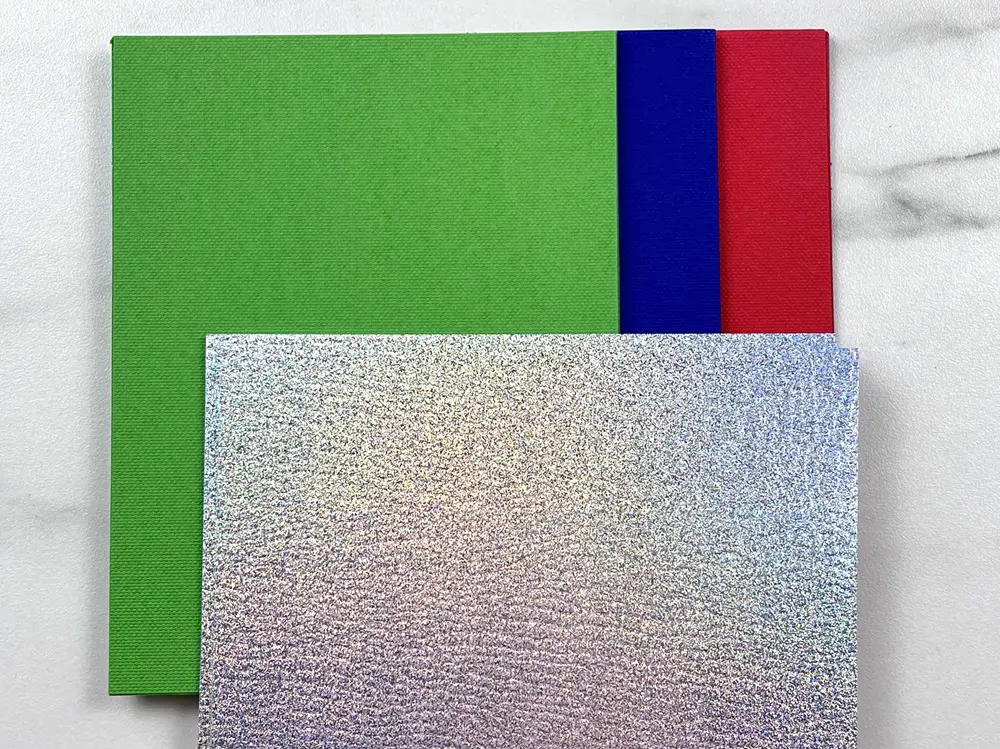
The Rainbow Scales Sampler is a cute insert card set. All the pieces in this package are based on a 4.25″ x 5.5″ cards set. This package includes:
- 10 prescored cards –
- 3 green
- 3 blue
- 4 red
- 10 holographic scales inserts
- 10 envelopes.
I’m looking forward to using this set because of the holographic. I like shiny things.
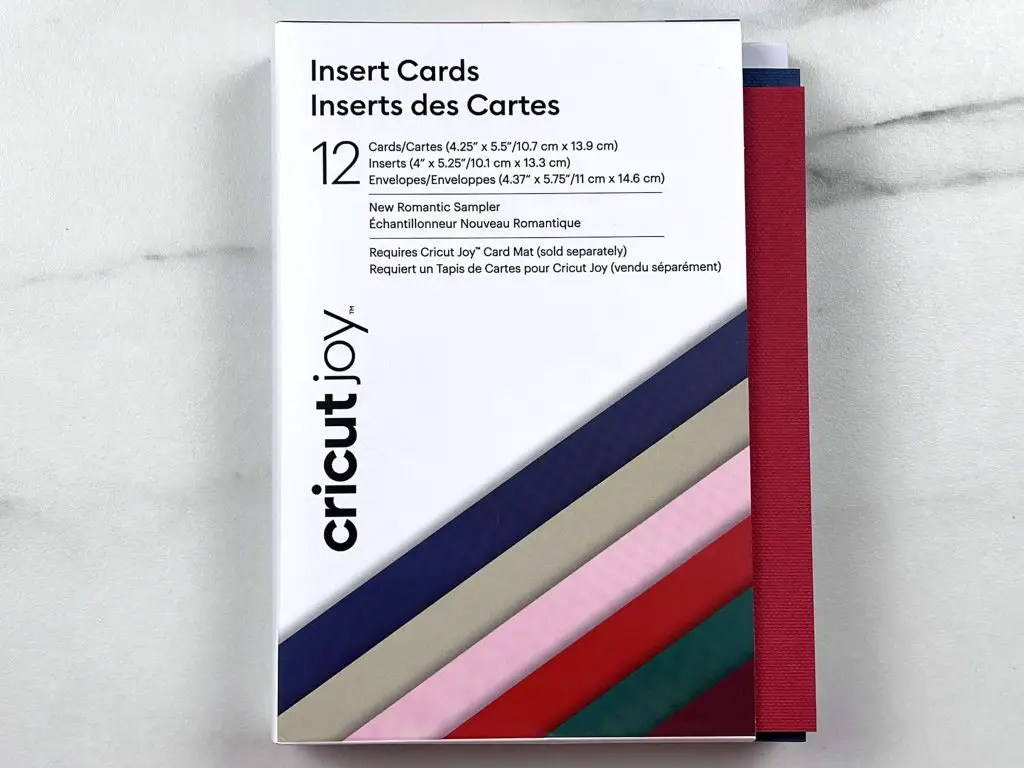
What does the New Romantic Sampler Look like?
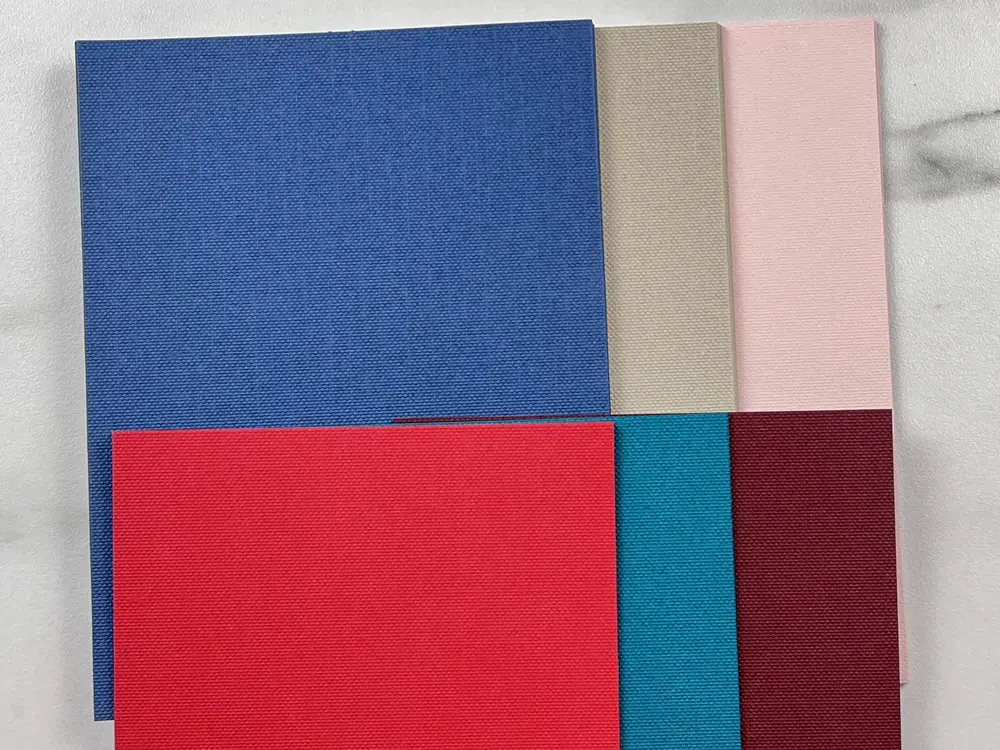
The Romantic Sampler has some dark love-like colors. The cards and the inserts have a texture, giving them a more classy look. All the pieces in this package are based on a 4.25″ x 5.5″ cards set. This package includes:
- 12 prescored cards –
- 4 Midnight Blue (very dark blue)
- 4 Khaki
- 4 Tulip (light pink)
- 12 card inserts
- 4 Burnt Read
- 4 Deep Teal
- 4 Maroon
- 12 envelopes
These are mostly darker colors, darker than I typically usually use. I am sure I can figure out what to make with them.
What does the Neutrals Sampler Look like?
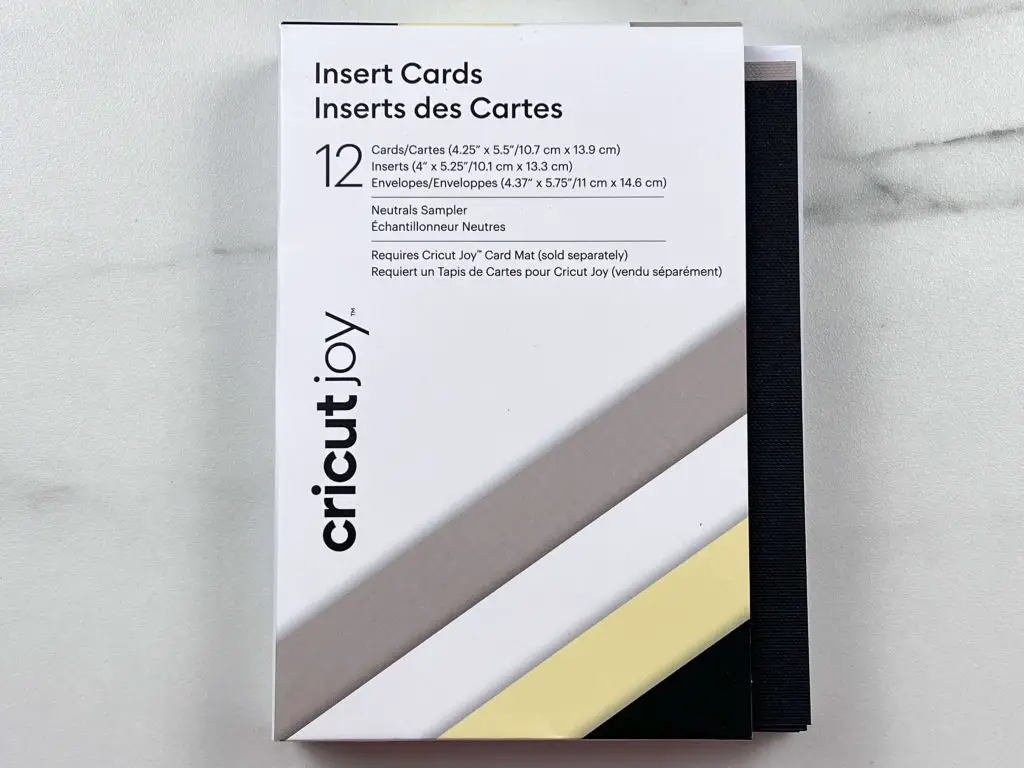
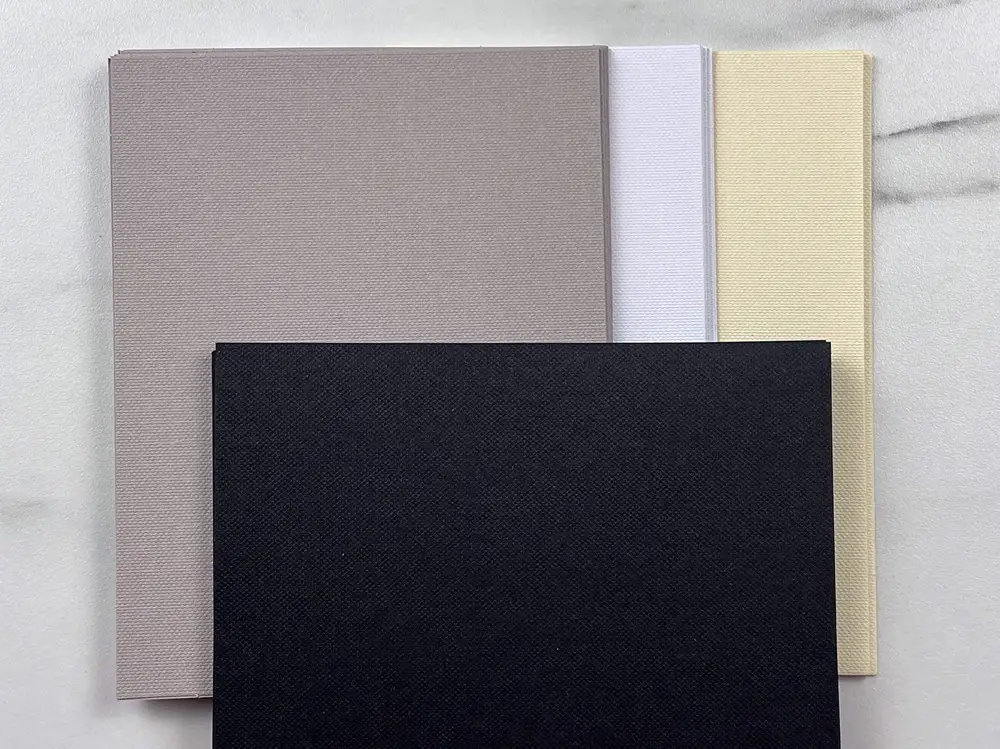
The Neutrals Sampler looks a bit serious. The colors are very neutral and plain. At least to me. All the pieces in this package are based on a 4.25″ x 5.5″ cards set. This package includes:
- 12 prescored cards –
- 4 Taupe
- 4 White
- 4 Cream
- 12 Black inserts
- 12 envelopes
I’m unsure what to make with these, but I’m sure I’ll find some use for them.
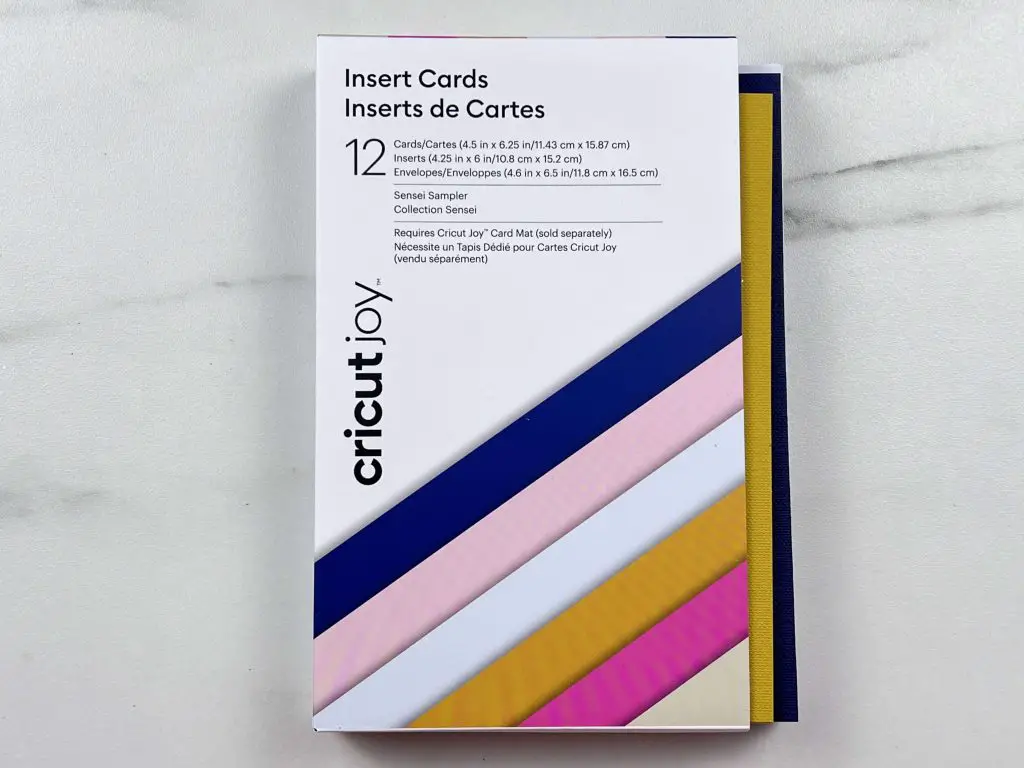
What does Sensei Sampler Look like?
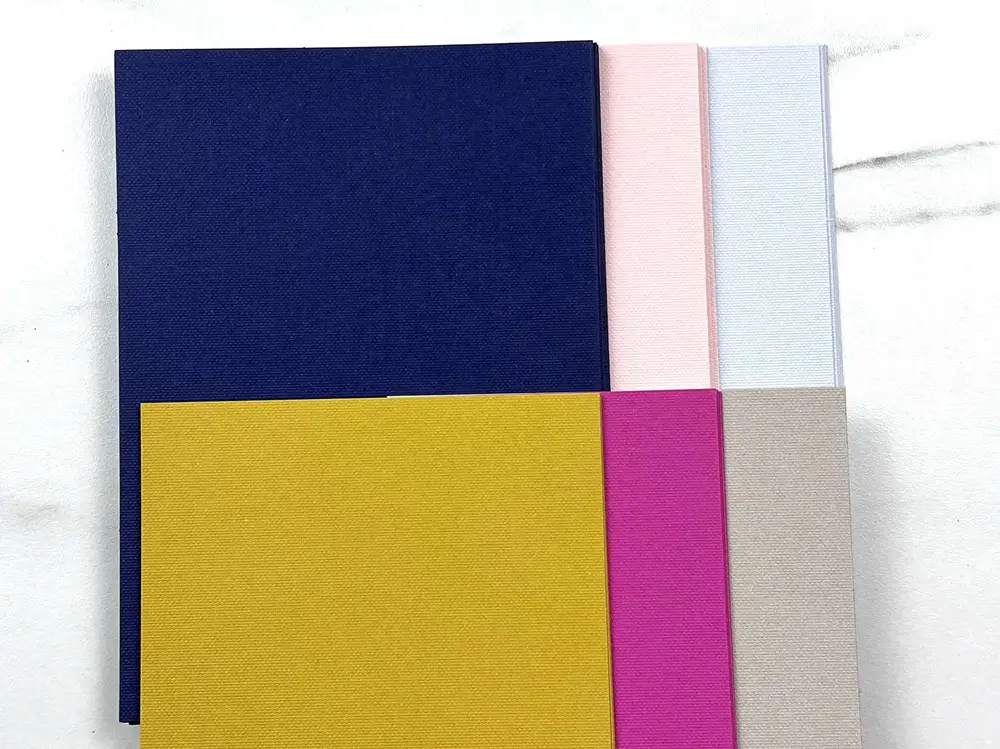
The Sensei Sampler looks like it could be fun. The cards and the inserts have a texture to them, giving them a more classy look. All the pieces in this package are based on a 4.25″ x 6.25″ cards set, which is bigger than the rest of the card sets. This package includes:
- 12 prescored cards –
- 4 Twilight (dark blue)
- 4 Tulip (light pink)
- 4 Powder Blue (light baby blue)
- 12 card inserts
- 4 Mustard
- 4 Party Pink
- 4 Khaki
- 12 envelopes
I like the color combinations in this package. I’m unsure what I will make with these cards yet… but I have a few ideas.
Setting up the Cricut Joy for the First Time
So now that we have completed my unboxing a Cricut Joy, it is time to set up this new toy and give it a test run.
Setting up the Cricut Joy was easy, other than some minor operator issues… (that would be me).
First, you need to plug the machine into the power. This is simple – one end into the machine and the other into the wall. The Joy will turn on by itself as there is no power button.
Open the welcome package – and pull out the Let’s Get Started booklet.
You will be directed to go to the Cricut website (www.cricut.com/setup). From there, select a machine – either a cutting machine or a heat press. Select a cutting machine. Then, you will be directed to the App (or download it if you do not have it yet). If you already have an account, you will be prompted to sign in or make a new account. It is mostly quick. My internet was slow that day, so it probably took longer than I wanted, but we got there.
You will be prompted to find your machine in the Design Space App (if this is your only Joy, it should be the only one to show up on the screen)
Once your machine is set up, you are ready to do your first cut.
First Cut with the Cricut Joy
The first cut is set up through Cricut Design Space, and you do not have much choice. I am sure you can skip it, but it is fun to watch it work for the first time.
My first cut asked me to insert the Silver/Gray Smart Vinyl – it has white edges for the Joy to grab onto.
The App will prompt you to verify the material is in, and then it will cut.
My first cut did not cut all the way through the vinyl.
But I was able to (maybe) salvage part of it. If the intent was to keep the outline of the letters and the rectangle, then it was not salvageable. That ripped in a few places. But, I was able to weed the letters afterwards and get a final set of letters. So, I have that.
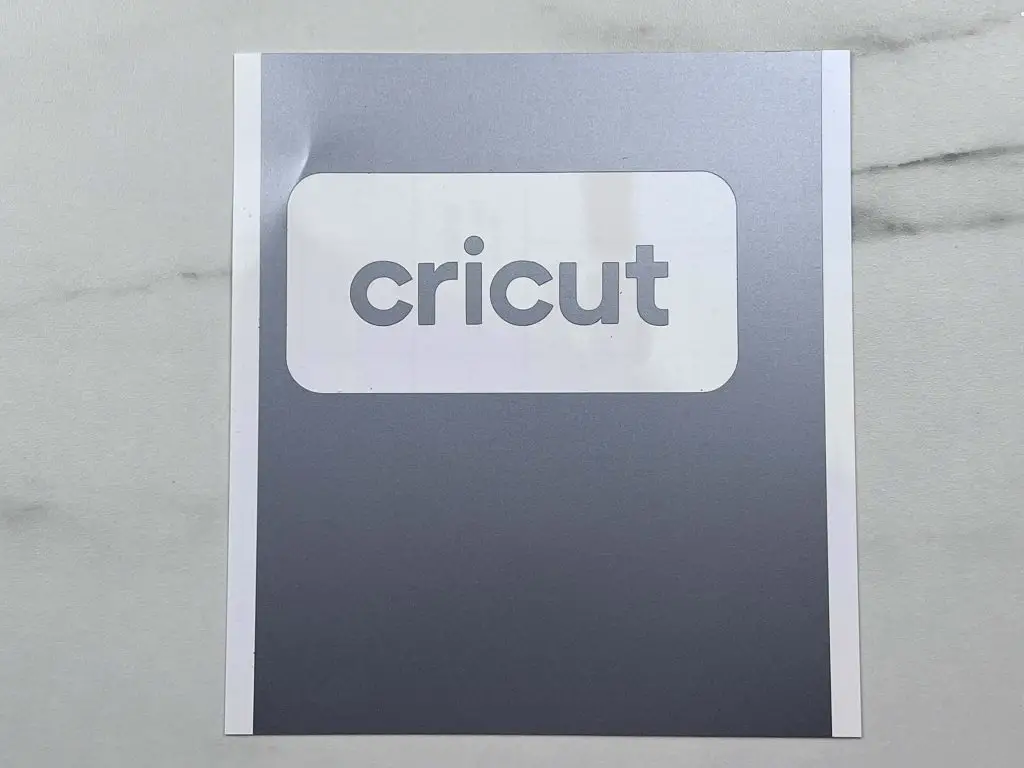
And just like that my first cut was done. I was not impressed with it. Since then, I have done many little projects and cuts and have had no issues with the depth of the cut. I think the Smart Vinyl was the issue and not the Joy.
What is Included in the Cricut Joy Package?
I purchased this Cricut Joy Package from Costco online in Canada. As with all things Costco, I find it is here, then gone. From the time I purchased it to the time of posting this blog post, it is no longer there. It has only been a few weeks. So, I cannot send you on your way to purchase the exact same item. But I have listed all the parts and pieces below, in case you see something that you like in this post:
As an Amazon Associate, I earn from qualifying purchases. This post contains affiliate links. I may receive a commission if you purchase an item from one of my links. This will not change the price you pay.
Cricut Joy Package – US Links
- 1 Cricut Joy
- 1 Cricut Joy Carrying case
- 1 standard grip mat
- 1 card cutting mat
- 1 tool kit which includes a scraper, a spatula and weeding tool
- Fine Point Pen, Black (0.4 mm)
- Cricut Joy Fine Point Pens 0.4, Black/Brown/Gray
- Cricut Joy Fine Point Pens 0.4, Red/Green/Violet
- Cricut Joy Insert Cards, Glitz & Glam Sampler
- Cricut Joy Insert Cards, Rainbow Scales Sampler
- Cricut Joy Insert Cards, New Romantic Sampler
- Cricut Joy Insert Cards, Neutrals Sampler
- Cricut Joy Insert Cards, Sensei Sampler
Cricut Joy Package – Canadian Links
- Cricut Joy –
- 1 Cricut Joy Carrying case
- 1 standard grip mat
- 1 card cutting mat
- 1 tool kit which includes a scraper, a spatula and a weeding tool
- Fine Point Pen, Black (0.4 mm)
- Cricut Joy Fine Point Pens 0.4, Black/Brown/Gray
- Cricut Joy Fine Point Pens 0.4, Red/Green/Violet
- Cricut Joy Insert Cards, Glitz & Glam Sampler
- Cricut Joy Insert Cards, Rainbow Scales Sampler
- Cricut Joy Insert Cards, New Romantic Sampler
- Cricut Joy Insert Cards, Neutrals Sampler
- Cricut Joy Insert Cards, Sensei Sampler
Things I have learned So Far about my Cricut Joy
Unboxing a Cricut Joy was fun! But, as this is a totally new machine, there will be lots more learning that comes along the way, but for now, I have a few things that I have learned.
- The is no power button on the Cricut Joy. You plug it in, and it is ready to go. I am not sure if I am a fan of this. But for now, I guess there is not much I can do about this.
- My first cut was not good. It did not cut all the way through the Smart Vinyl provided with the Joy. I have used Cricut Vinyl and have not been a fan of it. And I think the cut was unsuccessful because of the vinyl, not the machine. I have done many cuts since then, and I have found that with my standard materials (the same ones I use with my Explore Air 2), there have been no problems.
- The Joy only came with 2 mats. One standard 4.5″x6.25″ mat and one 4.5″x6.25″card cutting mat. The shortness of the mats is weird. I tried to set up a 12″-long cut, but it would only let me choose Smart materials and no cutting mat, so I am still trying to figure that out. But I am sure there is a way to do it. I just have not had time to troubleshoot it yet.
- This little machine is much heavier than I had anticipated.
- The Joy will automatically pull in the cutting mat. I am used to hitting the feed button with my Air 2, and I like that option better. I have had the mat feed incorrectly several times, and then I have to fight with DS or the machine to get it out without ruining the cutting mat. But I am sure this is just a growing pain.
- So far, I have not found a way to recut something. With my Air 2, I can just hit the C button to recut the material before removing it from the machine. I have been unable to find a way to do this with the Joy. Hopefully, there is a way, as sometimes it just needs a second cut if you selected the wrong material.
- This Cricut Joy package came with a bunch of pens. I was sad that they were different than my Air 2 pens. I was hopeful they would be interchangeable… but that is ok. I will manage. I might have to find some hacks on using other markers with the Joy and how I can use the Joy marks on my Air 2.
- For now, I am not 100% in love with this little machine, but it seems that most of my dislikes stem from my frustration with Cricut Design Space and their ever-present updates and glitches.
Did you enjoy this Unboxing a Cricut Joy Blog post?
Did you enjoy this post of unboxing a Cricut Joy? Let me know your thoughts!
I hope to have more Cricut Joy posts, specifically Cricut Joy crafts, but that will be a bit before we see something happen there.
So, in the meantime, be sure to check out my paper crafts, which, for the most part, can be scaled down to fit your Cricut Joy.


