Custom Shirts Come in many Shapes and Sizes
Making custom shirts with heat transfer vinyl (HTV) is lots of fun. It is a great way to express your personality and style. But like anything we do, there are always challenges. And getting the right size of the design and then placing the design in the correct spot can be an issue. I have made a lot of shirts, and I have learned a few tricks on how to size your design and center an HTV shirt that I would like to share.
This post contains affiliate links. I may receive a commission if you purchase an item from one of my links. This will not change the price you pay.
How to Size your Design for your HTV Shirt
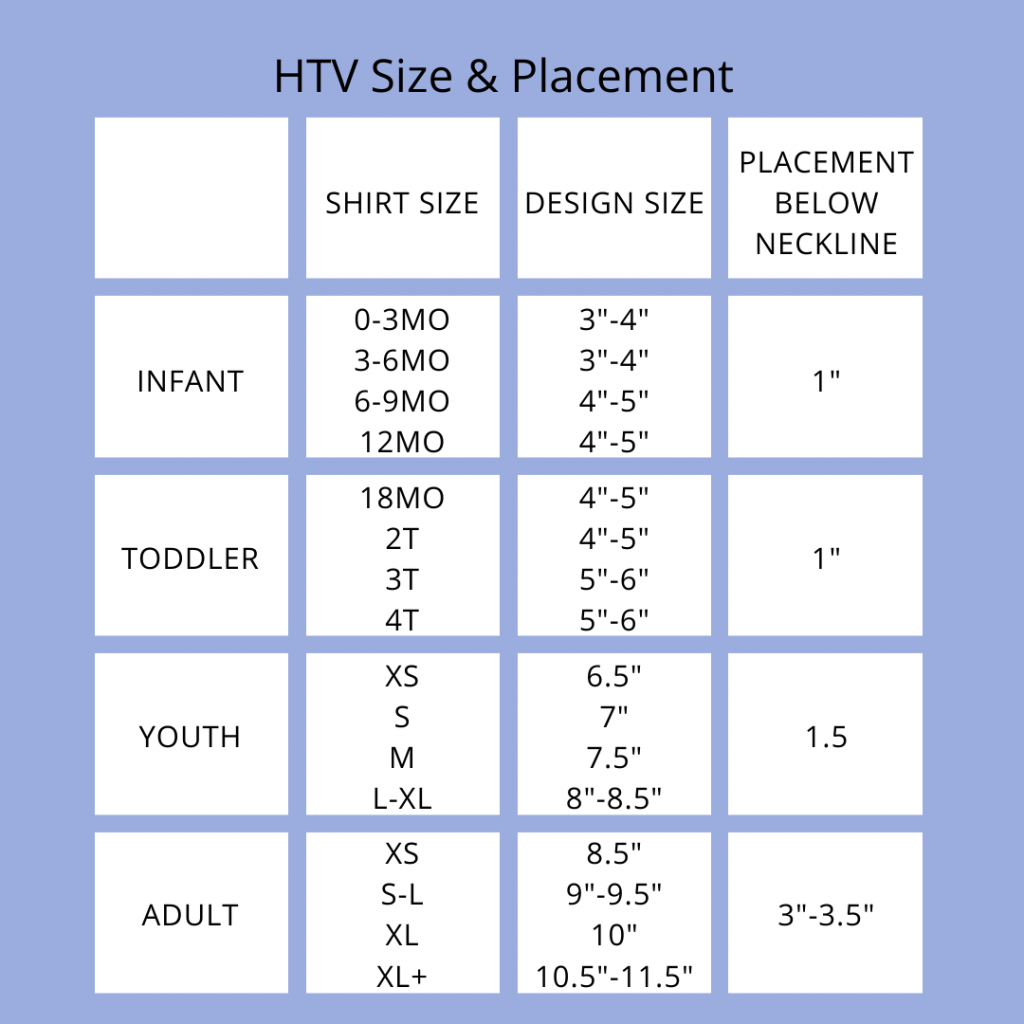
There are numerous ways to figure out what size of the design you should put on a shirt. There are a lot of charts around which show sizes of shirts and design sizes – to the right is one that I use as a starting point.
Although this is a good indication of what sizes to use, I find that it does not always help my needs. I need to see things in real life. Every craft I do is unique to me, so I like to know how it will turn out the perfect size is required.
I use this as a starting point for my design size.
Check the HTV Design Size against your Shirt
In all of my shirt-making mishaps, I found that I needed to see the size of the design laid out on the shirt. I am a visual person. Viewing the mock-up on the computer screen is not enough for me. And I do not want to waste good material testing out different sizes.
So with the use of some scrap card stock, I made measuring squares to visually see the size of my design on my shirts.
This has tremendously improved my ability to size the design on shirts and produce a much better final shirt.
What you need to make Sizing Cards
- Cutting tools – I used my Cricut Explore Air 2, but you can use scissors or a knife and a straight edge.
- Card Stock – or plain paper. I used scrap card stock that I had.
- Pen/Marker – either for the Cricut or to write by hand.
Making the sizing cards
For the purpose of this tutorial, I am doing everything with my Cricut Explore Air 2. But the concept is the same for any other method.
- In Design Space (DS), create 10 squares. Size each one from 1-10 (1×1, 2×2, …10×10)
- In DS, draw up the numbers 1-10 in a font that has the written style. I used Elizabeth from DS.
- Place the numbers in the center of your squares.
- Attach each square and number (individually, not all at once).
- Click make it.
- Insert your pen into the Cricut and put the paper onto the mat.
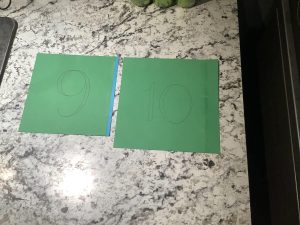
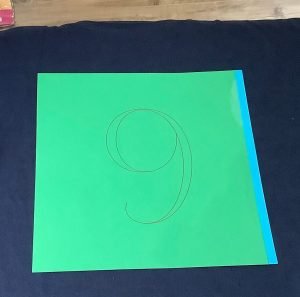
- I only had 8.5″x 11″ card stock. For the 9″x 9″ and 10″x 10″, I just taped two pieces of paper together before placing them on the mat to get the sizes that I needed.
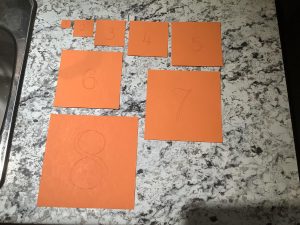
I use these sizing cards often. Mainly for getting the perfect size design on shirts. I also use them when making posters or anything I need a visual on for sizing.
You will notice it is a 9″ square, but if you compare this to the chart above, it suggests the 10″ size for a large shirt. It is not a big difference. I find it makes a big difference with the final project.
How to Size your HTV Shirt with Cricut Design Space
You can also use Cricut Design Space to figure out the size for your design. But this feature is only available on PC and Mac, it is not available on iPad and iPhone.
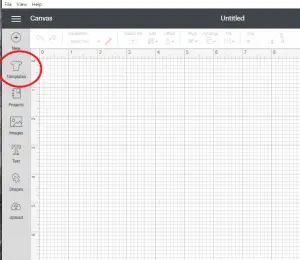
Open Cricut Design Space. On the left menu bar, there is an icon that says Templates. Click on that.
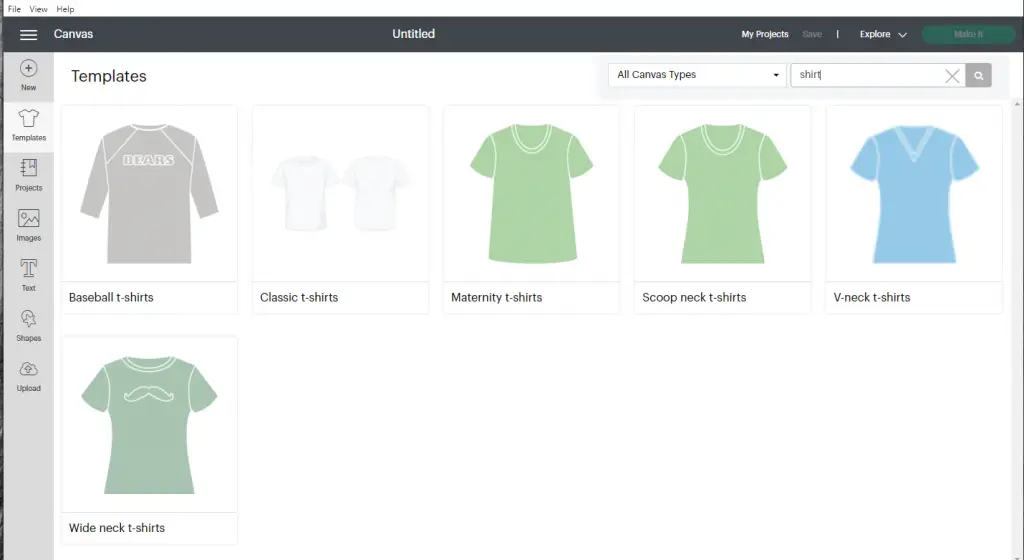
This will show you all of the templates that are available in DS. You can use these to help you design your shirt. If you filter for SHIRTS, you will see all the shirt templates.
Once you select the template of shirt you want, you can pick the size and type, but you need to do this before you adjust anything on your screen, as you cannot adjust or change it afterwards/
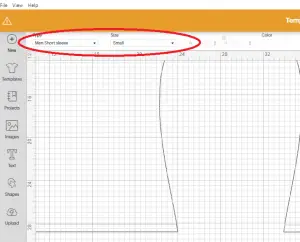
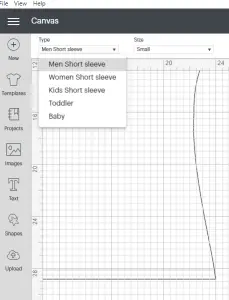
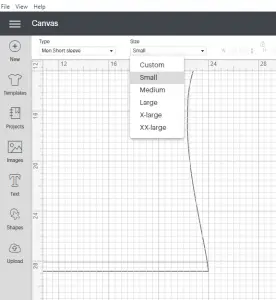
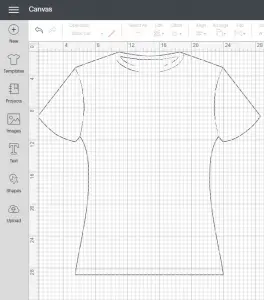
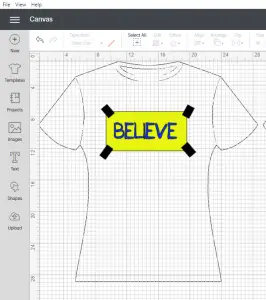
After selecting your style, size and type of shirt, you can place your design onto the shirt and work with the sizing. It is important to remember that this is only indicative and may not look exactly like this on the actual shirt.

How to Center Your HTV Design Correctly
Once the size of the shirt is figured out, you need to center the design. You can buy an expensive gadget from Amazon or do it yourself. And since you are here at my site, we are doing it ourselves!
What you need to Center Your HTV Design:
- HTV – one or more colors
- Shirt (S, M, L, XL…)
- Design pre-cut and weeded.
- Ruler
- Iron or a Heat-Press
- Transfer tape
Prepare the Design for Placement
Combine all of the pieces/layers of your design together so that they form the final design.
If the design has gaps, use transfer tape to hold it together.
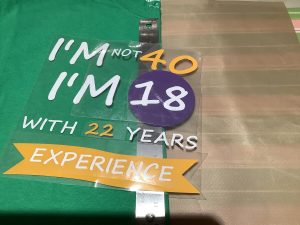
Fold the design in half lightly, and pinch the top and bottom only. This will leave a crease in the transfer paper/HTV Vinyl carrier sheet. I have placed red circles around my fold marks on the picture to the right. Do not fold the whole design. This will bend your vinyl and make alignment difficult.

Prepare the Shirt
Your design should already be weeded and ready to go.
Iron the shirt so that it is wrinkle-free.
The shirts I buy are pre-shrunk, so they do not require a wash before applying vinyl, but it is good practice to pre-wash all your shirts just in case.
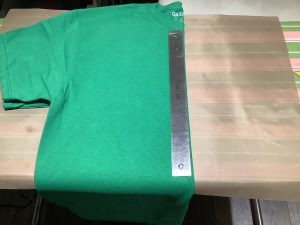
Fold the shirt in half.
Place ruler down the bend of the shirt. The shirt size you are using will dictate how far down the design should start. Reference the chart above to make sure you get the correct starting spot. In my case, I am using a Medium Shirt, so I am placing the design about 2.5″ below the collar.
Applying the HTV Design to your Shirt
Align the folds of the design against the fold of the shirt. Do not align it against the edge of the ruler.
Stick the transfer paper/carrier sheet onto the shirt. I use my hand as I find the carrier sheet is strong enough to hold.
Remove the ruler, open the shirt and stick the rest of the design to the shirt.
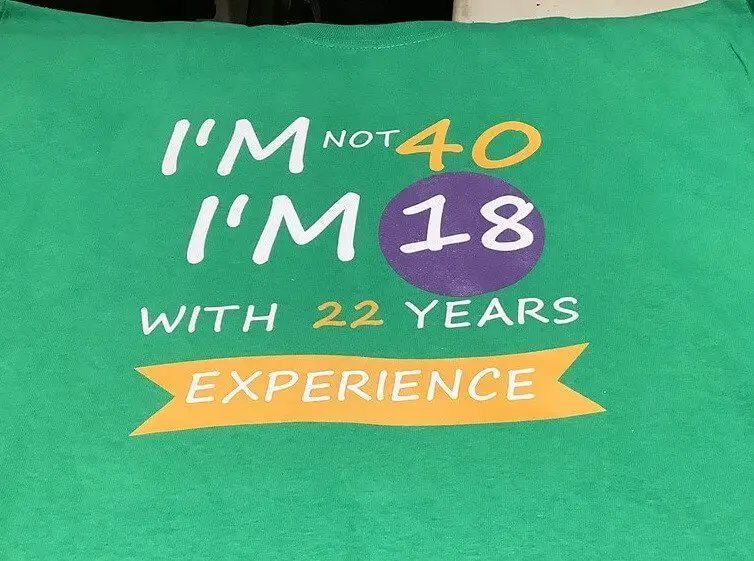
Your design is now centered.
If you only have a single layer, then your design is ready to press.
If you have multiple layers, as I do, you will need to peel away the top layers slowly to leave the bottom portions of the design on the shirt. Once you have done a quick iron and peel off the carrier sheet, you can apply the other layers. As you have already found the center of the shirt, you do not need to re-find. You simply apply the design over the existing design.
And That’s it! You’re Done! Your HTV Shirt has the Correct size and is centered!
Final Thoughts
That is it! You are done! Now you know how to size your design and center an HTV shirt!
At first, it took me a while to get the hang of it, but now that I understand it and use it consistently, it is simple and works flawlessly.
Was this Tutorial on How To Size Your Design and Center an HTV Shirt Helpful?
Did you find this tutorial on how to size your design and center an HTV shirt helpful? Let me know your thoughts in the comments below!
If you liked this tutorial, be sure to check out my other tutorials here.
Don’t forget to sign up for my newsletters! You’ll get inside tips on upcoming posts and additional behind the scenes details about what’s happening on the site!