A few weeks ago, it was March Break. And if you have little kids, you know that March Break means kids are NOT at school. And they are home with you! So, my kids were home with me! Yay! And while trying to entertain my kids for the countless hours of the day, we decided to play some card games. Card games are fun, but they can be less fun for little kids because it can be difficult for them to hold a handful of cards. So, we made a DIY playing card holder (or five) so everyone could play.
As an Amazon Associate, I earn from qualifying purchases. This post contains affiliate links. I may receive a commission if you purchase an item from one of my links. This will not change the price you pay.
Supplies needed to make a DIY Playing Card Holder
When I started thinking about a DIY playing card holder, I had visions of sewing them and making them all fancy, but then I ran out of time and needed something quick. So, I moved away from sewing and went to cardstock and old cereal boxes….. so, here we have a no-sew card holder supplies list:
- Empty Cereal box – I have these in abundance because I have kids. But any cardboard will work. I find that old cereal boxes are a nice thickness…. and I can easily cut them with my Cricut or by hand.
- Fancy Cardstock – As we are using old cereal boxes, we want to cover them with something nice, so some cardstock with either a pattern or design or a nice solid color will work.
- Glue – You will need glue for this. I used 2 types of glue –
- Hot glue and glue gun – to hold the cereal box pieces together
- Craft glue – to glue the cardstock to the cereal box.
- 2 Buttons – I made these on my 3D Printer as I don’t have any extra buttons lying around. These help hold the playing card holder together. You can get the 3D button design here.
- Collapsible Eye Needle – This is to help feed the ribbon or thread through the button.
- Ribbon or thread – I like to use ribbon, but thread also works. This is to hold your buttons together.
- Design File – you can get a copy of my SVG file by signing up for my newsletter below, or you can get a copy in my resource library. But you can also quickly reproduce this project by hand or with your Cricut.
- Cutting Machine and mats – I use my Cricut Explore Air 2 for this, but you can also use scissors if you prefer.
- 15 minutes or less to make one playing card holder.
Now that we have all our supplies, it is time to start making our DIY Playing card holder.
Making a No-Sew DIY Playing Card Holder
Accessing my SVG File and How to use it
Like with most projects, I have created an SVG file for this. I find this is much easier than cutting out circles by hand. So, sign up for my newsletter below, or if you are already on my mailing list, jump over to my resource library and grab the file.

Once you have the file downloaded, you will need to do a few things:
- Unzip the file –
- Right-click on the file with your mouse and select Unzip
- Select a location where you want the file to be saved.
- Hit Enter and your file will be unzipped and saved.
- Upload the file to Cricut Design Space.
- Select the Upload Icon on the left side of your screen.
- Select the Upload Image button.
- Select the File from the location where the file was saved from above.
- Select the file from your DS Recently Uploaded documents. There should be a green rectangle around it.
- Hit the Add to Canvas button.
Once the playing card holder SVG file is on your Design Space Canvas we can make any modifications.
When I made this playing card holder, I found that a 4.5” circle was a good size for children. You will want to verify that the smallest circle diameter is 4.5”. You can increase or decrease the size to your liking. Simply ensure that your lock proportions lock is on so you do not warp the circle and make it into an oval.
Once you have sized this circle to your liking, it is time to cut it out.
Playing card Holder Pieces
I have designed this playing card holder to have the following cut-out pieces with your Cricut.
- 2 cardboard circles
- 2 fancy cardstock circles
- 2 fancy cardstock circles with tabs on them – they look like a gear.
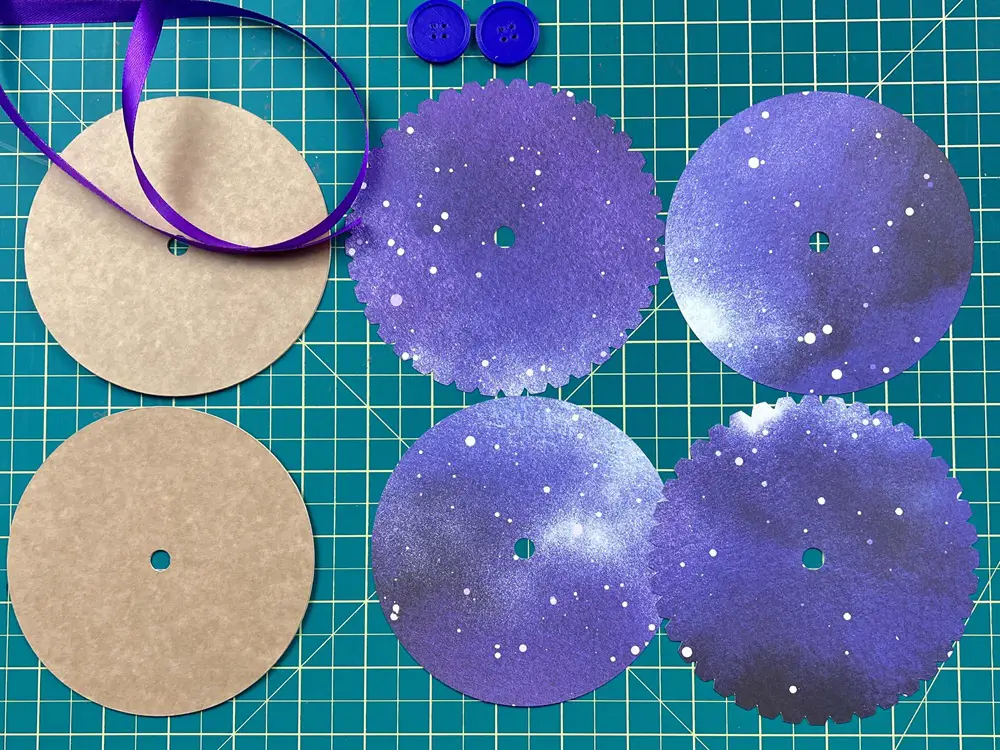
If you want to make the playing card holder more rigid, you can use 4 cereal box cardboard circles instead of 2. I had a nice thick cereal box, so I only needed 2 circles. If you buy cereal often, you know what I mean when.
You will also need 2 buttons for each card holder and a bit of ribbon or thread.
Assembling the playing card holder
As I mentioned above, I only used 2 cereal box circles. This is because the cereal boxes that I used were very rigid. But some boxes are less rigid, so you might need 4 circles instead of two. If you are using 4 cardboard circles follow this first step. Otherwise, you can skip it.
If you have 4 cardboard circles – with your hot glue, glue 2 of the cereal box/cardboard circles together. Repeat this for the second set of cardboard circles. I use hot glue for this as I find this works better with cardboard. Let the glue dry before you move to the next step.
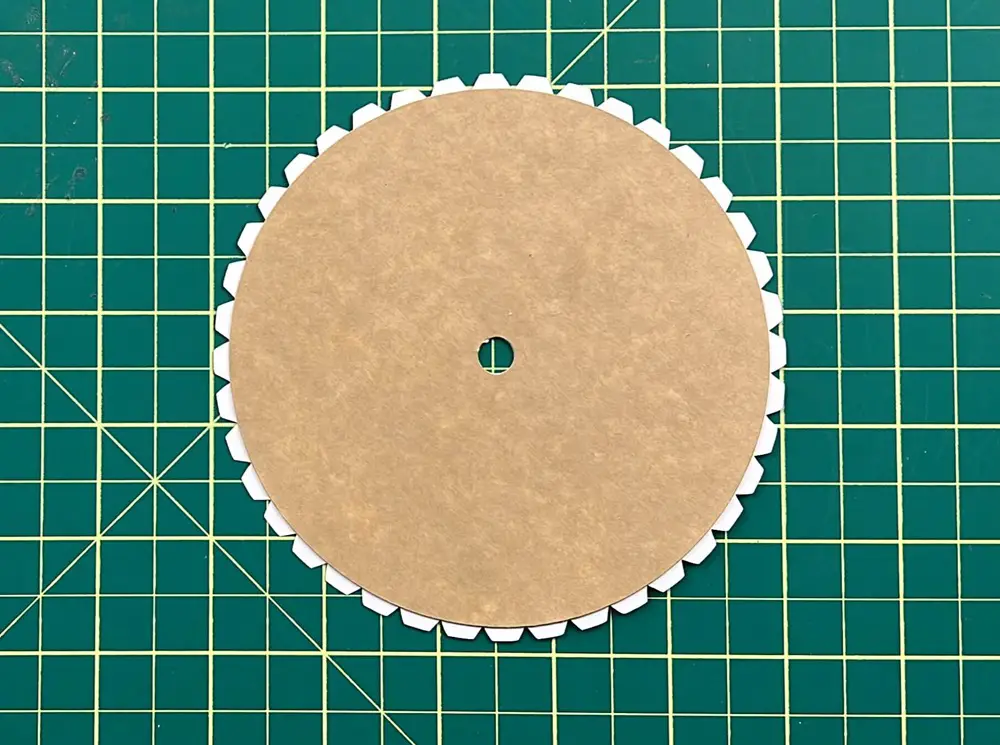
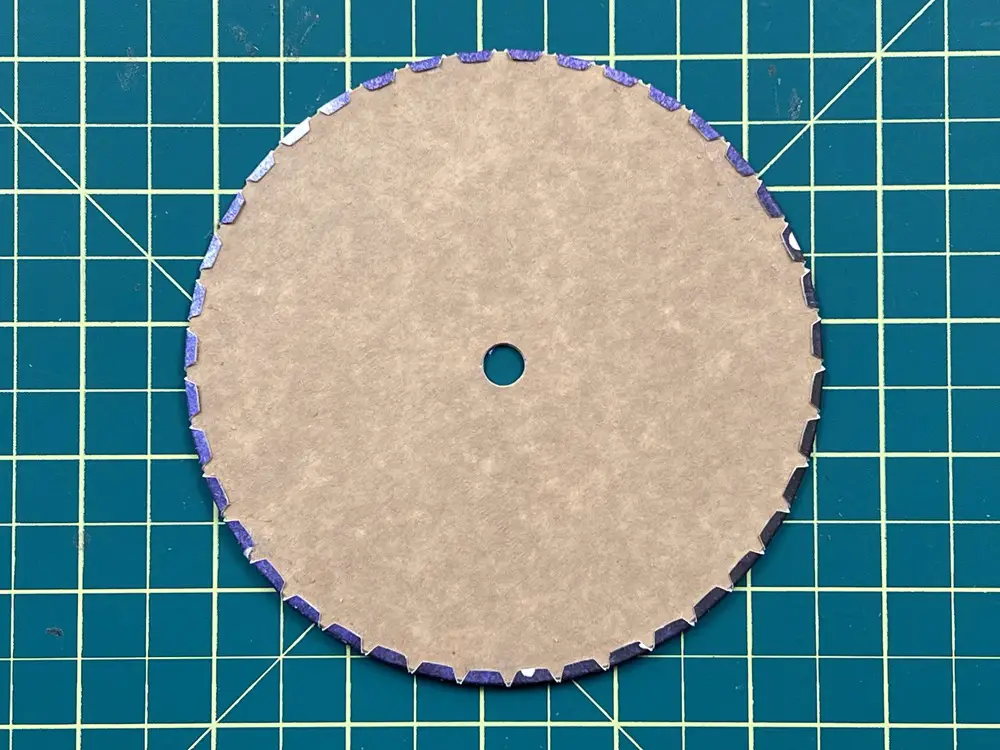
Using your crafting glue, glue the circle with tabs to one side of the cardboard circle. Then, flip over the tabs and glue them down on the opposite side of the cardboard. Hold the tabs in place while they dry so they stay nice and flat. Once all of the tabs have been glued down, glue one of the simple cardstock circles onto the cardboard to cover the tabs and cardboard.
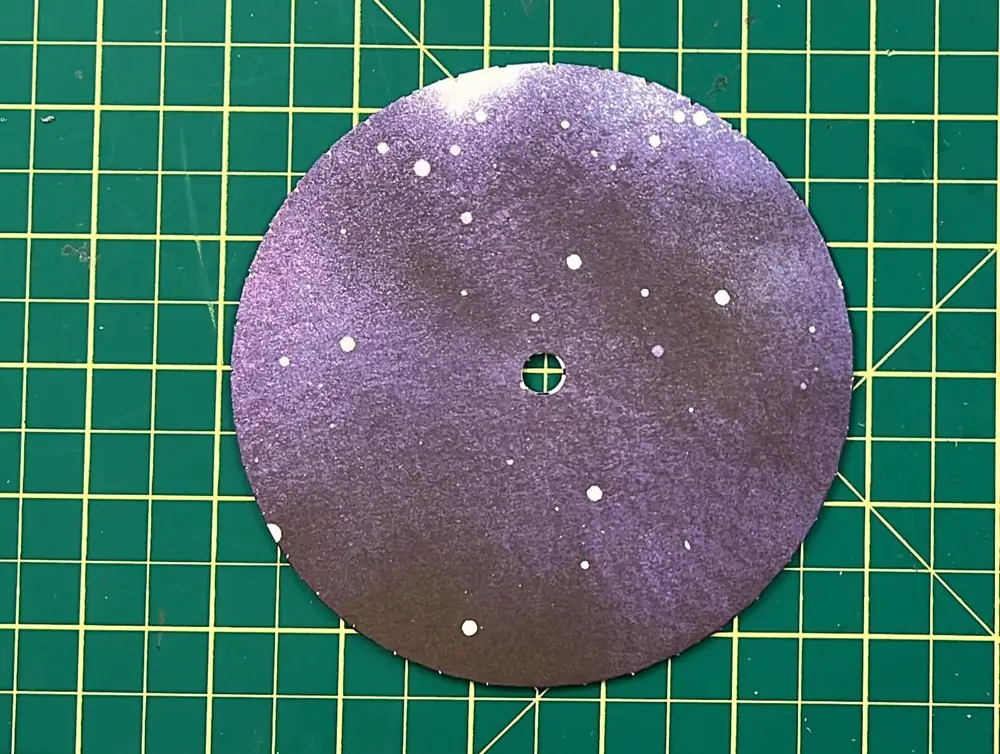
Repeat the above steps until you have 2 circles covered in fancy cardstock.
Attaching the Buttons to the playing card holder
Something needs to hold the two pieces of the cardholder together. And I thought a button would be nice.
You can use either ribbon or thread. I used ribbon and a collapsible eye needle to help pull the ribbon through.
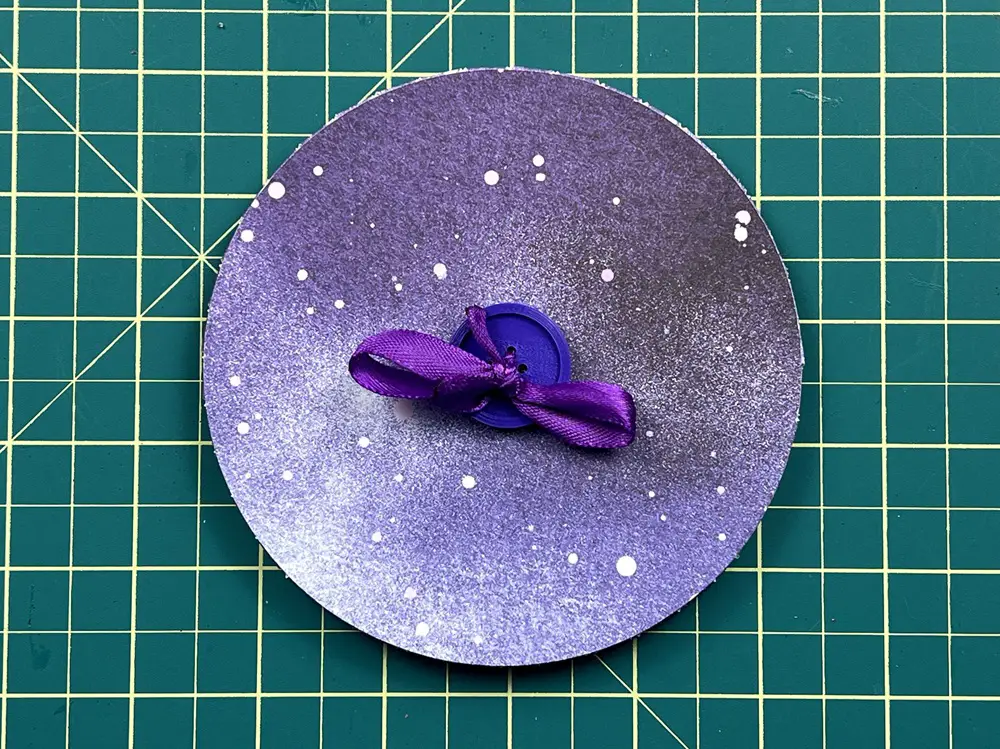
Pull the needle with ribbon through one buttonhole from the top, both cardboard disks, and finally through a hole in the second button. On the return, I suggest pulling the ribbon through the diagonal hole on the second button, back through the 2 cardboard disks and again through the diagonal hole on the first button. Pull the ribbon tight and tie a knot or bow. You want to make sure it is secure and does not come undone.
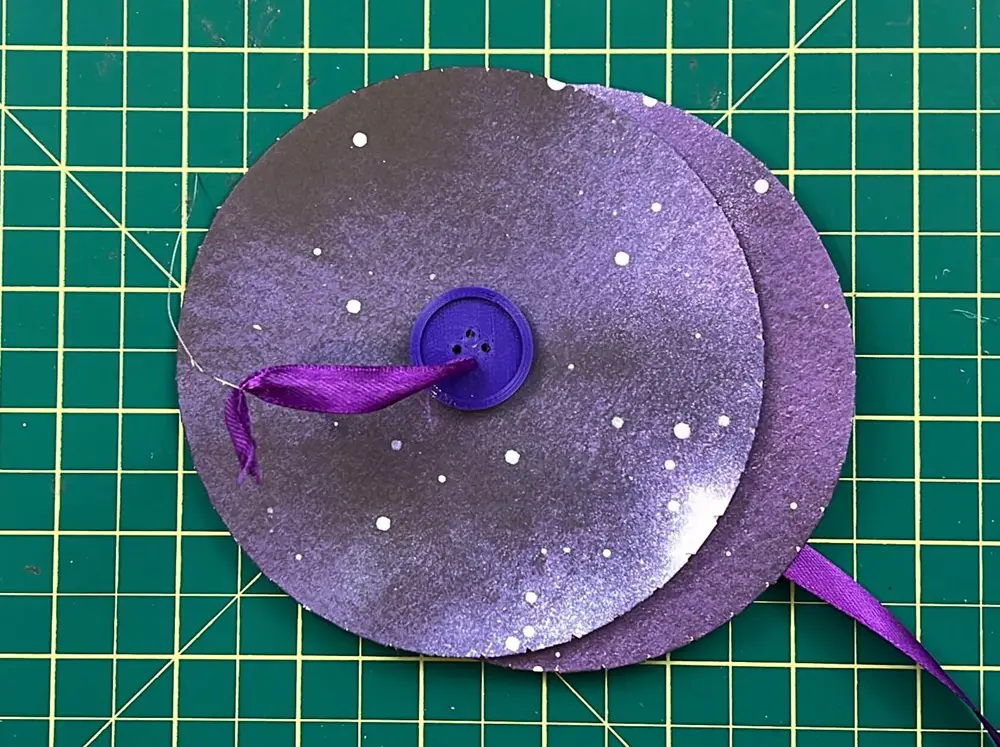
I made a bow and then tied the bow in a knot. But if you do not want a bow, you can simply tie a knot and leave it at that.
Using a lighter, I singed the end of the ribbon to stop it from fraying. Just be careful, as this will be close to the paper, and paper burns quickly with fire.
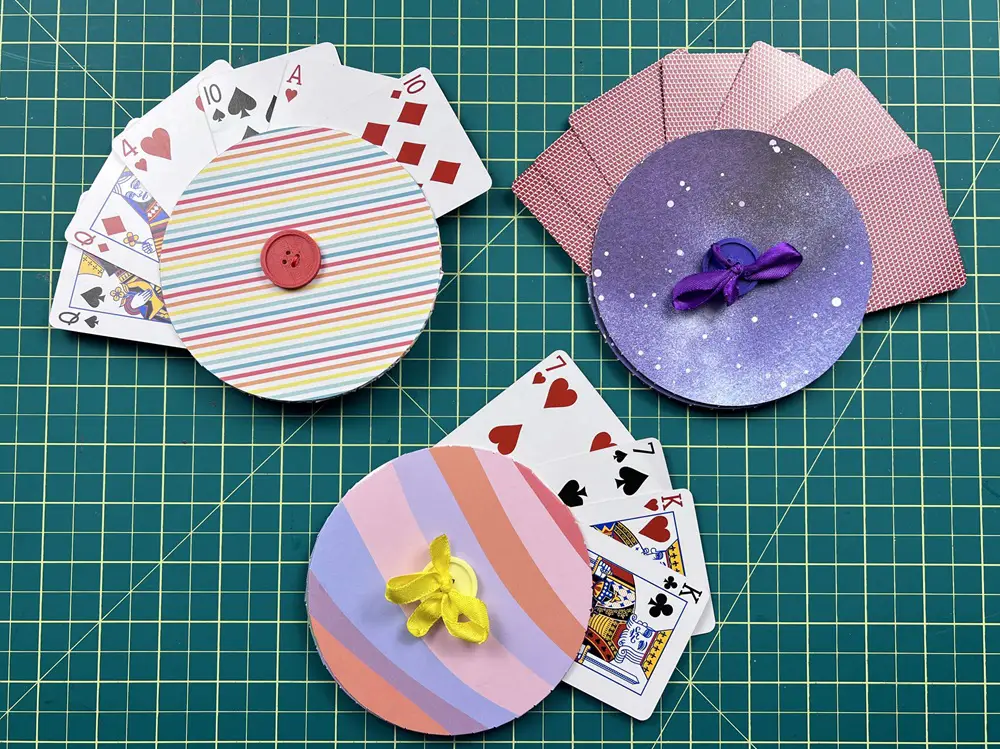
play Cards with your DIY card Holder
Now, all that is left to do is pull out a card game and try out your DIY card holder!
And there you have it! Your DIY Card Holder is Complete!
Things I learned while making this no-sew card holder
- I was excited to do another sewing project, as I don’t do very many but when I thought about sewing a circular cover I quickly got discouraged. I can barely sew a straight line most days, let alone a good circle, so I thought a no-sew card holder was a better idea. And I have to say, I am happy with how it turned out.
- I asked my hubby to try out the prototype…. That was a mistake. Normally, he is a very good test subject. He envisioned the playing card holder holding the cards by itself. Meaning, he would not need to hold the cards or the playing card holder. It did not go well, needless to say… so know your audience! My kids love them because they want to hold their cards fanned out, and now they can.
- Since these are made of cardboard and cardstock, when my kids outgrown them I won’t be sad to throw them into the recycling bin. I would be sad to throw out a sewn project.
- When assembling these playing card holders, you will have one side of each finished circle with an edge from the flat colorful cardstock on it. You want to make sure this is on the outside of the cardholder when assembling it. If it is on the inside of the playing card holder it makes it difficult to put cards into the card holder when playing.
- I made several of these playing card holders. The first set I made, I used 80lb card stock. I found when gluing the tabs to the cardboard, I needed to hold the tabs in place until the glue dried. Otherwise, they would peel up and not lay flat. Later, I used simple thin cardstock – maybe 30-40lb – and it glued down much faster and easier. The end result of both the 80lb and 40lb were the same, but the thinner paper was easier to work with.
- I 3D printed my buttons to match the color of the playing card holder. But any two buttons will work. You can even make your own stopper with more cardboard and cardstock. All you need is something rigid to help keep the 2 large pieces together.
Did you enjoy making the Upcycled craft with me?
Did you enjoy making this upcycled craft with me? Let me know in the comments below! If you tried this craft, let me know how it turned out! And let me know if you have any suggestions to make it better.
Take a look at my other upcycled project here.
For more kids accessory projects, follow this link here