It is birthday season over here again. We already designed an 80th Birthday Shaker Card, which you can see here. So, now it is time to put it together. Because what good is a design if you do not make the card. So let’s jump in and make our Happy 80th Birthday Shaker Card.
As an Amazon Associate, I earn from qualifying purchases. This post contains affiliate links. I may receive a commission if you purchase an item from one of my links. This will not change the price you pay.
Supplies Needed To Make A 80th Birthday Shaker Card
Shaker Cards are fairly simple to make, a bit messy, but simple. So here are the things we need.
- Shaker Card Design – You can check out this post on how to design this shaker card. I designed it in Cricut Design Space, but you can use any other Design Program you like. My other go-to design programs are Vectornator for my iPad and Inkscape when on my computer. But if you do not want to design the card, you can buy this design (with slightly different fonts) here.
- Card Stock – For this card, I will be using two different shades of blue, white and silver glitter cardstock.
- Glue – I use Bearly Art Craft Glue – This is my go-to glue for cardstock since it dries quickly and does not leave stains when dry.
- Double-Sided Foam Tape – For this shaker card to work, you need thick tape to make space between the cardstock and acetate sheets.
- Gems/Glitter/Confetti – As suggested by the name a shaker card needs stuff inside to shake around. You can use gems, glitter, confetti, or whatever you like. Using themed confetti is always fun as well. For this shaker card, I used large confetti, as it creates less mess.
- Cutting Machine – I use my Cricut Explore Air 2, but you can use any Cricut model, or a Silhouette as well.
- Clear Sheet for the top of the shaker – There are numerous choices to use. I have found that using zip-lock freezer bags works well, as they are clear and cheap. You can also use paper protector sheets, thicker ones are better, but thin ones work, also. And if you want it to be very rigid and sturdy, you can use acetate sheets for crafts, or you can use acetate sheets for baking which come in a roll for cheaper.
- Green Painters Tape – this is great for taping down the shaker piece as needed but more ruining the paper when removing.
- Envelopes – For this craft, we are not designing envelopes, you can create your own, or buy large card envelopes here.
- About 15-20 minutes to assemble the card.
Let’s Start Assembling Our Happy 80th Birthday Shaker Card!
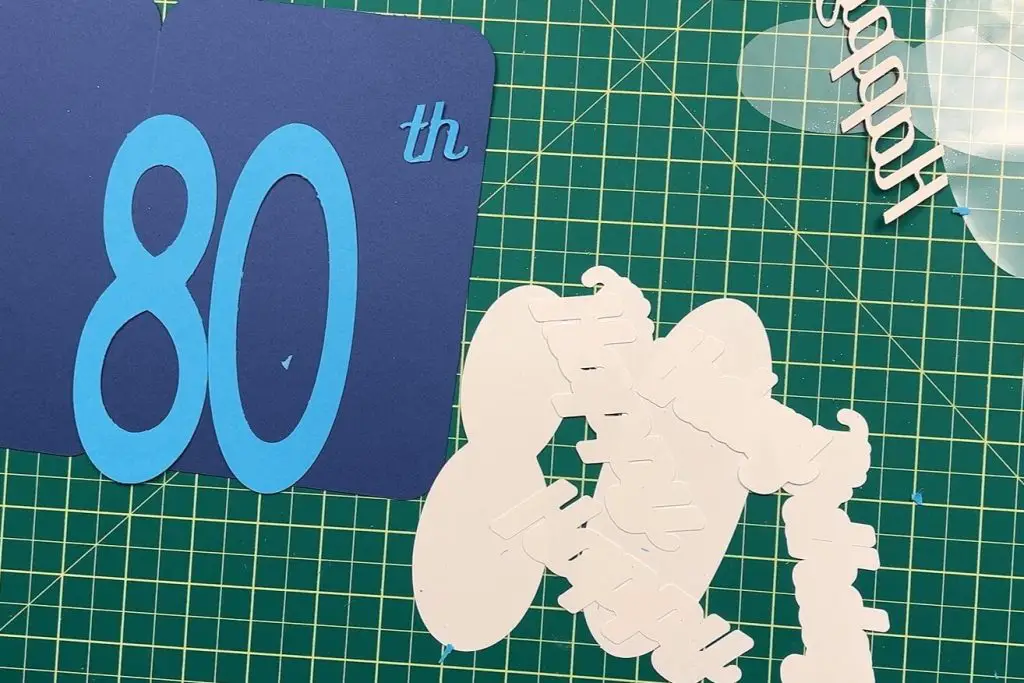
Ok, so we should have all of our pieces designed from the previous post, and now it is time to put it all together. All of our pieces should look something like this picture. And we should have:
- Card body – the main body of the cards, already with a score line included.
- Card insert with sentiment attached
- The number 80 – 3 sets of numbers
- one for the front, unmodified,
- one for the acetate, modified, and
- one for the backing modified
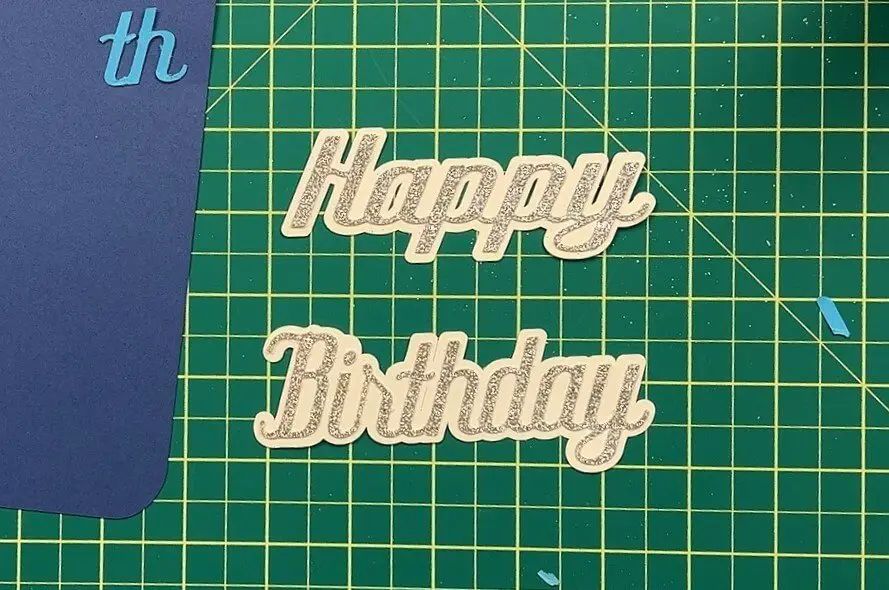
- Text –
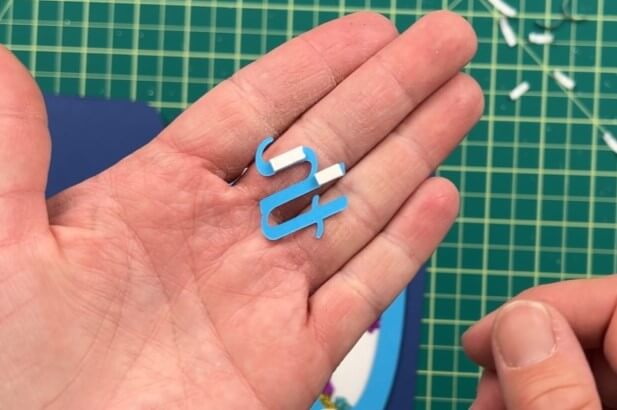
- th – one set of letters
- Happy – 1 set of letters, 2 offsets
- Birthday – 1 set of letters, 2 offset
how to assemble the Shaker portion of the shaker card
Making the shaker portion of the card is the hardest part, so let’s start with this first.
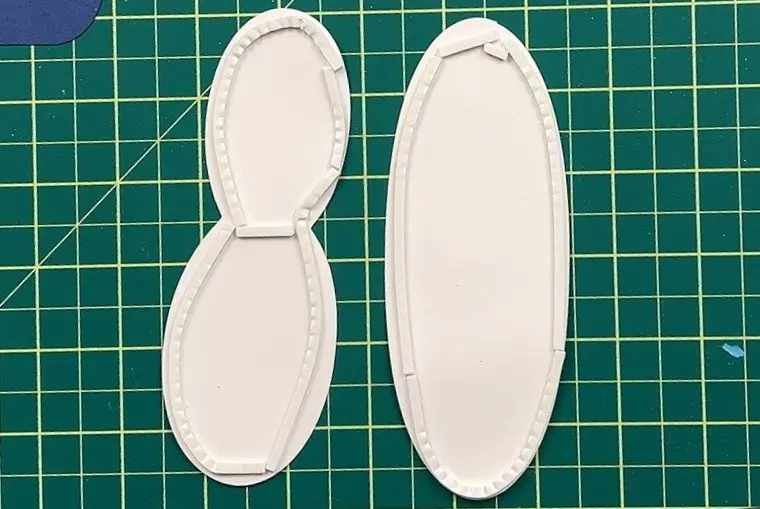
The shaker for this card is the number 80, so we need the 3 sets of the number.
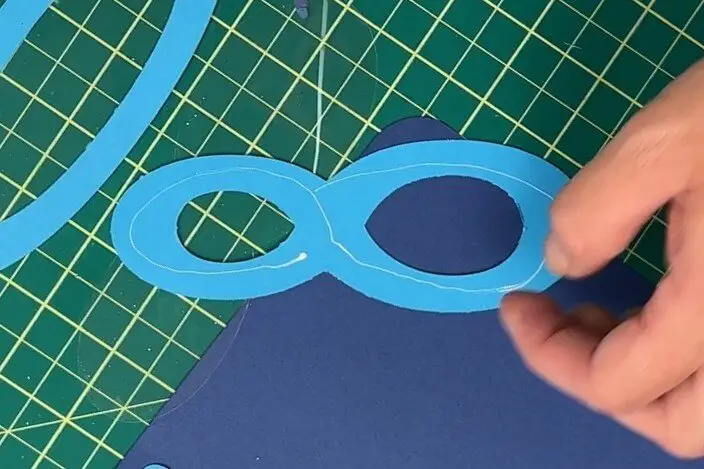
The first thing to do is check the layout of the number. They may not be 100% symmetric after we stretched them in our design. So line up all 3 sets of numbers so they sit on each other without any weird overlap. If they have a weird overlap, flip them around or upside down until they fit perfectly.
On the back of the 8 and the 0, in my case, the blues ones, apply glue. Then place the numbers onto the acetate paper. I like to place them under a heavy book to dry, but this is not required.
Now, apply the double-sided foam tape onto the white backing piece of the modified numbers. The double-sided foam tape needs to go around the whole number, making sure not to leave any gaps between the tape pieces. The nice thing about this number shaker is that the numbers are thick, so you do not need to place the tape right at the edge, nor does it need to be very curvy as it will all be hidden behind the numbers. For the 8, I added a piece of foam tape between the top and bottom of the 8 to make 2 sections. This will allow confetti to be at the top of the 8 at all times.
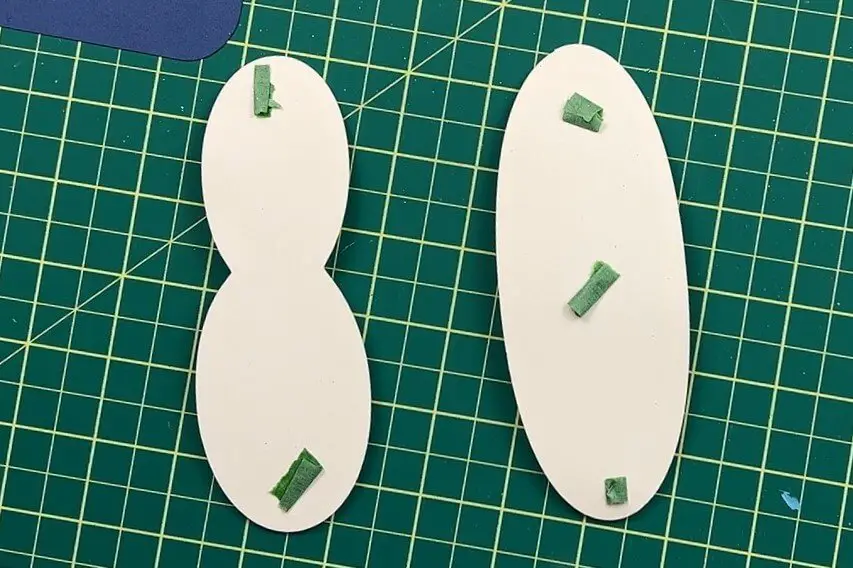
Once you have applied the foam tape around both numbers, roll some green painter’s tape and apply it to the back of the shaker. This will help keep the card in place when removing the tape cover and stop the confetti from bouncing around and sticking to the tape.
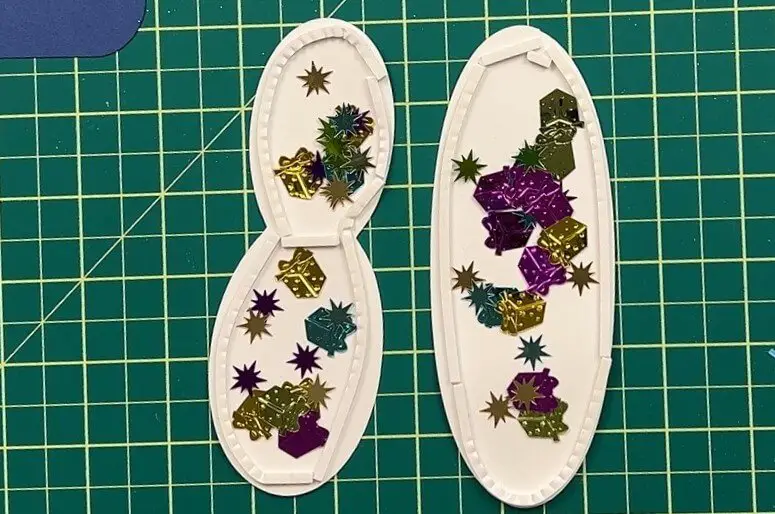
Now for the fun part – adding confetti to the card. This is a fun and easy task. Sprinkle in as much or as little confetti as you like. Once you are happy with the amount of confetti inside the numbers, it is time to remove the backing on the foam tape. Carefully remove the tape backing.
Now it is this time to palace the top numbers on top of the foam tape piece. Align the numbers on top and once happy with the placement, press them onto the tape. Repeat this for both numbers.
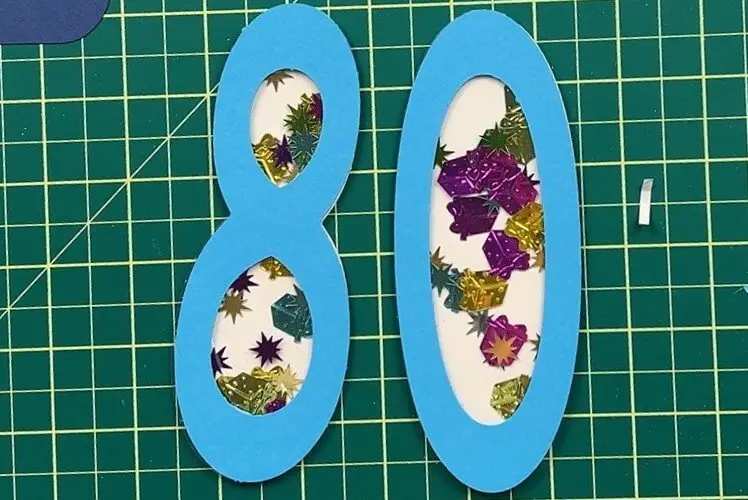
And that is it! The shaker for our shaker card is done!
Assemble the Happy Birthday Text
For each text section, you only need the letters and one offset.
Before applying glue to anything, make sure the offset and the text are lined up and facing the same direction.
Starting with Happy, apply glue to the back of the letters. Place them on top of the offset and try to keep it centered and straight. Repeat the same for Birthday. However, you must place the B and the dot of the “i” separately.
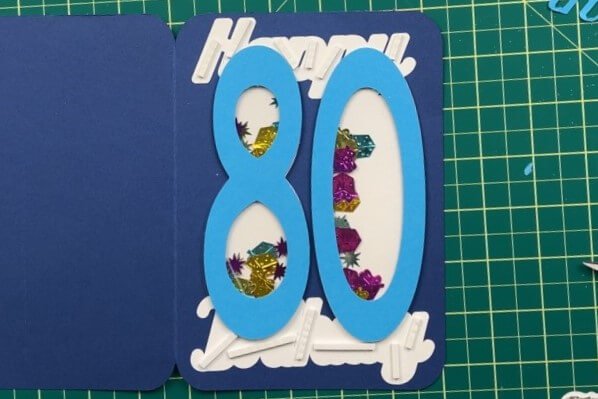
assemble the happy 80th birthday shaker card
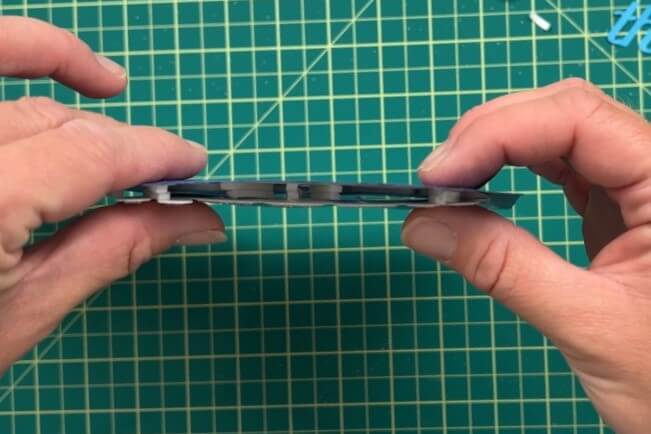
We are almost done! The first thing we need to do is fold the card in half.
We are not yet using glue. We are first going to see how everything fits on the card.
Place the card in the middle of your workspace, and place the 80 in the middle of the card. Then, place the second offset of Happy and Birthday above and below the 80. You will want the offsets underneath the number. You want the whole design to fit on the card.
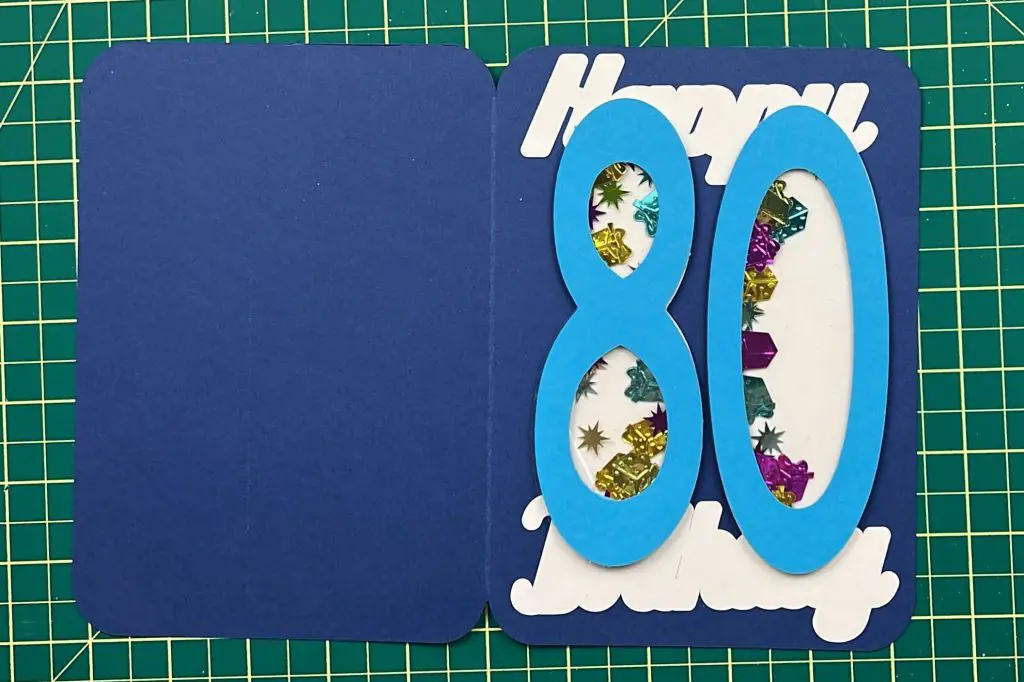
Then place the Happy and Birthday on top, and locate a nice spot of the ”th” on the 0 of the 80. Move things around now while they are not glued. Once happy with the locations of everything, it is time to start gluing.
Remove the Happy, Birthday and the “th”. Glue the Happy and Birthday offsets into place first. Then glue the 80 onto the card.
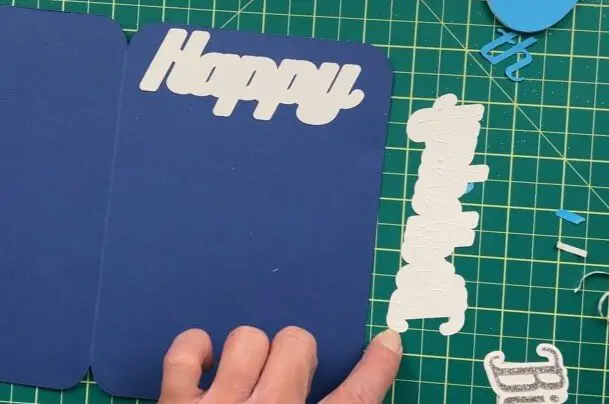
Now, apply 2 layers of double-sided foam tape onto the glued offset sections for Happy and Birthday. This means you are placing a second layer of foam tape on top of the first layer. You want to apply it so no extra tape is sticking out the sides. Once the two layers of foam tape are applied, remove the protective cover from the tape. Place the Happy and Birthday onto their respective offsets.
Finally, apply a small amount of foam tape, 2 pieces high, onto the “h” of the “th” and a small dab of glue onto the “t”. Stick the “th” onto the 0 so it is on the card.
Glue in your Happy 80th Birthday sentiment into the card
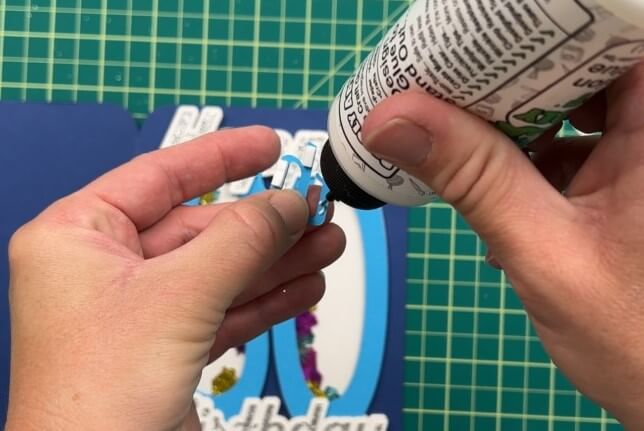
This is the last step! Open the card, and apply glue to the backside of the card insert, which has the sentiment written on it. Center it onto the card and place it down.

And that’s it! Your 80th Birthday Shaker Card is complete!

Things I learned along the way while making Shaker Card
I have taken a break from making shaker cards because it felt like I was going crazy with them. But I think I needed that break to learn a few things.
- Using large confetti instead of small glitter is much easier to work with. It does not make a mess all over the place and does not stick to the double-sided foam tape as much.
- Using green painter’s tape to hold down the shaker portion of the card to take the second protective layer off the foam tape is awesome! This holds the shaker in place and keeps all the confetti and glitter in place, and does not jump around as much as if the shaker is loose.
- Even though I have made a bunch of shaker cards already, I can see myself making more, as there are so many possibilities and events for cards to be made!
Did you enjoy making this birthday shaker card?
Did you enjoy making this 80th birthday shaker card? Let me know in the comments if you tried it and how it went!
If you enjoyed this birthday project, be sure to check out others like it here.
If you want to learn how to make other shaker cards, check out some of my other ones here: