It is always fun for kids to have an advent calendar or a holiday countdown calendar, depending on your preference of terminology. But the end result is the same. A calendar filled with little treats and surprises for the kids. In the past, I have purchased premade calendars. This year, I thought it would be more fun to make one for the kids. As it is a Christmas countdown calendar, I decided to make it shaped like a tree. What better way for the kids to enjoy the holiday season, right?
So, here we go, let’s learn how to make a Christmas tree holiday countdown calendar.
As an Amazon Associate, I earn from qualifying purchases. This post contains affiliate links. I may receive a commission if you purchase an item from one of my links. This will not change the price you pay.

What you need to make a Christmas Tree Christmas Countdown Calendar
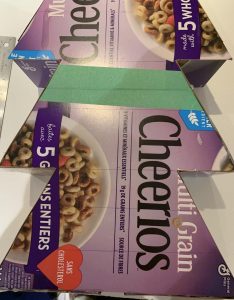
As with many of my projects, I try to use existing odds and ends from around the house. And for this one, my primary material for re-use was empty cereal boxes. Because who does not like to have a cereal box holiday countdown calendar?
- Cereal box – I needed 2 per calendar, based on the size I was making. I could have used only one had I made the design less deep.
- Glue, lots of glue. I ended up using a glue gun for the main construction and regular Elmer’s craft glue for the final touches.
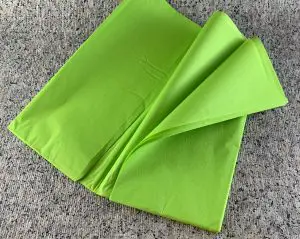
- Tissue paper – lots of tissue paper. I needed green and red.
- Cardstock – Christmas Themed
- Candy/treats to fill the calendar with. This is a great opportunity to use up some left over Halloween candy.
- Ribbon – optional.
- Cutting tool. I used my Cricut Explore Air 2 for the main cardboard cuts and the numbers. I used my paper cutter for small cuts and scissors for precision cuts. But this could all have been done with just scissors. I found the above combination worked best.

Let’s start making our holiday countdown calendar
Design and Cut the Christmas Tree
As I mentioned above, I used a cereal box for the main construction of the Christmas Tree Advent Calendar.
The design for the tree was simple. I drew 3 triangles in Vectornator, and combined them together. It was quick and easy. But if you are not interested in making your own tree, you can get my design below.
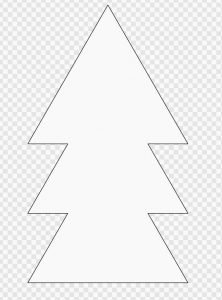
I put the design into Design Space, and my Cricut Explore Air 2 cut it out. The settings I used were:
- Material: Flat Cardboard, more pressure.
- The number of passes: 2 – Make sure you do not unload the mat from the machine when the cut is done. Hit the C to recut. This will keep the cutting lines in the same spot.
- Size – 22″ high, 11 inches wide – this worked out to be one box. If you want a larger tree than you have available from the cereal box, using tape to hold cardboard pieces together also works.
Get your Free Christmas Tree Cut file to help make your
Christmas Tree Countdown Calendar
Design and Cut the Calendar Outer Walls
Now that the back of the calendar is done, you just need to cut the walls of the calendar. My vision required that the depth of the box be 4″, as I wanted to fit in a medium-sized KinderEgg. I could have omitted that and made the depth 2″ or less. This 4″ requirement forced me to use a second cereal box.
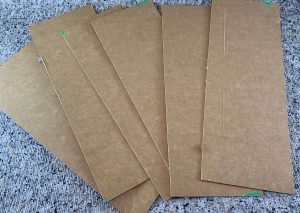
I I just cut the length of the cereal box, again, using my Cricut, but scissors or a paper cutter will do. I needed 6 strips of cardboard to go around the edge of the tree.
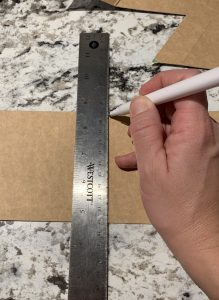
Measure the sides so that you can pre-fold the wall pieces. This helps with gluing. I used a ruler and a scoring stylus to score the cardboard. This creates a clean edge for folding. Once all of my pieces were measured and folded, I was ready to start gluing.
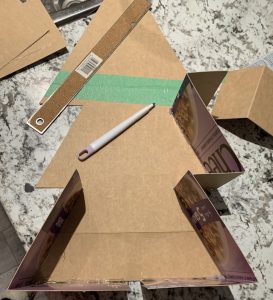
Using your glue gun or other glue, glue the walls to the base. I was not overly worried about small gaps, as I was going to cover the whole tree with tissue paper, so they would be hidden anyways. When gluing the pieces together, I recommend keeping the brown side of the cardboard facing out. Even though my plan was to cover the box, the cereal box colors are visible through the tissue paper.
Design and Cut the inner sections of the Advent Calendar
Since this calendar is counting down to Christmas, you need 24 compartments. This is not rocket science, but you need to plan your tree to have enough space for everything. Based on my candy and treat selection, I came up with the following layout for compartments. Not all compartments are the same size, which is nice for modifying treats.
Measure Calendar Compartments
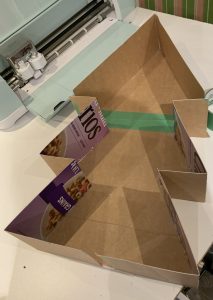
With the outer box constructed and compartment design finalized, I needed to cut the inner wall pieces.
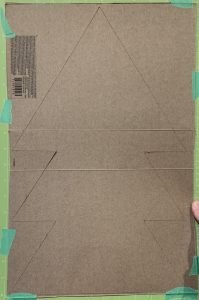
To keep things accurate, I flipped the box and made some sketches and measurements on the back of the box.
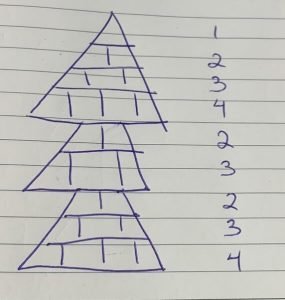
I drew out the location of each level on the back of the box so that I could measure the length required. As my box was 22″ high, I came up with the following locations and sizes.
From top to bottom, these are the locations of the base/floor and the width.
- 3″ down = 3 1/4″ wide
- 5″ down = 6″ wide
- 8″ down = 8 1/2″ wide
- 10.5″ down = 5/5″ wide
- 13″ down = 7 3/4″ wide
- 16″ down = 5.5″ wide
- 17 1/2″ down = 7″ wide
- 19 1/4″ down = 8 3/4″ wide
At this point, I switched from cutting with my Cricut to using a paper cutter. I found this faster as each piece needed to be individually sized, and some needed trimming.
Again, remember that each base/floor piece needs to be the same depth as the outer walls, so in my case, this was 4 inches.
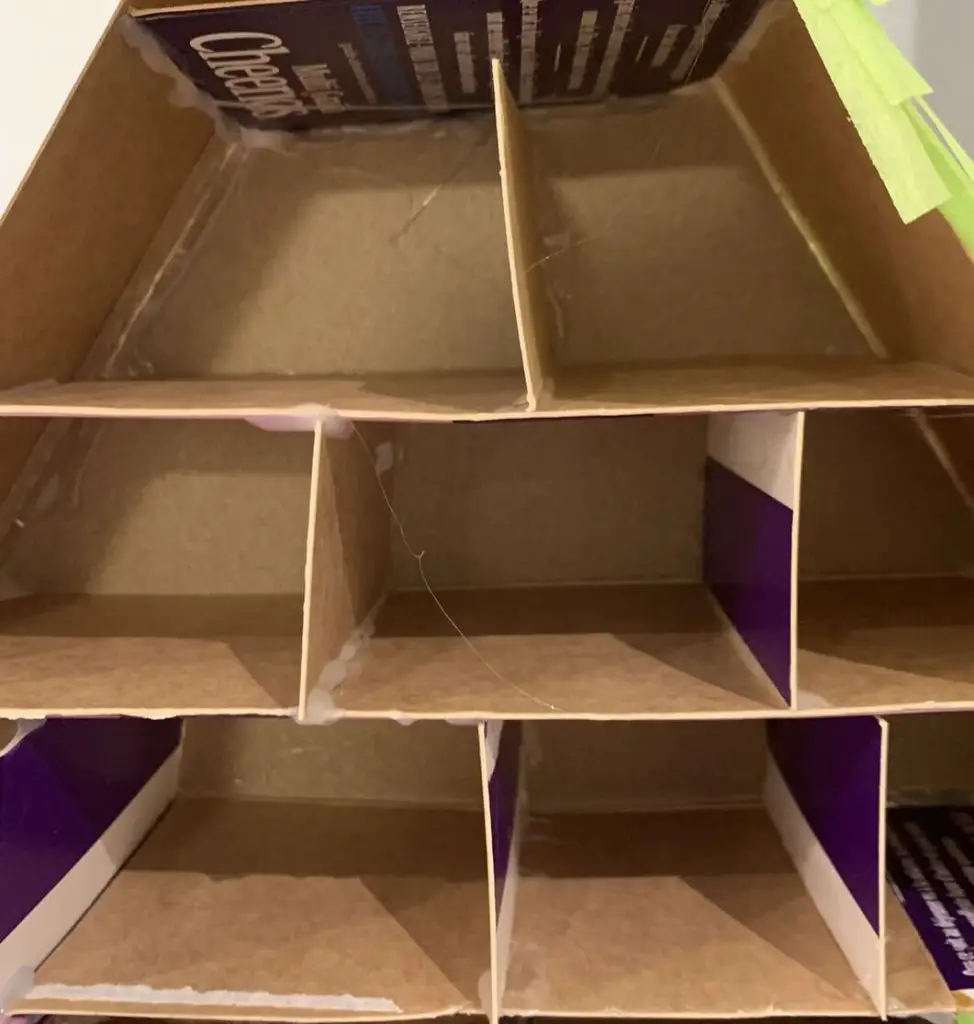
Once all of the pieces were cut to size, I used my glue gun to set them into place.

Cutting compartment Dividers
Based on the sketch above, I needed 15 dividers to make the 24 compartments. As each piece was different in size, I found that using my paper cutter and scissors was, by far, the fastest way.
Once all the pieces were cut, I glued them all in. I found it helpful to keep the divider pieces organized in their sections. This allowed me to quickly glue the walls into their spots.
Fill the Advent Calendar Compartments with Treats
This is a simple step, but you need to make sure you fill the compartments before you seal the calendar. And this may sound silly, but you need to get 24 things. I used a lot of leftover Halloween candy, and I also purchased some KinderEggs because they have toys inside. But if you are like me and have more than one kid, you need a lot of treats. So get these ready and put them into the compartments.
Also, something to keep in mind. If your intention is to have a big, fancy treat for the last day, make sure you remember which compartment will be on day 24.
Decorating the outside of the Christmas Tree Countdown Calendar
There are three steps required for decorating the tree. You need to do the front face, the sidewalls, and the calendar numbers. From my experience, doing the front face first works best.
As this is a tree, I needed lots of green tissue paper.
Decorating the front of the Tree
Check the compartments and make sure they are all about the same height. If some sections are protruding, trim them down with scissors. This is so that they do not rip the paper when you are covering the box.
Using a paintbrush and craft glue, glue the outside edges of the Christmas Tree, and apply glue to the tops of all the compartment walls. I used crafting glue instead of my glue gun because it does not dry too quickly. Apply the tissue paper on top of the calendar face. Press down along all of the compartment edges and around the outside of the box.
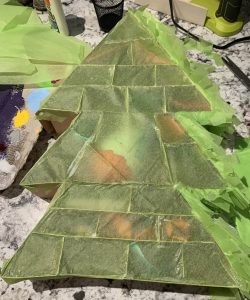
The tissue paper I purchased was thin and slightly transparent. So, I had to use 2 pieces of tissue paper. I repeated the steps above for the second sheet.
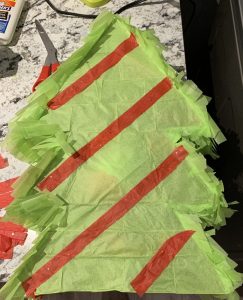
This was an ideal good time to add a bit of extra design to the tree. I used some red tissue paper as tinsel on the tree.
Decorating the Side of the Tree
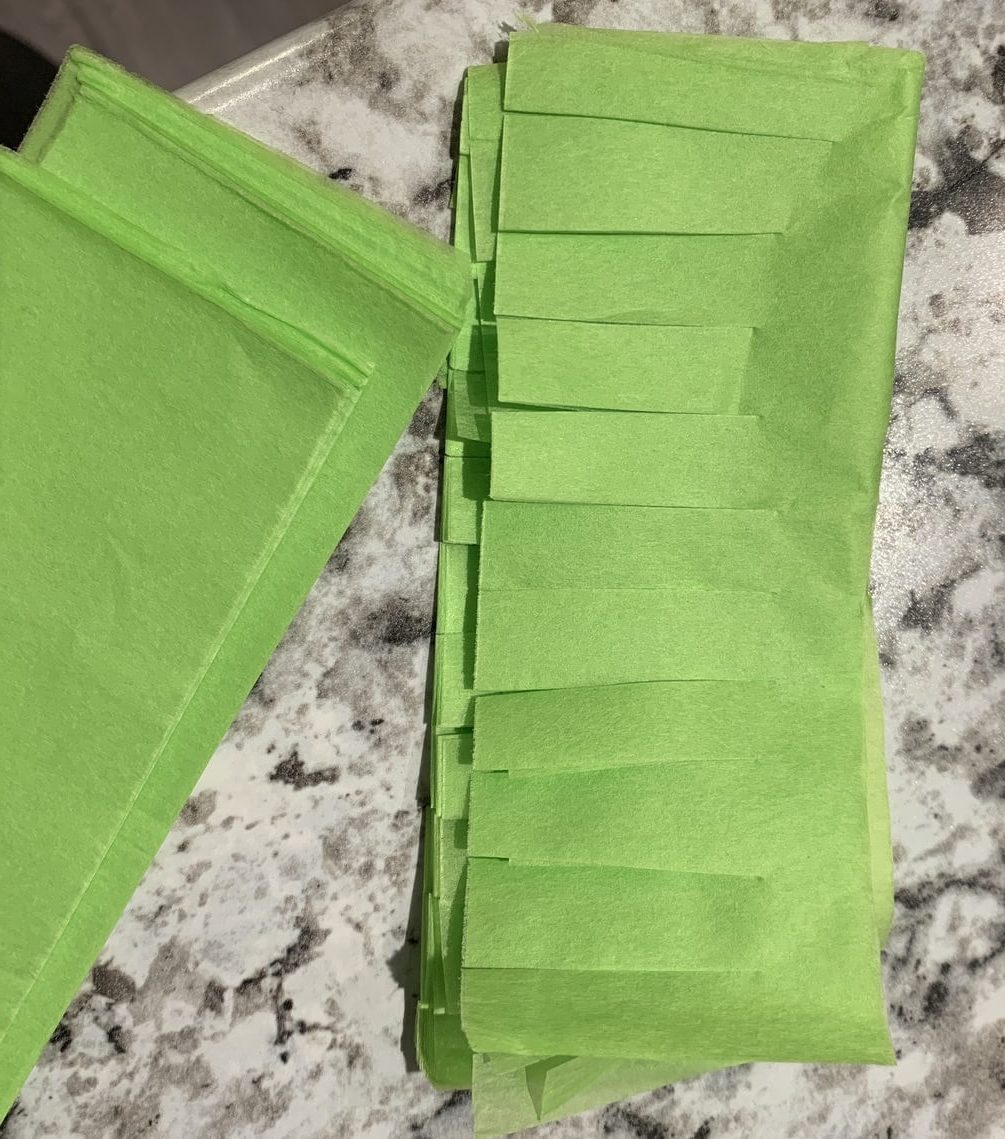
For the outside walls of the tree, I wanted to make the tree have some texture, so I cut strips about 1.5 inches tall and just a bit wider than the depth of the box (so just over 4 inches in my case). I then cut the strips to look like a comb. All of this cutting was done with about 10 sheets of tissue paper at a time.
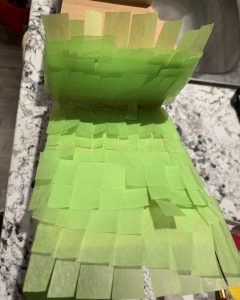
Using a paintbrush, I painted crafting glue onto the cardboard and stuck the strips onto the outside of the tree. When applying these tissue paper strips, you want to start at the bottom and work your way up the tree to produce a layered effect.
I also did the undersides of the tree so that there is greenery all around.

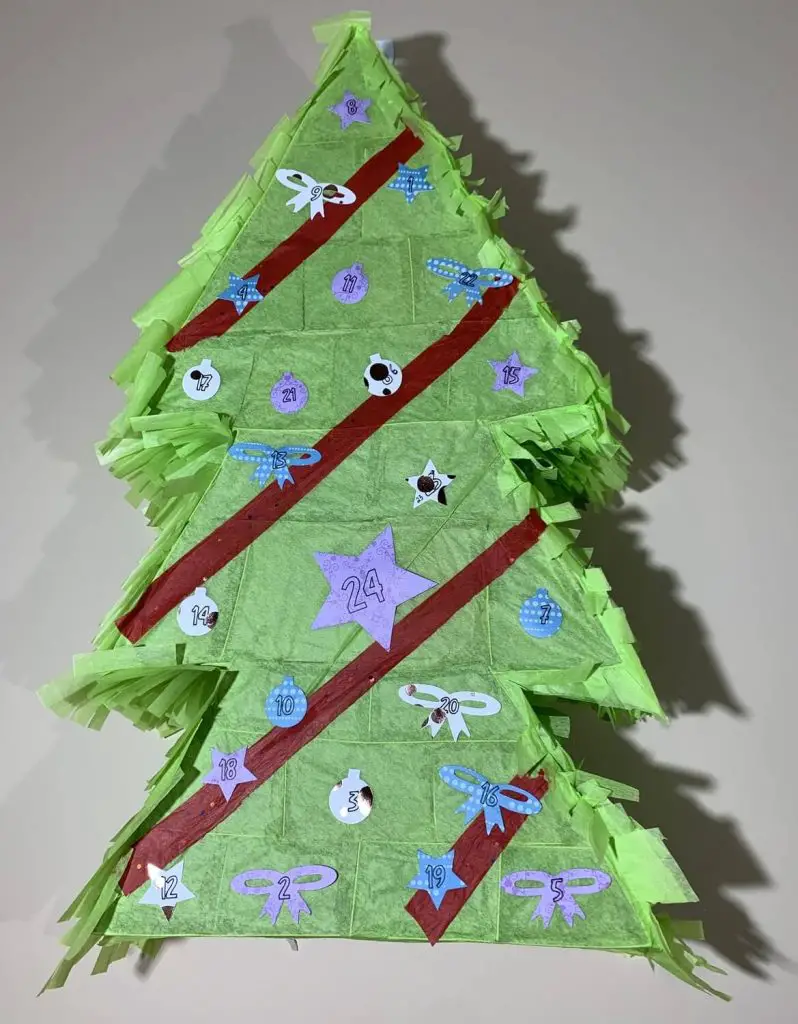
Add the Calendar numbers
As with every holiday countdown calendar, you need numbers. I made a set of numbers that are on stars, Christmas bulbs, and bows. I alternated between the three designs for each number to make the tree look more festive. In addition to the three designs for each number, I used different paper colors to give the tree more personality.
You can make your own, or you get get a copy of mine below.
Once you have all of the numbers cut out, glue them onto your calendar. I like to randomly place numbers anywhere, but you can put them in any order.

Get your Free Numbers Cut file to help make your
Christmas Tree Countdown Calendar
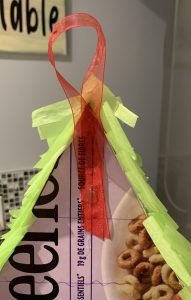
Optional – Install a Hanging Ribbon
My Christmas Tree Advent Calendars are hanging on the wall, so they are out of the way, so I grabbed a piece of ribbon and glued it onto the back of the tree. I used a 1/2 inch thick ribbon and my glue gun to make sure it stayed on tight.
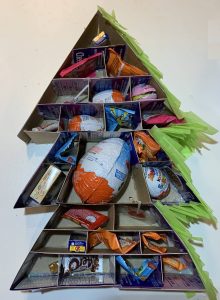
And that’s it! Your Christmas Tree Holiday Countdown Calendar is Done!
Things I learned while making the Christmas Tree Holiday Countdown Calendar
- I like to use my Cricut to cut cardboard because I find it works really well, and I do not hurt my hand by cutting lots of cardboard using scissors.
- Not all cereal box cardboard is the same. Some can be really thick, and some much thinner. If you use thick cereal boxes, like Rice Crispy’s you may need more than 2 cuts. If you are using thin ones, like Crispix, 1 pass is enough.
- I used tissue paper as this would be easy for my kids to break through with their fingers. It is possible to use thicker paper, cardstock, or even wrapping paper instead.
- I cut about 10 pieces of tissue paper at a time, and it would stay together as a group. When applying the strips of tissue paper to the cardboard, I would grab a bunch and place the whole thing on the glue. Only the bottom piece would stick. I could then pull off the rest instead of trying to individually pull apart each piece.
- I applied glue to all of the compartments to help reduce the rip size while opening each compartment. My hope is the rip will only go to the glue and along the edges and not into the next section or compartment.
- I draw my numbers with my Cricut. I find that numbers such as 0 or 8, any number with a hole in them, become a challenge as you lose the inner part. So I have just resorted to having my Cricut draw the numbers instead and cut out a shape around the number.
Did you enjoy this post?
Did you enjoy this post? Check out other Christmas themed posts like:
- 8 Easy Things to Prepare for Christmas
- How to make Custom Cards
- DIY Beer Advent Calendar
- DIY Wine Holiday Countdown Calendar
Don’t forget to sign up for my newsletters! You’ll get inside tips on upcoming posts and additional behind the scenes details about what’s happening on the site!