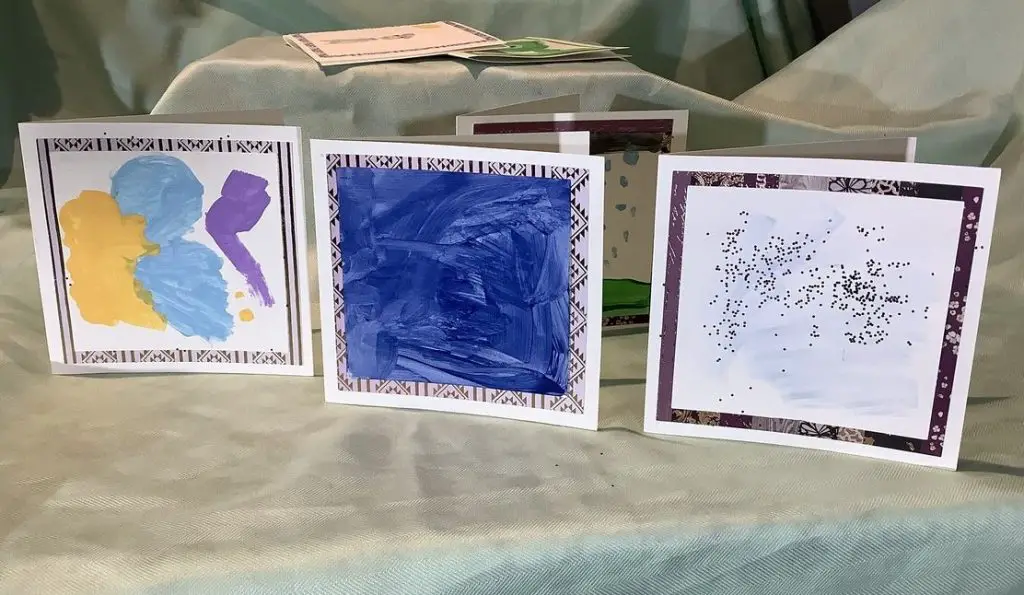
You always need to have Cards handy!
As you know, I like to make things myself. Either it’s from a desire to make something nice or to make it better and cheaper, but I prefer to do it. One thing that I have done is to create custom cards. I will make lots of cards in advance so that I have them handy. They are done in my spare time, and then when a holiday, birthday, event comes up, I have a card ready and waiting. I will also have my kids help me make custom cards, as they always like to help, and they go to more birthday events than we do.
So, I thought it would be fitting to have a quick tutorial on how to make custom cards. I do this in bulk, but you can do it one at a time. The steps below show how to make one card, but you get the idea.
As an Amazon Associate, I earn from qualifying purchases. This post contains affiliate links. I may receive a commission if you purchase an item from one of my links. This will not change the price you pay.
Sign Up To Get A FREE Printable Thank You Card
I’ll send you an email with a PDF and SVG file of a Thank You Card for your Personal Use.

What You Need:
- White paper/cardstock – This is the stuff that I use.
- Colored paper/cardstock – This is the colored paper I use.
- Sharp edge/Scissors/Paper cutter
- Tape or glue.
- Coloring tool – crayons, pencils, paint, scrap paper… you pick your poison.
Let’s Begin!
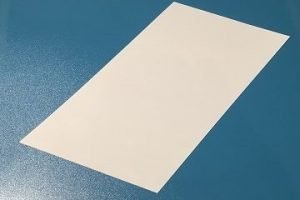
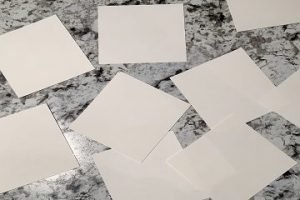
Cut Your paper
These are standard card sizes:
- 4.25″ x 5.5″
- 4.5″ x 6.25″
- 5″ x 7″
But you can make any size you want.
You want to make sure you cut your paper so that it is 2 times the width as you will be folding it, so you need to have extra material. So, if you want a 4.25″ x 5.5″ card, you need to cut it at 4.25″ x 11″. Or it can be folded the other way, which will require the paper to be 8.5″ x 5.5″.
Using your preferred method, cut the card to the dimensions required. Either scissors, a paper cutter, or a sharp edge with a ruler will work. Just remember that you want the edge to be straight, so eye-balling it may not be the best option.
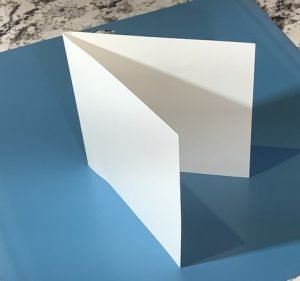
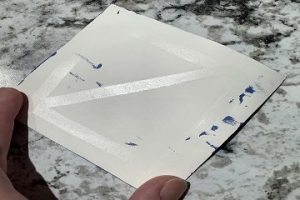
Fold the Card
This is simple, fold it. But as you are using cardstock, it is thick and can be a bit tough to fold without creating extra creases. I recommend using a scoring pen. Measure the center on both sides, use a ruler and press the stylus across the cardstock. And fold.
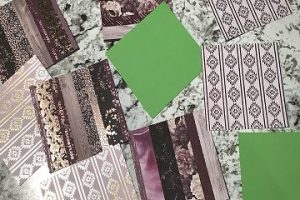
Accent Papers
I like to add an accent paper.
The accent paper should be about 0.5″ smaller (length and width) so that it displays nicely on the card. his way, there will be a 0.25″ border. You can make it larger if you want. It’s all a matter of personal preference.
For example, for a card that is folded at 4.25″ x 5.5″, the accent paper should be 3.75″ x 4.75″.
Cut a colored paper of your choice to size.
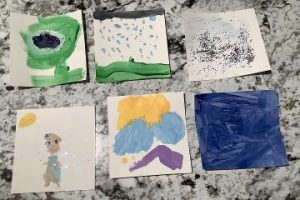
Add your personalized design
I like to add my design to white cardstock.
Again, the design sheet should be about 0.5″ smaller (length and width) so that it displays nicely on the accent paper. This way, there will be a 0.25″ border. You can make it larger if you want. It’s all a matter of personal preference.
For my cards, I’m going to cut the cardstock to 3.25″ x 4.25″.
Add a design.
I had my kids do art projects on little papers. But if you’re artistic, you can make your own personal designs.
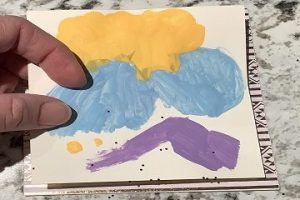
Assemble the Pieces
Now for the tricky part. You need to affix the design to the accent paper and the accent paper to the card.
I do this all at once with my glue-tape, but you can use tape, craft glue, anything that sticks.
Try to align 2-3 corners before you press the papers together. This will help you get all the pieces centered.

A Card for Every Occasion
The last thing to do is add a personalized message on the inside when you need to use it!
And That’s It! You’re Done!
What I learned
- It takes time to get cards to fold with a nice straight edge. You need practice, so the first cards you make will be less perfect, but in time it comes. This is why I like to use my Cricut with my scoring stylus to get nice clean edges and a nice clean fold line. But a paper cutter is also a good investment.
- Cutting straight lines is difficult with scissors. If that’s your only option, I recommend using a light pencil to mark the line to cut. This way, it can be erased later.
- Centering the accent paper and design takes practice. It’s not easy to eyeball a perfect fit. But again, with practice, you’ll get better. And remember, these are homemade cards, so they don’t need to be perfectly perfect.
- When attaching the accent paper and design paper onto the card, for best results, keep the card open. This will allow you to have placed the pieces down straight.
- If your kids do lots of drawing/painting/etc. You can always just take a picture they have made in the past and cut it to size to use it as the front of the card.
- If you are using paint, remember the card stock will curl, so you will need more glue.
- Make sure you go to the edge of the paper to get good contact and adherence, for both the design paper and accent paper.
Was this Tutorial Helpful?
Did you find this tutorial on how to make custom cards helpful? Let me know your thoughts in the comments below!
If you liked this tutorial, be sure to check out my other card making tutorial here.
Sign Up To Get A FREE Printable Thank You Card
I’ll send you an email with a PDF and SVG file of a Thank You Card for your Personal Use.

love this
Thanks so much!
Such a cute idea! We will have to try these out this year.
That’s great to hear! They are super fun to make!
Cute. I used to make cards like this with my kids. Not as fancy, but drawing.
I find so long as they are made from the heart, the talent level doesn’t matter. 🙂
Love this idea for cards!
Thanks! My kids loved making them with me, and people love getting home made cards!
i really love this!
Thanks so much! It’s fun to do with the kids!