Why Create SVGs To Share?
I normally use my Cricut and Design Space for my crafty, vinyl, decals, cards, accents, etc. And its a great product and I use it as much as I can. However, there are limitation to what you can design in their software and sharing is a bit of a challenge.
If I create a design but purchased some of the elements I can’t share the whole thing. My friends also need to purchase those elements. I totally understand, it’s a business. They want to make money. But I’ve always been more of a “how can I get this cheaper or better yet, free” kinda-gal, so that’s what I tend to lean towards.
Now, I can make SVG’s, simple ones mind you, that I can share with my friends and my readers!
How TO Make an SVG Card With Inkscape
So, if you’ve been following me you know that I have just released my first freebie! As it was quite the learning and stressful event, I just needed to write it down and share it with you! So, Welcome to my How to Make an SVG Card Tutorial!
Also, now I have somewhere to come back to and check out how to do it again!
I have to apologize now for the abundance of images…. I just really needed that many to help me remember!
Sign up to get a FREE Printable Thank you Card
I’ll send you an email with a PDF and SVG file of a Thank You Card for your Personal Use.

What You Need:
- Inkscape – you can get a free copy here
- Time
- An abundance of Stress you really want to exert 😛
Let’s Begin!
Create your Card Size
Open Inkscape
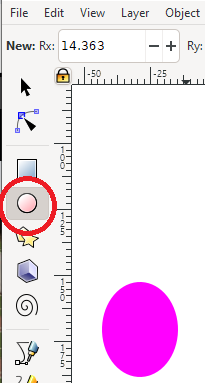
We’re going to create a rectangle. Sound pretty simple but just in case – on the the image I have circled in red where to click to make a rectangle:
- Small circle on the left – click it and go to the page and click and drag a rectangle,
- Where to change the size of the rectangle – circle at the top. Make sure the rectangle is drawn and selected to make these changes, and
- Where to change the color of the rectangle – circle at the bottom of the page, again make sure the rectangle is selected.
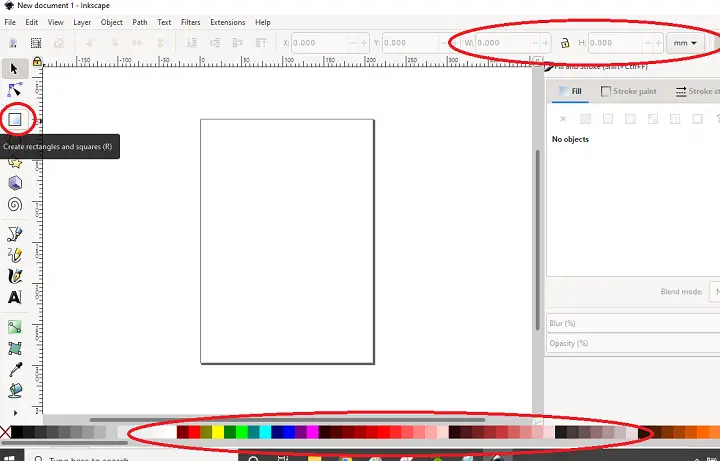
For this card, my rectangle will be 9.5×6.75″. You can make it bigger or smaller to your hearts content.
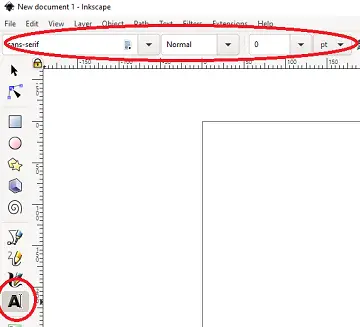
Create and Edit text
Again, on your left hand size, there will be an option to create text, as shows in the circle at the bottom left of the image. Select this and click and drag a box for the text. It can be anywhere you want as you can move it later.
Also, at the top of the screen, you will have options to change the text type, style and size – top center circle.
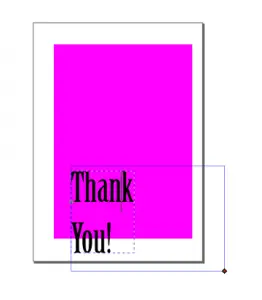
For my card, I selected to use Birch Standard font, Normal style and increased the size to the max of 144. You will now notice that part of my text is missing. This is because the original text box I made wasn’t large enough.
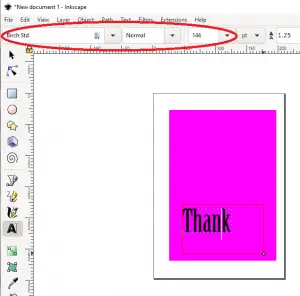
I simply need to click on the little diamond at the bottom right corner of the text box and drag it out. Now you will see the full text.
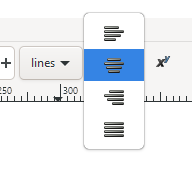
The text is left justified but I prefer the text to be centered.
While having the text box selected I am able to adjust the text to be centered, left or right justified by clicking the circled button on the right. If your text is not selected, this menu item is not available.

Creating Attachment Slots
When I make cards, the letters are cut out, so they need some sort of backing to go on the inside front cover. This backing needs slots to attach to the card (or you can skip this and just use glue instead… which I just thought of now…..)
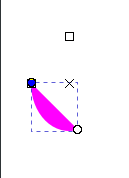
For this, I’m starting out with a circle.
There is a feature in Inkscape that allows you to make an arc out of a circle. The circle will have a small ball at the bottom/side. If you click and hold it and drag around the circle, it will make the circle into an arc.
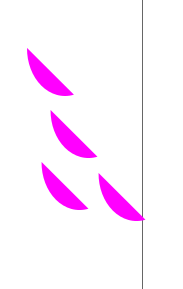
This will be used as one of the corner pieces for the backing card.
As I have 4 corners, I need 4 arcs. So I simply copy and paste to create 4.
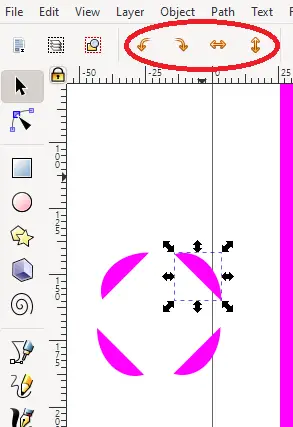
With the arc selected hit CTRL C and then CTRL V or you can use the toolbar at the top of the screen.
For symmetry these arcs will need to be flipped and rotated so that they open up to the backing card. I used the rotate and flip buttons circled on the right to make the correct configuration.
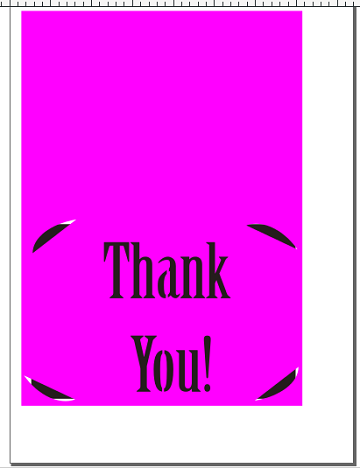
Placing the Design
Now move all of the pieces into place as shown on the right.
This is a good time to do a final check to make sure that the text and arcs don’t go above the bottom half of the original rectangle. The card will be folded in half and you don’t want to have part of it on the back.

Here comes the tricky part.
Inkscape has FAQs on how to do this and there are several ways to do it. They can be found here.
But if you don’t want to read through their documents, this is how I do it.
Select all of the items.
From your top menu select Path>Reverse.
Then, again select all of your items and from the top menu select Path > Combine.
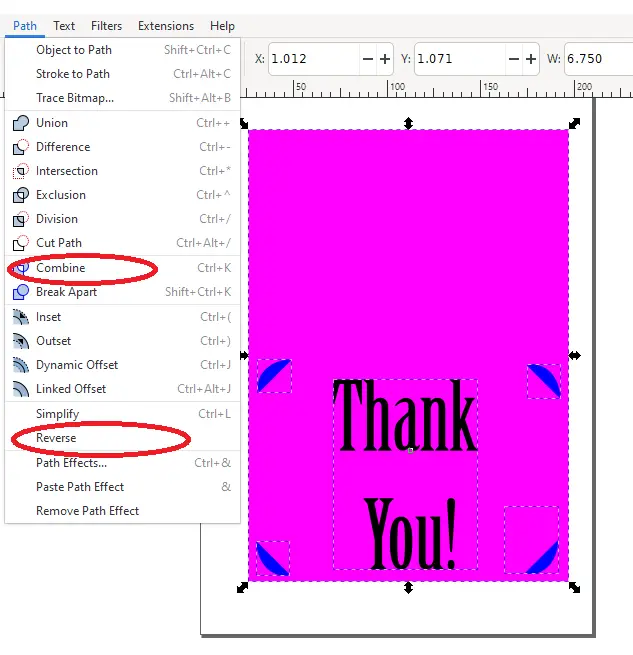
Once your items are all combined, they turn into one color with a cut out as show on the right.
One thing to keep in mind when using text, letters like O and A have centers that fall out, so they need to be attached.

Letters like O and A need modifiations!
I simply made 1 small rectangle that I thought was a good size, made 3 copies of it and placed them on the O and A.
I have placed them so that they are in the center of the letter and all the way outside the letter. Color doesn’t matter.

Again, I select all of the items on my screen. Make sure you grab all of them. As the card rectangle is much larger than the rest of the content it sometimes gets missed as you need to grab the whole rectangle.
Go to Path > Union

Now you have centers for the letters that won’t cut out.

Create Backing Paper
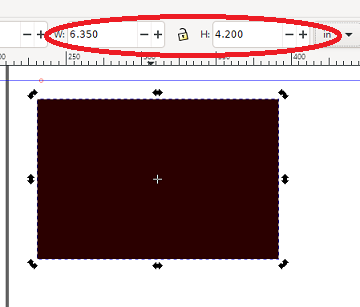
I make a simple rectangle – the same way I did at the start of the tutorial. This one took some trial and error to get the correct size as I needed it to fit into the slots that I created.
After some work, I found that 6.35″x 4.2″ worked. But you’ll need measure the slot spacing on your card. You can do this directly through Inkscape. Keep in mind you want the backing card to be slightly smaller than the slot spacing for it to fit.
Combine
You will notice I have placed the backing behind the card to see how it looks.
As mentioned above, there are some gaps with the backing paper. These won’t be visible when you cut the card.
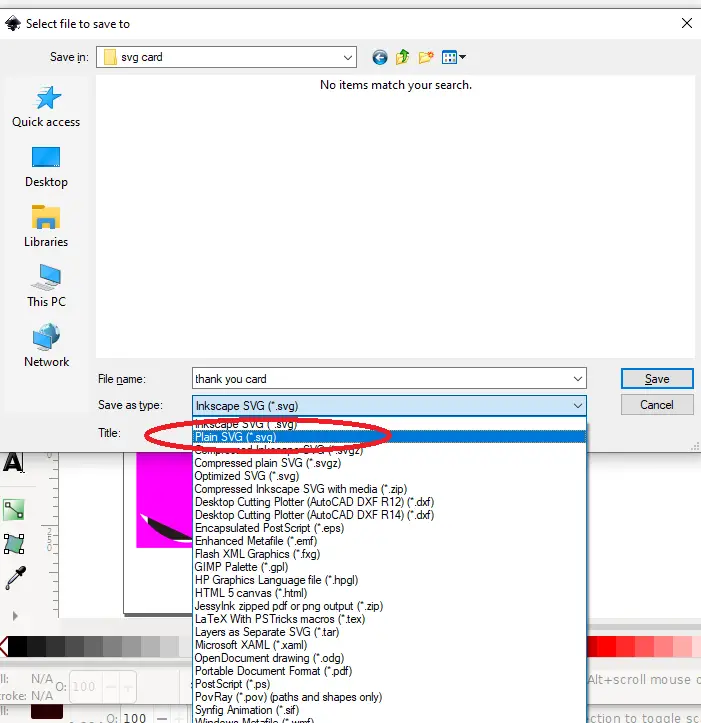
Save
Last important step – when saving an InkScape SVG file that you want to use with your Cricut, you need to make sure to Save As > Plain SVG.
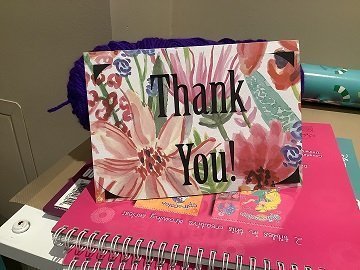
Import and Cut
Import the SVG into your design space or other software and send it to cut.
There is an error message that sometimes pop-up in Design Space with SVGs that have text in them but it doesn’t stop the file from working.
Select a nice or plain piece of paper to cut it out on.
And That’s It! You’re Done!
Was this Helpful?
Did this tutorial on How to Cake an SVG Card help? Did anything work/not work?
If you tried it let me know how it went, and send me a comment below!
Don’t forget to check out my other tutorials here
Sign up to get a FREE Printable Thank you Card
I’ll send you an email with a PDF and SVG file of a Thank You Card for your Personal Use.