I’m in full swing of getting ready for summer, so time to get my freeze pop holder customized and ready to go. My kids always complain that freeze pops are too cold to hold but they need to eat them to cool down. We have used paper towels, but those just end up in the garbage, so we are trying out some sleeves this year, so it’s time to learn how to make a freeze pop holder. Keep reading to learn how to make it on both the heat press and with an iron.
As an Amazon Associate, I earn from qualifying purchases. This post contains affiliate links. I may receive a commission if you purchase an item from one of my links. This will not change the price you pay.
Supplies needed to Make a Freeze Pop Holder
This project wasn’t able to use existing bits and pieces from around the house, so here is the list of what I used:
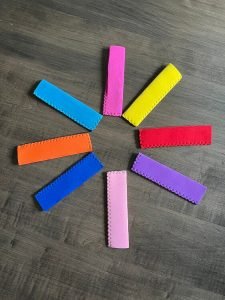
- Freeze Pop Holders/Sleeve Blanks – I bought these on Amazon, and they work great so far.
- Designs for your Sleeve – I created my own, and you can get a copy from my library or you can make your own.
- HTV Vinyl – I used this black and white HTV vinyl again from Amazon.
- Cutting Machine – I use my Cricut Explore Air 2, but any cutting machine will work.
- Iron or Heat Press – This craft can be done with either a heat press or an iron. I used my CoZ Heat Press and my Sunbeam Iron.
- Teflon Paper

Make a Design for your Freeze Pop
You can jot down some words in Design Space and send them to Make It. Or you can buy some SVGs of neat sayings, or you can sign up for my newsletter and get a copy of my designs.
Once you are happy with the sizes and colors you have selected to cut them with, simply send the design to be cut with your cutting machine.
Since we are using HTV vinyl, we just need to do a quick weeding of the surplus HTV vinyl and no need to worry about transfer sheets.
Preparing your Freeze Pop Sleeve
Regardless if you are using an iron or a heat press, you need to prepare your neoprene freeze pop sleeve before you can apply the HTV vinyl onto them.
This is really simple. All you need to do is apply heat with an iron or heat press to remove any moisture in the koozies and make sure they are flat and wrinkle-free.
Once you have done that, you are ready to press the design onto the freeze pop holder.
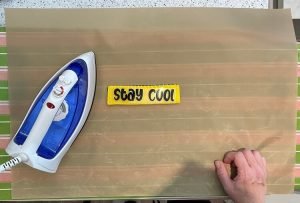
How to Make a Freeze Pop Holder with an Iron
When using an iron to apply HTV Vinyl, it is best to use a cotton setting. Many irons no longer show temperature ranges, but typically an iron cotton setting ranges at about 204C/400F. This temperature is higher than most HTV recommendations, but I find this works best. Below is a list of typical temperatures for different material settings on an iron to help you pick the right temperature for your HTV vinyl.
- Synthetic – 135C/275F
- Silk – 148C/300F
- Wool – 148C/300F
- Cotton – 204C/400F
- Linen – 230C/445F
Once your iron is to temperature, place the design onto the freeze holder. Try to make sure it is straight.
I use Teflon paper to keep my iron and projects safe, so I will cover my sleeve with the design in place with the Teflon paper and press the iron on top.
Using an iron requires that you apply pressure to the design to help the HTV vinyl stick. I will typically lean my whole body on the iron to get a good amount of pressure. If you do not apply pressure, the design will either not stick or come off very quickly after use.
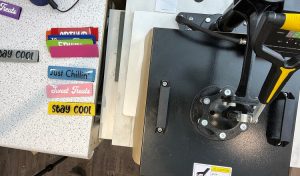
How to make a Freeze Pop Holder with a heat press
When working with my heat press, I have the luxury of setting the temperature to the exact setting I need based on the HTV vinyl instructions. However, I have found that my heat press, when set to 300F is the sweet spot, and all vinyl seems to adhere with no issues.
Again, using Teflon paper to keep my heat press and project safe, I apply the design to the freeze pop sleeve, cover it with my Teflon paper and close the heat press on top. With neoprene, I have found that 15 seconds is enough time to adhere to the vinyl.
The nice bit about using the heat press is that you can do multiple sleeves at one time. I was able to get 8 on at a time, so it made for a quick project.
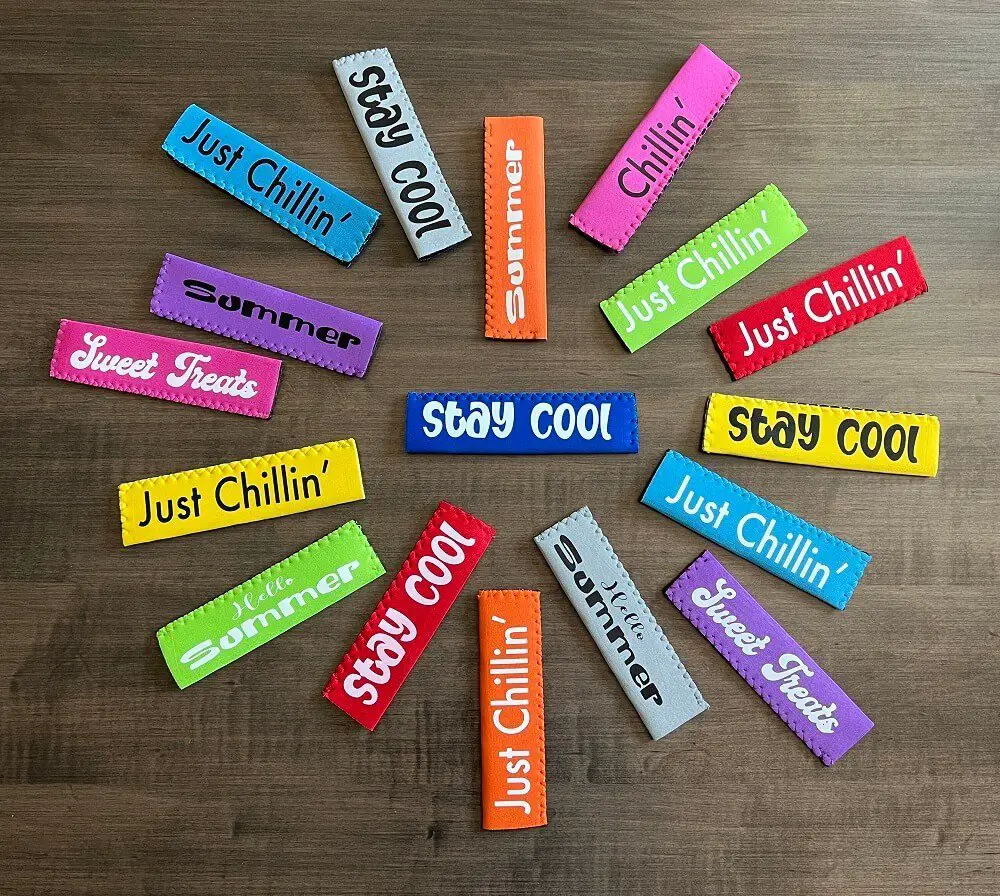
And that’s it! You’re Freeze Pop Holders are done!
Watch the video instead!
Don’t feel like reading all the details? Check out my video below.
Frequently asked Questions
Do I need to use a heat press to make a Freeze Pop Sleeve? Can I use an Iron to make a Freeze Pop Holder?
You do not need a heat press. An iron will suffice. This project is much faster with a heat press, but it is not required. I use my heat press because I have one. If I didn’t, I would just use my iron.
How Long does it take to make A Freeze Pop Holder?
An individual holder take about 5 minutes from start to finish. But the more you make, the less time it takes. I made 20 holders in under 30 minutes.
Are custom freeze Pop Sleeves machine washable?
Yes, you can machine wash your custom freeze pop sleeve. Just don’t put them in the dry, as it can melt the neoprene of the sleeve, and it can also ruin the vinyl.
Did you find this tutorial helpful?
Let me know in the comments below if you found this tutorial helpful. And share your results below!
If you liked this tutorial, check out my other vinyl tutorials here.


hi
I was unable to find the files for the freezer pop holders. please help
HI! You have to sign up for my newsletter to get access to my resource library. Once you get in, the files are there. Let me know if you have any issues.
Hi Katherine, I do receive your emails and previously saw your cute freezie SVGs. I dont believe I saved them and now I want to create for the grandkids. Txs for sharing with me.