For the last few years, I have been helping some friends make a Halloween costume for their daughter. She is wheelchair-bound as a result of having Aicardi Syndrome. But that does not stop us from letting her enjoy the Halloween Festivities. So, this year, since Super Mario is a big hit, we decided she needed to be Prince Peach! So, it is time to make a Princess Peach Wheelchair Halloween Costume.
The Back Story – Aicardi Syndrome And Being Wheelchair Bound
I have a friend down the street, and she has a daughter, the sweetest thing. Sadly, she has a disease called Aicardi Syndrome. Aicardi Syndrome is a rare genetic condition affecting only 4,000 people worldwide, most of whom are females. While the genetic marker has yet to be identified, it is diagnosed by a triad of symptoms, including:
- Malformation of the brain, most commonly the absence of partial development of the corpus callosum which connects the two hemispheres of the brain.
- Chorioretinal lacunae, small holes in the retina (back part of the eye).
- Seizures, typically begin as infantile spasms and progress into epilepsy that is often extremely difficult to manage.
Those living with Aicardi Syndrome typically have severe global developmental delays and intellectual disabilities. To learn more about Aicardi Syndrome, visit: http://aicardisyndromefoundation.org/
How to Design a Princess Peach Costume for your wheelchair
Major considerations when designing a wheelchair halloween costume
Every year, when I make a wheelchair Halloween costume, I think about safety, accessibility and more. And every year, some stay the same, and then there are some new ones. But they are all important, so let’s quickly talk about some factors we need to keep in mind when making a wheelchair Halloween costume.
- The width of the chair- This may seem commonplace, but not every wheelchair is the same. So, you really need to be aware of how wide the wheelchair is – especially when fitting through doors. You will only have a certain amount of clearance on each side of the chair to fit through doorways, so your costume typically needs to be narrow around the edges of the chair.
- Attachment points – How will you attach the costume to the chair? Are there bars, supports, and brackets which can be used as attachment points? What will you use to attach the costume to the chair?
- The height of the costume – You really need to think about how high you want the costume to be. Will it stop at the armrest? Will it go higher? How will the person in the wheelchair feel if the costume is above their arms and head?
- Interferences with arms – is the costume going to interfere with arm movement? Will it restrict movement?
- Safety measure – what materials, fabrics, and attachment pieces are being used? Will they have sharp edges? How are we making sure that no one gets cut or scratched?
So, now that we have some design factors in our heads, let’s start designing!
Designing a Princess Peach Wheelchair Costume
I have recently taken to sketching by hand as I find I can easily take my sketchbook with me and do a doodle. I am not always so proficient with doodling on my iPad, and I do not take my computer everywhere.
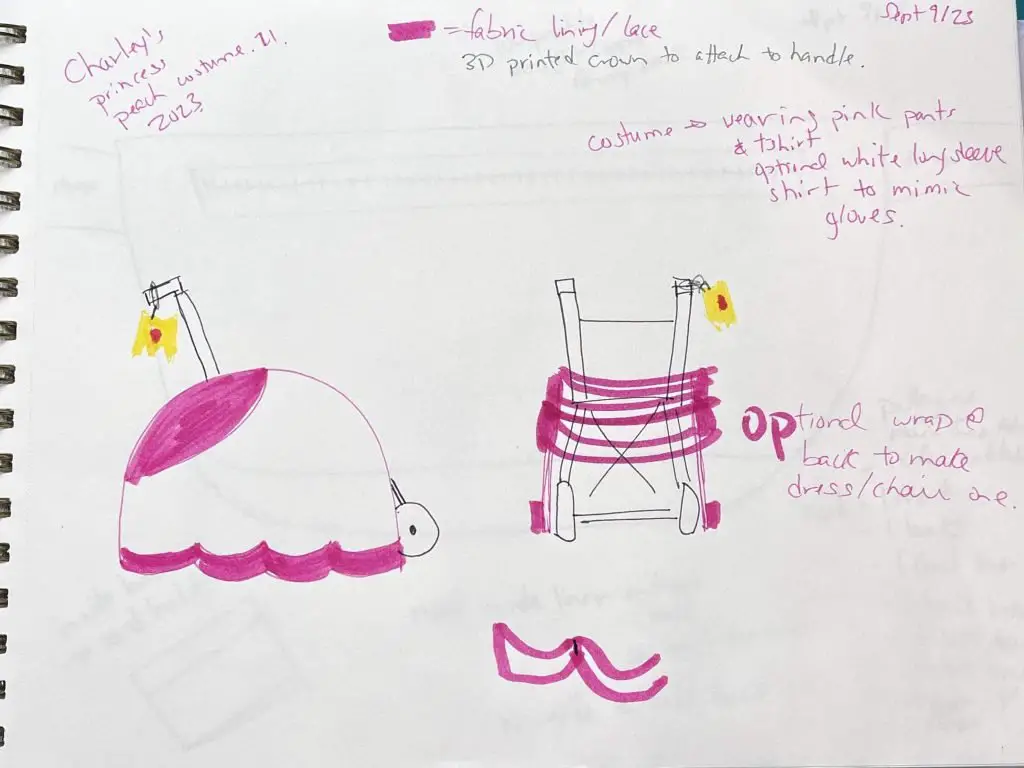
So, step 1 – time to sketch out a costume.
I made a simple sketch of what I thought would be a good idea for the costume. I tried to focus on having the whole costume on the wheelchair and a very minimal costume on my friend’s daughter. She will, of course, dress the part as well, but the chair will do the bulk of the work.
Verifying the design against the wheelchair
I have my design in my head and on paper now, so there are just some simple measurements needed.
I took a simple picture of the wheelchair, and measured:
- The length of the chair at the feet – as this is the longest point, and I want the dress to hide the feet.
- The height to the armrest – my idea is that Princess Peach’s skirt will come up to the armrest.
- The width of the chair – I am hoping to add some fabric to the back of the chair to tie the skirt together and make it more 3D than 2D.

Making the princess peach wheelchair costume
As an Amazon Associate, I earn from qualifying purchases. This post contains affiliate links. I may receive a commission if you purchase an item from one of my links. This will not change the price you pay.
Supplies needed for the princess peach wheelchair costume
Okay, let’s start getting our pieces together to make this costume! Here is what I used:
- Cardboard – Cardboard seems to be my default for wheelchair Halloween costumes. But I find it works the best as it seems to be the most versatile. You will need the cardboard to be bigger than the space on the chair – so in my case, I use looking at 25″ in height and 42″ wide for each side of the skirt. If you are looking for big cardboard boxes, you can always try calling furniture companies/stores as they always have boxes. Another good place to look for boxes is on your local Facebook pages, just putting a shout-out.
- Paint – Princess Peach wears a pink dress, so you need pink. I could not find the shade of pink I wanted, so I bought white and red paint and mixed them together.
- Fabric – I wanted to accent the skirt with pink fabric. I went to my local thrift store and happened to stumble upon an old hot pink bed sheet that was the perfect size and color.
- Ribbon – I used some ribbon around the bottom ruffles of the shirt.
- Hot Glue and a Glue Gun – I was not sure how best to attach the fabric to the cardboard, so I opted for using hot glue.
- Zip ties – the other year, when attaching a Halloween costume to the wheelchair, we realized that zip ties are the best solution. They can easily be cut off and reattach new ones as needed.
- Princess Peaches Crown – I found a free 3D Print file for this, which you can find here. But not everyone has a 3D printer, so you can buy a crown at the dollar store or make one out of cardboard.
- Box Cutter – you will need a box cutter, exacto knife, or a utility knife to cut the box. I do not recommend scissors as they will hurt your hands and take a long time.
- You will need a few hours to put this together. I broke the work up over the course of a few days.
Now that we have all of our supplies let’s get this costume started!
Cut out Princess Peach’s Skirt
Okay, so I have measured my wheelchair, and I know that Princess Peach’s skirt needs to be 25″ high, and 42″ wide. I need this size for both sides of the wheelchair.
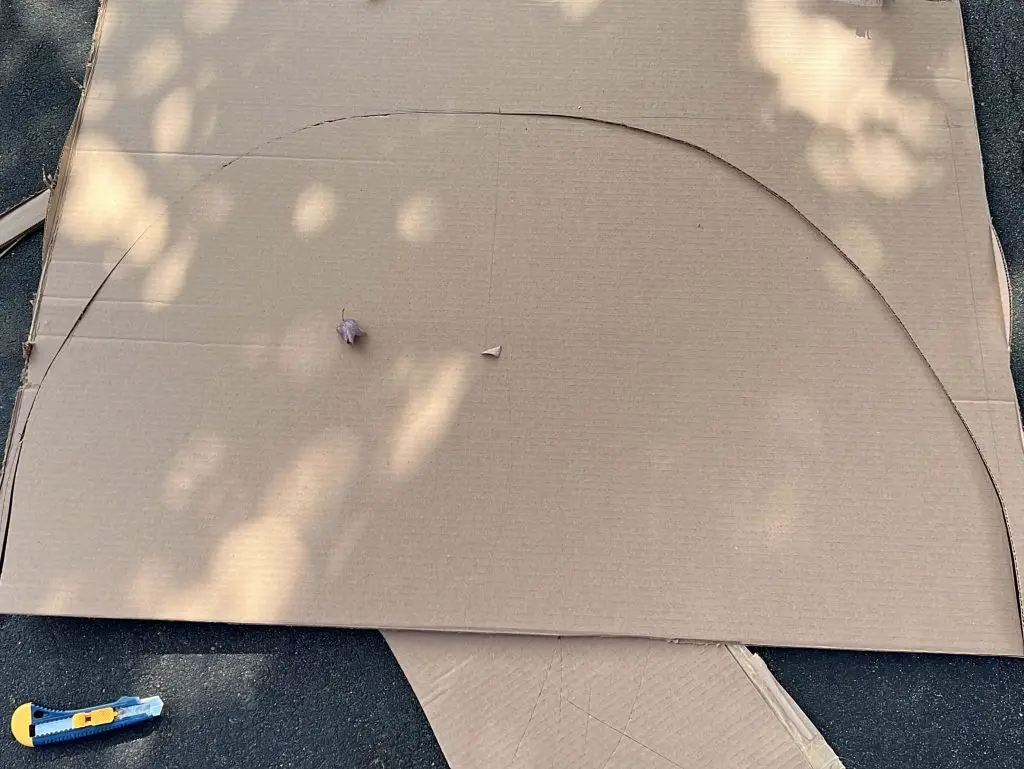
First, I needed to cut apart my cardboard box into manageable sizes and then mark off 25″ in height and 42″ in width. Finding the center or 42″ which is 21″. I drew a line down the center. Then, I freehand drew a semi-circle. It was not perfect, but it was pretty good.
Then, using a box cutter, slowly cut the curved skirt out. Once done, trace the completed skirt on a second cardboard panel and cut it out.
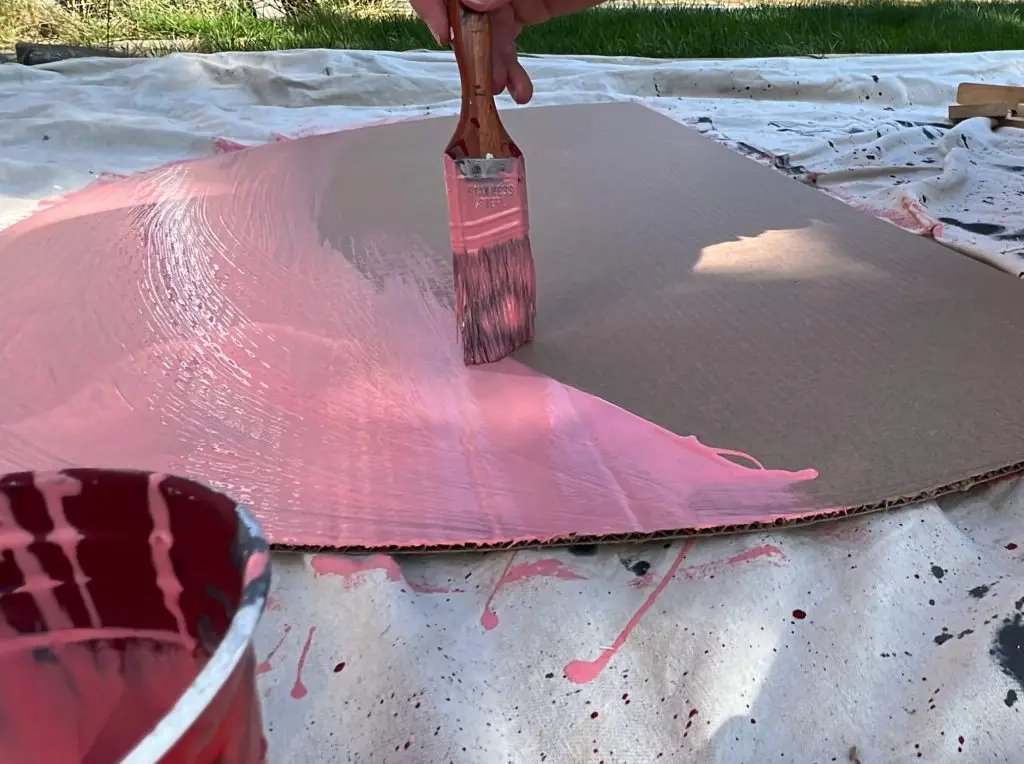
Paint Princess Peach’s Skirt
Now that we have 2 pieces cut out for the skirt, it is time to paint.
I mixed red and white paint to get the shade of pink that I wanted. Then, I painted the cardboard. I recommend 2 coats of paint on the outside of the cardboard.
I also recommend painting the inward-facing side of the cardboard skirt because it will be visible. However, on the inside, I only applied one coat of paint.
Let the paint dry completely before you start the next steps.
Add Fabric Accents to Princess Peach’s Skirt
This year’s costume design will have fabric used to add accents. I bought an old pink sheet at a local thrift store. It was just a twin-size sheet, but it was perfect for what I needed.
Each of the fabric steps I did was done on both sides of the cardboard for the skirt.
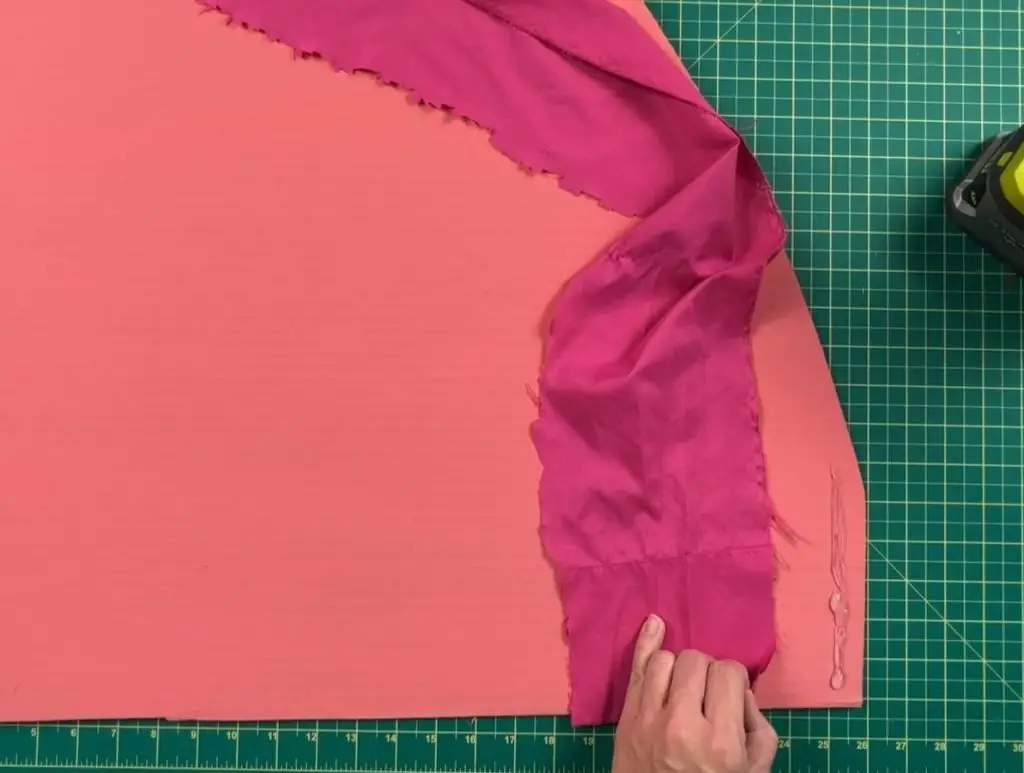
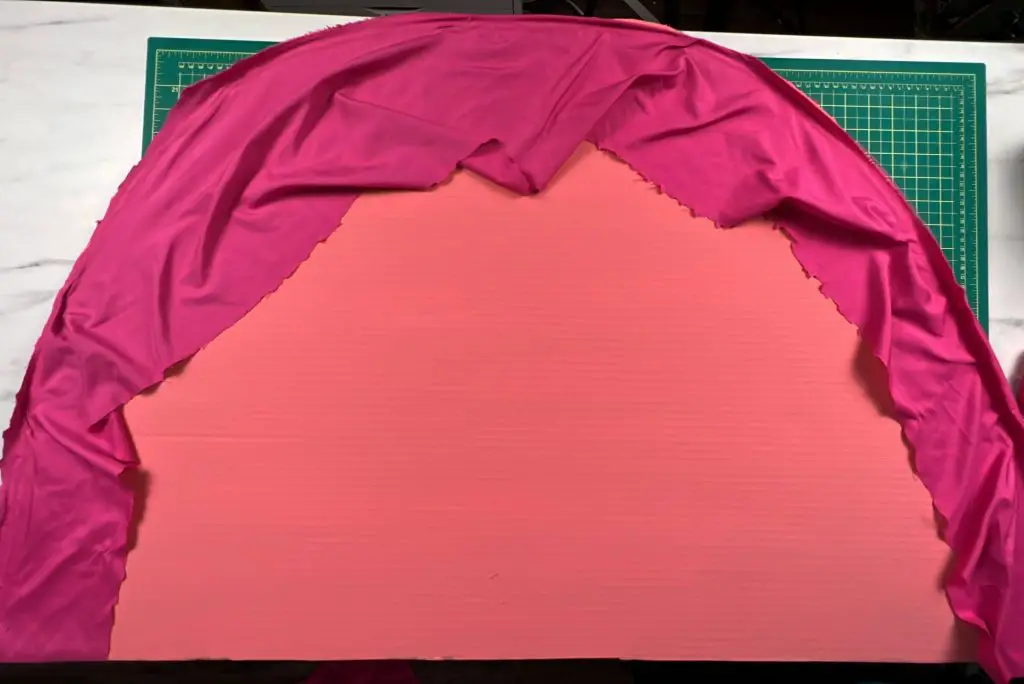
Adding fabric to outer edge
I wanted to add a trim around the outer edge of the skirt so that any sharp edges were covered and no one would get cut. I cut out a 5″ wide section for the full length of the sheets.
On the front side of the skirt, I placed the fabric edge to the edge of the cardboard. Applying hot glue under the fabric, all the way around the top edge of the skirt. I placed the fabric on the glue and let it dry. I then flipped the fabric over the top edge of the skirt and glued it down on the other side. This method allowed the front of the skirt to have a nice rounded look and no loose fabric showing. At the bottom of each side, I left about 1-2″ of fabric so they could be folded towards the back and glued down.

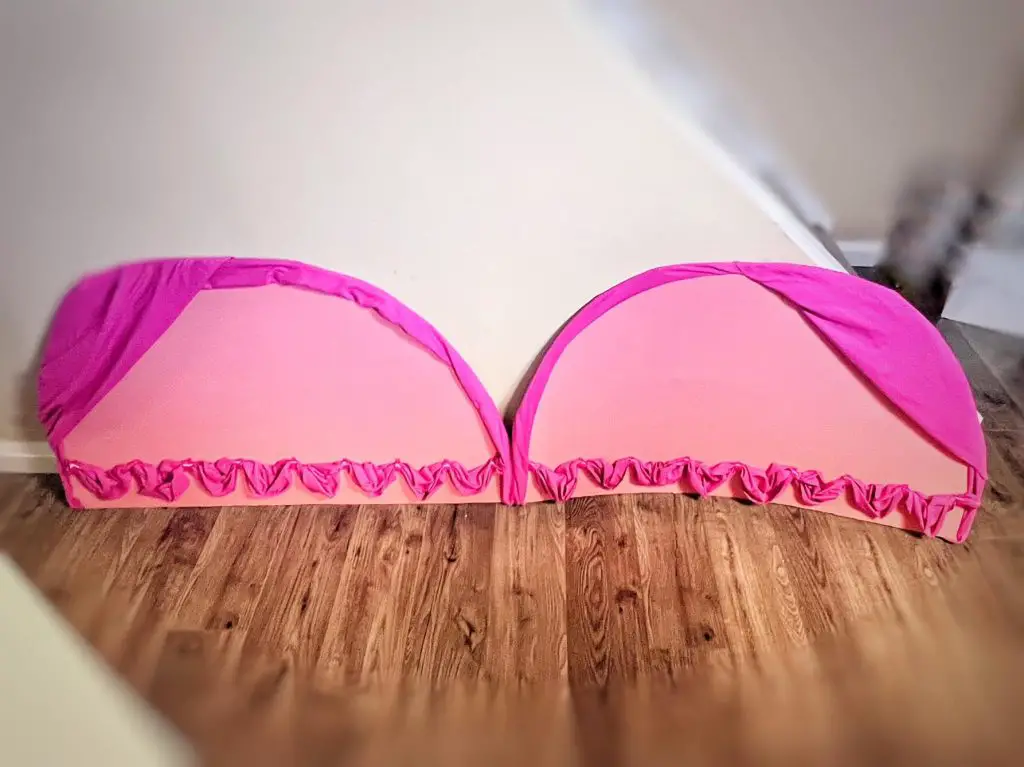
Adding fabric ruffles to the bottom of the skirt
If you have seen any images of Prince Peach, her skirt has ruffles at the bottom. Or at least the images that I saw had them.
About 4″ from the bottom, I marked off, lightly with a pencil, a little X every 5 inches across the length of the skirt. Then, I cut the same number of pink ribbon pieces, one for each x, each about 4″ long.
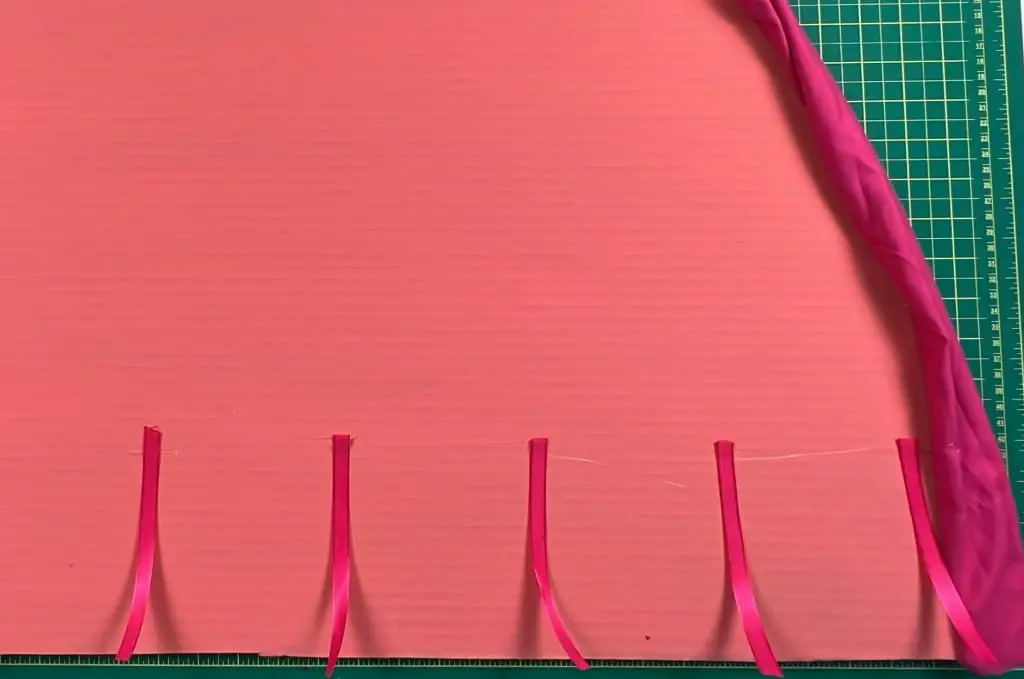
Using the length of the sheet again, I measured about 8″ in width and cut the fabric. This would be my ruffles.
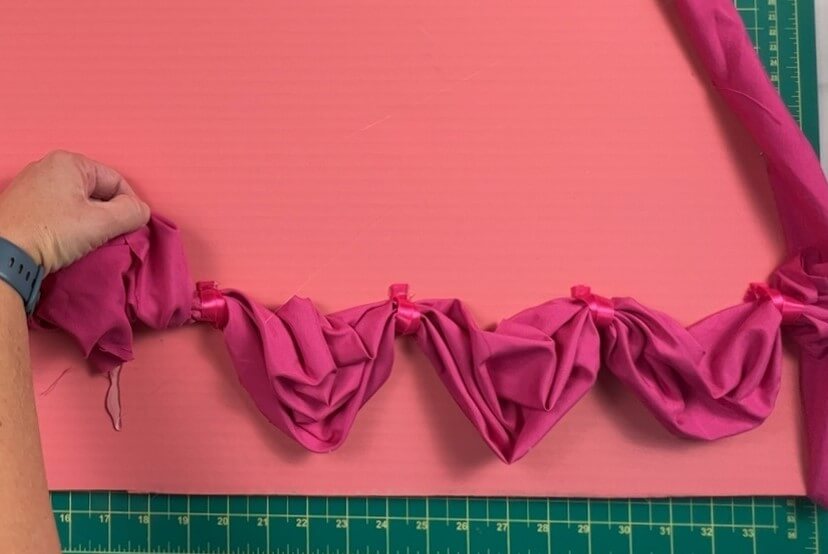
With my hot glue, I glued the top of the ribbon onto the cardboard skirt at each x. Bunching up the long 8″ wide fabric, I glued the end to the cardboard under the outlining fabric. Then, twisting the ribbon around the fabric, and gluing the ribbon down to the cardboard to hold the fabric in place.
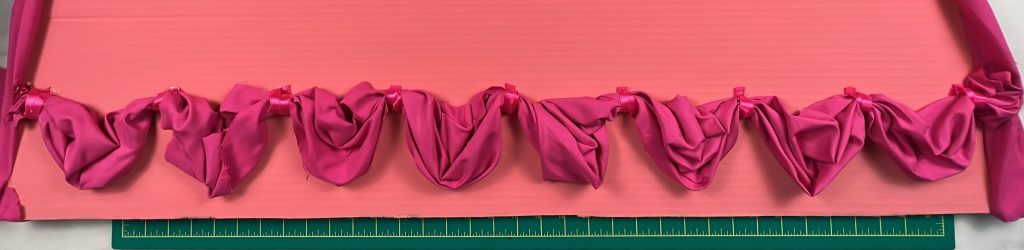
I pulled and placed the next section of fabric so it would hang down low and come back up to the next ribbon location. I would again bunch the fabric at the ribbon, and glue the ribbon in place. For each section of hanging fabric, I would adjust it to make it look ruffled and pretty, and apply some glue underneath to hold it in place.
This was continued all the way to the end of the skirt. At the end, I trimmed off any excess fabric and glued it under the outer liner of the fabric.
Adding a Fabric Rump to the skirt
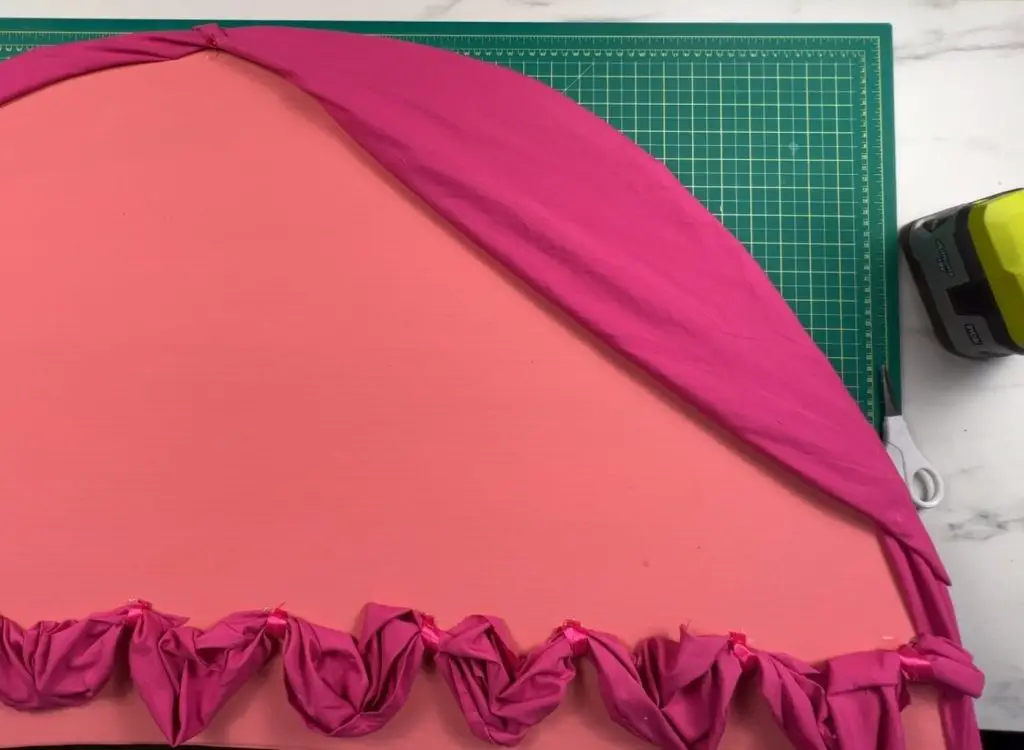
Finally, I wanted to add a rump to the skirt to make it similar to Princess Peach’s. I cut out a square about 2.5′ x 2′. This was to drop over the edge of the skirt from the top middle to the back, about 1-2″ from the bottom.
Using glue, I glued it close to the original outer lining. I then flipped the fabric over so that it would cover the back portion of the skirt. Applying glue on the back side to hold it all in place. I cut off the surplus fabric so it would not get in the way.
When adding the rump to the skirt, you need to mirror the two pieces of cardboard. You want one rump on the left side and one on the right. This way, when you attach the skirt to the wheelchair, it will be located in the back for both sides.
Attach Princess Peach’s Skirt to the wheelchair
Now that the skirt is done, all that is left to do is attach it to the wheelchair. I like to do a test run before Halloween to make the holes in the cardboard. This way, on Halloween in the morning when going to school, there is no rushing around trying to figure out how to attach it.
Hold the skirt up against the wheelchair, and mark off where holes are needed. Either, using a drill to drill a hole through or scissors to poke a hole though, make 2 holds at each location.
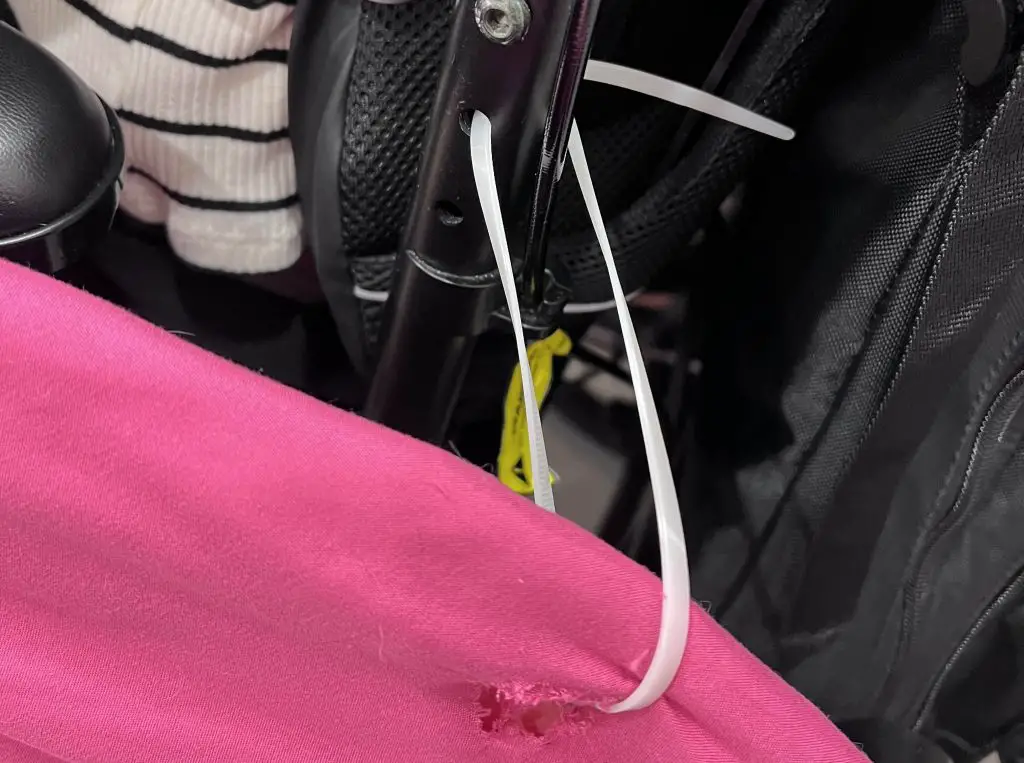
We will be zip-tying this onto the wheelchair. They are easy to attach to the chair and easy to remove later.
Princess Peach Accessories
Every princess needs a crown, and Princess Peach has one too! This year, I was lucky enough to have found a FREE design of the Princess Peach crown that I could print with my 3D printer. You can find the 3D printer file here.
The great thing about this crown is that it was intended to be worn on the head, so it has attachment points inside the crown that can be used to string the crown onto a wheelchair instead. And that is exactly what I did. Since my friend’s daughter does not like wearing hats or headbands on her head, I was able to use ribbon to tie the crown up and attach it to the wheelchair handlebars.
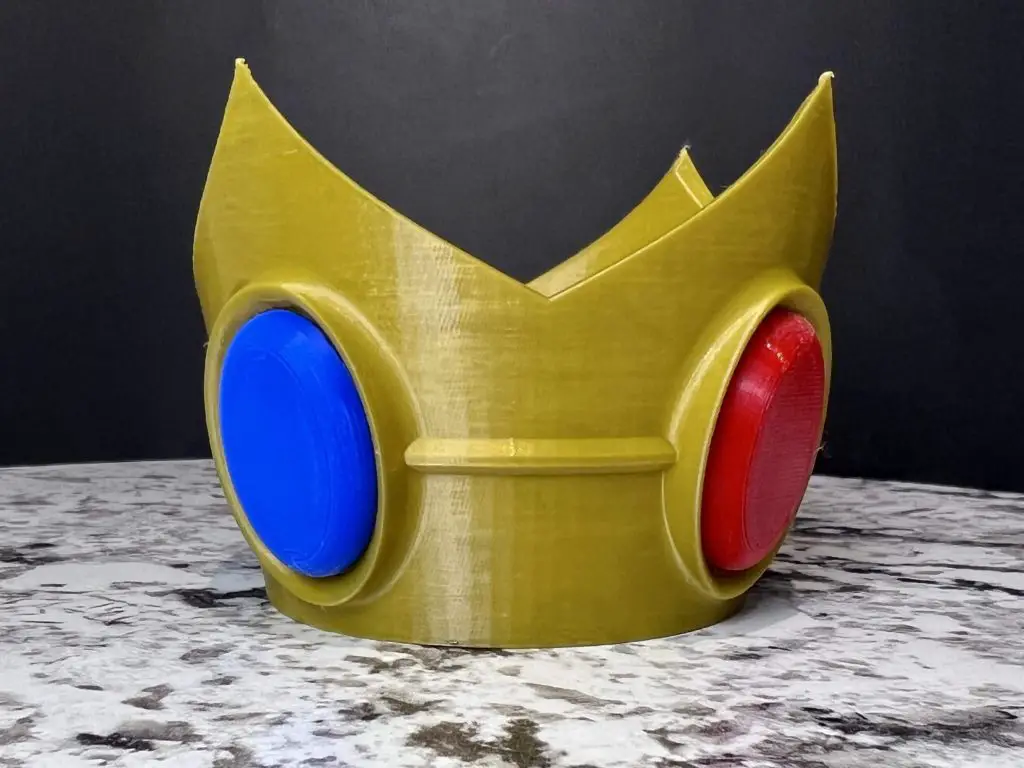
The above 3D printer file also has additional accessories like Princess Peach’s broach and earrings. We opted not to print those, but they would also make a great addition to the costume.
And there you have it! Your Wheelchair Princess Peach Costume Is done!
(The final dressed up wheel chair pics will be available after Halloween this year)
Frequently Asked Questions about making wheelchair costumes
Do you have to use cardboard to make a wheelchair costume?
No, you absolutely do not need to cardboard. However, I have found that cardboard is a great material to use for costumes as it can be cut and shaped into almost anything. Cardboard also allows for the wheelchair costume to be bigger and longer, making it unique, yet still allowing it to fit through doorways.
What outfit should you wear with a princess peach halloween costume?
The whole idea behind this wheelchair costume is for my friend’s daughter not to require much additional wearable costume for comfort. So, simply wearing a pink outfit, pants and a shirt, will be enough.
Did you enjoy this wheelchair halloween costume?
Let me know in the comments below if you enjoyed this Princess Peach Wheelchair Costume! If you want to see more of my wheelchair Halloween costumes, check them out below:
Check out my other Halloween project HERE.