So, I’m still working on stickers over here. And I have to say, it has been quite a bit of fun and quite a bit of hair-pulling, but I guess that is what happens when you want to learn new things. This week, I decided to learn how to make simple To and From labels with Cricut. The main reason for learning to make these to and from labels is because Valentine’s Day is coming up and I can easily make labels for loot bags instead of having to write it all out by hand. So, let’s learn how to make simple To and From labels with Cricut.
As an Amazon Associate, I earn from qualifying purchases. This post contains affiliate links. I may receive a commission if you purchase an item from one of my links. This will not change the price you pay.
Supplies needed to make Simple to and From labels with Cricut
Ok, let’s jump right to the supplies we need. So, here goes:
- A Cricut – I use my Cricut Explore Air 2, but any Cricut Machine will work. Now, you can do this with other machines like the Silhouette Cameo or Brother Cutter. As this is specifically about working with the Cricut, we will work with the Cricut.
- Sticker Paper – You want to use printable sticker paper. There are lots of brands that you can use, but this is what I am currently using.
- Printer – We are using our Cricut Print Then Cut features, so we need a printer. I am using my Epson Eco-Tank 2850.
- A reason to make to and from labels.
- About 10 minutes.
Let’s Design our To and From Labels in Design Space
There are lots of pre-designed labels in Cricut Design Space. But we are going to make ours simple and from scratch as I am not a fan of paying for an Access Subscription, nor am I a fan of having a design I make using DS items be free today but not tomorrow.
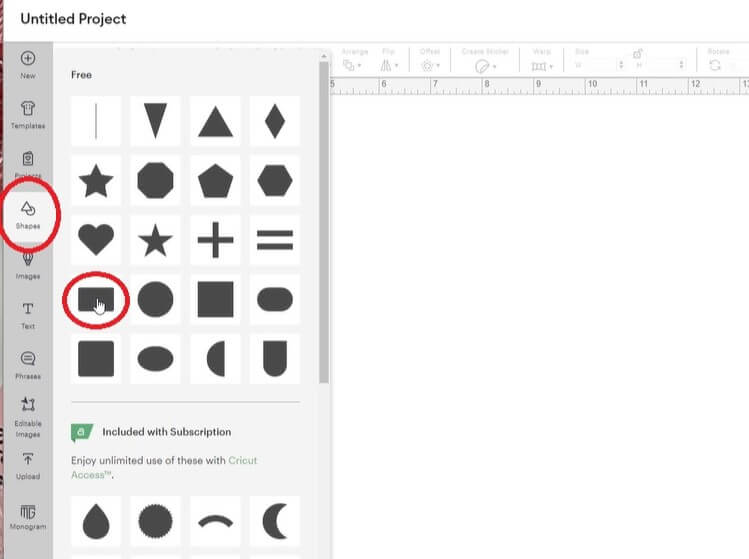
First, select your Shapes menu and pick the rectangle with the rounded edges. I like to change the color to White right away.
Then, select your Text Menu. Double-click on the text box that has appeared on your screen. Then, type in “To: “(insert a name, or leave it blank) and “From:” (insert a name).
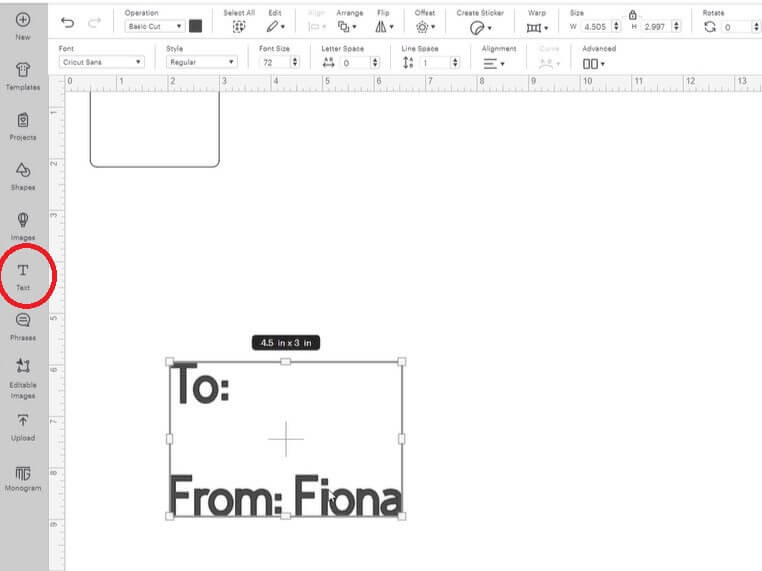
For mine, I will have my kids hand write the To name, but I have typed in their From name.
You can change the font. My preference is System Fonts because I know they are always free.
Once happy with the text, resize it to fit in on your rectangle. I also adjusted the text to be Left Aligned, but you can leave it at the default Center Aligned.
You can add some accents to the label. As these are for Valentine’s Day, I added a heart to the top right corner of the label.
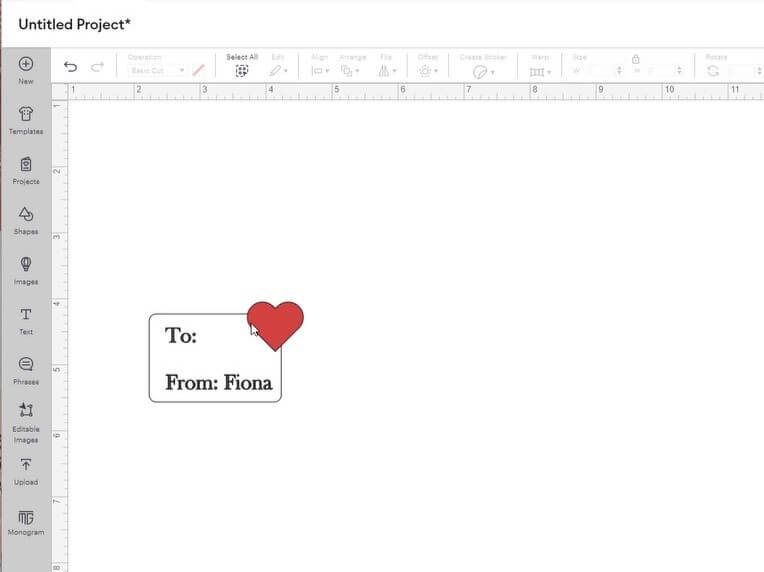
Finally, select all 3 items and Flatten them.
Now your label is complete!.
But as these are being used for loot bags, I need a lot of them, so simply select the tag and duplicate it as many times as you need.
Once happy with the quantity, hit Make.
Print Then Cut your Simple Labels
Adjust the labels on your Cutting Mat Layout
Once you have hit Make, you can review the layout on your cutting mat. I find Design Space does not do a great job arranging things on the cutting mat, and a lot of paper is wasted. So, I like to move them around and place more items on each sheet.
To do this, scroll to the second or third sheet, select a label, and hit the three dots. This will open a menu and allow you to hide or move the object. Select move, and put it onto the sheet you want it on. Then jump back to that original page and move the objects around to accommodate more.
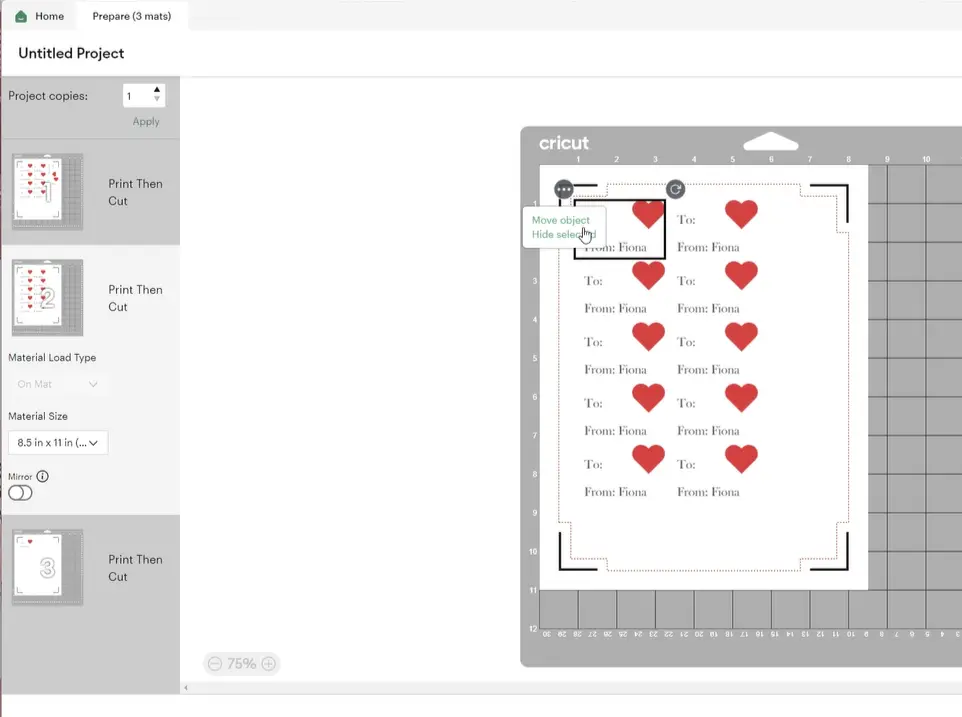
Once happy, select Next and send the labels off to be printed.
Printer Settings For Your Stickers
Once you are ready to Print Then Cut your stickers, it is time to send your sticker sheet to print. These are the settings I use:
- Print quality = high/best quality – this will make the color of the stickers pop as much as possible.
- The bleed toggle is set to ON – this helps with the color around the edges when printing/cutting.
Once happy with the printer settings, send the sheet to your printer to print your sticker sheet.
Kiss-Cut Settings for your To and From Labels
Now that the label sheet is printed, it is time to cut the labels!
I found that the following works best:
- Cricut Dial set to Custom – Select Washi Sheet (not Washi tape).
- This cuts only the top layer of the sticker paper and not all the way through the sticker sheet.
This is the setting that works best for me. However, I recommend trying it out to make sure it works on your machine. You may need to play around with the setting to see which works best with your machine, as you may have different results.
Use your Labels – Fill in the label, peel and stick your labels!
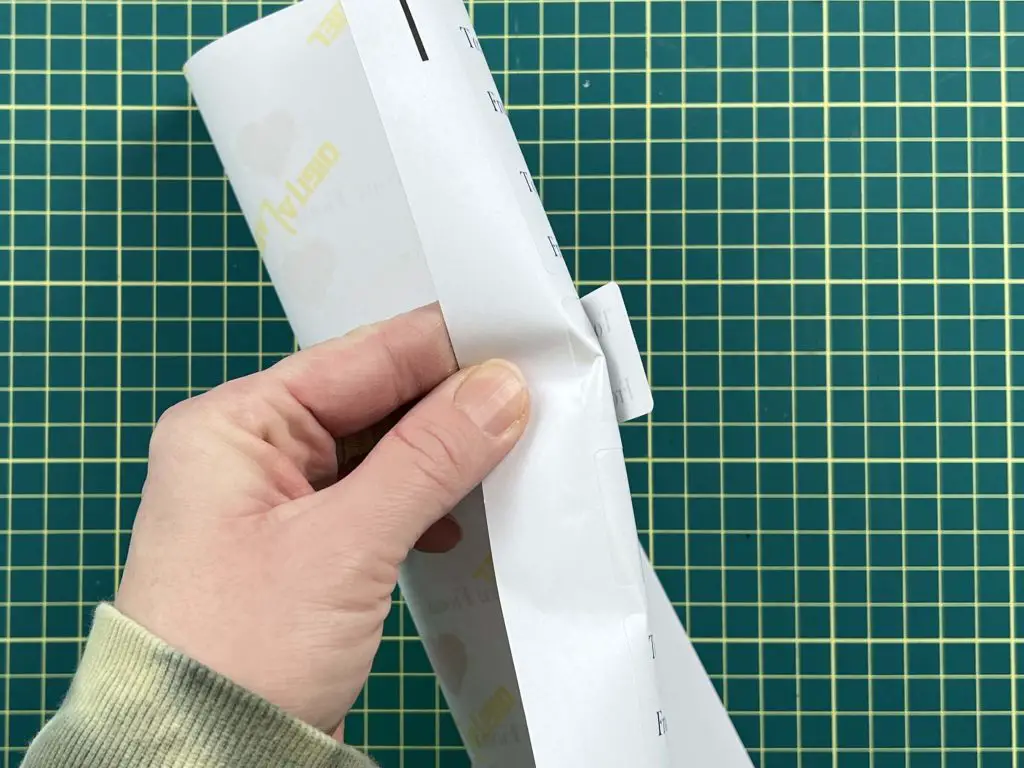
Once the labels are cut, all that is left to do is fill in the details.
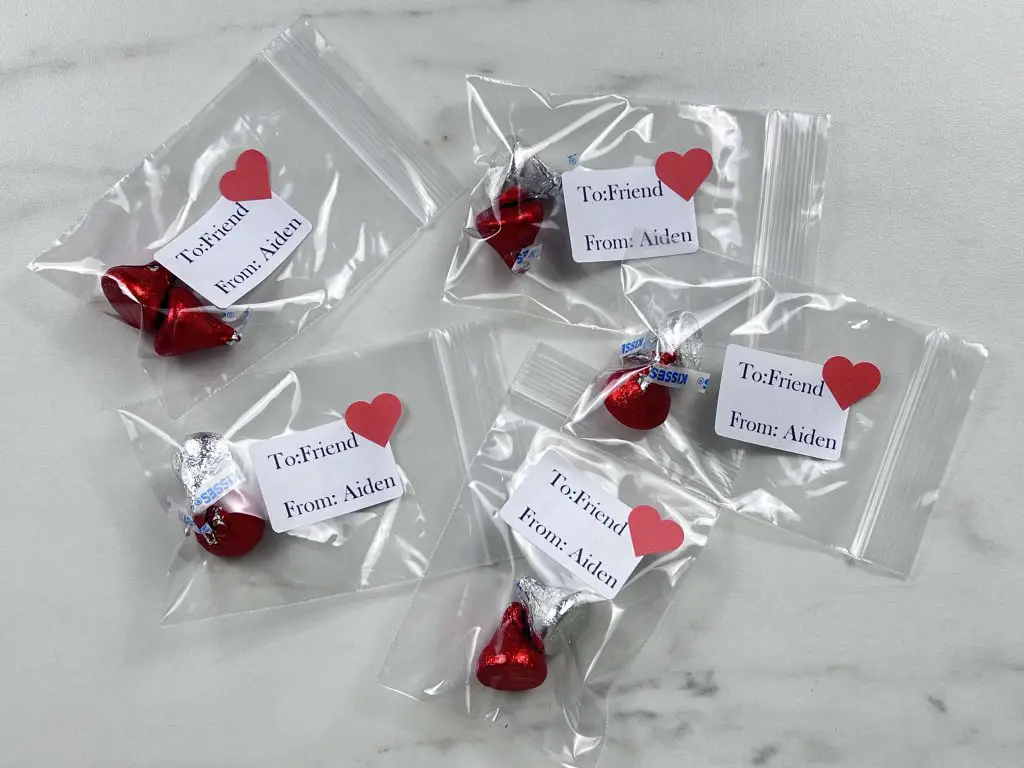
Or, if you have filled in both the to and from, all that is left is to stick them onto the loot bag.
And that’s it! Your Simple To and From Labels with Cricut are complete!
Things I learned while Making simple to and from Label with Cricut
I’m still learning to make stickers, and I have to say, they are fun but can be frustrating. But some of the things I learned this time:
- When printing the labels, I set the design to bleed. Normally, my background is entirely white, so you do not notice the bleed. This time, I had red hearts with no outline on them. When they printed, the hearts had a really weird-looking offset. They almost looked like they were pixeled. This is just the bleed feature on the print. This helps with cutting the file, in case something is slightly off, the design will still be totally visible.
- In years past, I have had my kids write on cards. And that took a long time. Having the labels at least 1/2 made where they only needed to add the recipient names significantly reduced the time for this final activity.
- Making labels is way faster than I thought it would be. And now I can make labels for all sorts of things that I have not done yet. So that will be nice.
- Using the kiss-cut setting for cutting these simple to-and-from labels was great. It made it easy to fill in the blanks, and it made it easy to peel off. I highly recommend this.
Did you find this tutorial helpful?
Did you find this tutorial on how to make simple to and from labels with your Cricut helpful? I know it is not the most complicated craft, but it was my first time, and I wanted to share. Let me know if you like this tutorial! Let me know if you tried it and how it turned out!
If you enjoyed this sticker craft, check out some of my other sticker projects:
- How To Make Drawings Into Stickers
- Inspirational Quote Stickers With Cricut
- How To Make FREE Valentine’s Day Stickers
- Make Flower Stickers With Your iPhone And Cricut
- Cricut Sticker Paper Vs Koala Sticker