So, my kids like to draw. They draw a lot. Sometimes, they want their drawings saved or made into art. Recently, they saw my pile of stickers growing, and we decided to learn how to make drawings into stickers. This way, they can put their drawings anywhere they want. So, let’s jump in and learn how to make drawings into stickers.
Supplies needed to make drawings into stickers
Like with all my sticker projects, there is a bit of a list of supplies needed, so here is what we need to make drawings into stickers:
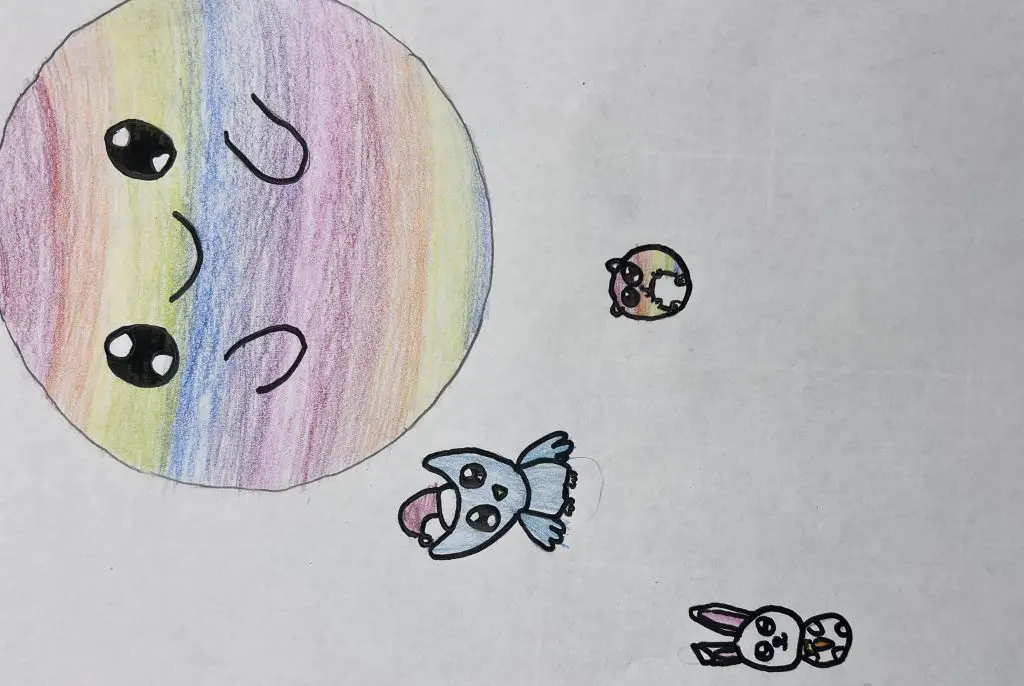
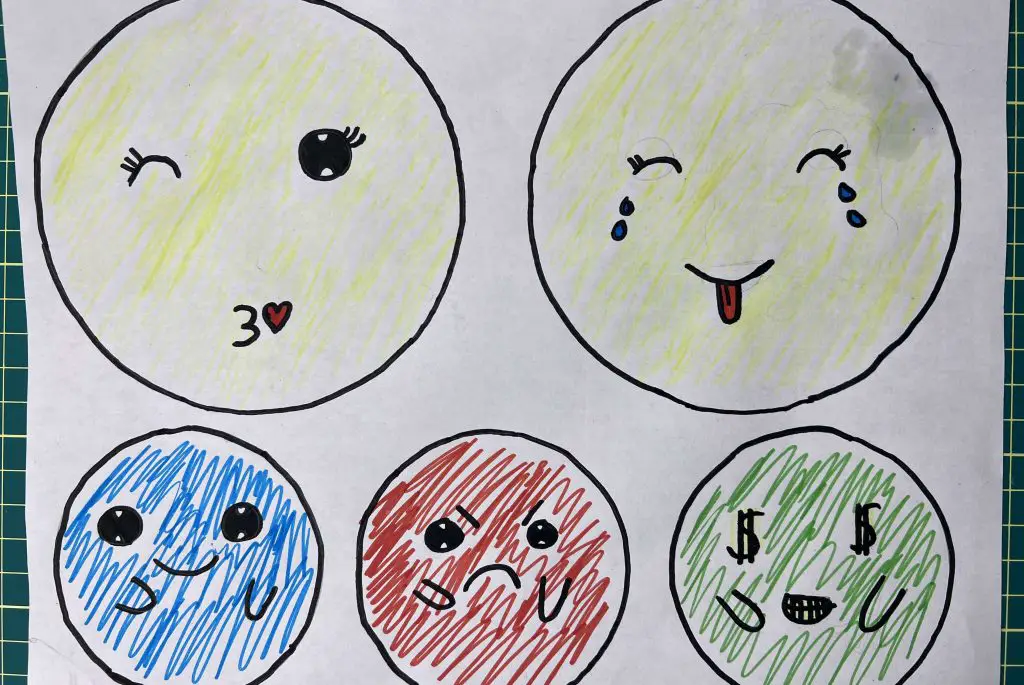
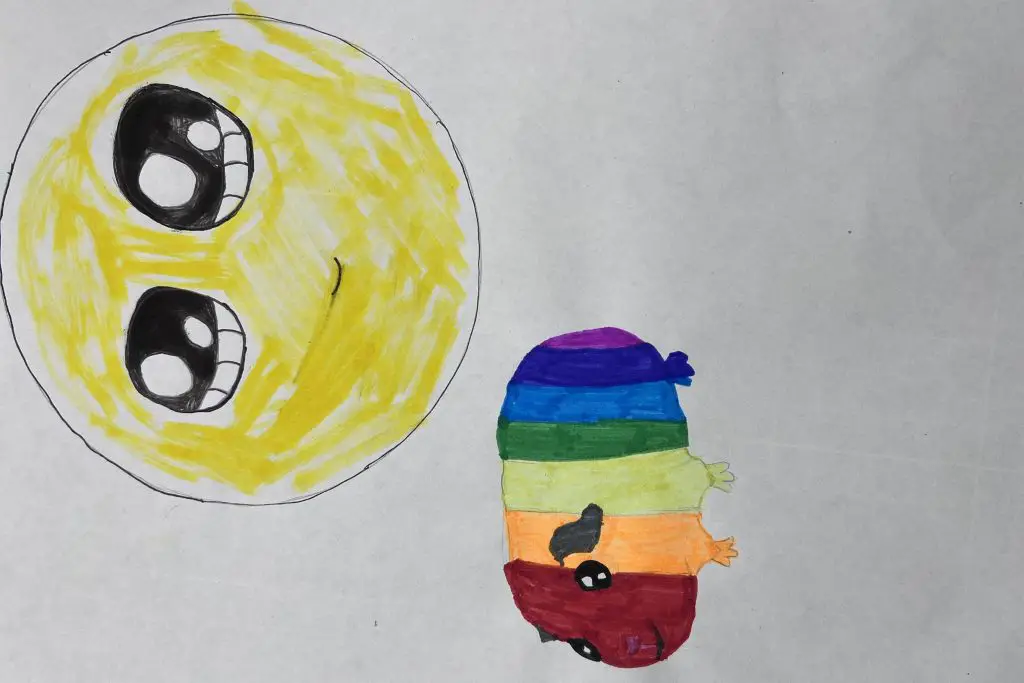
- A drawing – This can be drawn by you, by your kids, or by anyone. You start with a drawing on a piece of paper.
- Cutting Machine – I use my Cricut Explore Air 2, but any Cricut Machine will work. And you will need to use Cricut Design Space. But, if you are more of a Silhouette or Brother user, you can use those machines with their respective programs.
- Printer – I used my Epson Eco-tank, for printing, but you can use any printer. Ideally, it will print in color, but not necessary.
- Sticker Paper – For this project, I use Cricut Sticker paper.
- Ability to take pictures or scan – You will need a camera on your phone, tablet, or camera with an SD card to take a picture. You can also use a scanner if you have that option instead.
- About 45 minutes.
Let’s Jump in and Make Stickers from Drawings
Okay, this is a fun way to make stickers, and I thought it would be fun to share it with you. So, let’s jump in and make some stickers from our drawings. This first thing we need is some drawings.
Take your Drawing and put it into Cricut Design Space
There are several ways you can import your drawings into Cricut Design Space. I’m only going to talk about two methods to keep it simple.
Take a Picture of your Drawing
You can very simply take a picture of your drawing with your phone, tablet or camera with an SD card. However, when taking a picture of your drawing, you want to make sure that you:
- Get the best resolution that you can.
- Get as close as you can to the image, with minimal backgrounds from outside the drawing.
- Avoid shadow
- This will require decent lighting.
- Working by an open window is helpful.
- Avoid curling of paper.
- This will distort the image and make it harder to work with in DS.
Once you have a picture taken, you can save it to your computer or directly upload it to DS from your phone or tablet – if you have DS on your phone/tablet.
Scan a Copy of your Picture
Not everyone has a scanner, but if you have a printer, chances are you have a scanner. The nice thing about using a scanner is that you can lay the drawing flat, and the lighting is captured through the scanner lights and not your surroundings.
Depending on your scanner, you can scan directly to your computer, tablet or phone. Ideally, you want to send it to the place you use Cricut DS to avoid extra work.
Again, once you have scanned the drawing, you can upload it to DS.
Uploading your Drawing to Cricut Design Space
We need to do the following steps to get our drawing into Cricut Design Space:
- Select the Upload Icon
- Select Upload Image
- Select the Browse button. This allows you to upload the desired image from your computer, phone or tablet.
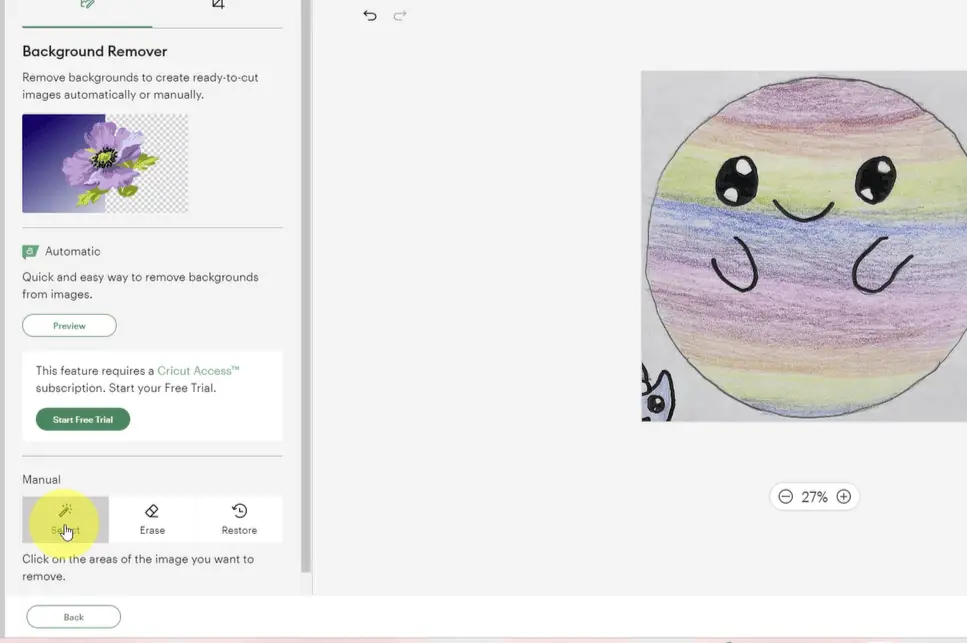
- Select the Complex Image Type and click Continue
- Select the Select tool. Use this wand to select all of the areas you want to erase. This is a large-scale eraser that removed areas of the same color.
- You can also the Erase tool to erase other areas.
- If the original image of your drawing has additional features on it, you can Crop the image in DS to allow you to focus on the image itself.
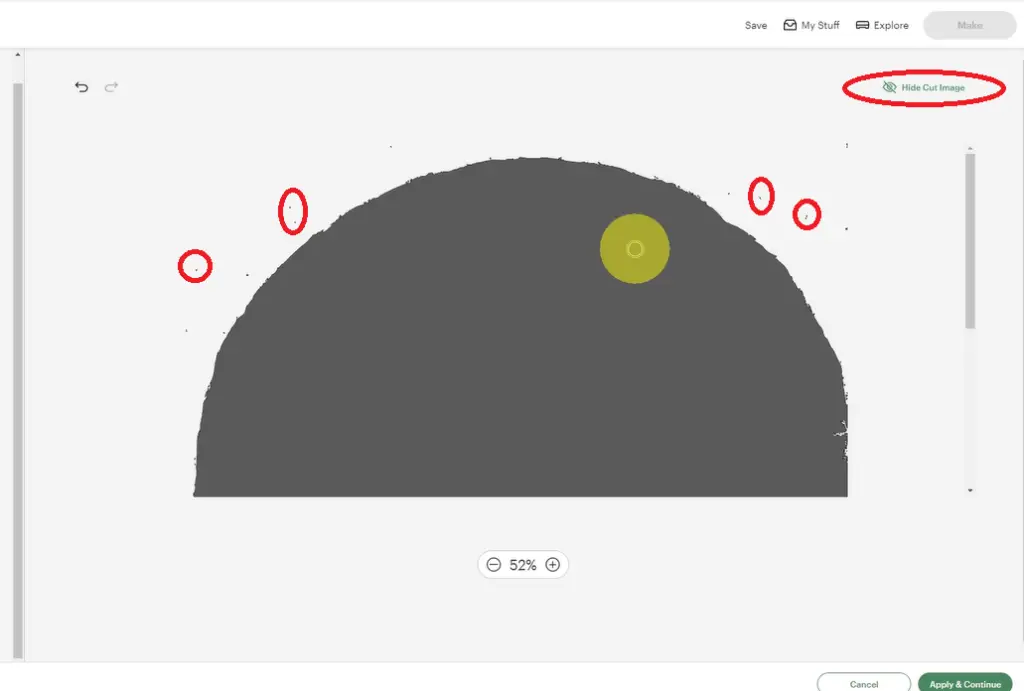
- If you hit the Preview Cut Image button on the top right of the screen, it will show you a better outline of what remains on the screen that needs to be removed.
- Once happy with the details, hit the Apply & Continue Button
- Select the Print then Cut Image option, add a file name if you want to change it from what is currently given, and add some tags if you wish.
- Hit the Upload button.
- The file will now be in your Cricut Design Space. Select the file from the menu below and hit the Add to Canvas button.

Now your drawing is in Design Space!
Repeat the upload steps above to upload any other drawings you want to print as stickers.
Turn your drawing into a Sticker with Cricut Design Space
Now that our drawing is in design space, there are a few minor things we need to do.
I like to add an outline to my drawings. This ensures that when I’m cutting the sticker, if something is not aligned, it will cut off some of the surplus white background and not cut the image itself.
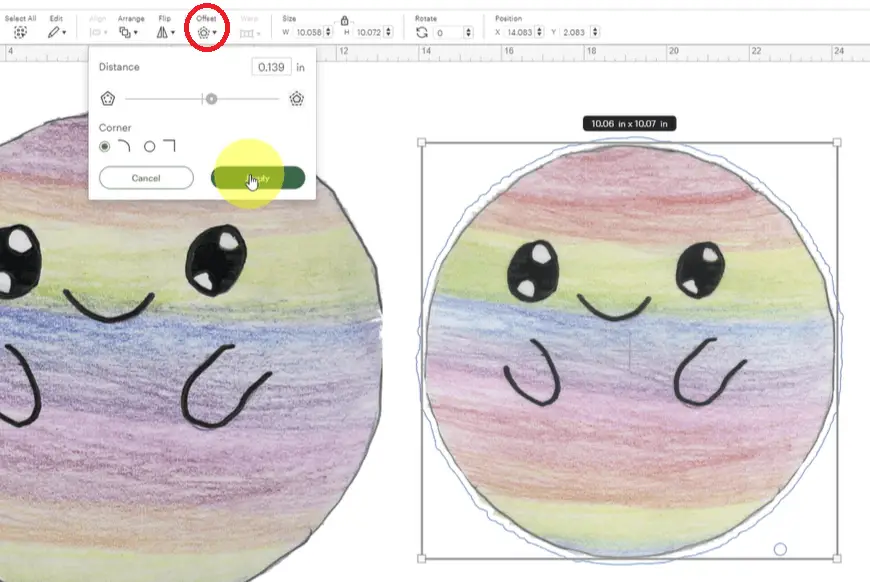
So, let’s quickly add an offset to the image. Select the image you have uploaded, and then hit the Offset Button. This will produce an outline around our image. You can use the toggle to increase or decrease the size of this outline.
Once happy, click Apply.
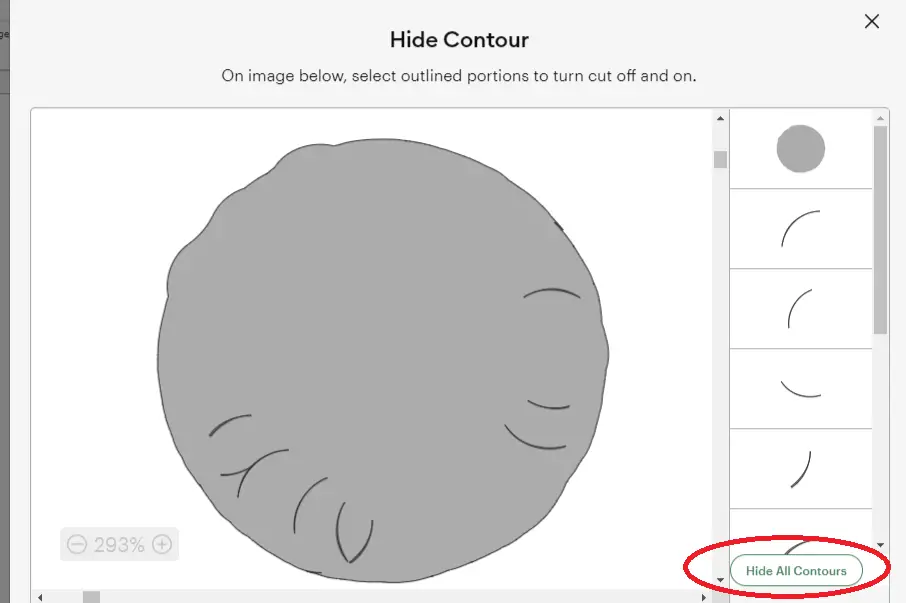
At this point, I like to review to make sure there are no abnormalities in my design. If there are, they will show up in the Contour. Select the offset and then select the Contour button. The contour button will not work if the offset is set to Print Then Cut. If it is set to Print Then Cut, simply change the Operation to Basic Cut and then select the Contour button. You can then select the Hit All Contours button, and all of the little bits and pieces will be hidden.
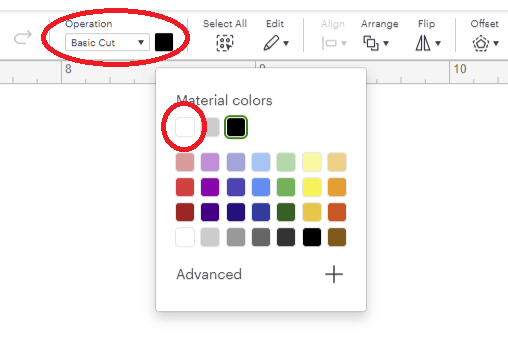
Most of the time, your offset will come into DS in the base dark grey that DS uses. You can select your offset, select the color box next to the Operation Drop-Down Menu and select white.
Select both the offset and the image and click the Flatten button, located at the bottom right of your screen. This will flatten the image and make it ready for Print Then Cut.
Before you send this image to Print Then Cut, check the dimensions of your design and verify the sticker is the size you want. It may be too big or too small. I like my stickers to be around 1″-2″. When adjusting the dimensions, make sure that the dimensions lock is on to keep the proportions of your drawing the same.
Once happy, select Make.
Print Then Cut your Drawings Into Stickers
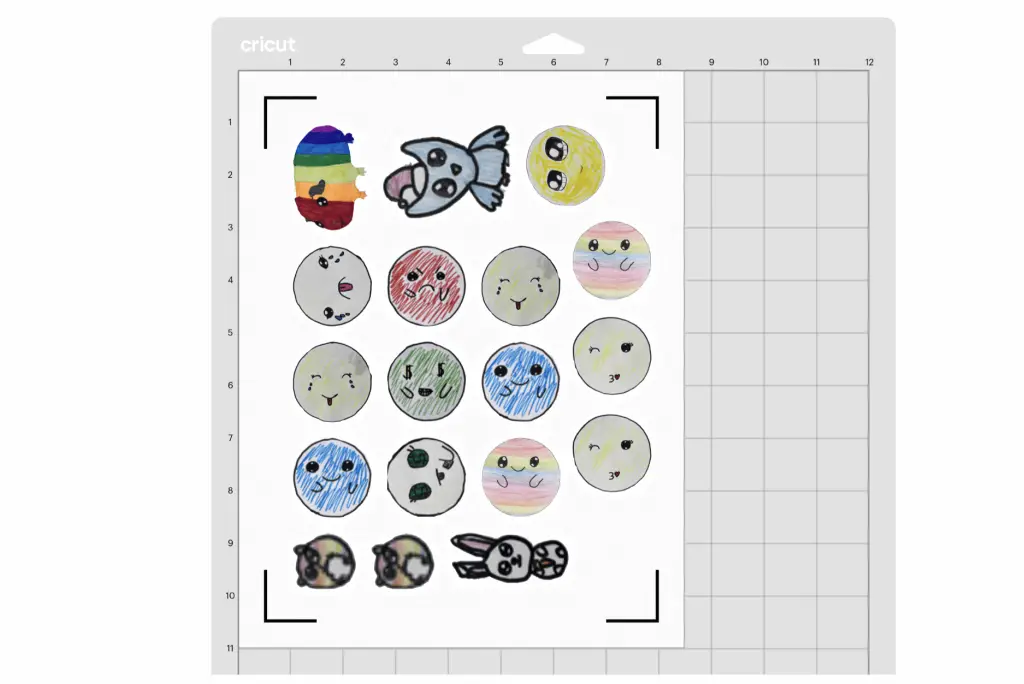
Now that we are in the Cutting Mat workspace, I like to move my stickers around on my cutting mat to save as much paper as possible.
Once I am happy with the placement of stickers, it is time to send the images to print on your printer. Some settings that I like to use:
Printer Settings for Your Stickers
Once you are ready to Print Then Cut your stickers, it is time to send your sticker sheet to print. These are the settings I use:
- Print quality = high/best quality – this will make the color of the stickers pop as much as possible.
- The bleed toggle is set to ON – this helps with the color around the edges when printing/cutting.
Once happy with the printer settings, send the sheet to your printer to print your sticker sheet.
Cricut Cut Setting For Your Sticker
Now that your sticker sheet has been printed, place it on your cutting mat. The sticker page layout must be the same as that on the DS cutting mat screen. You do not want it to be upside-down because your sheet will cut out wrong.
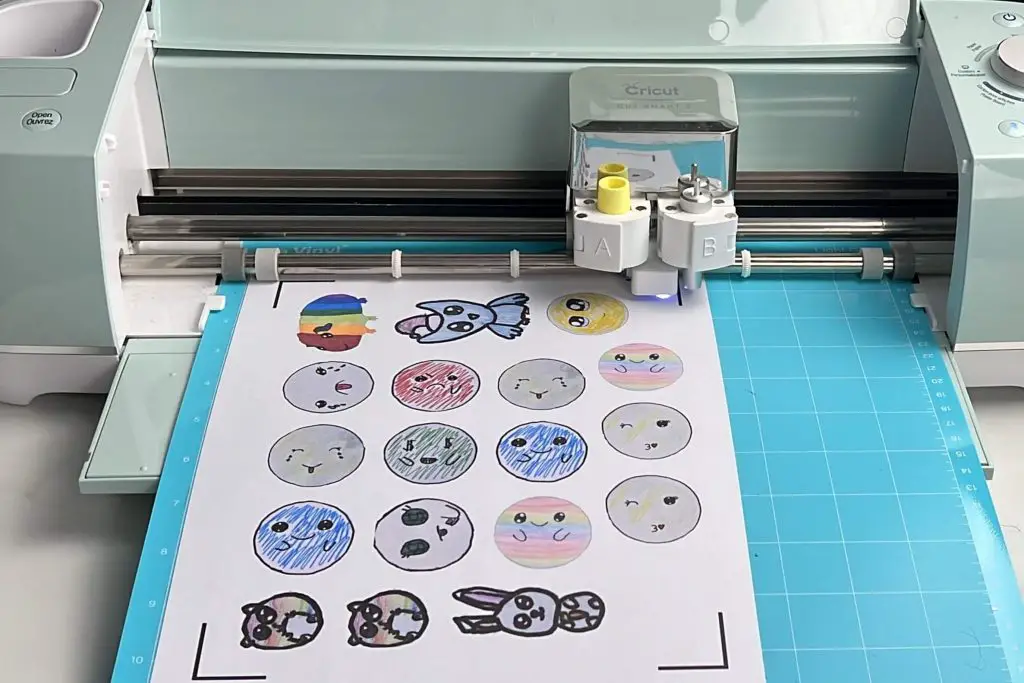
I found that the following works best:
- Set your Cricut Dial to Cardstock
You may need to play around with your machine to see which setting works best, but these are the ones that I found are best for loose-cut stickers.
Push the flashing C on your Cricut and wait for your stickers to cut out.
Once they are cut out, flip your cutting mat upside down and peel the mat away from the sticker paper and stickers.
If the cut settings are correct, you can peel your sticker paper away first and then be left with stickers on your cutting mat.
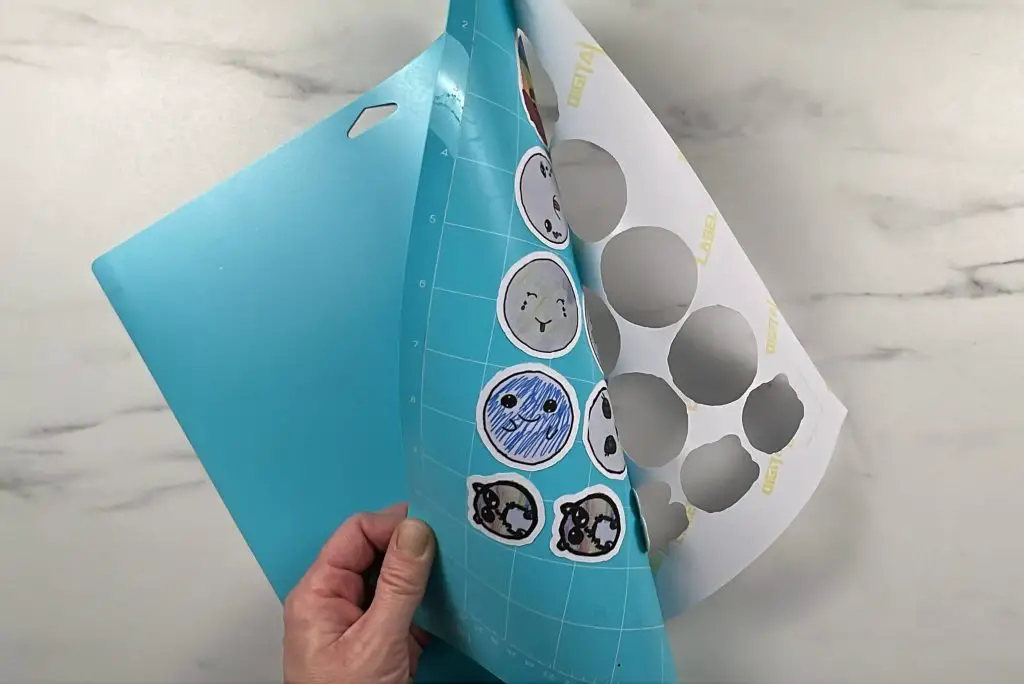
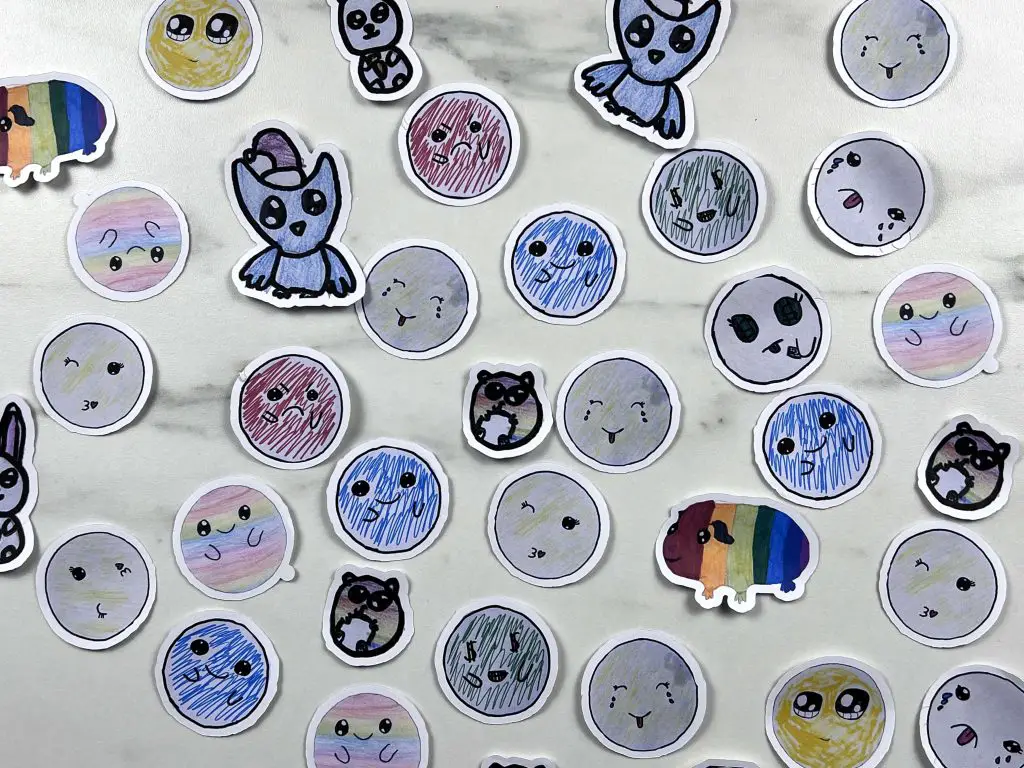
And that’s it! You have successfully made Drawings into Stickers
Things I Learned While Making These Stickers
- I interchange working on my laptop and my iPad. For some reason, this time, when switching between the two, there was some issue that Cricut Design Space was having. Anything I designed in DS on my laptop would not appear on my iPad DS. The project was there, but when I tried loading it, all the images were white…. I never found out what the problem was. Some of them randomly started working again, and others never did…
- While working on these sticker tutorials, Cricut released a built-in Sticker Feature in Design Space for Access members. I do not have Access because I cannot justify paying a monthly subscription. But if you have Cricut Access, you can make these stickers with that feature. The beginning of this tutorial would be the same, but the end part, where we modify our drawing, would use the Sticker Feature.
- I have played around with several different settings for cutting out stickers. There is a setting on the Custom dial called Printable Sticker Paper, White, (gray liner printing). Although this setting is for Cricut Sticker paper I have not had great experience with it. I thought since I was using Cricut Paper and all Cricut Products, it would work, but it is not very reliable for me. I have had it perform almost a kiss-cut, sometimes it cuts far enough so that I can force the stickers out, sometimes with or without rips.
- Regardless of which settings I use on my machine to cut out stickers, it is best to be prepared to waste a sheet or two of sticker paper until you find the setting that works best for you and your machine.
Frequently Asked Questions about Sticker Making
How To Make Kiss-Cut Sticker Sheets With Cricut?
I found that the following works best:
- Set your Cricut Dial to Custom – Select Washi Sheet (not Washi tape).
- This cuts only the top layer of the sticker paper and not all the way through the sticker sheet.
You may need to play around with your machine to see which setting works best with your machine, as you may have different results.
How To Make Loose-Cut Stickers With Cricut?
I found that the following works best:
- Set your Cricut Dial to Cardstock
- This will cut your stickers nicely.
You may need to play around with your machine to see which setting works best with your machine, as you may have different results.
What Is The Max Print Then Cut Area With Cricut?
It is important to note that depending on the layout of your sticker arrangements, you may be outside of the print then cut area. The max print then cut size on an 8.5″ by 11″ sheet is 6.75″ x 9.25″.
If you manually arrange your stickers on the cutting mat, you can maximize the use of your sticker paper.
Tips For Making Stickers
If you are designing your own stickers, I recommend having an offset or a shape outline behind the sticker design. Any small loose parts around the edges of the sticker, or holes in the middle of the stickers can make your stickers rip easier.
What Cutting Mat To Use For Stickers?
When making stickers, I used both my green and blue cutting mats.
I use my green mats for most projects, so they are not as sticky anymore. However, if you are starting off with a new green mat, you may have challenges getting the stickers to peel off.
A fresh blue mat works well with sticker paper.
Did you find this tutorial on Making Drawings into Stickers Helpful?
Did you find this tutorial on making drawings into stickers helpful? Let me know in the comments below. If you tried it out, let me know how it turned out!
If you enjoyed this sticker tutorial, check out some of my other sticker tutorials here:
- Inspirational Quote Stickers With Cricut
- How To Make FREE Valentine’s Day Stickers
- Make Flower Stickers With Your iPhone And Cricut
Also, be sure to check out my paper crafts here.