It feels like it is always birthday season at my house. That is ok because that gives me another reason to make more crafts! Yay! And that is just what I did! This year is the big double digits! And we are pumped about them! As always, I was overthinking this, but eventually, I made it work. I finally decided to make a super simple 10th Birthday Wall Decorations… only I made a million of them and put them all over the house. So, let’s look at what happened and how we made these birthday wall decorations.
As an Amazon Associate, I earn from qualifying purchases. This post contains affiliate links. I may receive a commission if you purchase an item from one of my links. This will not change the price you pay.
Supplied Needed to make the Birthday Wall Decorations
This is a simple enough craft, but we need some supplies. So, here is what I used:
- Cardstock – Lots and lots of card stock. I used a whole lot of cardstock. I used 8.5″x11″ and 12″ x 12″ and scraps and whatever else I could find. I used solid colors, patterned designs, and anything in between. In the end, I think I used maybe 40 sheets of cardstock. I wanted to make more, but I was short on time, so I made do with what I had.
- Glue – I used craft glue to glue all the numbers together.
- Double-Sided Foam Tape – Optional – At first I debated using double-sided foam tape instead of glue to make the numbers pop more, but when I had all the numbers cut out and ready to assemble, I didn’t want the extra time and work required to work with tape. But if you have more time and want your numbers to pop, this is for you!
- Ribbon – I used ribbon to make the curtains, but string will also work.
- Hot glue and glue gun – attached the numbers to the ribbon using hot glue, which I find works better than crafting glue.
- Scotch tape – This was to tape numbers to the walls.
- Cutting machine – I used my Cricut Explore Air 2 to cut out the numbers. This made quick work of the cutting, even though it took quite a bit of time. But it would have taken longer if I had done this by hand.
- Cutting mat – needed to cut with most cutting machines.
Now that we have all the supplies, it is time to get this project started!
Designing the birthday wall decorations
I designed my numbers in Cricut Design Space. It was simple, but I wanted to point out a few things so you can do this quickly, as well.
In Cricut DS, open a new project, select Text and type the number you want. In my case, I used the number 10.
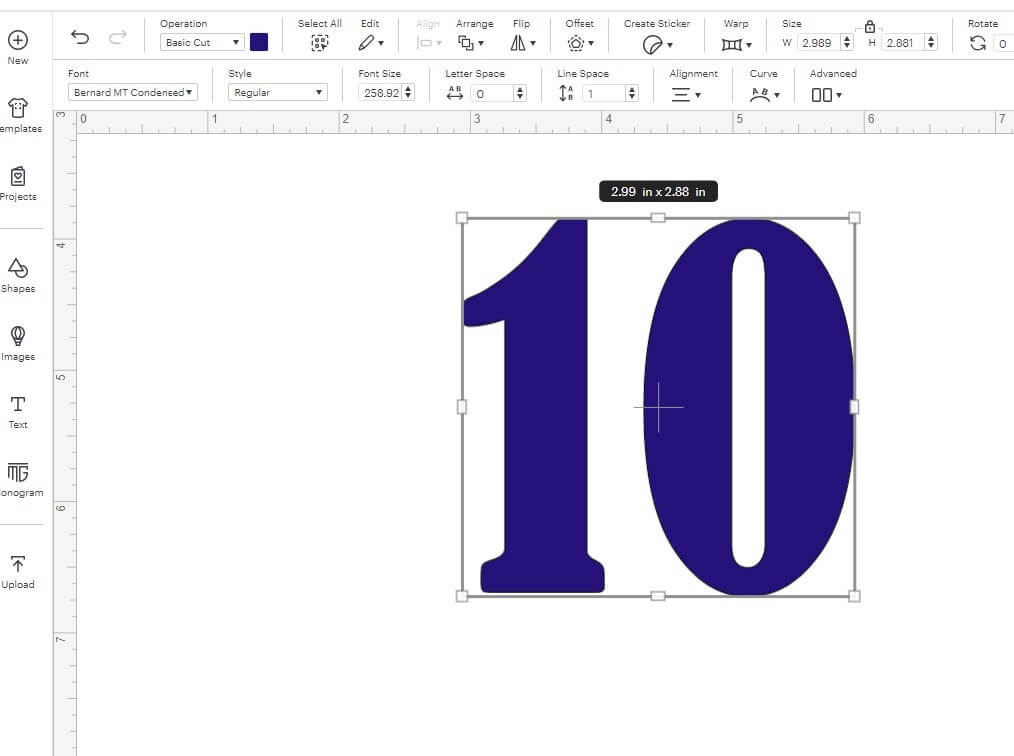
You can select a different font style by selecting the Font Drop-Down Menu. I chose Bernard MT Condensed from my system fonts.
Next, you will want to select the text box with the number and select Offset. This will create an outline around the number. You can use the slider to make the outline larger or smaller. I made 2 offsets, but you can create 1 or 2 offsets of the number. I find that having 2 offsets makes the numbers pop a bit more. But 1 offset will work fine.
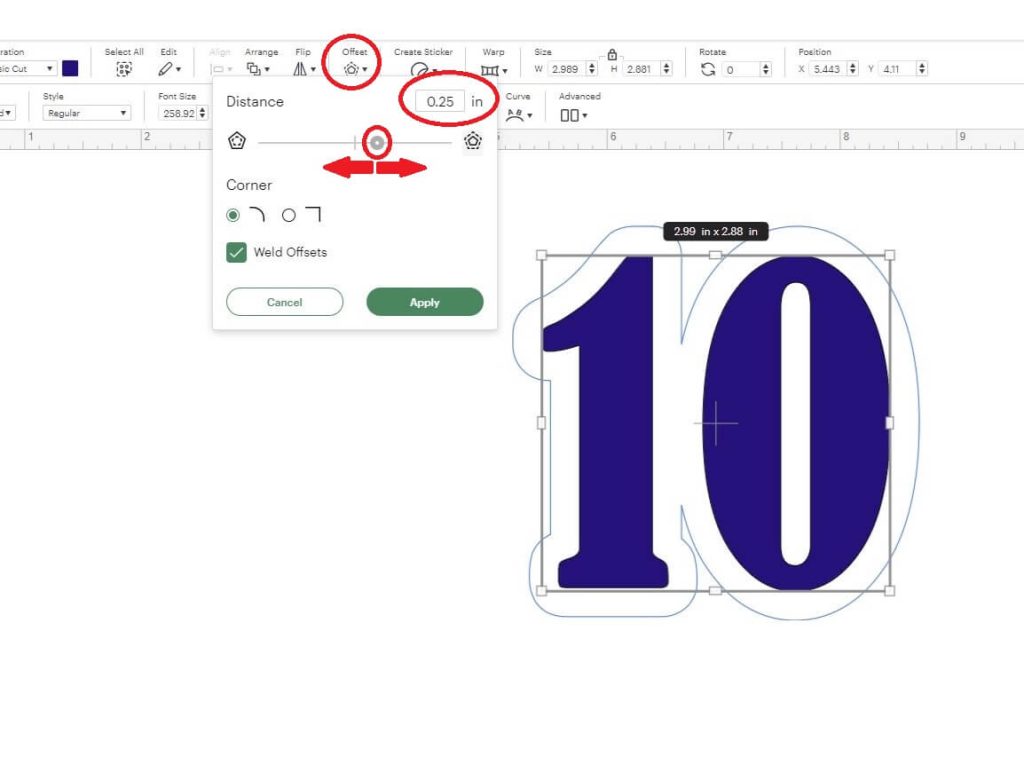
I want to point out that when working with numbers with 2 digits, you will want to make sure that the offset is large enough that it is one piece. You do not want to have 2 pieces on your offset. If the offset is 2 separate pieces, move the slider to the left to increase the size of the offset.
Additionally, if your number has a zero, such as 10, the offset may leave a hole in the design. If you do not want the hole in the zero, select the Contour Button and remove that hole. This will improve cutting time and make assembly a bit faster.

Once you are happy with your number and offset, you can resize the number to be a size of your liking. I made duplicates and made my numbers in 3″, 4″, 5″, 6″ and 7″.
Once I had them sized, I made a bunch of duplicates and got them ready to cut.
Tip for Cutting multiples in Cricut Design Space
When I first used Cricut DS to make these numbers, I created 30 copies with offsets in each size. Then I sent it to Make. This, of course, wreaked havoc on DS, it crashed, and nothing cut.
So, a trick I like to do (and I keep forgetting to do) is this.
I make a rectangle, and I size it to be just below 8.5″x11″, or 12″x12″ depending on the size of the paper I will be cutting. I Send to Back in the Arrange Menu. Then, I carefully place the pieces I want to cut on the rectangle. Once I have fit as many as I like, I move the rectangle out of the way, select all the elements I just placed and Attach them together. I do this for every size and color that I want.

This way, I can send 1 sheet of each size to Make and increase the number of copies I want to cut. This stops DS from freezing, and if it does, or if I need to take a break for cutting, I can pick up again on a new sheet and not try to figure out where I was in the project.
Assemble the Birthday Numbers
Assembling the birthday numbers is easy. Just take the top number, glue or double-sided foam tape it to the offset, and repeat again for the second offset if you have 2.
When I cut these numbers, I made sheets as described in my tips section above. And I just cut out each sheet in a different color, so I had all 3 pieces in numerous colors in numerous sizes.
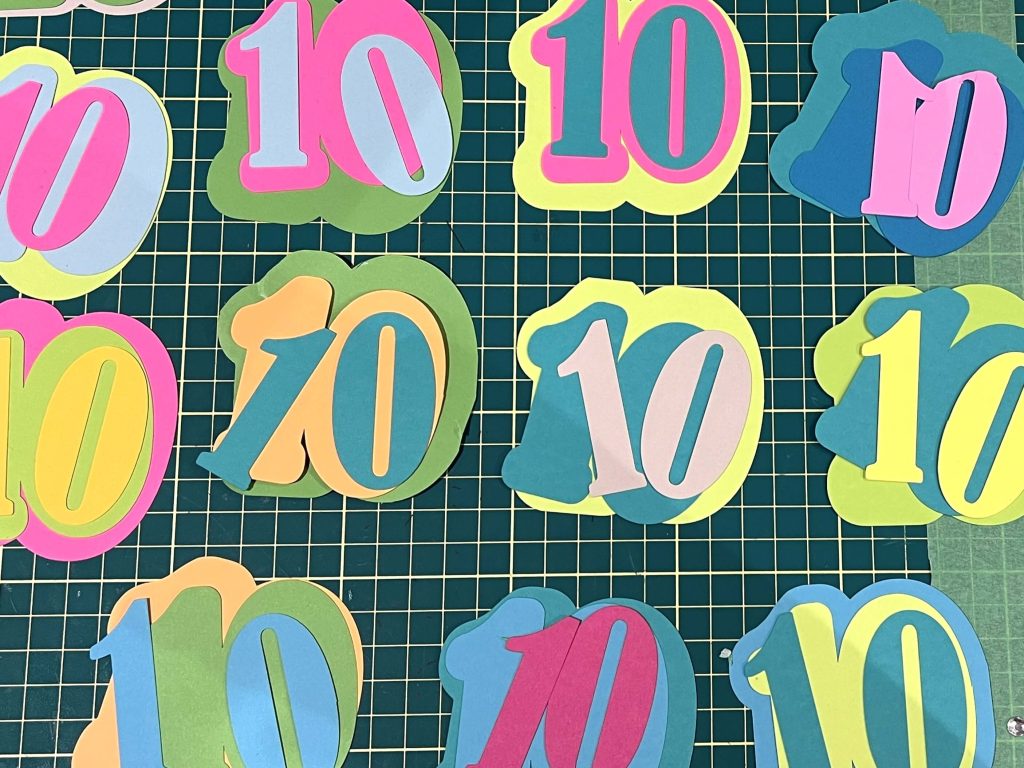
This let me mix and match colors to make each number look different.

Making a Birthday Number Curtain
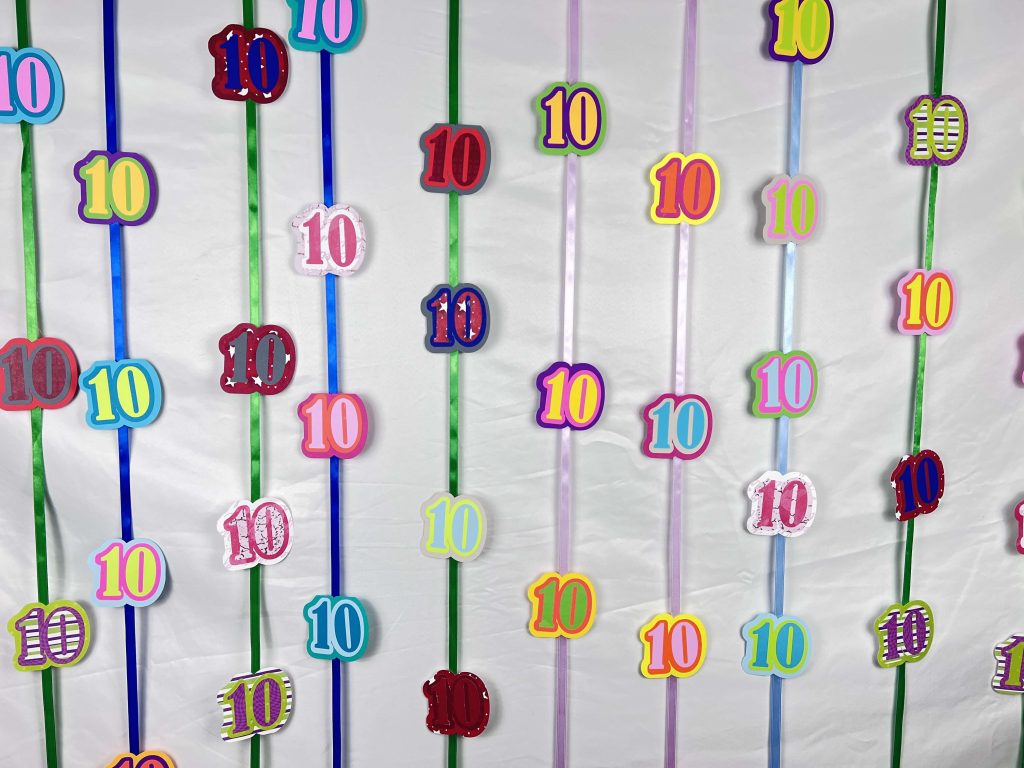
Once the numbers are glued or taped to their offsets, you can make them into a curtain.
You want the ribbon long enough to reach from the top of the door frame to just about the floor. In my case, I needed 7 feet. I recommend measuring your door size because not all doorways are the same.
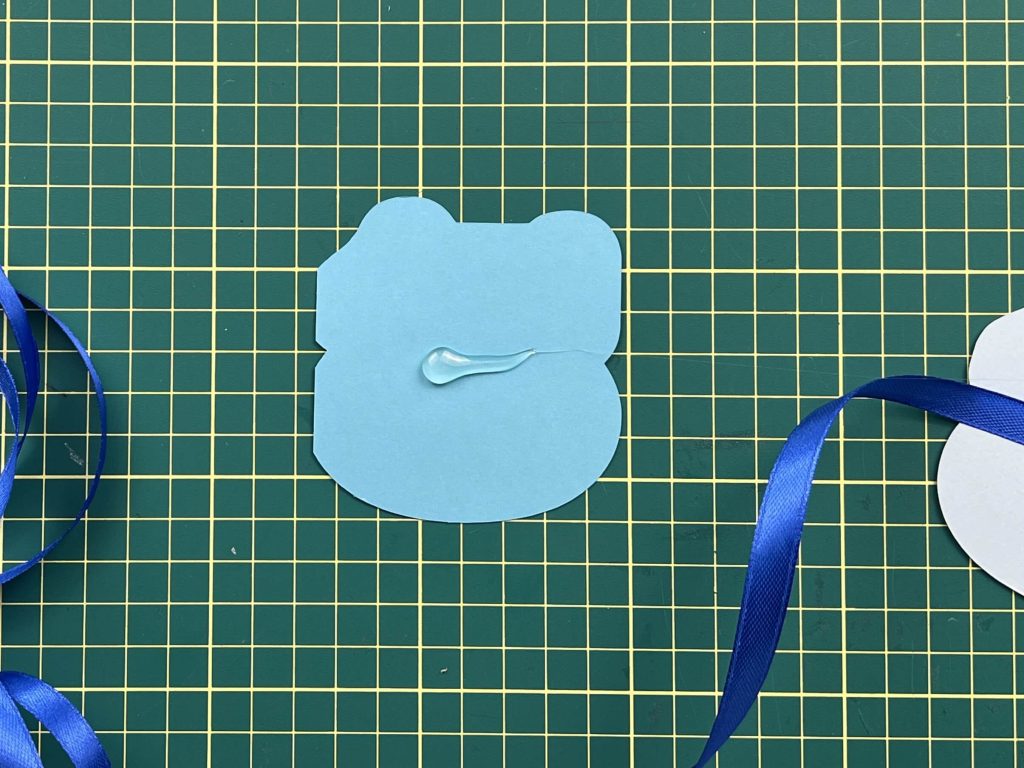
Once you have a piece of ribbon in the length required, using hot glue, dab some glue on the back of the number and attach the ribbon. Repeat for as many numbers as you want per ribbon. I spaced my numbers about 1/3 foot apart from each other, but I did not measure this I just eye-balled it.
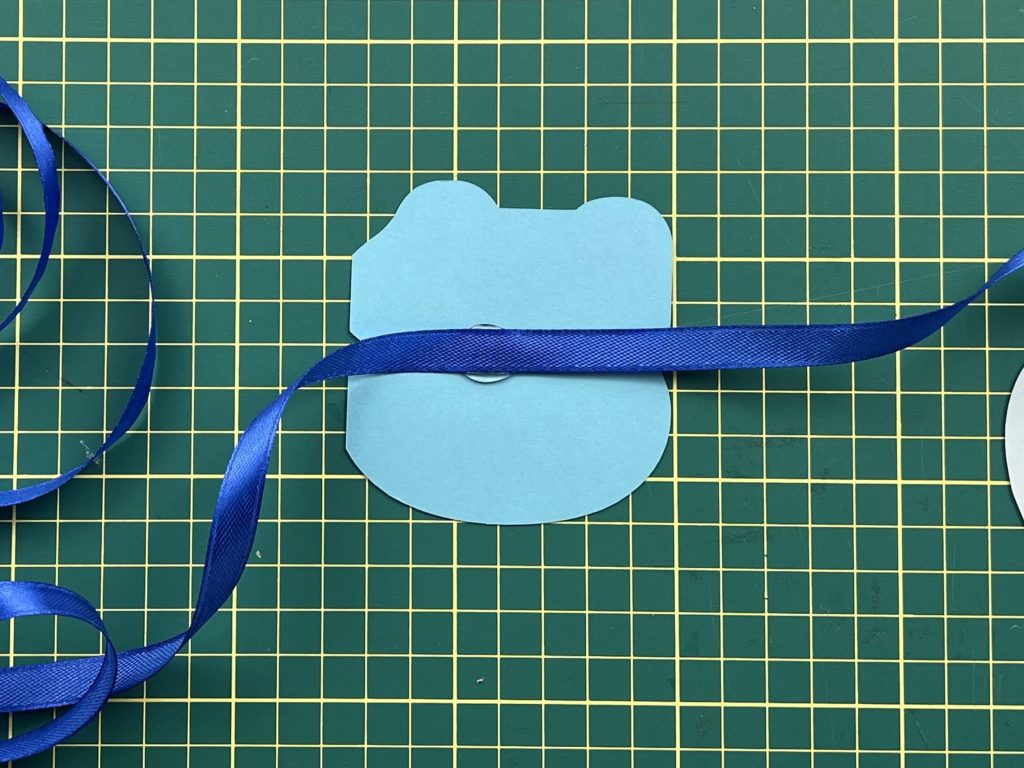
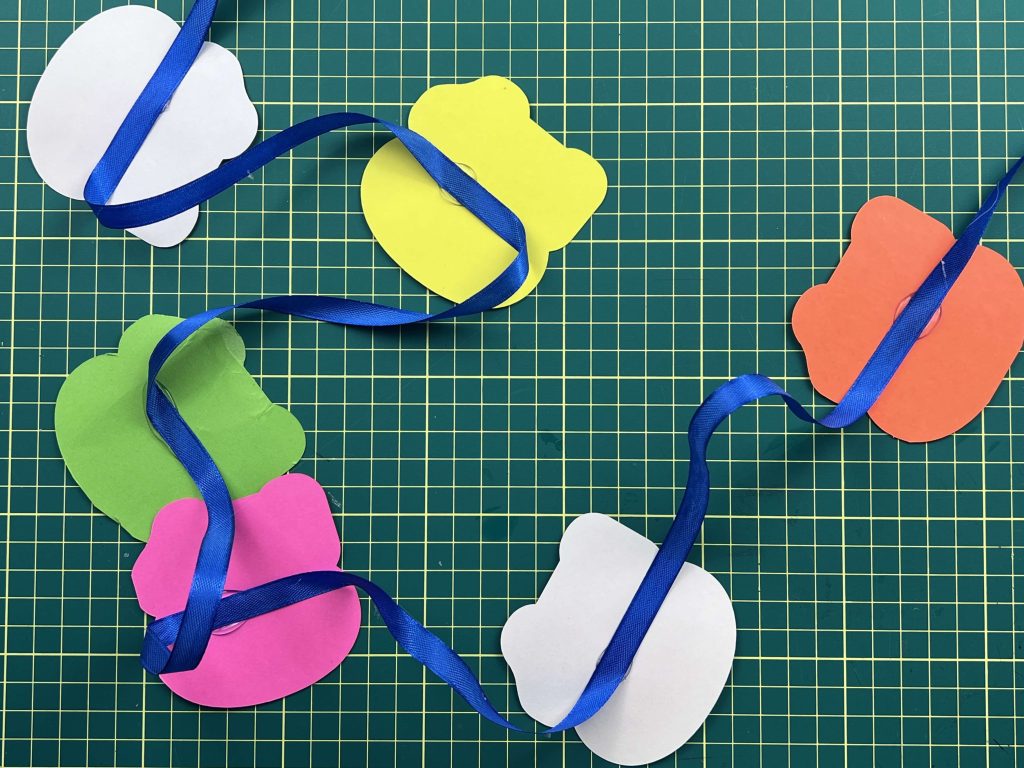
You can attach the curtain strands together on another ribbon, or you can tape them to the top of the door frame (that’s what I did). Alternately, you can loop a knot into the top of the ribbon and attach the ribbon to nails if you have random nails around your house (I also did this, as I have nails in a certain spot for Christmas stockings, so it worked out well.)
Attaching numbers to the walls
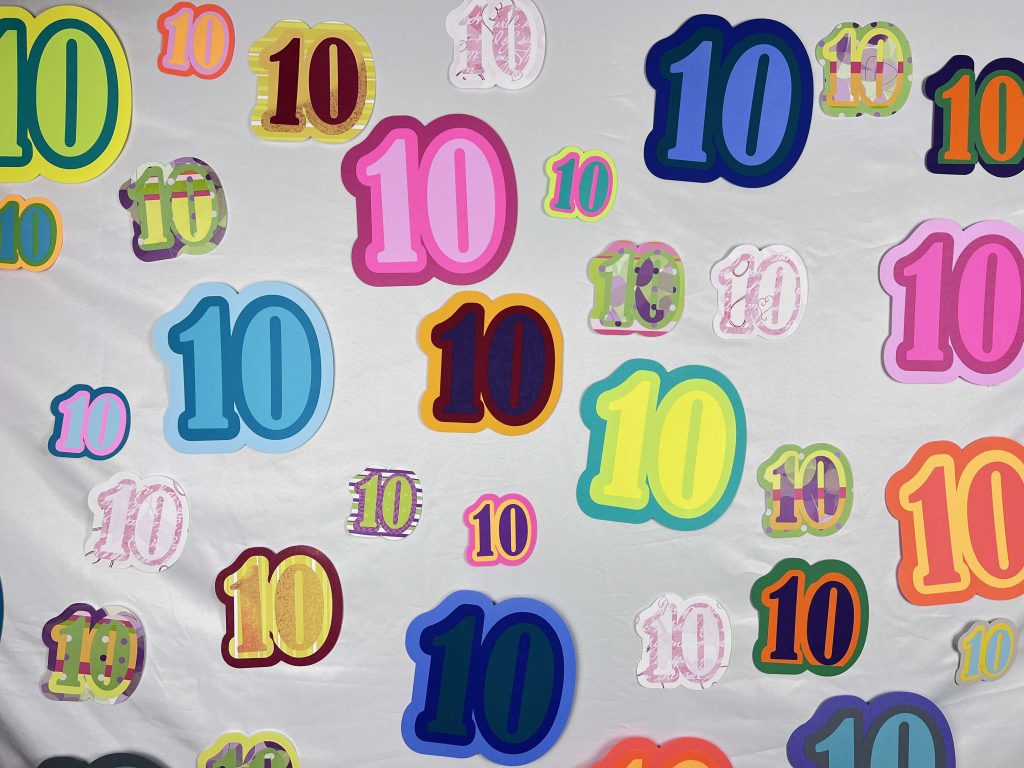
I made a lot of number 10s. I made them in a bunch of sizes, and they weren’t all going to go on the curtains. Some were going to simply be taped to the wall.
So, using my faithful scotch tape, I taped the number 10 all over the house.
And that’s it! Your Birthday Wall Decorations are Complete!
Things I learned while making these birthday wall decorations
Like with every project I make, there are things to learn, so here we go:
- Making these birthday wall decorations took much longer than I thought it would. I spent about 2 hours cutting out numbers, 2 hours gluing numbers, and about an hour hanging them up all over the house. Now, this was worth it, but I hoped it would take less time.
- When I initially set out to make these birthday wall decorations, I was hoping to use up some of my scrap paper supplies. But my scrap paper is in random shapes and sizes, and I didn’t have time to fiddle around trying to make all the pieces fit… so now I have MORE scrap paper….at least I was able to set up most of the cuts to cut the whole 8.5″x11″ sheet up leaving nothing behind.
- I made a LOT of number 10’s. Easily 200. But I thought it was not enough. I wanted more. The kids didn’t notice that there weren’t enough, but I think more would have looked better.
- If you have multiple kids as I do, remember where you set the bar…. now my youngest wants the same treatment for his birthday in a few months…. I will do something for him, but now he wants this plus more… so keep that in mind when making decorations for your kid’s birthdays.
- When I started with this simple design in Cricut Design Space, I wasn’t thinking, and I made a whole bunch of copies of the design. I knew better. I knew it would crash. It took me about 10 minutes to set up templates for each size number and each paper size, and after that, there were no issues with crashing or leaving the project and coming back. I could pick up any sheet. That significantly helped and saved hassle and time.
- Now I have over 200 number 10s that I need to deal with after the birthday is over… (facepalm)
- My dog did not enjoy the curtains in the door frames. He had to walk through them many times a day as I put them in the main hallway. So, if you have a dog that doesn’t like this sort of thing, you can make them short so that your dog can pass through without getting bumped. I also assume cats might enjoy the added distraction, but I leave that for the cat owners to comment on.
Did you enjoy this Birthday Wall Decorations Craft?
Did you enjoy this Birthday Wall Decorations Craft? Let me know in the comments below! If you tried this or made something similar let me know how it turned out!
If you enjoy this birthday craft, check out my other birthday crafts here.
Want to make more paper craft? You can learn about those here.