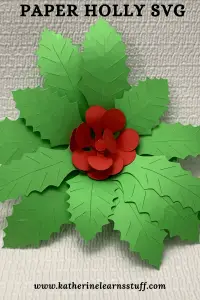
It’s that time of year! Christmas decorations are in full swing, and why not make your very own paper holly? The other day, I saw a picture of a beautiful holly, and I thought I would try my hand at my own version. So, let’s make a paper holly decoration for Christmas!
As an Amazon Associate, I earn from qualifying purchases. This post contains affiliate links. I may receive a commission if you purchase an item from one of my links. This will not change the price you pay.
Materials needed to make paper Hollys
This is a simple project, so not many materials are needed, but nonetheless, my list:
- Cardstock – I just used 8.5″x11″ paper, but 12″x12″ will also work. I use the Recollections Brand of cardstock. I like the way it cuts, peels, and looks.
- Glue – I use my Ryobi glue gun, but any crafting glue will work. I like the hot glue gun to do paper crafts since it dries much faster than crafting glue.
- Cutting machine – I use my Cricut Explore Air 2, but any cutting machine will work. Also, scissors will work.
A Paper Holly Design is needed
I remember as a kid, I would sketch holly’s all the time. The leaf design isn’t tough, it’s just some pointy edges, and the berries are just circles, right? But it turns out that making a design in Design space is a bit more tricky than simple childhood sketches. So, I pulled out my design program, Vectornator, and drew up the holly’s myself. If you would like a copy of my design, sign up for my newsletter below.
Sign up for my newsletter and get the SVG for my holly design
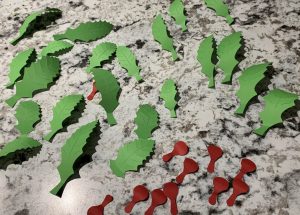
Cutting your Design
If you have downloaded my design, it is a simple cut. I tried to design the berries to be a decent size in comparison to the leaves. So, when you increase the size of any items, do it as a whole group.
Also, make sure that you remember what size of paper you are using when setting up your mat layout. I wasn’t paying attention, and I ended up having to recut a bunch of leaves.
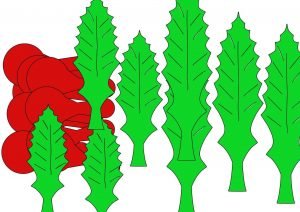
Also, the design I created has 16 leaves. You can use all of them or just some. I wanted a full-looking holly, so I used all of the leaves.
Assemble the berries and Leaves for the Holly
Before I started to assemble the pieces, I curled all of the berries and leaves to give them some shape. The berries and leaves are designed with a stem at the bottom to help with assembly.
I found that assembling the paper holly in 2 pieces worked better than trying to get it all done in one piece.
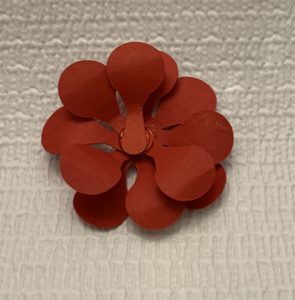
Assemble the Berries
Once all of the berry pieces are curled, I started to glue them together in a clump. I did arrange mine in a circle and overlapped some in several locations to give it some texture.
You will notice that with all of the paper being glued on top of each other, the paper is stack is getting thick. By shaping and rolling the paper more, you can give the berry depth and make it won’t appear that they are all piled on top of each other.
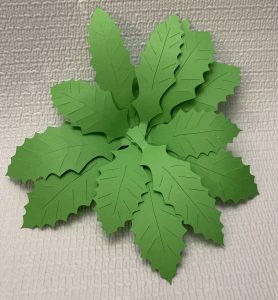
Assemble the Leaves
Similar to the berries, the leaves are placed one on top of another and glued together. I arranged the leaves in random order to make them look life-like.
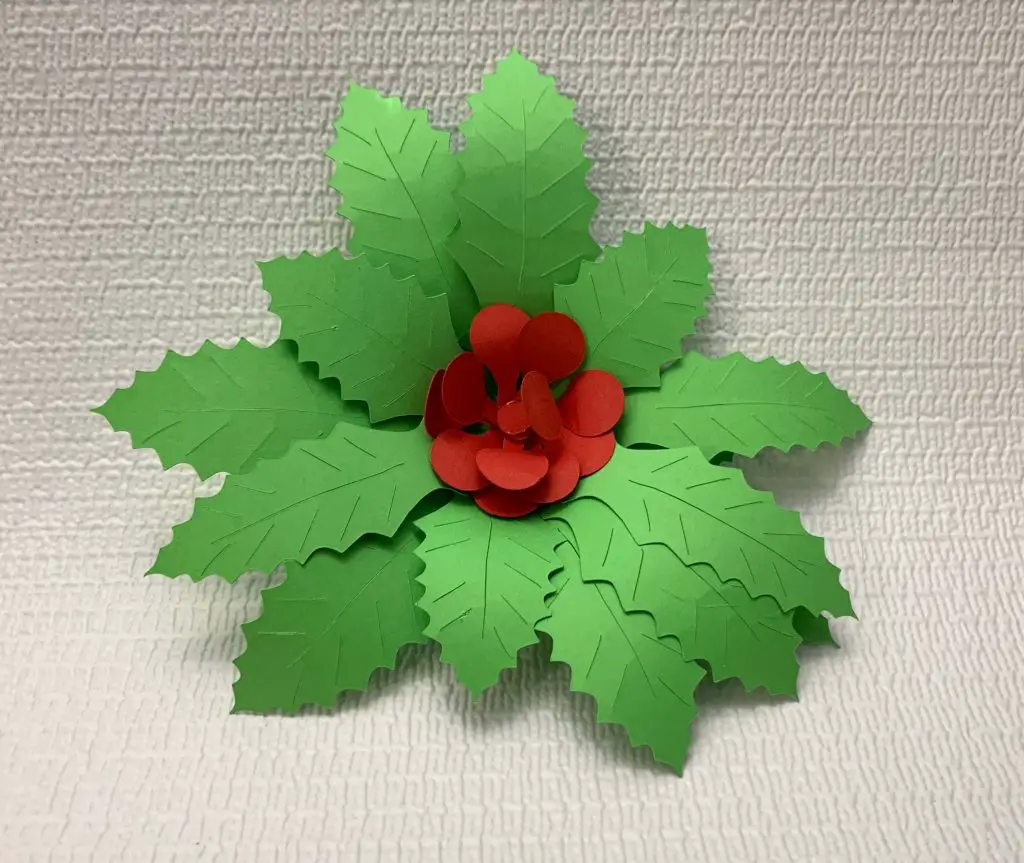
Assemble Paper Holly
Now it takes a simple assembly of placing the berries onto the leaves. Once the glue has dried, I make sure to give all of the leaves a bit more of a curl and arrange the berries a bit more so they have more depth.
and that’s its! Your Paper holly decoration is done!
Final thought on making a paper holly decoration
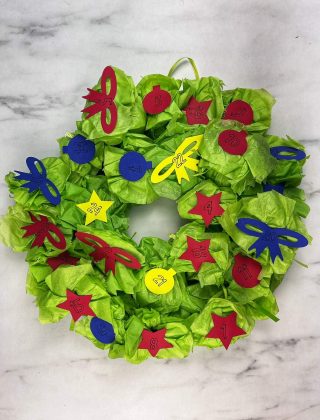
- This is a fairly simple project, and there are many applications for this. My tutorial above only goes over the creation of one paper holly bunch, but you can make numerous more to be used in a holly wreath, a holly centerpiece, accents to your mantel with other Christmas decorations.
- As with many paper crafts, this craft can be done in other mediums, such as leather or faux leather. And if you create these paper holly decorations in another medium, they will last longer. A paper holly will only last so long.
Did you find this tutorial helpful?
Did you find this tutorial on how to make a paper holly decoration helpful? Let me know in the comments below.
If you did enjoy this paper craft, check out my other papercrafts here.
Also, be sure to check out some of my other Christmas Crafts like:
Sign up for my newsletter and get the SVG for my holly design