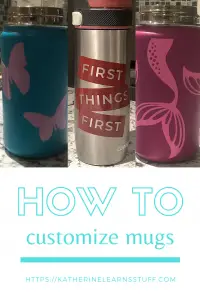
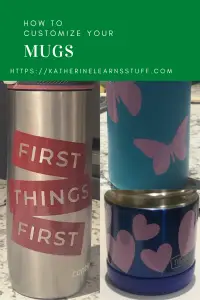
Tutorial on How to Make a Customized Mug
Welcome! Hopefully, you are here to learn how to make a customized mug. This is a quick tutorial customizing a mug, but you can customize anything! This tutorial came about with Back To School Series, where I thought, even though my kids are going to school, I should be able to give myself a little treat also!
As an Amazon Associate, I earn from qualifying purchases. This post contains affiliate links. I may receive a commission if you purchase an item from one of my links. This will not change the price you pay.
What you Need:
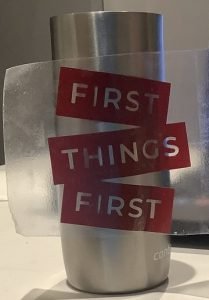
- mug – for my demo I used a travel mug but you can use any mug you like. I have also done this on my kids’ thermos’ for school (pics included at the bottom for you to see)
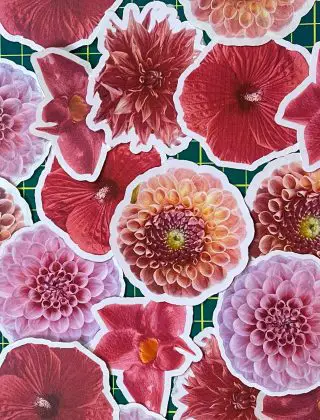
- decal – You can buy a decal or make your own.
- I use my Cricut Explore Air 2 to make my decals
- And adhesive vinyl.
- About 15-20 minutes tops.
Let’s Begin!
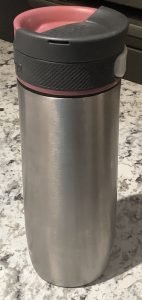
Let’s start with the mug!
You need a clean mug. Typically it is recommended to clean it with isopropyl alcohol, but I just wash mine with soap and water and dry it off so there are no water spots.
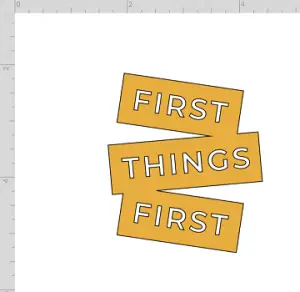
Pick your design
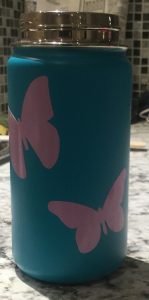
I always find it the hardest to get the design figures out for any projects I make for myself. But I found this one to the left, which seems to fit the bill for a coffee mug.
Apply the Design
As my decal is words, I have to use transfer paper to apply it to the mug. This is only so that the inner portions of the letters stay exactly where they are supposed to. Otherwise, I would just apply it as a sticker.
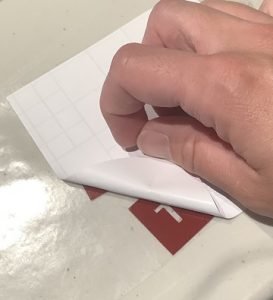
When applying any decal or sticker to a mug (or cylindrical surface), it is best to start in the middle of the decal. This way you can push the design down along the surface and smooth out any air bubbles as they appear. First one side then the other.
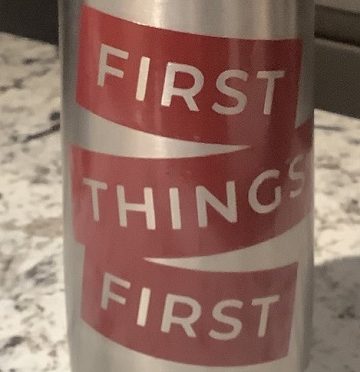
You’ll need to do rub the decal on with some force so that it stays put.
And That’s It! You’re Done!
Important notes to remember!
- Let the decal adhere to the mug for 24 hours before you use/wash it. The glue needs to set. If you use it too quickly, the decal will not stay on.
- Once you have customized a mug or anything that you eat/drink with, it can no longer go into the dishwasher. Well, it can, but the decal won’t stay on long.
- It is much easier to apply decals onto mug/cups that are linear. By this, I mean, if you have a very shapely mug (think like a pear or apple) the decal will be harder to apply and may result in wrinkles and air bubbles.
- If you get an air bubble stuck under the decal, you can try to flatten it out by pushing it to the side of the design. You can also try to pull up the design and apply it. Both are doable. Just be careful if you try to pull the decal off, as it may rip.
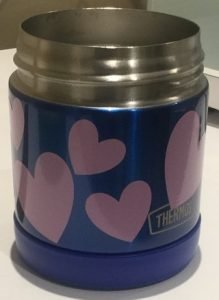
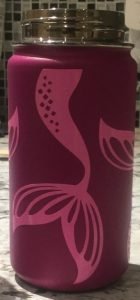
It doesn’t just need to be a mug!
You don’t just need to decorate your coffee mug. I have done all of my kids’ school food containers to give it a bit of personality as well.
Was this Tutorial Helpful?
Did you find this tutorial on how to make a customized mug helpful? Let me know your thoughts in the comments below!
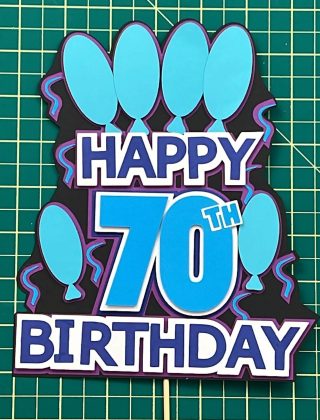
If you liked this tutorial, be sure to check out my other tutorials here


These are so cute and easy! Now I want a Cricut to be able to personalize my things, LOL!
It’s nice to add a personal touch to every day items! Makes the monotony of some things more exciting!