I started making shaker cards the other day, and clearly, I can’t stop, as I have gone ahead and designed and made another one to add to the collection. I have broken this post into two parts, one where I go through how to design a Mother’s day shaker card and the other, where I go through how to assemble a Mother’s Day shaker card. So, let’s jump in and design a Mother’s Day Shaker Card!
Supplies Needed to Design a Mother’s Day Shaker Card
As we are only designing a Mother’s Day Shaker Card right now, all we need is two simple things:
- Design program – I’m using Design Space for my Cricut. I only use the free shapes and fonts in my system, so I do not have to pay extra. So, basically, we will design a free Mother’s Day shaker card. If using Design Space is not your thing, you can use any other design programs to help. My other go-to design programs are Vectornator for my iPad, and Inkscape when on my computer.
- About 30 minutes to design and assemble the card.
Let’s Start Designing Our Mother’s Day Shaker Card!
This card has a few elements that need to be designed. There are two different types of flowers with stems, one vase, a text section. and the card itself. So, let’s start off designing some flowers first.
How to Design a Simple Daisy Flower In Design Space
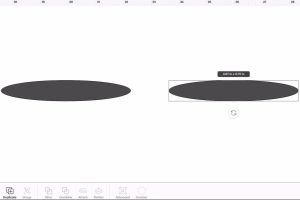
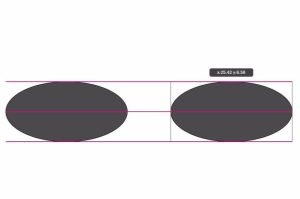
When designing this flower, we will use 2 simple shapes, the oval and the circle.
Select the oval first. Unlock the dimensions so you can change the length and width independently. You want to make the oval long and slender. Once you are happy with the shape, aligned it horizontally. Now, duplicate it. Move the duplicate next to the original oval, but leaves a gap between it. You want the gap to be about 1/4 the length of the oval. This does not have to be an exact dimension.
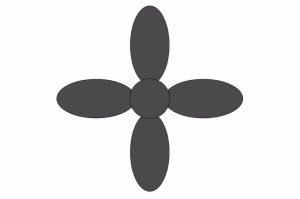
Select both the ovals you just made, duplicate them, and rotate them 90 degrees. If you are having trouble moving 2 ovals at once, you can group them to keep them together. Center the duplicated ovals both vertically and horizontally with the original 2 ovals.

Once the ovals are evenly spaced, select all 4, and duplicate them. Again, you can group them to keep them together when moving them around, but it is not needed. Center the 4 duplicates over the originals and rotate them by 45 degrees.
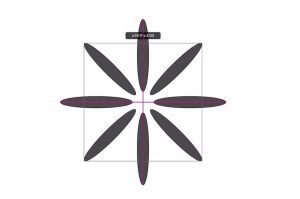
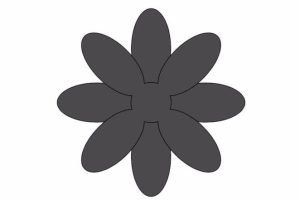
Make a small circle and place it in the center of all 8 ovals. Adjust the size of the circle, so it slightly reaches over each oval. It does not need to be big, just enough to touch all 8 ovals. Select all the ovals and the circle and weld them together.
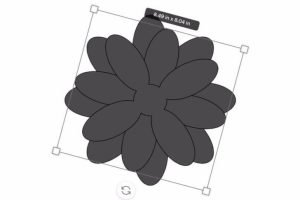
Now that the base of our flower is done, we need to duplicate it and make it slightly smaller than the original. Then, repeat two more times. This will give us 4 flowers, each smaller than the previous one.
And finally, make a circle that will fit into the center of the smallest flower.
You can change the color of each layer, or you can leave them all the same. I left them as 2 different colors in Design Space to help me visualize but plan to use all different colors for each layer.
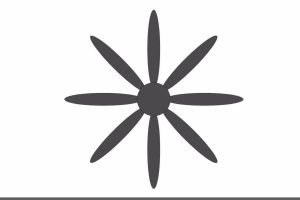
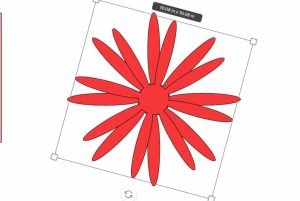
Now, arrange all the flower pieces, one on top of the other, largest to smallest, and group them together. Adjust the size so that the flower is about 2 inches in width. Duplicate the whole flower two times. This will give you the 3 daisies needed for the design.
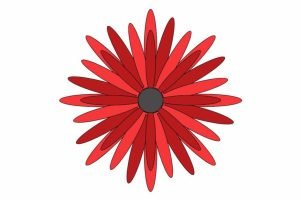
Our Daisy is designed.
How to Design a Water Lilly in Design Space
The design of this flower is similar to the daisy, in that it uses only ovals and circles.
Starting with the oval, unlock the dimensions so you can adjust the length and width independently. Make the oval long and fat. Arrange the oval horizontally.
Duplicate the oval, and place it to the right of the original oval. Leave a gap between the oval, which is about 1/4 the length of the oval.
Select both ovals, and duplicate them. Rotate them by 90 degrees and center them vertically and horizontally with the two original ovals.

Select a circle from the shapes menu and adjust the size to touch the inner edges of all 4 ovals. You want to have some overlap between the circle and the ovals. Once happy with the size, weld them all together.
Once welded, duplicate this flower piece, rotate it by 45 degrees, and center it on the original flower piece. You can select both pieces and group them together.
Now, select the grouped flower, and duplicate it. Reduce the size of the duplicate slightly, so it is smaller than the first flower pieces. Again, duplicate the new flower, and reduce it again.
You will now have 3 flower pieces, each with 8 petals.
Finally, make a circle that will fit into the center of the smallest flower.
You can change the color of each layer, or you can leave them all the same. I left them all the same color as I planned to use the same color for each layer.
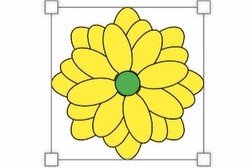
Now, arrange all the flower pieces on top of the other, largest to smallest, and group them together. Adjust the size so that the flower is about 2.7 inches in width.
Our water lily is designed.
How to Design a Simple Card in Design space
There are two simple ways that you can design the card backing. What I mean by this, is part of the card that opens and closes, the large cardstock pieces that are the card body.
Free Card Template From Design Space
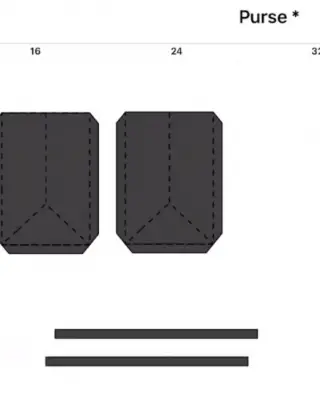
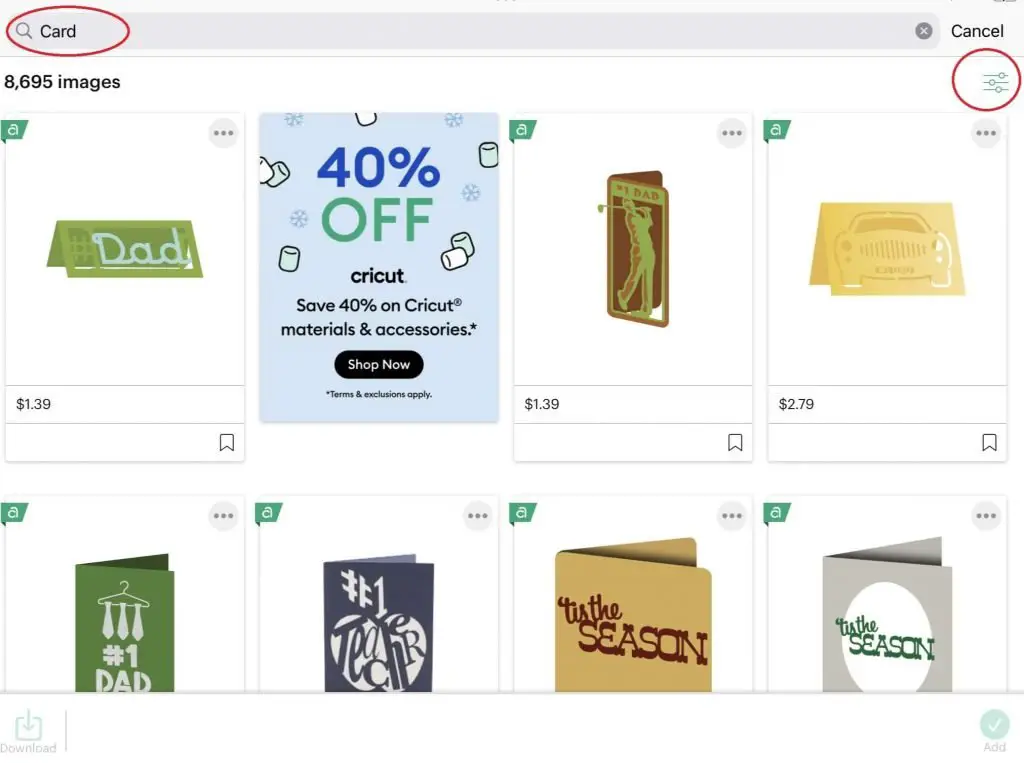
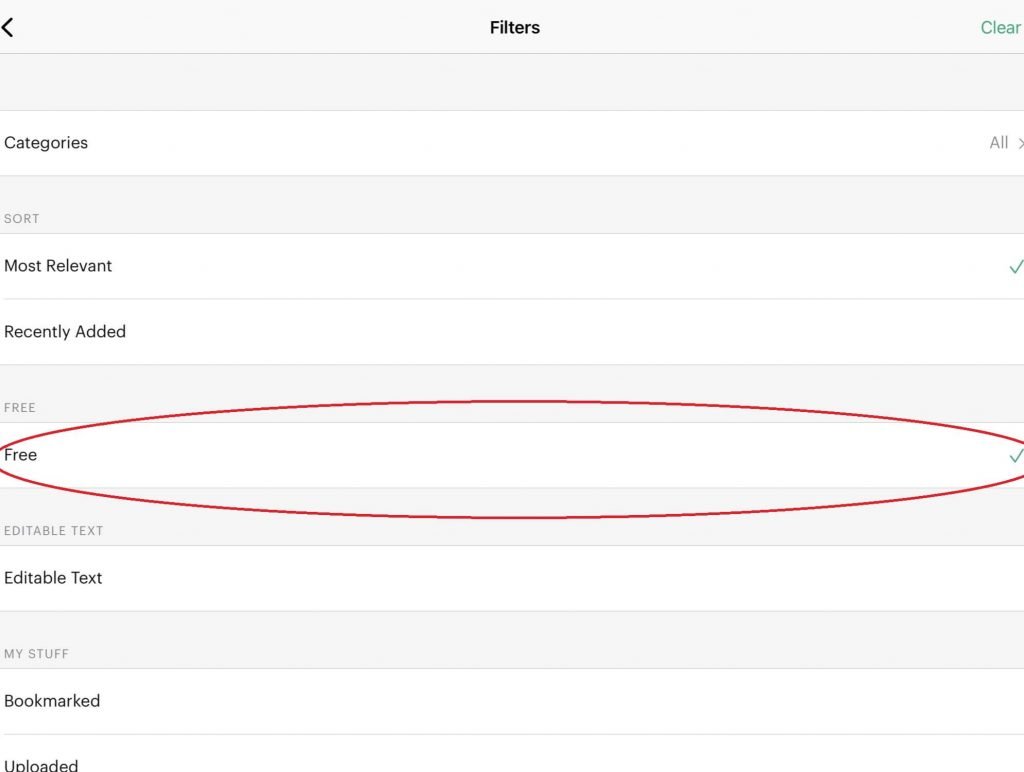
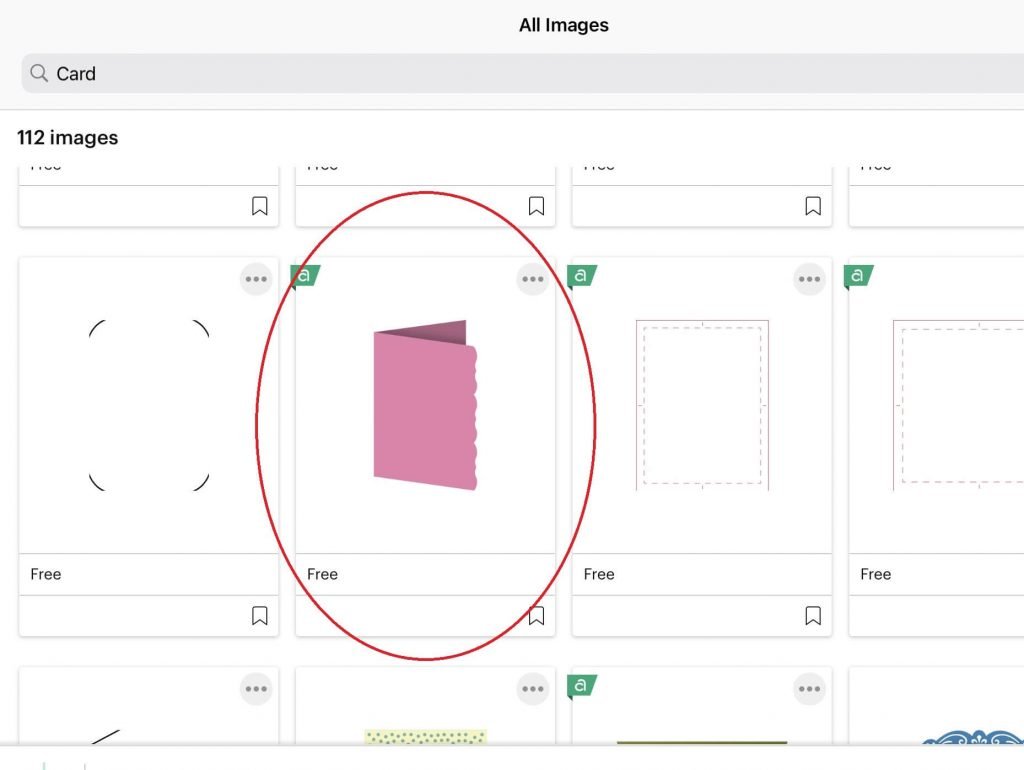
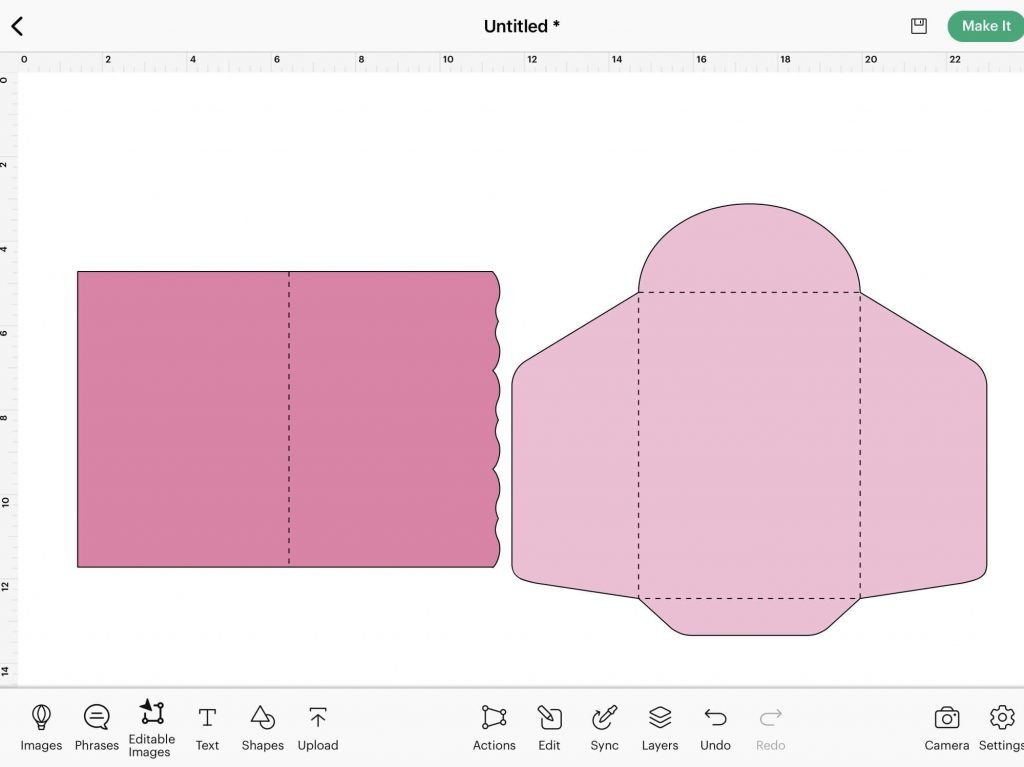
There is a really nice and simple card template available in Design Space, for free. All you need to do is select Images, type Card in the search menu, and use the filter to filter for FREE projects, and you will find a simple card as seen below.
You will need to ungroup the card and envelope and modify the card to be 10.75″ wide by 8″ high. The envelop that is included in this design will not work with a card this size, unless you have 12″x24″ cardstock or paper that you want to use to make an envelope. If that is the case, you will need to increase the envelope as well so that the card fits inside.
Also, the card that I am showing below is the one that is currently free, but there are always one or two different available color cards, so you may not find this exact one.
You Can Design Your Own Card Template
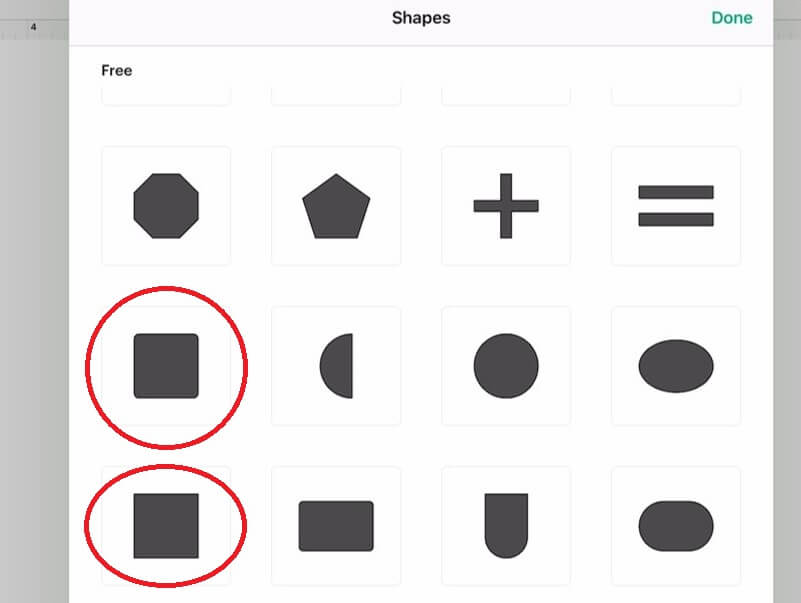
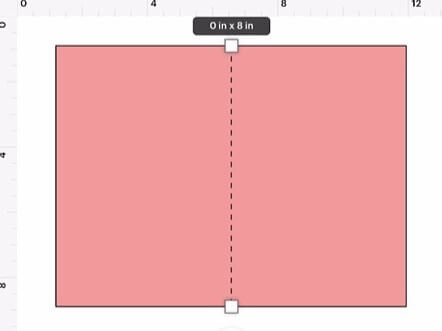
You can easily design your own template as well. All you need to do is select SHAPES and then select either the square with rounded or pointed corners.
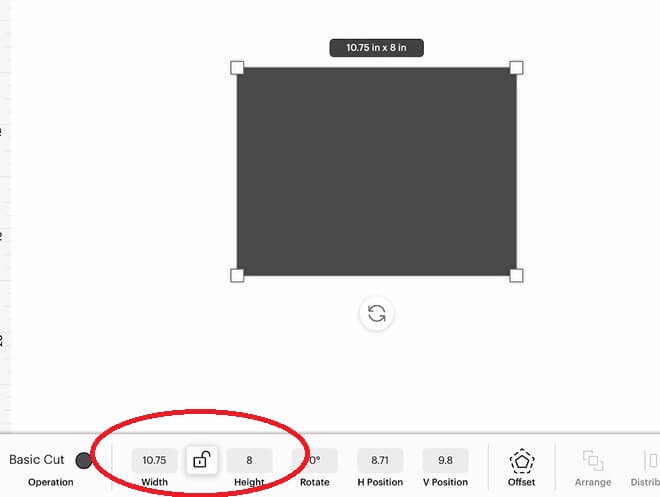
Select the EDIT menu, and change the dimension of the square to 10.75″ wide by 8″ high. You will need to make sure that the dimensions are unlocked so that you can change them separately.
Now, pulling in a Score line from the SHAPES menu, increase the size to 8″ in height, and center it on the rectangle. Make sure to Attach the score line to the rectangle so that it scores in the correct place during the cutting process.
How to design a vase in design Space
All we need to make a simple vase is a triangle and an oval, so bring them in from the Shapes menu.
Starting with the triangle, rotate it by 180 degrees, bringing the flat side to the top. Bring the triangle over to the oval, and center them horizontally, leave the top of the triangle above the oval to give the vase shape.

Once happy with the layout, Select Combine and Weld the two pieces together.
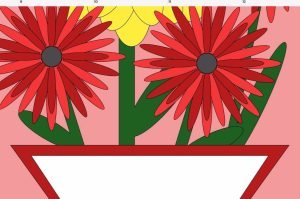
Now, this is where we need to use the card that we just made above. You need to place the vase over the card and adjust the size. It needs to fit the lower half of the card. It helps if you place the flowers on the card as well, to see how it all fits. Adjust the size, both width and height so that the vase fits nicely on the front of the card.
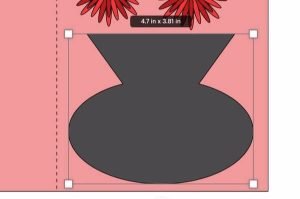
Remember, you want the vase to be as big as possible as this will be your shaker piece, and working with larger parts for the shaker is easier, at least for me.
At this point, it is good to change the color of this original vase to white.
Once you are happy with the size, duplicate the vase and put it aside. Change the color of the duplicate to something that will stand out and not be part of any other piece of your card. This piece is going to be the clear sheet for the shaker.
Now, make 2 more duplicates of the vase. Pull them over to the side so we can work with them. Place the 2 vases on top of each other. Reduce the size of the top vase, both width and height. Make sure that your dimensions are not locked. Reduce the size of the top vase so that you can see an outline of the bottom vase all the way around. You will need to center the two vases horizontally and vertically every once in a while to make sure you have an outline. Once happy with the size, select both vases, Slice them apart and Delete the surplus inner vases.
You can change the color of this outline, in my case, I went with red.

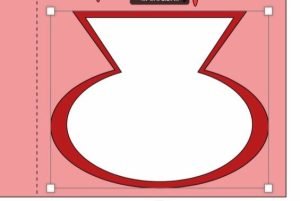
Place it on top of the original vase and you are done with your vase design.
How to Design a Flower Stem in Design Space
The stems for the flowers do not have to be anything super fancy, as they will be behind all of the flowers, but we want some green behind the flowers. We do not like they are floating.
Back to our shapes menu, bring in a square and an oval.
Adjust the square so that it is long and narrow. You will need to make sure your dimensions are unlocked. Bring the oval over, and make it thinner. Rotate it slightly so that it is pointing up, about 45 degrees. Place it on the rectangle so that the bottom is just overlapped. Once you are happy with the shape, select Combine, and weld the two pieces together.
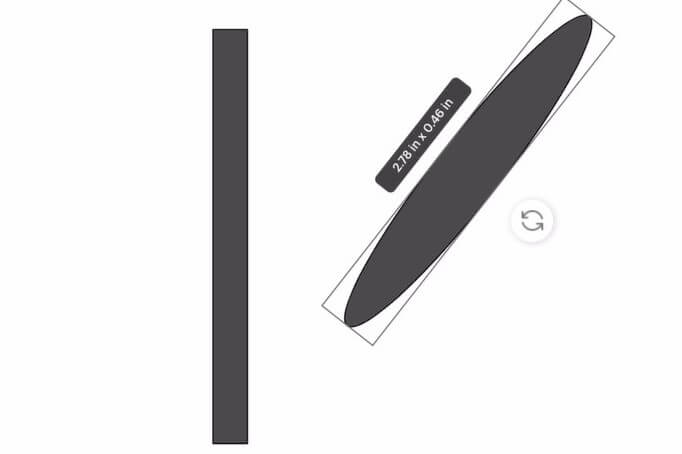
You will need 4 of these stems. Bring them to the card with the flower, and adjust their size, width and height, as you see fit. They should reach from the vase to the flowers. Some will be bigger than others. And you can flip them vertically as well.
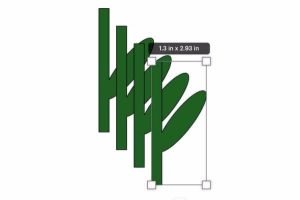
And that’s it, our stems are designed!
How to Design Text For your Shaker Card
This is the last piece of our design, so we are almost done!
Select the text function and pick a text you like. I just picked the basic Cricut Sans as I like it for layered words.
Simply type “Happy Mother’s Day”.
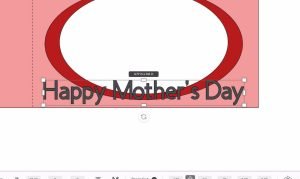
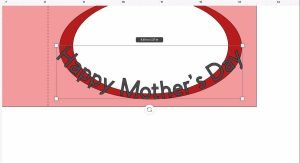
Bring the text over to the bottom of the vase, and adjust the size so that it is about the width of the vase.
Select the Curve Feature, and curve the phrase up, so that it lines up with the shape of the vase.
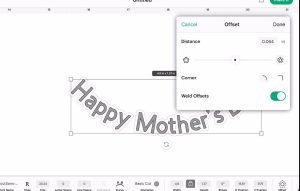
Once you are happy with the shape, select the offset button, and create an offset. For this first offset, I used 0.064. And I changed the color.
Then, using the offset I just created, create another offset of that. For this, I used 0.149.
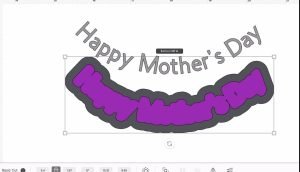
Center the text, the first and second offsets together, and group them. Now, you can move them around as a group and see how they work on your vase.
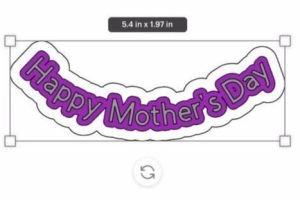
Double-check the text to make sure it is not too big for the card. If it is, you can reduce the size of the whole group to fit.
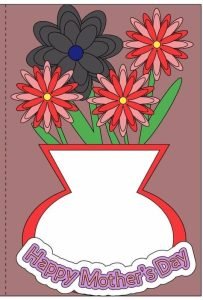
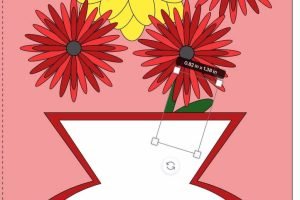
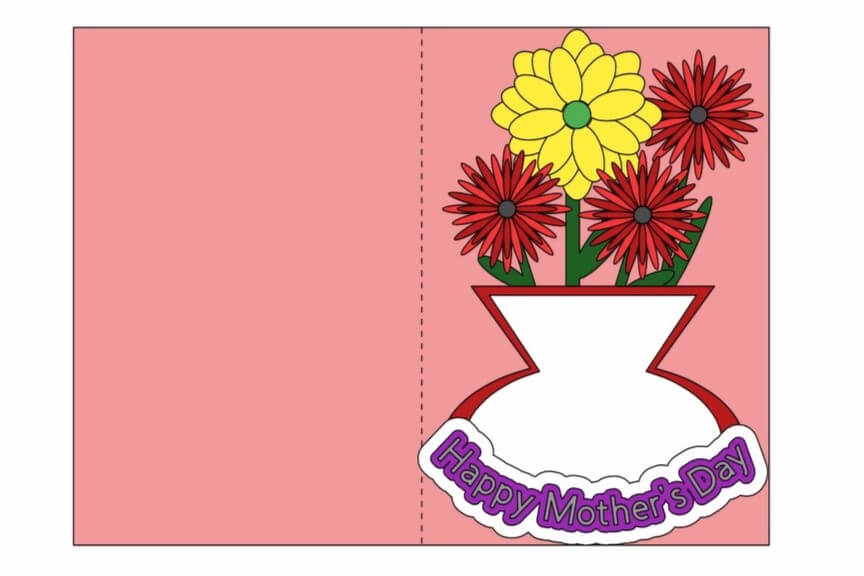
Arrange all the pieces of your design on the Mother’s Day Shaker card
Now, before we send all these pieces to cut, place everything on the card and make sure it all fits and looks the way you want.
And that’s it! You have Designed a mother’s day shaker card!
Did you enjoy learning how to design a mother’s day shaker card?
Did you enjoy this tutorial on learning how to design a Mother’s day shaker card for free in design spaced? Let me know in the comments below. Also, be sure to share how your design turned out!
Now that your design is done, check out this post on how to assemble your Mother’s Day Shaker Card.
If you like this design project, be sure to check out these other projects where I walk through designing projects for free on Design Space.
- How to Design and Make a Hoppy Easter Shaker Card
- How to Design and make a Valentine’s Day Shaker Card
- How to Design a Large Paper Box
- How to Design a Custom Wand Box