There is still a lot of faux leather here
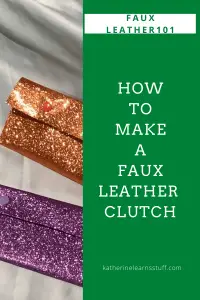
If you have been following my posts over the last several weeks, I have been posting about faux leather. I bought some faux leather with an idea to make some cute things for the kids. Well, it turns out that the small amount that I bought is actually an insane amount of faux leather. So, here I am, creating all sorts of nonsense with faux leather, the glitter kinds. My latest of what I feel will be a never-ending saga of faux leather is glitter clutches, or glitter purses depends on what you want to call them. Nonetheless, they are the faux leather clutch. So here we go!
As an Amazon Associate, I earn from qualifying purchases. This post contains affiliate links. I may receive a commission if you purchase an item from one of my links. This will not change the price you pay.
How to Make a Faux Leather Clutch
What You Need:
- Faux leather – This is the stuff I used. There is a lot, be warned!
- Needle & thread or sewing machine
- Snaps – these are the ones I use – they are fantastic and conveniently come in every color of glitter faux leather that I have.
Let’s Begin!
Measure the Faux Leather
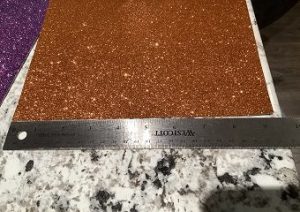
I did not want the clutch to be too large, so I measured it to be about 9″ x 8″.
It would have been possible to use a full 12″x8″ piece, but I did not want to make it too big.
But really, you want to be able to fold it two times so that it will be able to hold a few minor items and then also have a flap to close. Any rectangle size will work.
Cut to the desired size. I just drew a line on the back with pen and cut with scissors.
Fold and Sew
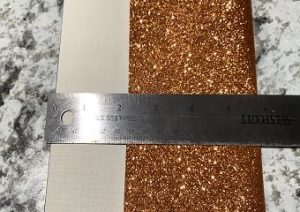
Fold the faux leather so that you have a larger bottom portion. That will be the purse part.
It can be ironed to get a nice flat crease at that bottom, but not required.
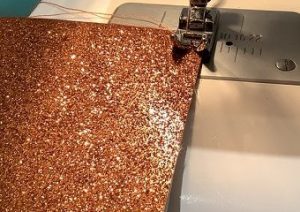
Sew the edges of the purse. Ideally, you want to use a thread that is similar in color to the material.
I used my sewing machine (as I managed to fix it) although, you can do it by hand. It will just take longer by hand.
Optional Ironing
Now that the bottom of the purse is complete, you will be working on the top flap. Again, you can iron it so that it stays in the correct spot and the edges are even. It is not required but will make it a bit easier to align the snaps in the next step.
Add snaps
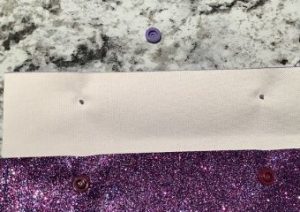
For the size of the clutch I was making, I decided to use two snaps per purse. That will help keep it shut and the contents secure.
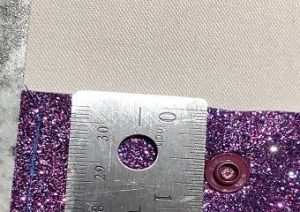
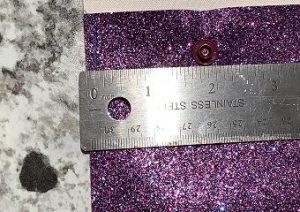
I roughly measured about 2.25″ from the edge of the purse on each side for the snaps. I installed the inside pieces first. Then I lined up the outside ones on the already installed bottom ones to make sure they aligned correctly.
I have been using these snaps for everything lately, so if I have missed a step in assembling them, I apologize.
Each snap needs two backings and a male and female end.
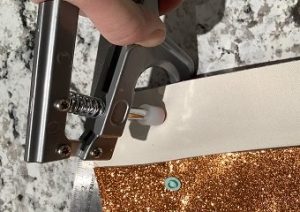
Using the handy plyers provided with the set, squeeze the snap pieces together.
And That’s It! You’re Done!
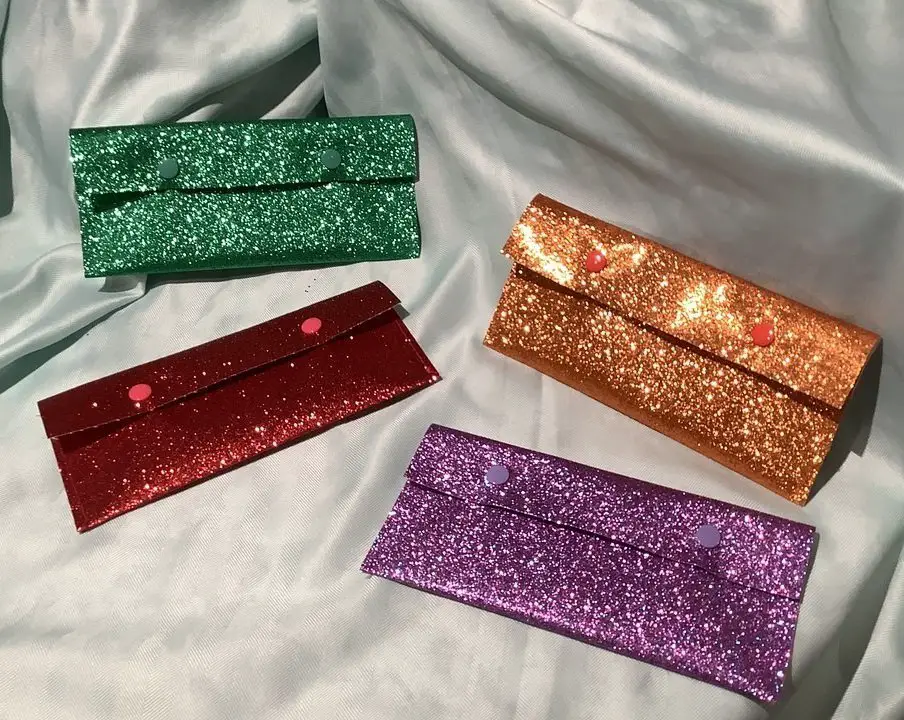
What Did I learn from this?
- Just so we’re clear – when you are buying faux leather, be aware that they are selling you a LOT! Even if you think it is not. If I had known how much I was signing up for, I would have purchased a smaller package.
- The size of the clutch I made is great for an adult. My girls have packed them full of 1/2 of their small little toys and they still have space. So be cognizant of what you need it for and how much you want in there.
- Having a large variety of different glitter faux leather is especially nice during the holiday season. This glitter does not come off the material so you will not be covered in glitter at the end of the night.
- I’m not sure how long these will last, but for now, it has been several weeks of daily use by the kids and they are still holding up.
Was this Tutorial Helpful?
Did you find this tutorial on how to make a faux leather clutch helpful? Let me know your thoughts in the comments below!
If you liked this tutorial, be sure to check out my other tutorials here.




These are lovely!!! What a great idea!
Thanks! Hopefully you are able to try it out! My kids love them! And if times were different, I would use one for an Xmas party!
Super cute! I love this. Is there a no see version?
Thanks! I don’t know what a no see version is. I guess ill google it and try to make one 🙂
Thanks for such an easy pattern! Will have to give it a go!
Thanks! Let me know how it turns out!
These are a great DIY gift idea for the holidays. Thanks for posting.
Thanks! Hopefully you had a chance to try them out!
This is great! I have been looking for a small cell phone purse for when I go on walks and I never thought of making it myself. Love this idea! Thanks for sharing!
I never thought of it for just a cell phone! What a great idea! Thanks!
What a great idea! Is it possible to get fat quarters of the faux leather to work with instead or are you buying the rolls by the yard? Looks like you have lots of great ideas to work with it!
I just buy it in squares. I’m don’t think I have enough time to use rolls of it. I got mine on Amazon, in the links above. The nice thing is that you get a bunch of different colours and can use it for other projects to as well.
These turned out really adorable! My nieces are IN LOVE with all things glitter and I can’t help but think that I could throw a strap on these and make a perfect ‘first purse’ for them to tote around when we’re out and about. After all, they just want to be like their Mom.
My kids love them! I had to “put them away” for a while, because life couldn’t continue without them! They were in bed for sleeping, they were in the car for car rides, in bike baskets,,, everywhere! We pull them out every once in a while now, to keep things in check.