I have always loved to make practical crafts. Things that you can use, things that help life out. Just a simple item that makes life easier. At my house, we have signs everywhere to help us remember the simple things in life. Did we feed the dog? No need to remember – we have a sign for that. Are the dishes in the dishwasher clean or dirty? We are covered – we have a sign for that. And today, we are making a cat schedule sign – to remind us if the cat is inside or out.
Supplies needed to make a Easy Cat Schedule sign
This is a simple project and requires only a few items:
- Small wood plaque – I used little ones from the dollar store, but you can get them here.
- Permanent vinyl – this is for the design and the words
- Transfer Paper
- Eye-hooks
- Ribbon
- Glue – I used my hot glue gun.
- Cutting machine – As always, I use my Cricut. You do not need a cutting machine, stickers of letters and cats will work, but this is my preferred method.
- About 20 minutes
Make your design for your Cat reminder sign
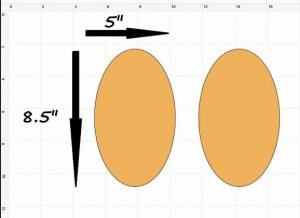
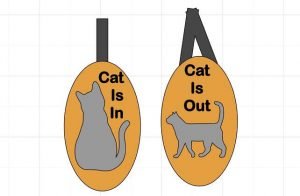
If we are making a sign, we need to spend a few minutes making a design. The first thing I do is reproduce the shape of my sign within Design Space.
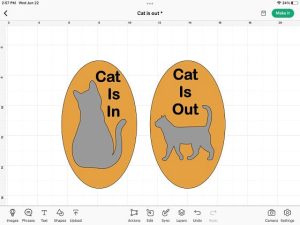
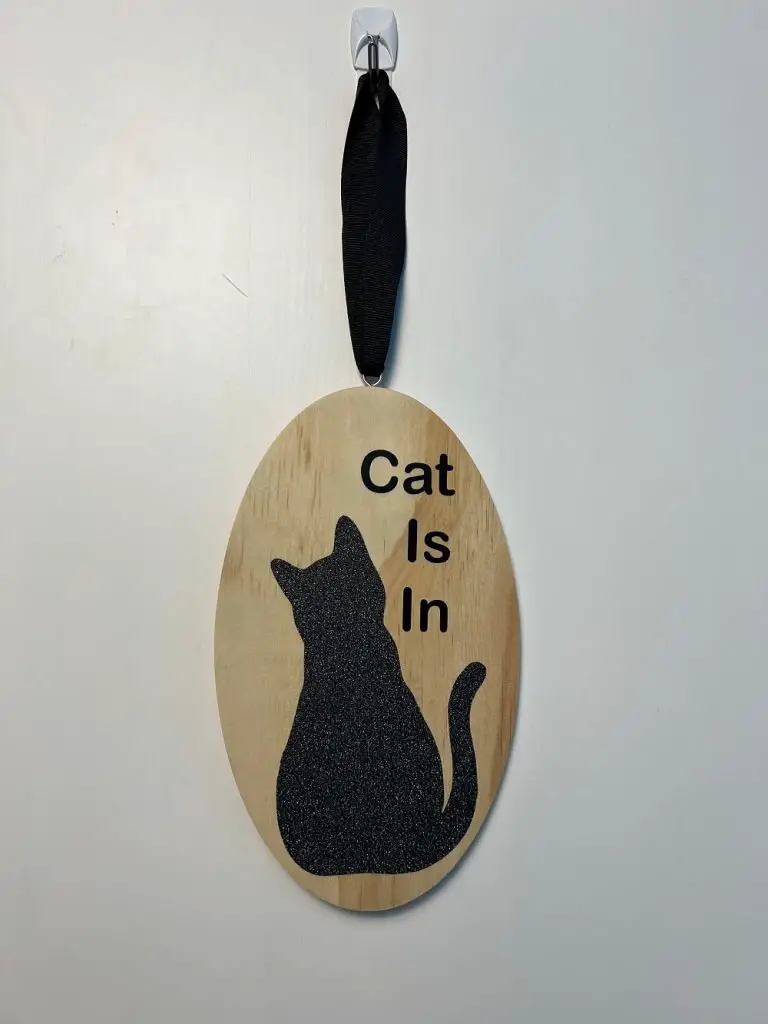
For this project, I am using an oval wood piece that is 8.5” tall and 5” wide. This is to help me size my design and work on placement before I cut. As this sign will be 2-sided, I need two ovals in Design Space.
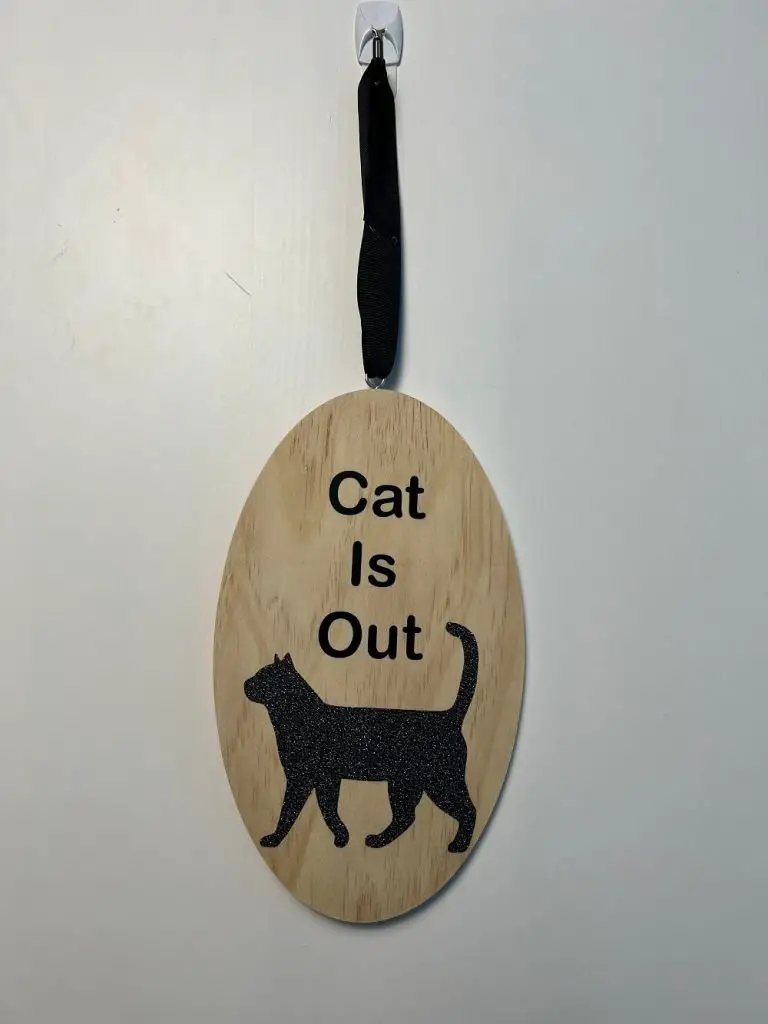
I need a phrase for both sides of my sign, one for in and one for out. Quickly selecting a Text and selecting a style in Design Space, and placing it on the oval work area, I type “Cat Is In” and ”Cat is out”.
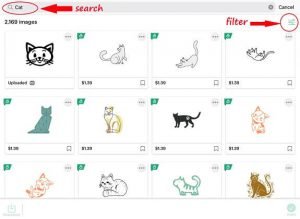
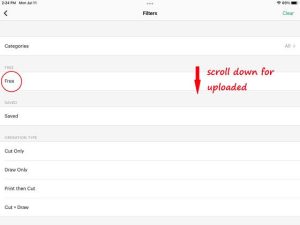
Using the Images feature in Design Space, you can select a cat from either their free images – Filter to Free, or you can use one of their paid or Access images if you have a subscription.
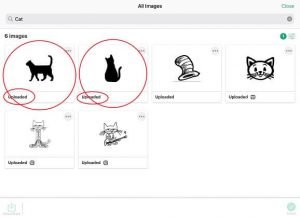
I have two cat images from a previous project that I will be using.
Place the text and images on the work area, in our case, on the ovals, and position them in the locations you want them to be. This is a rough estimate but gives a good idea of how big or small you need to make the text and the images. Adjust the text and images in size to your liking.
Cut and Weed your Design
Once you are happy with your design and sizes, remove the originally designed ovals, hit Make It in Design Space, and send it to cut.
Once the design elements are cut out, you need to weed them.
Apply your Design to your Cat Schedule Sign
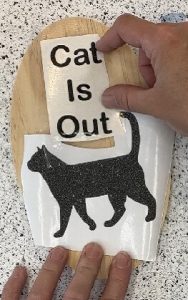
When applying the design, I found it was helpful to use transfer paper for the words, but not necessary for the cat images, as they were large enough and could be placed and peeled like a sticker.
Before I placed anything on the wood blank, I cut out the surplus vinyl from around the cat and lay it on the wood. The backing is still on the cat, so it will not stick to the wood yet.
With my words weeded and burnished onto transfer paper, I quickly hovered over the wood to see the approximate area they should be located and adjust the locations of the cat and words as needed. Once happy with the location of the vinyl words, I apply those to the wood. Then, I followed by applying the cat to the wood as well.
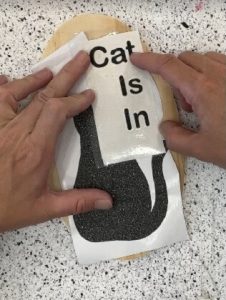
Repeat the same steps for the back of the sign.
Install Hardware for your Cat In/Out Sign
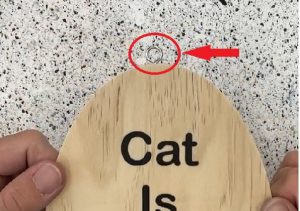
Installing the hardware is quick and easy. All you need is an eye-hook and some muscle. I used only one hook and screwed it into the top of the oval, but I could have used 2 to allow for a different look. Simply screw the eye-hook into the wood until the thread is entirely in the wood.
Installing Hanging Ribbon
I like the look of ribbon on signs. Simply cutting a strip of ribbon and pulling it through the eye hook, you can tie it with a knot or glue it together on the ends. For this one, I glued the two ends together.
And that’s It! You’re Done! Your Cat Schedule In/Out Sign is Done!
What to watch the video instead? +
Frequently Asked Questions about wooden reminder signs
What Can I use to hang the sign?
I like to use ribbon and eye-hooks, as I like how it looks. In the past, I have used ribbon and stapled it to the back, although that is better for one-sided signs. I have also used picture wire, but with frequent flipping, the wire will bend and break.
What Other Schedule signs can be made?
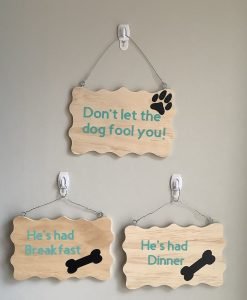
There is no limit to what kind of signs can be made. I like to make cute signs that are useful. The Cat In/Out one is very helpful with busy cats. I also have an “is the dog fed” set of signs and a dishwasher clean/dirty. There is no limit to what the sign can say.
How long does it take to make a cat reminder sign?
From start to finish, this sign took 20 minutes to make.
How do you hang reminder signs?
I like to use 3M command hooks because they are easy to remove if you want to change the signs’ location. But a simple nail will work as well.
Did you find this tutorial helpful?
Did you find this tutorial helpful? Let me know in the comments below. And be sure to check out my other wood crafts here and vinyl crafts here.