When I first started making crepe paper flowers, I thought it would be simple. Cut some petals, glue them together, add a stem, and call it a day.
Well… not exactly.
Like most new crafts, there was definitely a learning curve. I wasted paper, fought with glue, cut petals the wrong way, and wondered why my flowers didn’t look anything like the beautiful ones I was seeing online.
The good news? Most of those struggles came down to a few simple things that nobody had explained to me when I was getting started.
So today I wanted to share the crepe paper flower tips that made the biggest difference for me. Whether you’re making your very first flower or you’ve already made a few, these are the lessons that saved me time, frustration, and a whole lot of crepe paper.
Over the last few months, I’ve made quite a collection of crepe paper flowers while experimenting with different techniques and designs. These are some of flowers I made after learning the tips I’m sharing below.
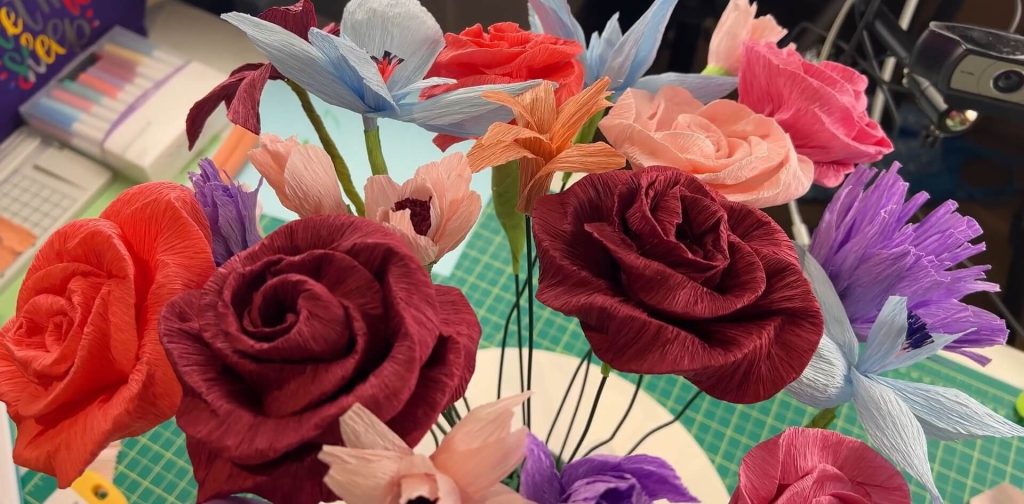
Once I started understanding how crepe paper behaves and making a few small changes to my process, my flowers became easier to make and looked dramatically better.
And if you’d rather see these tips in action, I’ve put together a video walking through the techniques, tools, and little tricks that made a difference.
👉 Watch my Crepe Paper Flower Tips and Tricks video here!
Now, let’s jump into the tips!
Start With Simple Tools
One of the biggest surprises for me was that you don’t need a room full of specialty supplies to make beautiful flowers.
A good pair of scissors, some glue, floral wire, and crepe paper will take you a long way.
I do use a few extra tools now, like butterfly clips for holding templates in place and a scraper tool for shaping petals, but those came later. When you’re just starting out, focus on learning the techniques rather than collecting every tool available.
If you do use hot glue, choose a low-temperature glue whenever possible. Hot glue can sometimes damage delicate crepe paper, especially if you’re using too much.
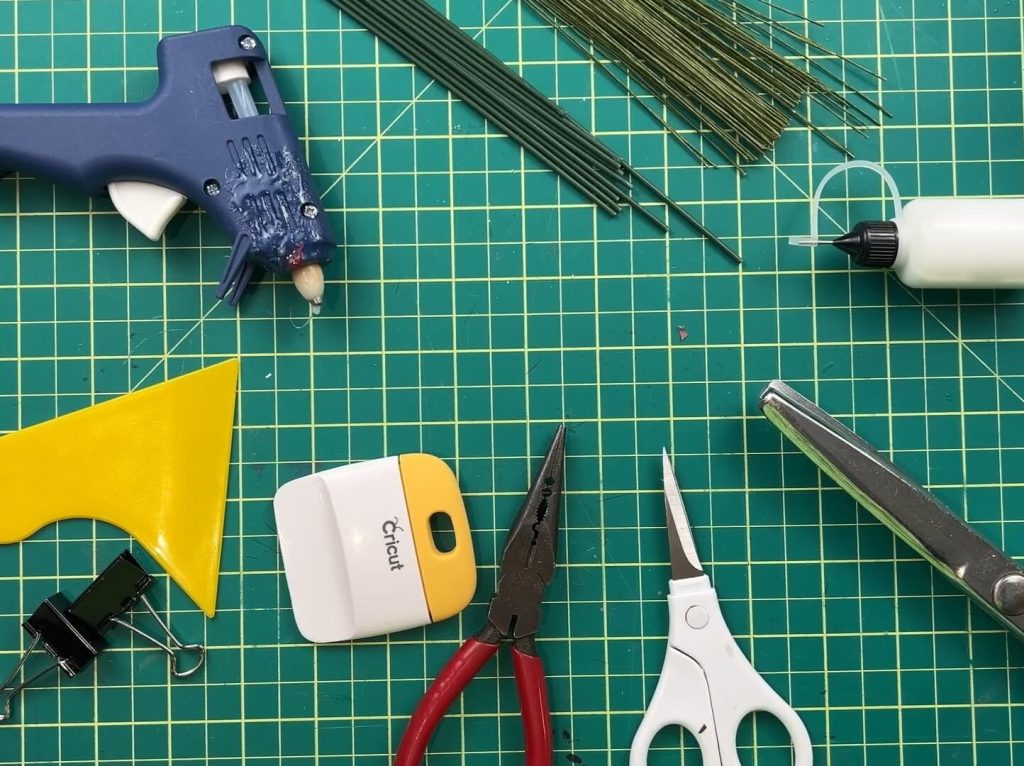
And while we’re talking about supplies, here’s another thing I learned: not all crepe paper is created equal!
I actually tested crepe paper from the dollar store to see how well it stretched, cut, and held its shape. If you’re thinking about buying inexpensive crepe paper for your flowers, you might want to check out my results before stocking up.
👉Is Dollar Store Crepe Paper Worth Buying? Watch My Test!
Templates Are Your Friend
I used to cut every petal individually.
I do not recommend this.
Creating a simple template helps every petal stay the same size and shape, which makes your finished flower look much more polished.
My favorite trick is using old cereal boxes to make sturdy templates. They’re free, easy to cut, and durable enough to use over and over again.
Once you have a template, fold your crepe paper several times and cut multiple petals at once. Just make sure you aren’t folding it so thick that your scissors struggle to cut through it cleanly.
It speeds up the entire process and keeps everything consistent.
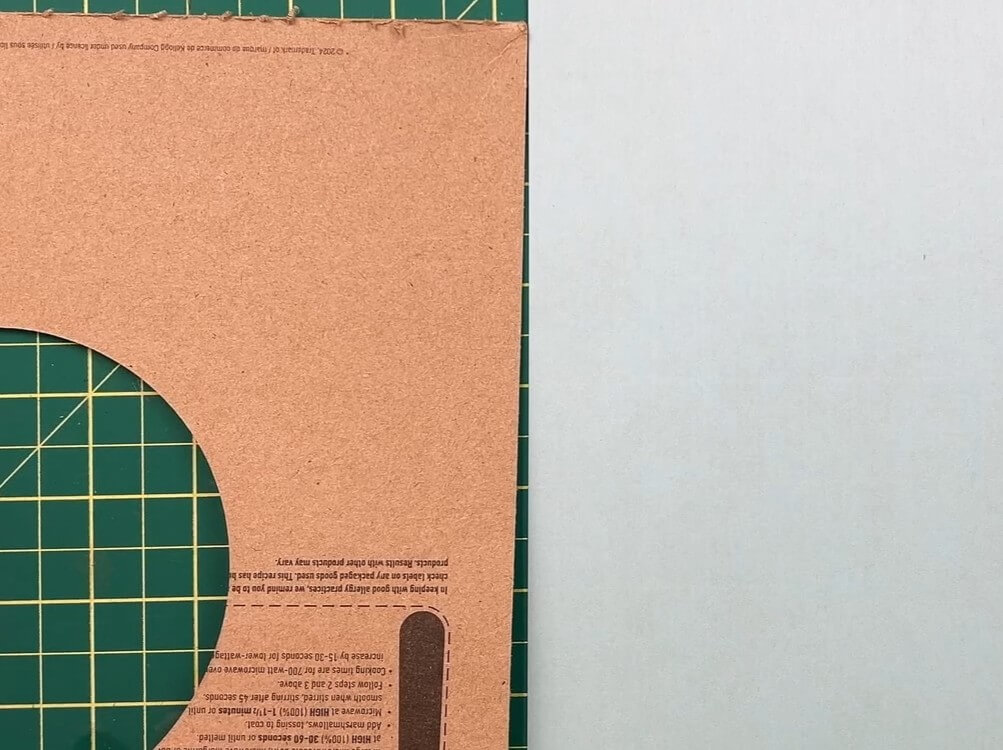
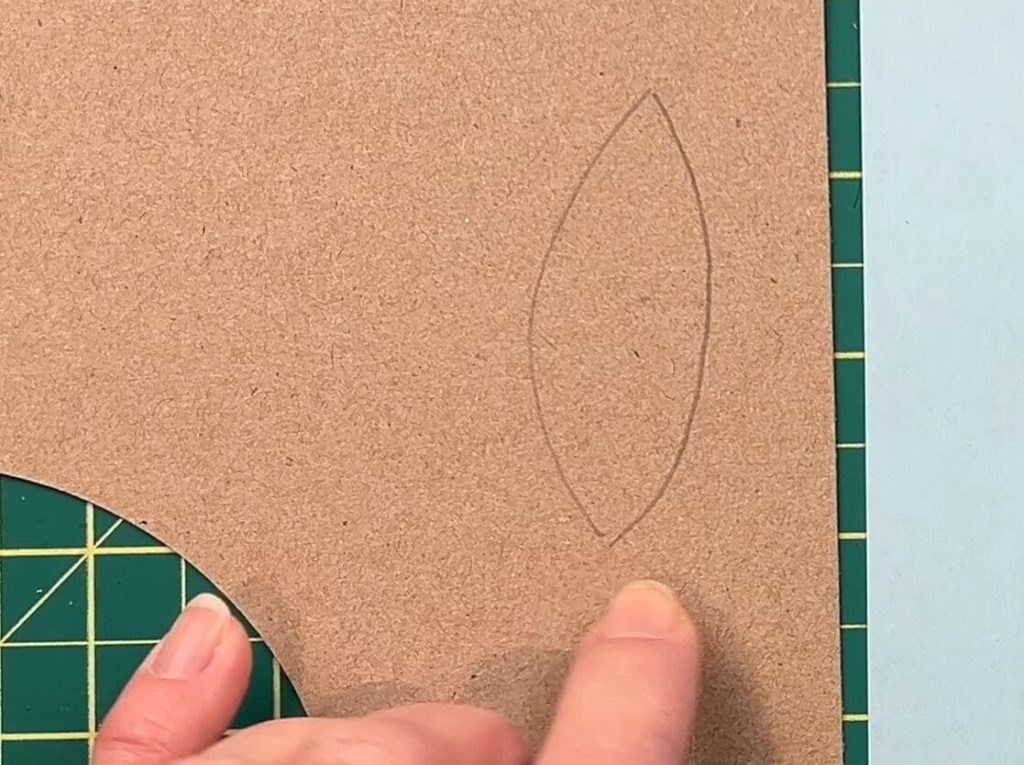
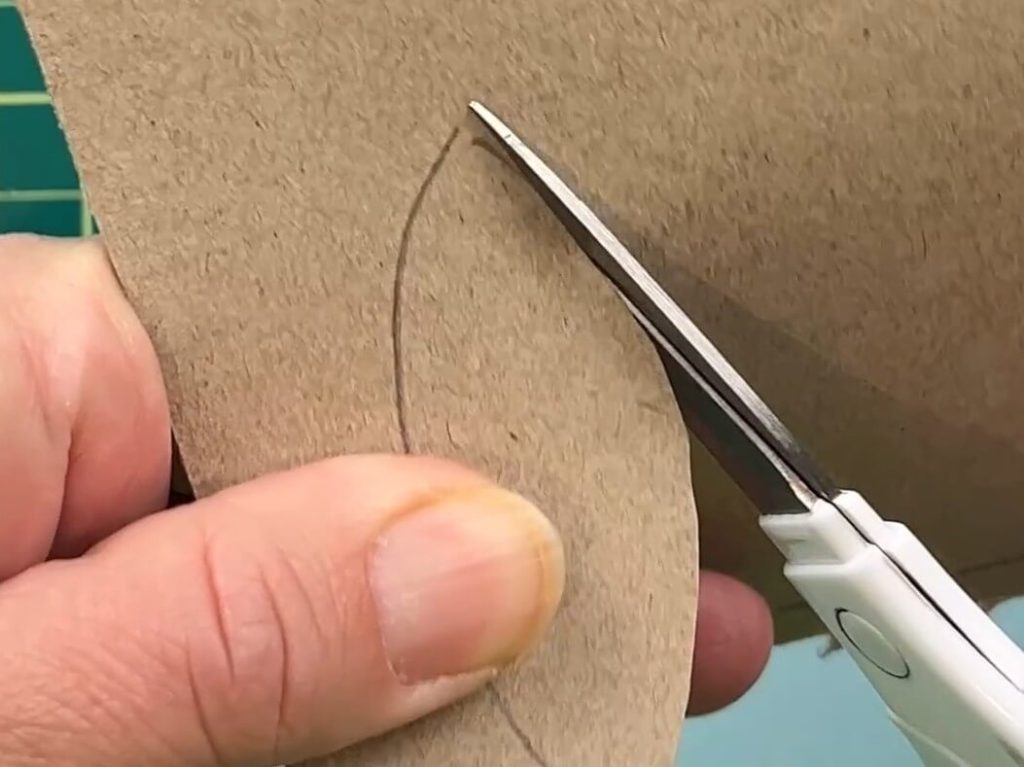
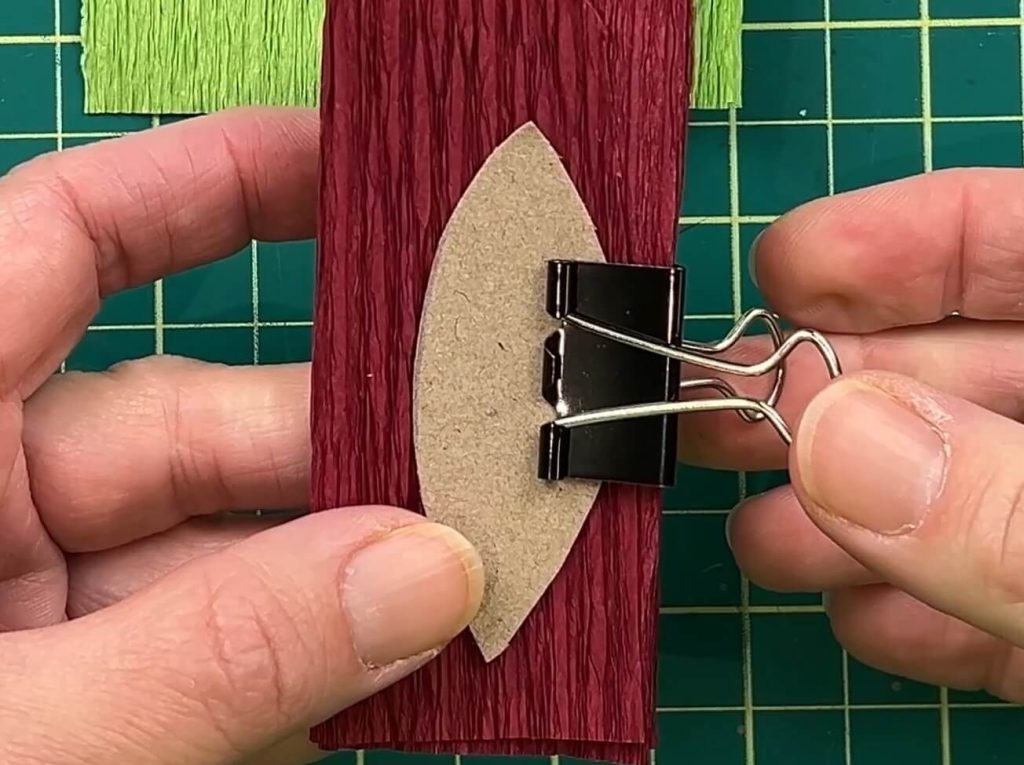
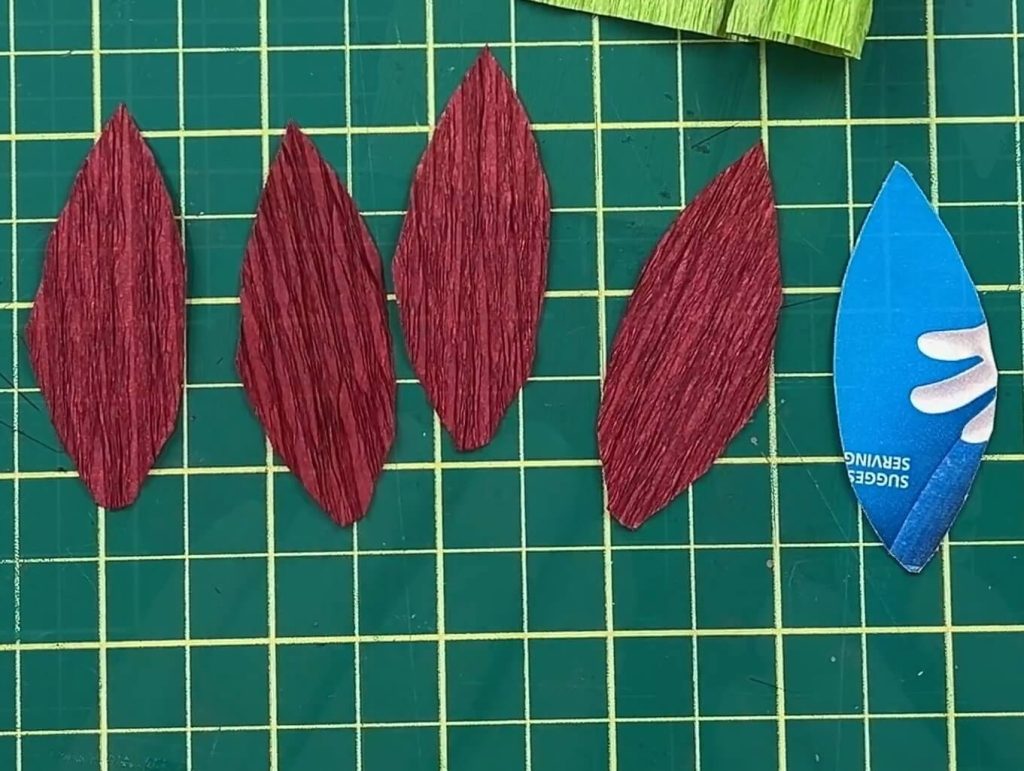
And remember, you don’t have to cut everything by hand. I also experimented with cutting crepe paper using a Cricut Maker and rotary blade. You can see how I did that in my Crepe Paper Tips video.
Pay Attention to the Grain Direction
Of all the crepe paper flower tips I could share, this is probably the most important.
Crepe paper has a grain, and the direction of that grain changes how your petals behave.
When the grain runs vertically through a petal, you can stretch the center to create that beautiful rounded shape most flowers need.
When the grain runs horizontally, the petal behaves completely differently and folds in ways you may not expect.
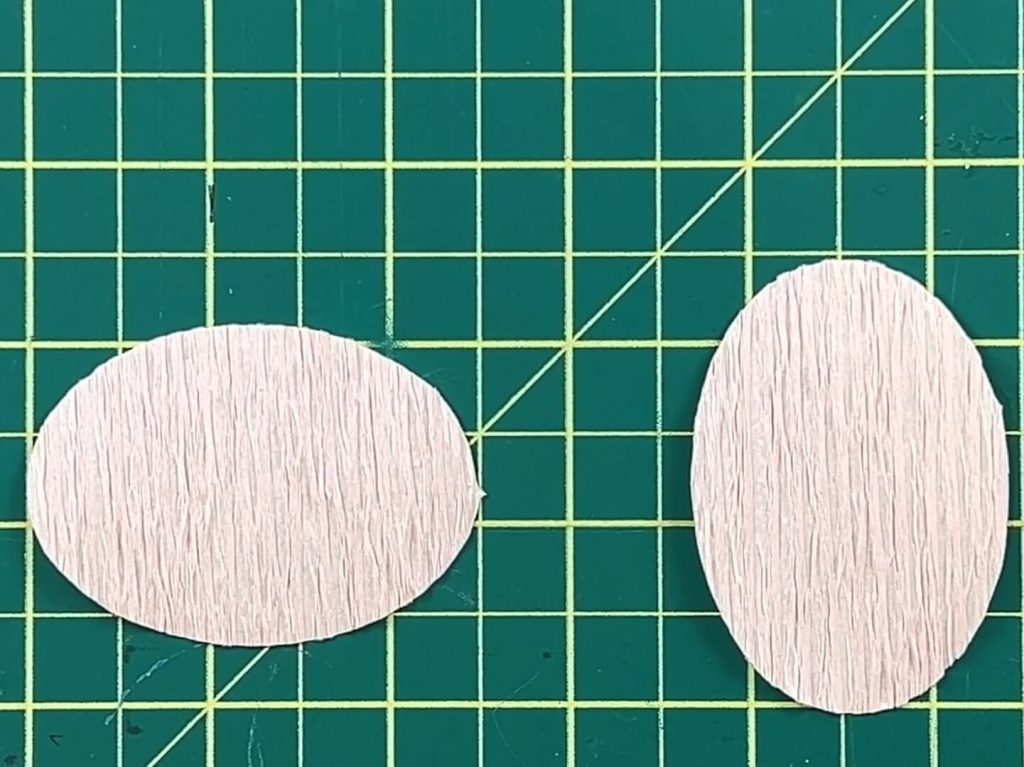
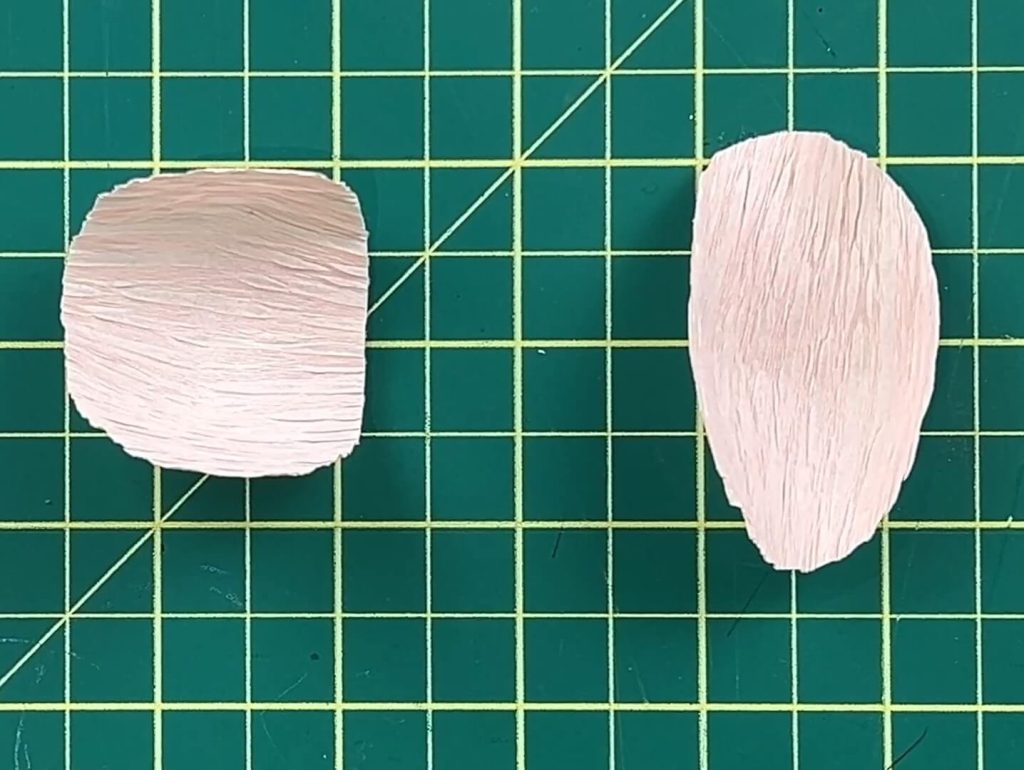
If you’re using a purchased flower pattern, always check the designer’s instructions for grain direction. If you’re creating your own designs, remember that most petals and leaves work best when the grain runs up and down.
This one small detail can completely change the final look of your flower.
Don’t Stretch Every Petal All the Way
When beginners discover that crepe paper stretches, the natural temptation is to stretch everything.
I certainly did.
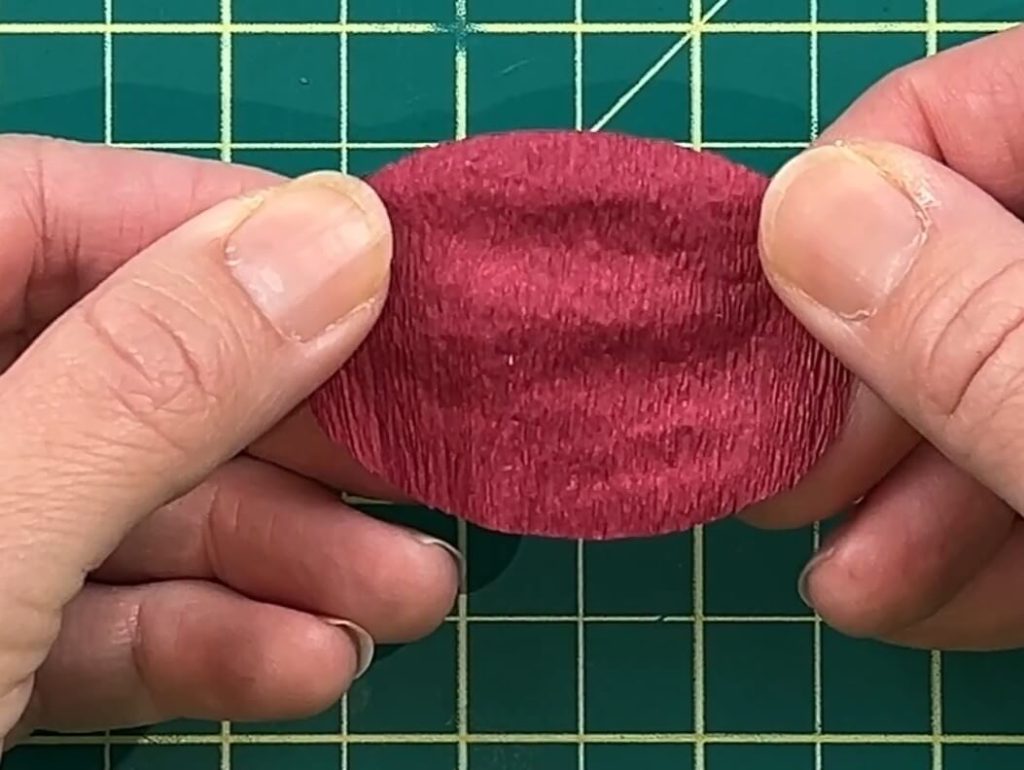
The problem is that fully stretching the paper removes much of the texture that makes crepe paper special in the first place.
Instead, try stretching only the areas that need shaping. Maybe the top of the petal needs to open up while the bottom stays narrow. Maybe only the center needs a little extra volume.
The more intentional you become with stretching, the more realistic your flowers will look.
And don’t worry if you stretch a petal too far. Sometimes you can still use it! Just remember what happened and adjust your technique on the next one.
Shape Petals for a More Realistic Look
One of the easiest ways to improve your flowers is by adding shape.
Using a scraper tool (or even the edge of a tool you already own), gently curl the edges of your petals. This simple step adds movement and dimension that flat petals just don’t have.
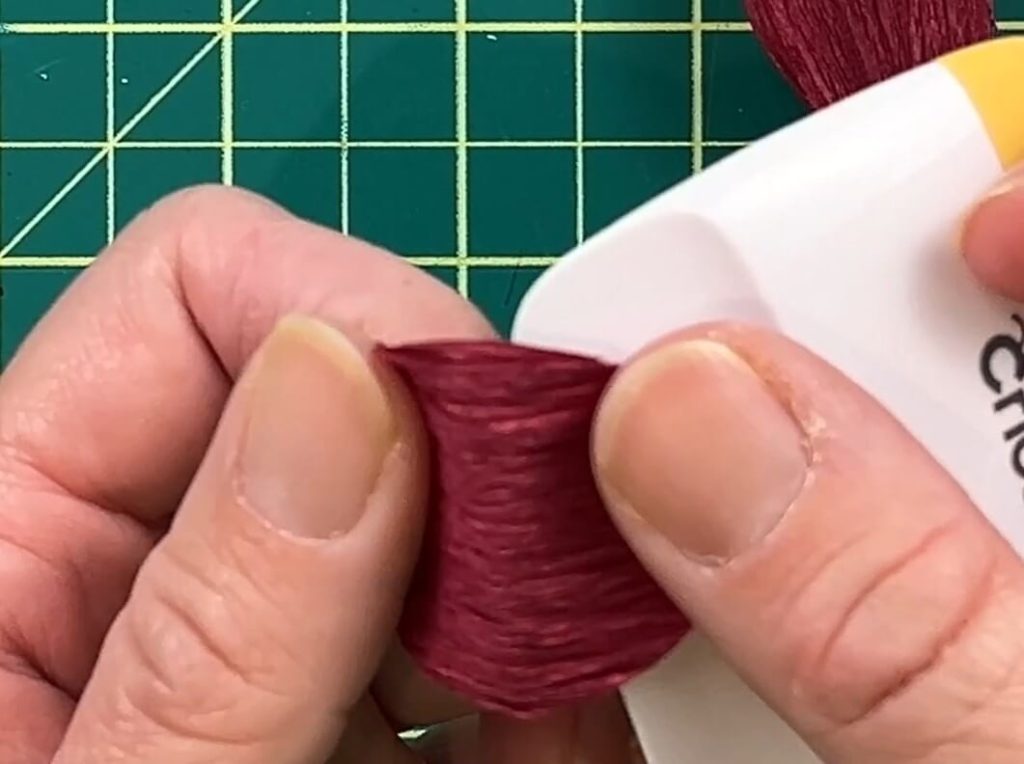
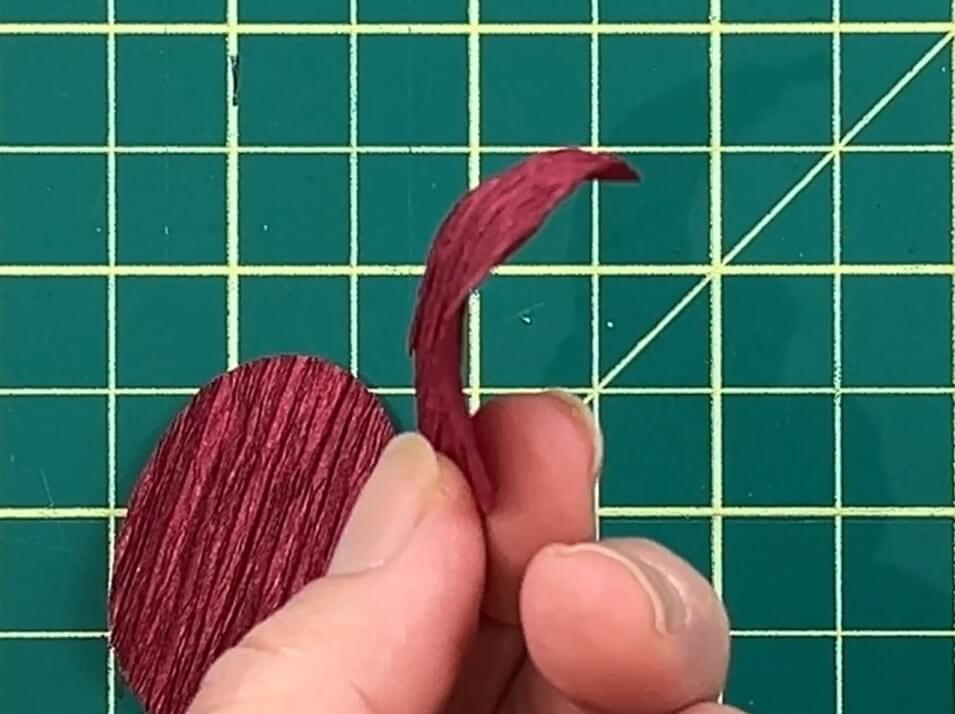
It takes a little practice to get smooth curls, but once you get the hang of it, you’ll be amazed at how much more lifelike your flowers become.
You can also experiment with different amounts of curling. Real flowers aren’t perfectly identical, and your paper flowers don’t have to be either.
Choose the Right Glue for the Job
Not all glue performs the same way when working with crepe paper.
I prefer regular craft glue when I’m attaching crepe paper to crepe paper. It dries thinner and allows the petals and leaves to remain flexible after they’re assembled.
Hot glue works great when attaching stems because it dries quickly and provides a strong bond.
Using the right glue in the right place makes a noticeable difference in both the appearance and flexibility of your finished flowers.
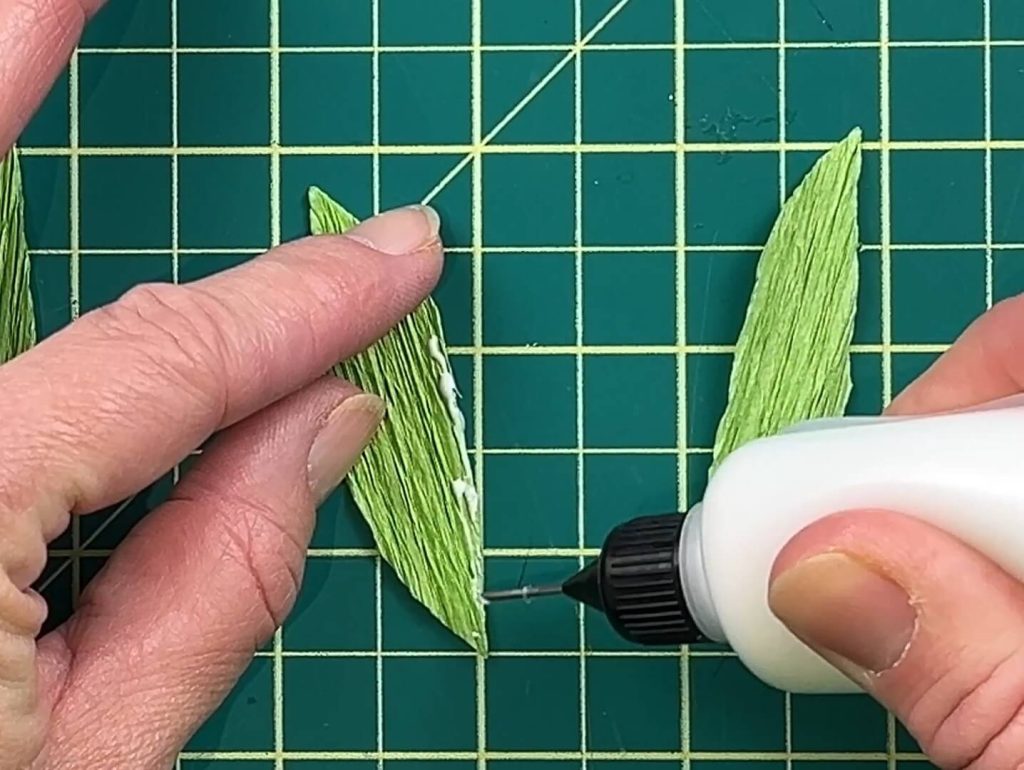
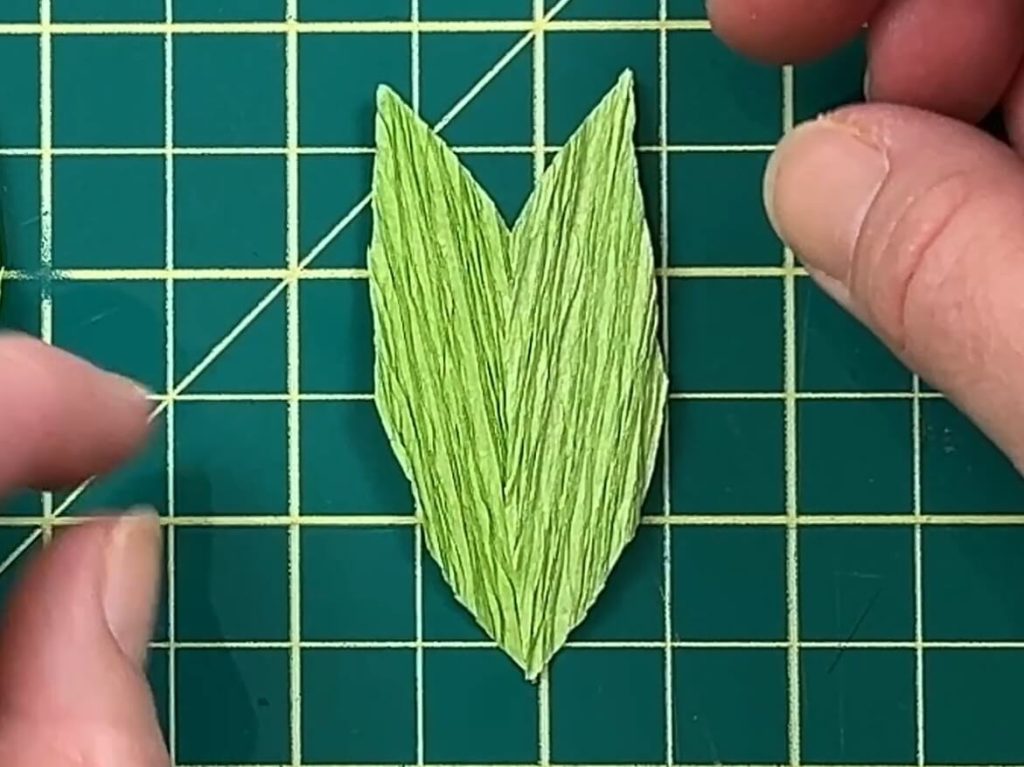
And don’t forget, you don’t need a mountain of glue! A little bit in the right place is often all you need.
Add a Loop to Your Floral Wire
This is one of those little tricks that seems insignificant until a flower falls apart.
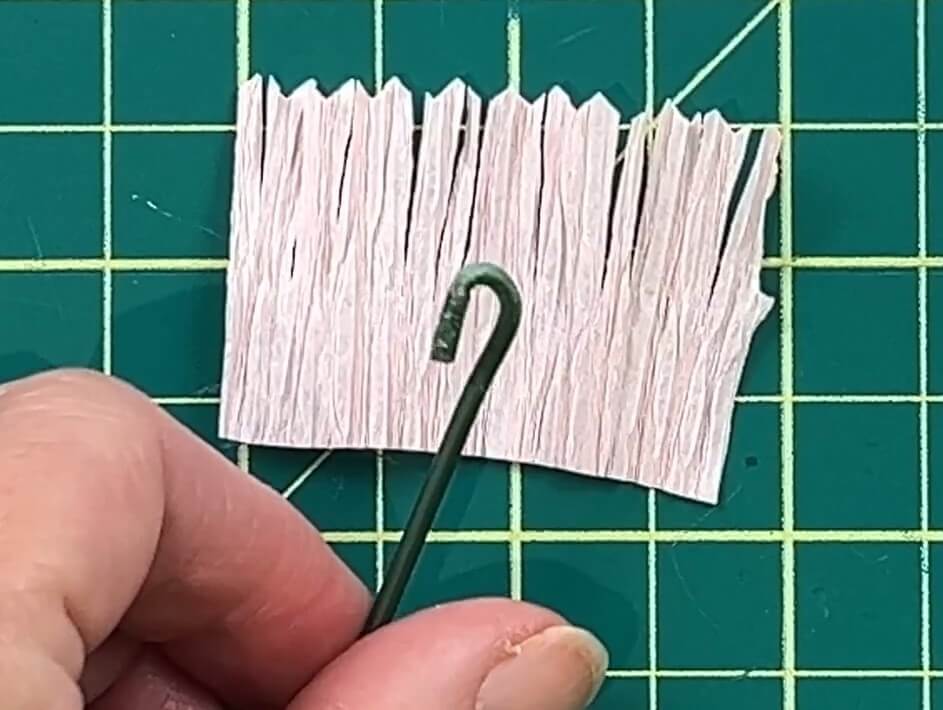
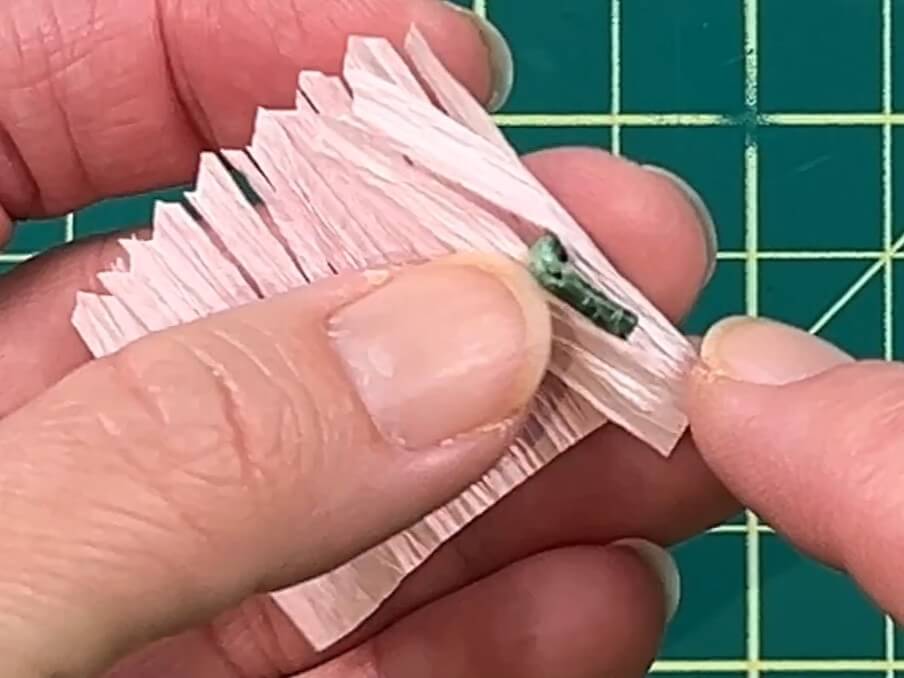
Before attaching a stem, use pliers to create a small loop at the end of your floral wire.
That loop gives the glue something extra to grab onto and helps prevent the flower from pulling away from the stem over time.
It’s a tiny step that adds a lot of durability.
Hide Wire Between Two Petals
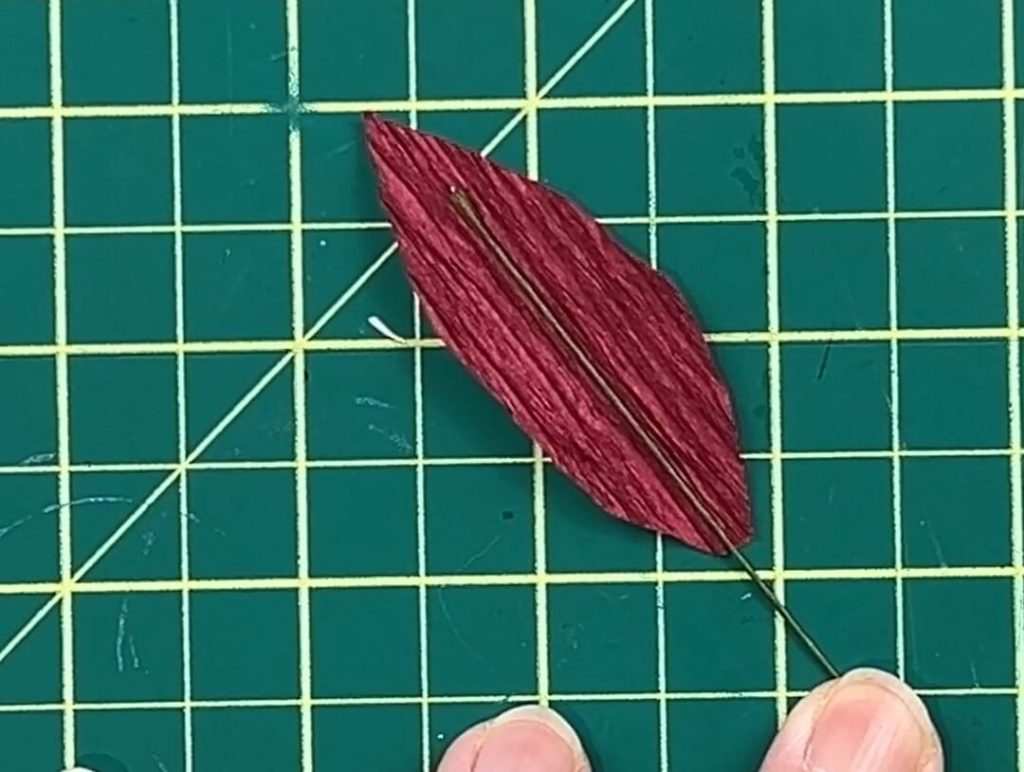
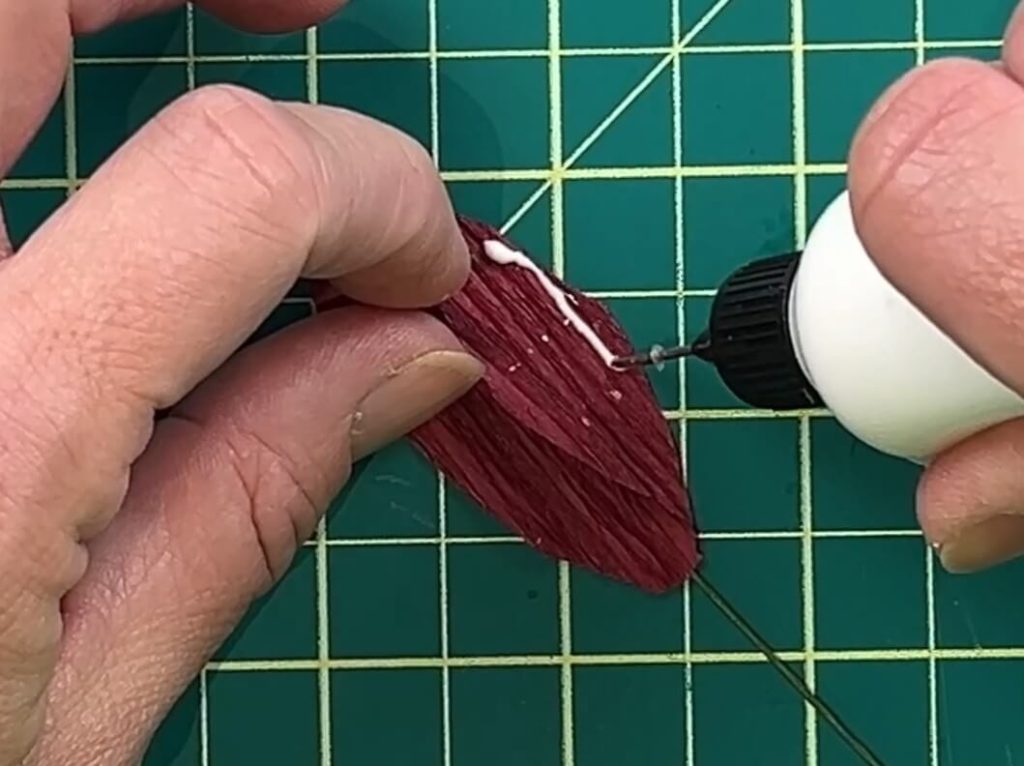
If you’re adding wire to petals or leaves so they can be shaped later, sandwich the wire between two layers of crepe paper.
This hides the wire completely and creates a much cleaner finish.
Once the glue dries, you’ll still be able to bend and shape the petal however you like without the wire showing through.
Add Color for More Realistic Flowers
Sometimes a flower needs a little extra depth.
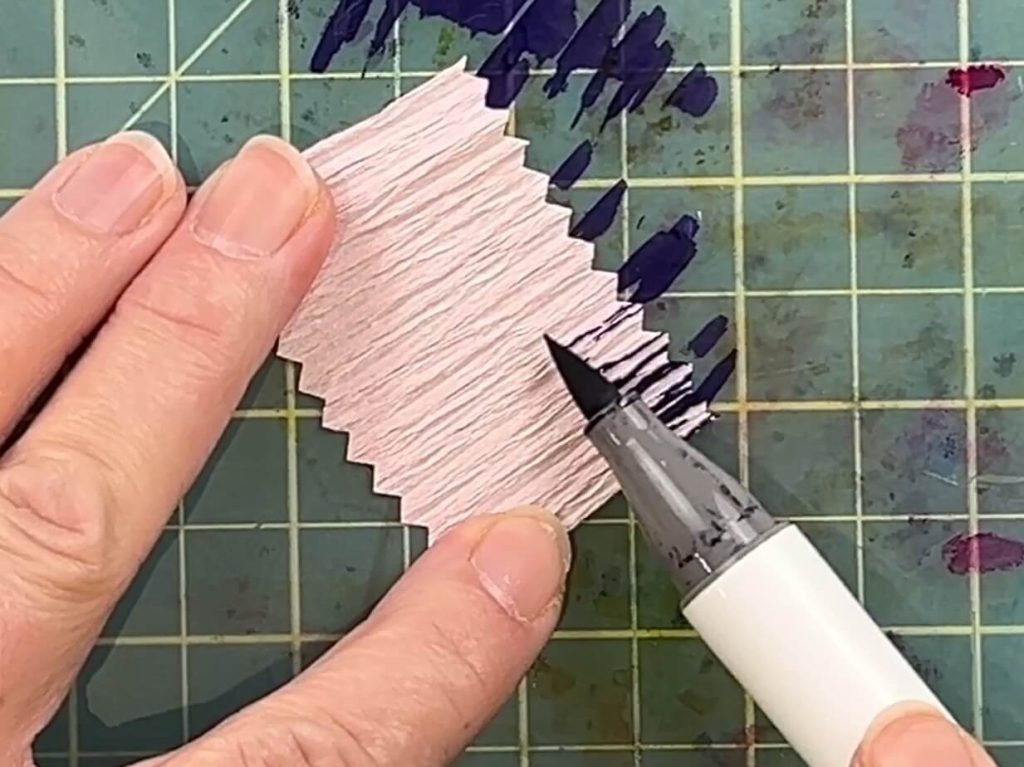
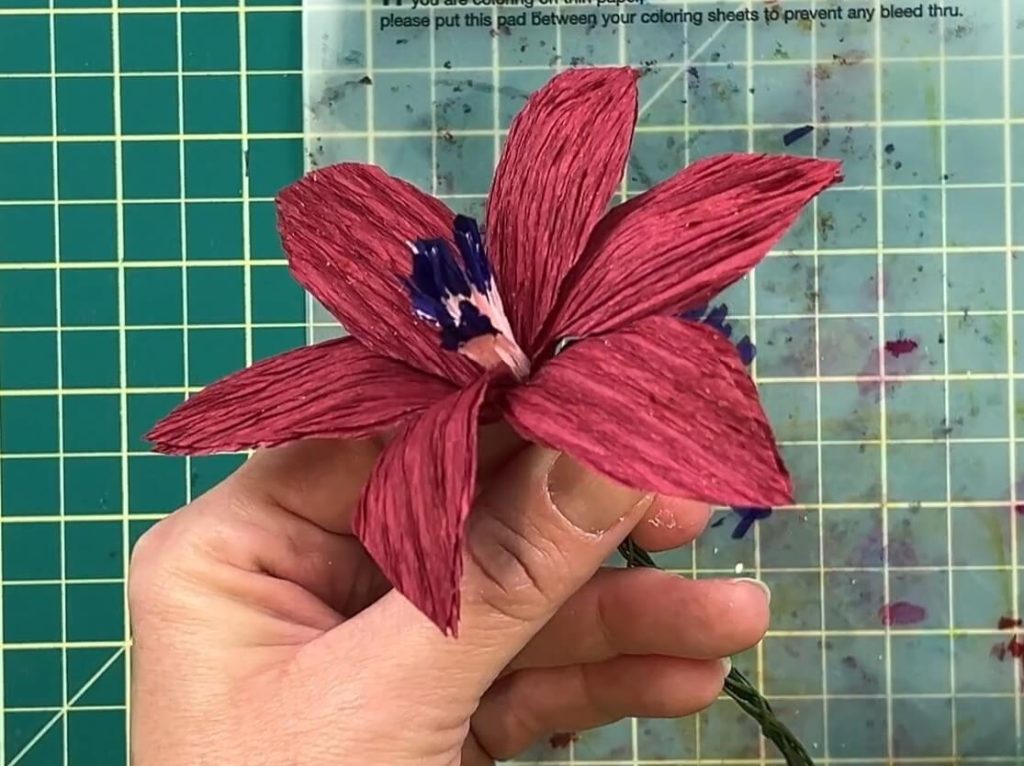
One of my favorite crepe paper flower tips is to add subtle color using markers, acrylic paint, pastels, or colored pencils.
You don’t need to be a professional artist. Even small touches of color can make flower centers more vibrant or leaves appear more realistic
I recommend testing your coloring method on a scrap piece of crepe paper first. Some papers react differently to moisture and coloring materials, so it’s worth experimenting before working on your finished petals.
The goal isn’t perfection. It’s simply adding a little variation that mimics what you’d find in nature.
You Don’t Need Floral Tape
If you don’t have floral tape, don’t worry!
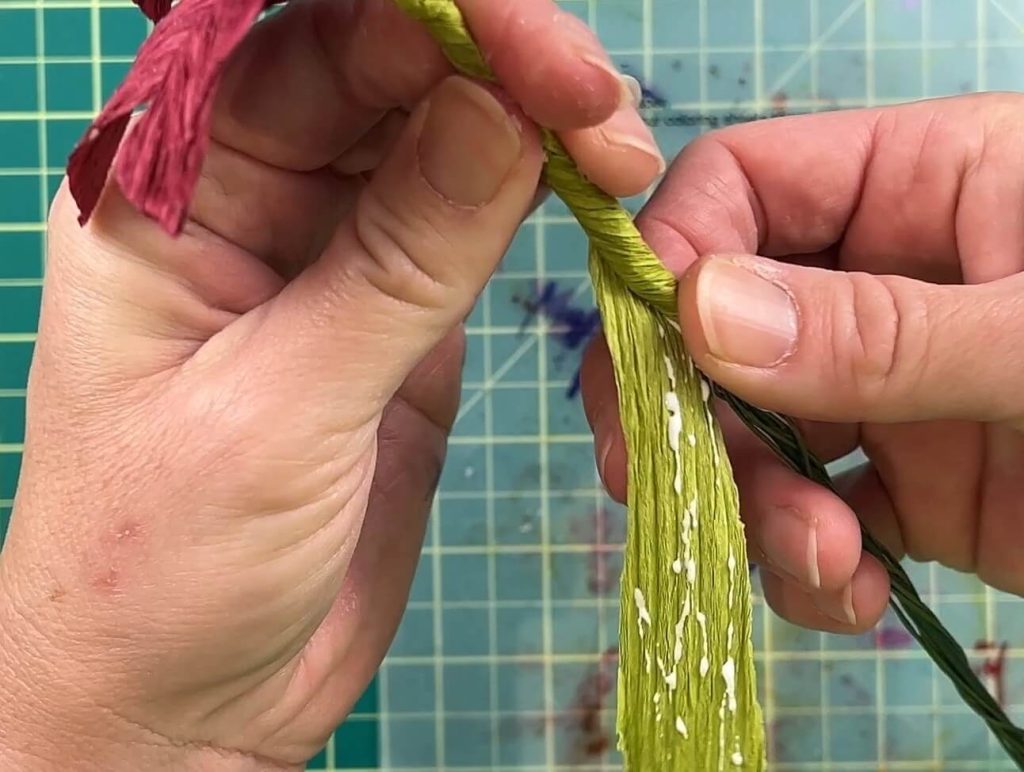
For a long time, I simply wrapped green crepe paper around my stems to hide the wire and create a finished look.
It works surprisingly well and saves you from buying another supply while you’re learning.
Sometimes the simplest solution is already sitting on your craft table.
The Most Important Tip: Keep Practicing
Every flower you make teaches you something.
Some flowers turn out beautifully. Others become learning experiences.
That’s completely normal.
The truth is that working with crepe paper becomes much easier once you stop fighting the material and start understanding how it behaves.
The more flowers you make, the more naturally you’ll know how much to stretch, curl, shape, and glue.
So if your first flower isn’t perfect, don’t give up.
Mine certainly weren’t.
Keep experimenting, keep practicing, and before long you’ll be creating flowers you never thought possible.
Ready to Make Your Own Crepe Paper Flowers?
Now that you know some of the tricks, it’s time to put them to use!
If you’re looking for an easy project to practice your new skills, I have a crepe paper rose tutorial that walks you through making three different roses.
It’s a great way to practice cutting, shaping, and assembling petals without having to start with a complicated flower design.
Learn How to Make Easy Crepe Paper Roses Here!
And remember, you can always come back to these tips as you work through your flowers.
Love Making Paper Flowers? Try These Projects Next!
Once you start making paper flowers, it’s hard to stop. At least, that’s been my experience!
While crepe paper is wonderful for soft, realistic-looking petals, I also love making flowers with cardstock.
It’s a different material with different techniques, but you can use many of the same ideas about shaping, layering, and adding dimension.
If you’re ready to experiment with another type of paper flower, check out my DIY Paper Sunflowers tutorial. It’s a fun project that creates a beautiful 3D flower using cardstock.
And if you enjoy making flowers with your Cricut, I also have a 3D Paper Flower SVG Bundle in my shop.
This bundle includes four cardstock flower designs: a sunflower, gerbera daisy, Black-Eyed Susan, and mini chrysanthemum. You can mix and match them to create your own colorful paper flower bouquets.
Let’s Keep Crafting!
I hope these crepe paper flower tips save you some of the frustration I experienced when I was first getting started.
There really is something satisfying about turning a few pieces of paper into a beautiful flower. And once you get the hang of the techniques, there are so many possibilities!
If you’ve discovered your own favorite crepe paper flower tips, I’d love to hear them in the comments below.
We’re all learning together!
And if you enjoy discovering new paper crafting techniques, creative projects, and a few crafting mishaps along the way, don’t forget to sign up for my newsletter. I share my latest projects, tutorials, and things I’ve learned at the craft table.