I was at the market recently, and a lady was selling scrunchies at her booth. They were cute. But they were $10 per scrunchy! Of course, my girls wanted some. Since they didn’t have any of their money with them, they couldn’t buy them. But when we arrived home, I told the girls we could make our own for much cheaper. So, we went to the fabric store and picked up some scrap fabric they sell in cute colors and elastic, and off we went to make a DIY Simple Scrunchy.
As an Amazon Associate, I earn from qualifying purchases. This post contains affiliate links. I may receive a commission if you purchase an item from one of my links. This will not change the price you pay.
Supplies needed to make a scrunchy
Surprisingly or not, you do not need many supplies to make a scrunchy. So, here goes:
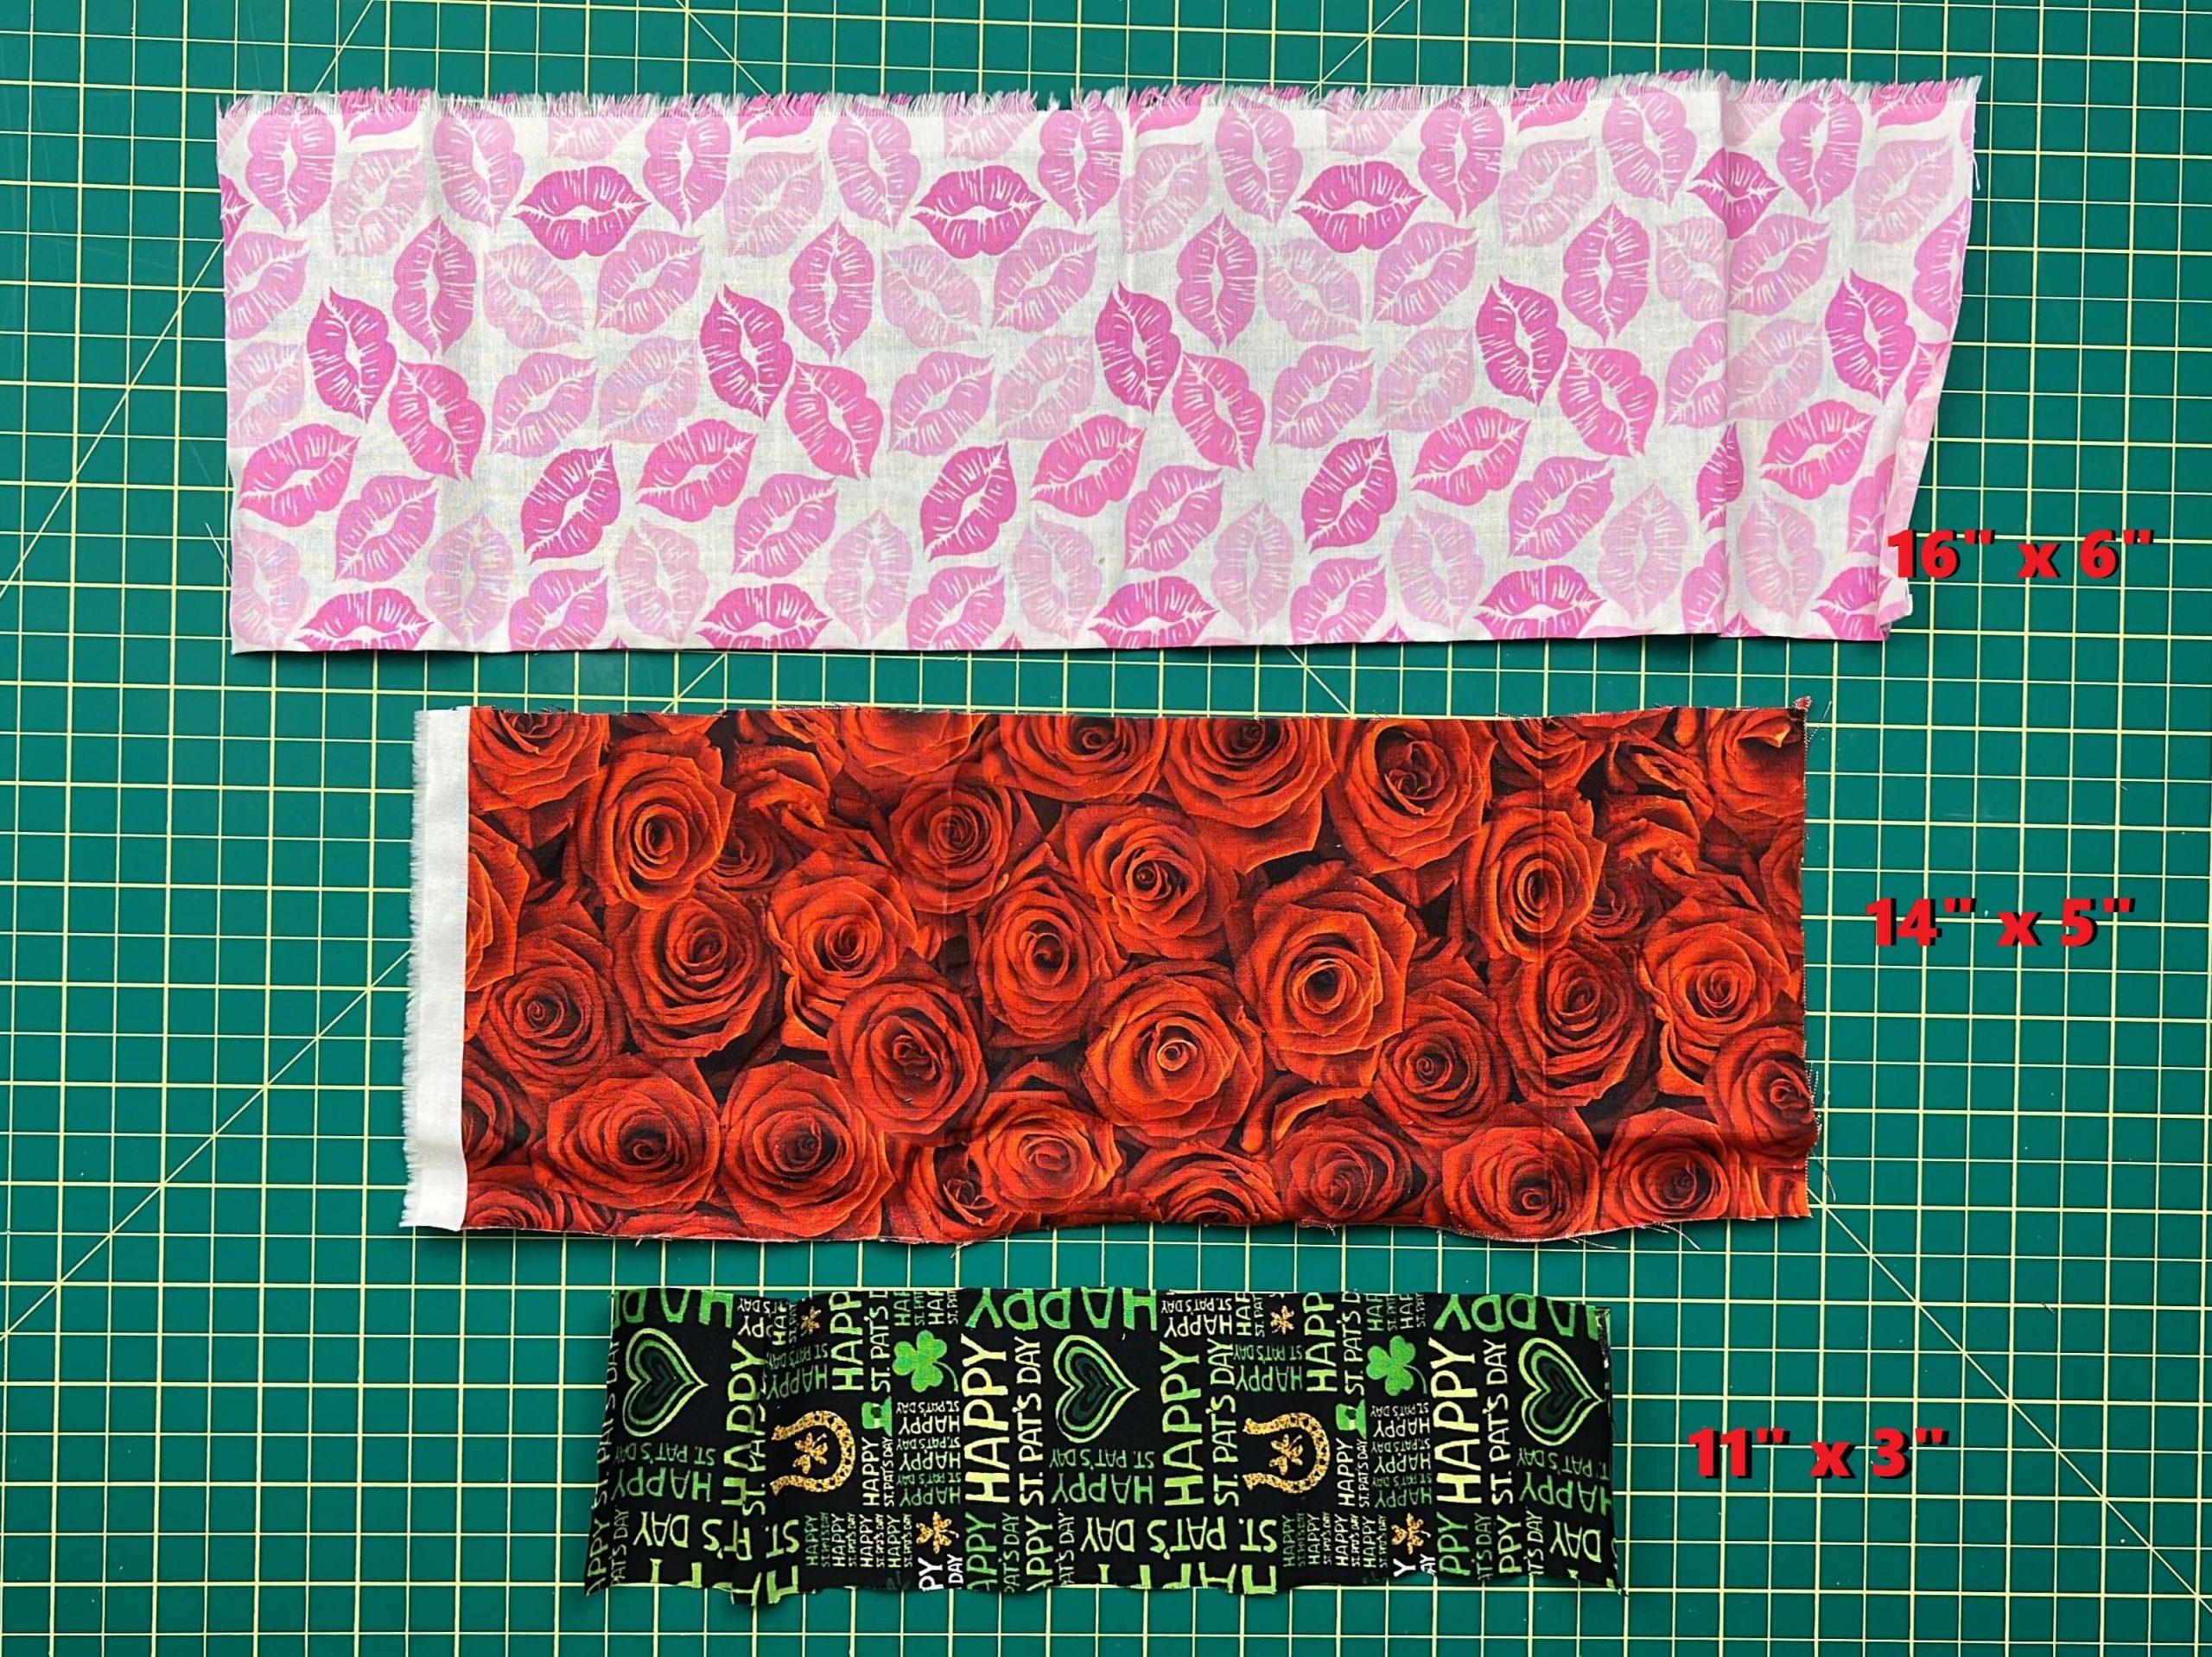
- Fabric -Any fabric will do. But preferably something with a nice pattern or color on it. You can use leftover fabric from previous projects or upcycle previously loved fabrics. Depending on how big and fluffy you want your scrunchy to be, you need one of the following fabric sizes:
- Small Scrunchy = 11″ long x 3″ high,
- Medium Scrunchy = 14″ long x 5″ high,
- Large Scrunchy = 16″ long by 6″ high
- I go into more detail about what the sizes mean below.
- Elastic – You need braided elastic and not an elastic band. You require 7″ of unstretched elastic. This length does not change depending on the size.
- Tread – Matching color to the fabric.
- Sewing Machine or just a needle. I use my sewing machine as it is faster, but it can be done quickly by hand, as well
- Pins – to hold together your seams.
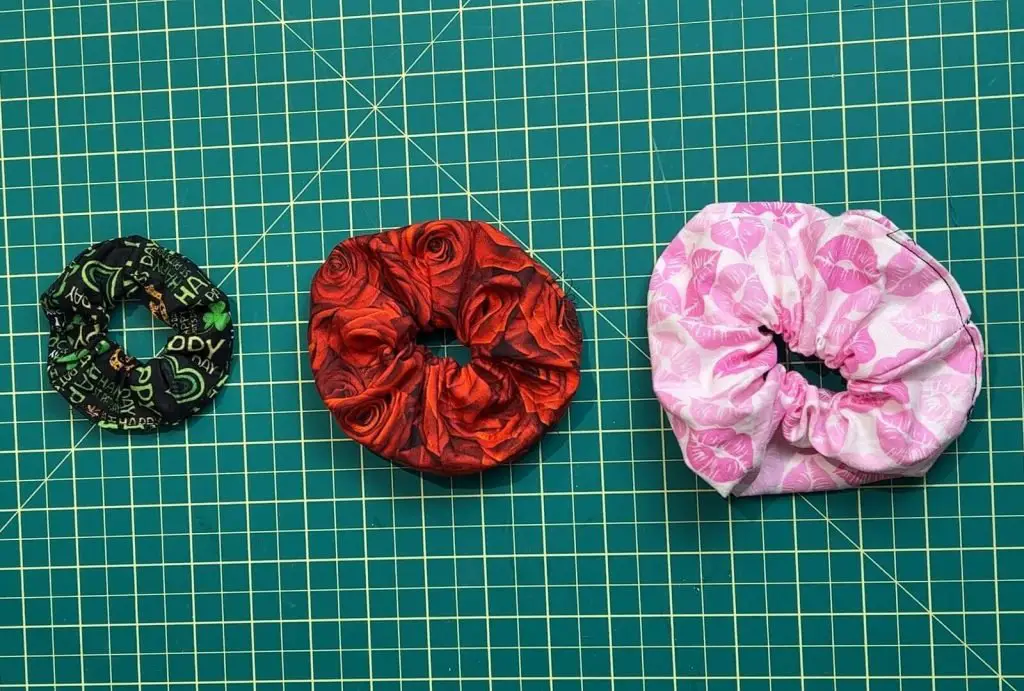
When I mention small, medium and large scrunches, what I’m referring to is the width of the fabric that will be used for the scrunchy, making it larger or smaller when in your hair. This does not change based on the thickness of your hair. This is a “how will it look in my hair” size. A small scrunchy sits close to your hair and looks almost like a colored elastic band, whereas a large scrunchy has a lot of volume and is very visible.
Let’s Get Started Making our Scrunchy
Cut the Scrunchy Fabric
The first thing we need to do is to measure and cut the fabric.
Three different sizes can be made. The process for making all the scrunches sizes is the same. So, select the scrunchy size you want based on the dimensions I have above and cut your fabric to those dimensions.
Also, remember you can make them bigger or smaller than the dimensions I provided. If you want more volume in your large scrunchy, simply add more length and height. Similarly, with a smaller scrunchy, you can make it shorter and narrower, however, you cannot go shorter than 7″ due to the elastic length.
Cut the Elastic for your Scrunchy
Simple enough, just using your elastic, cut it at 7 inches in length.
Sewing the DIY Simple Scrunchy
There are two ways to sew your scrunchy. I will walk you through both methods, and you can decide which method you want to use.
Scrunchy Sewing Method 1 – The Burrito Method
I must start by saying this method is harder to understand at first, but once you get the hang of it, it is super simple and very fast. This is my number one method for sewing simple scrunchies.
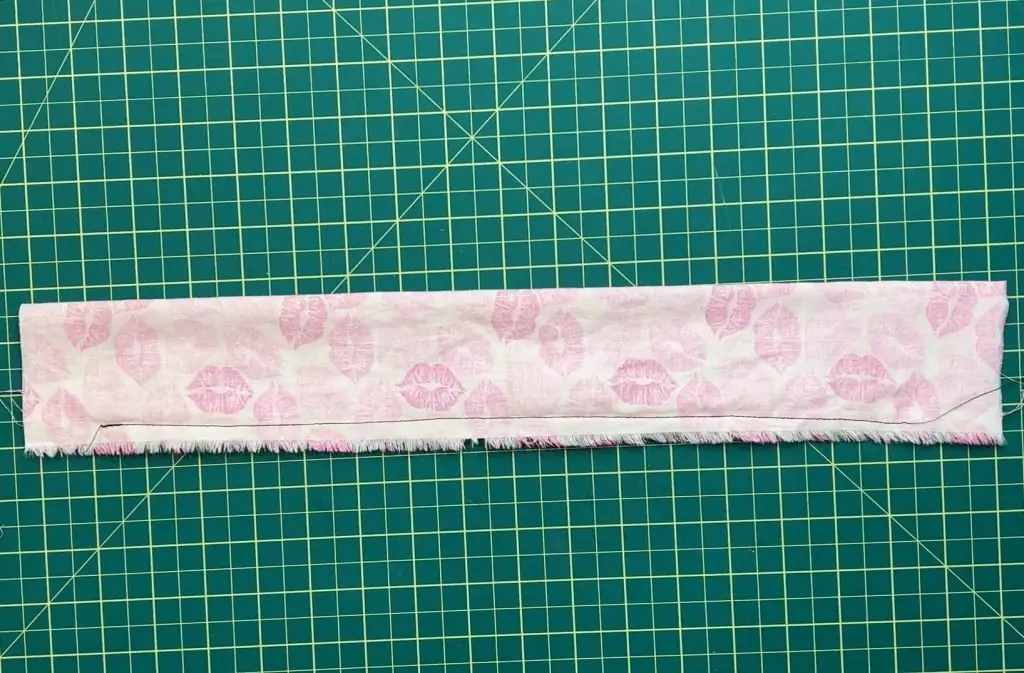
Once you have your fabric cut, fold it in half so that the two short sides are lined up. Make sure that the design is facing inwards.
Run a quick seam through the ends to hold them together.
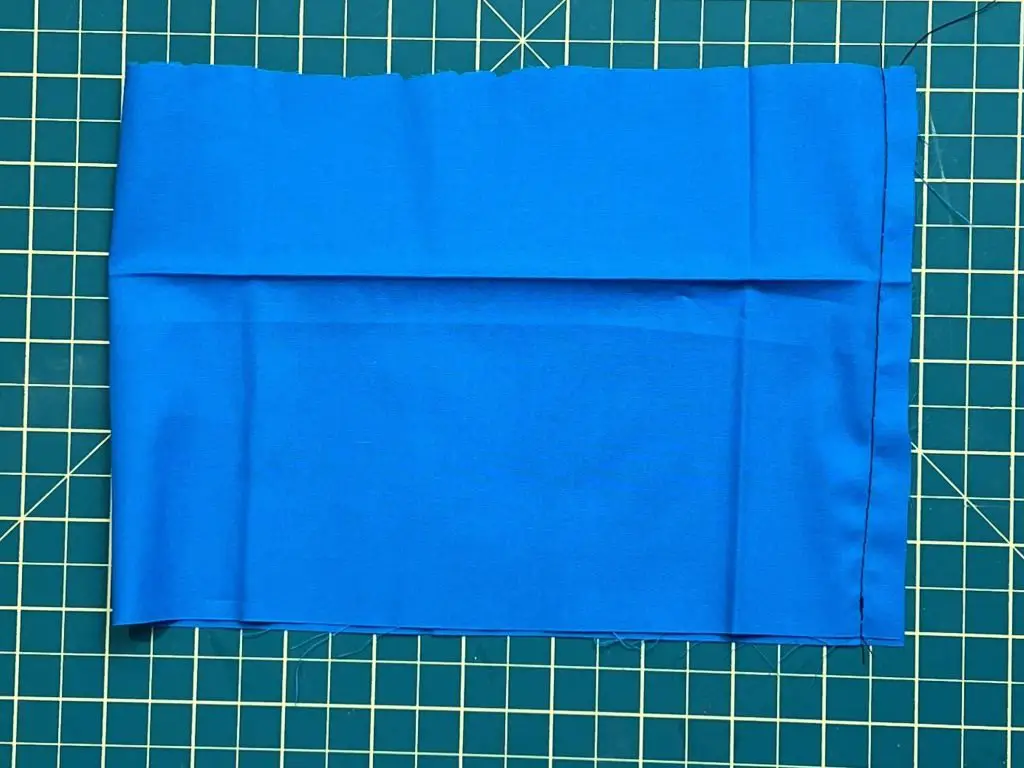
Adjust the fabric so that the seam is in the middle on top, and the fabric is flat.

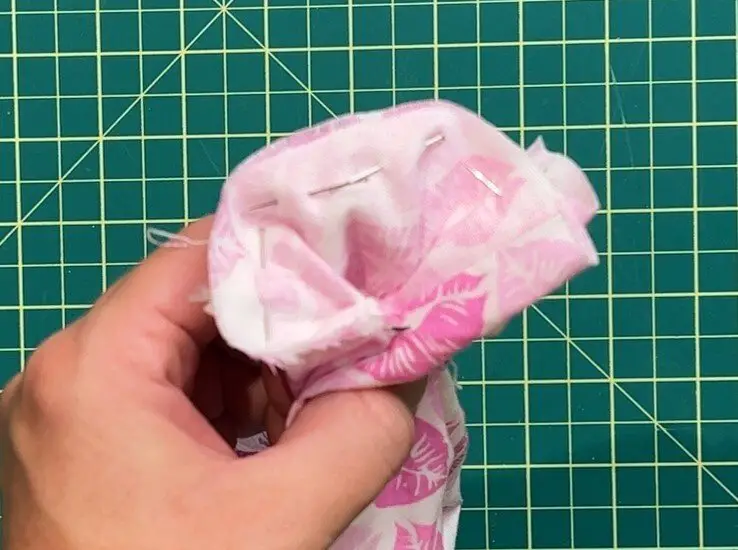
The fabric has the design facing inwards. Take the edges of the top of the fabric and bring them together. Give them a bit of a roll to keep them close together.
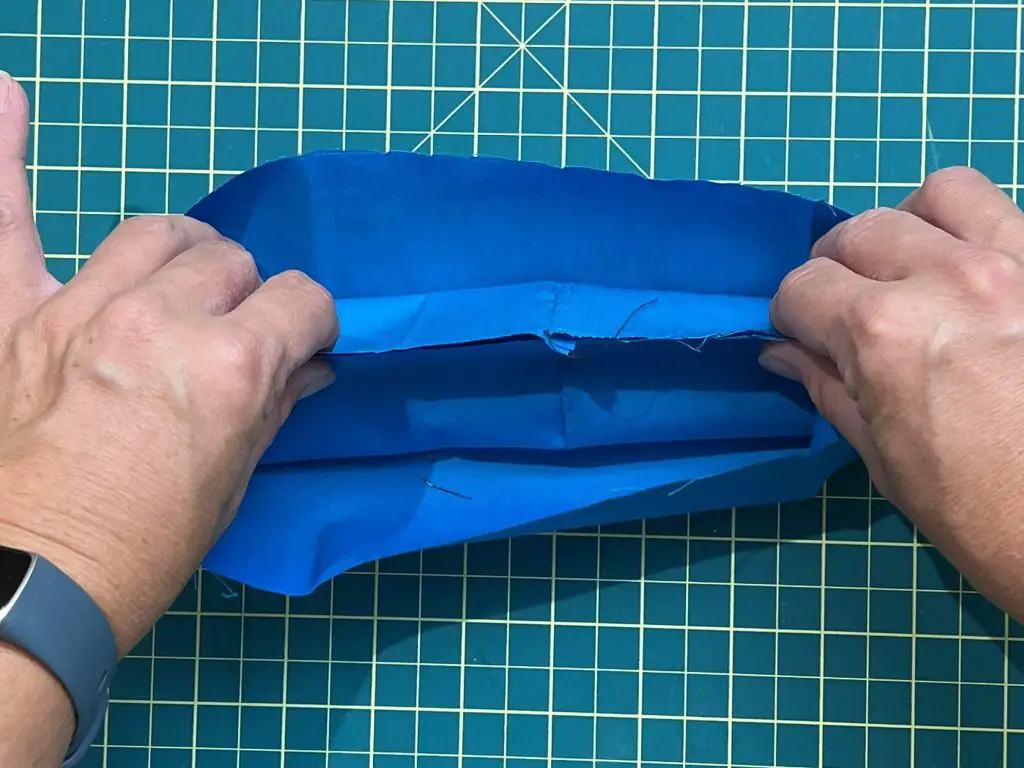
Then, grab the bottom two edges of the fabric overtop and align the edges. You can pin them closed or hold them with your fingers.
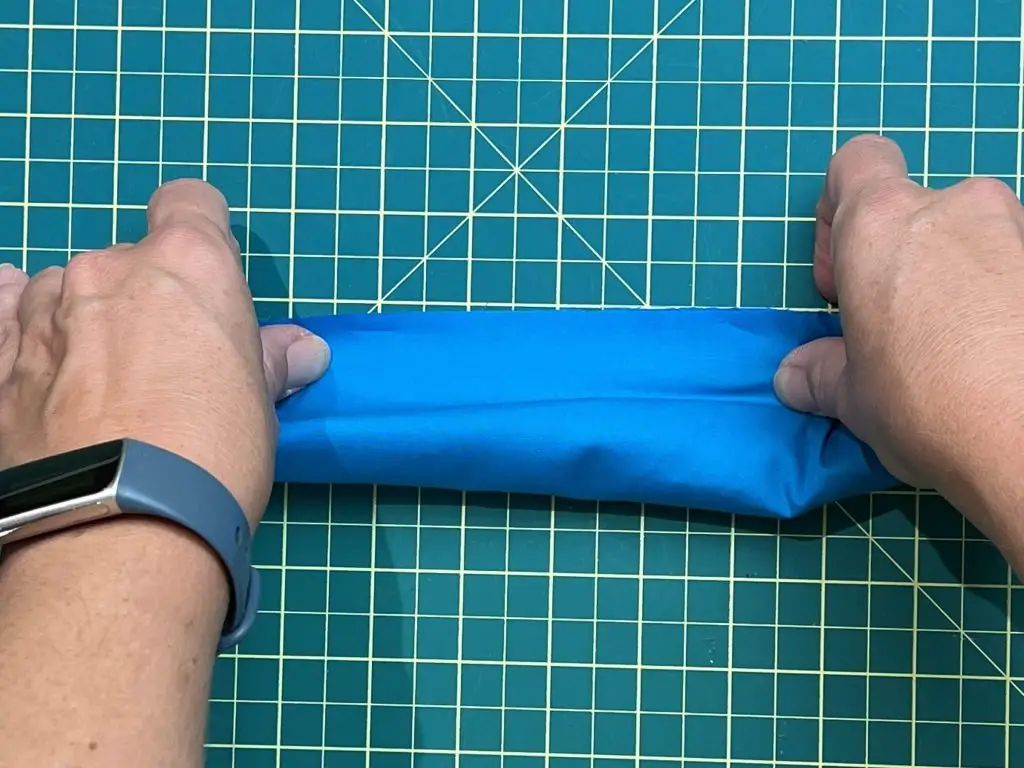
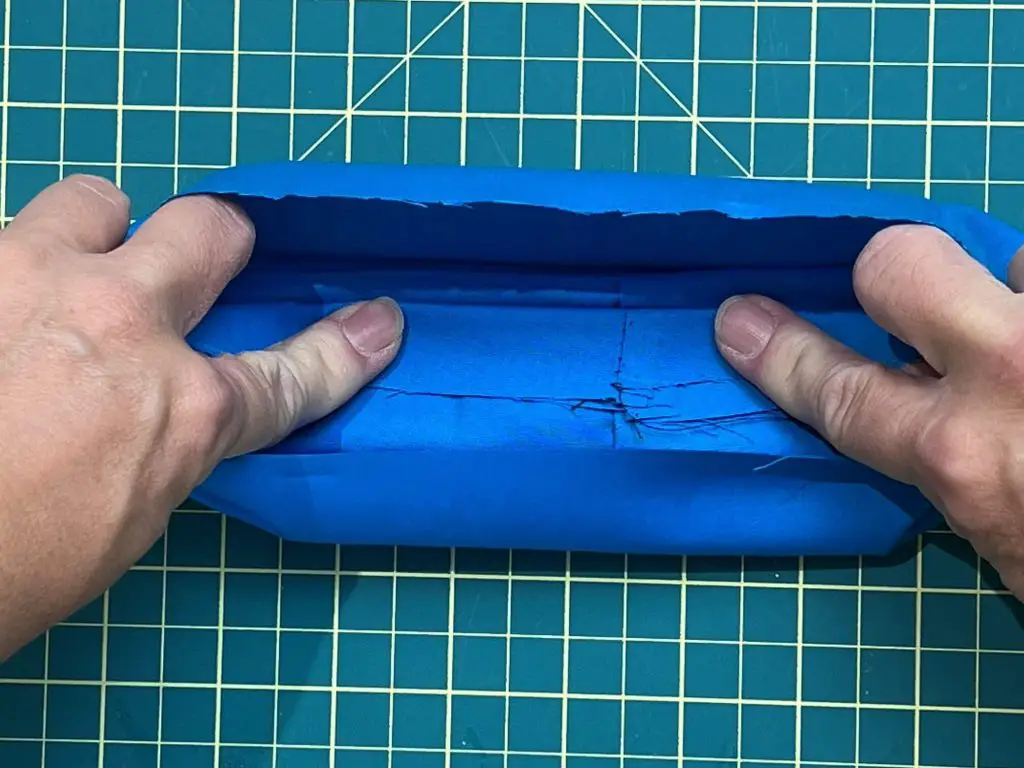
Moving to your sewing machine, sew along the top outer edge. You will only be sewing a few inches. Also, make sure you are only sewing the outer edge and that all the fabric inside is rolled up.
Once you get near the end of the section you are sewing, keeping your needle in the fabric, gently pull the fabric through the burrito. This will pull the fabric through from the back, and allow you more fabric to sew.
Continue sewing in small sections and pulling fabric through.
Once you have a gap of about 1″ left, reverse your machine and do a back stitch to keep it together.
Remove the scrunch from your machine.
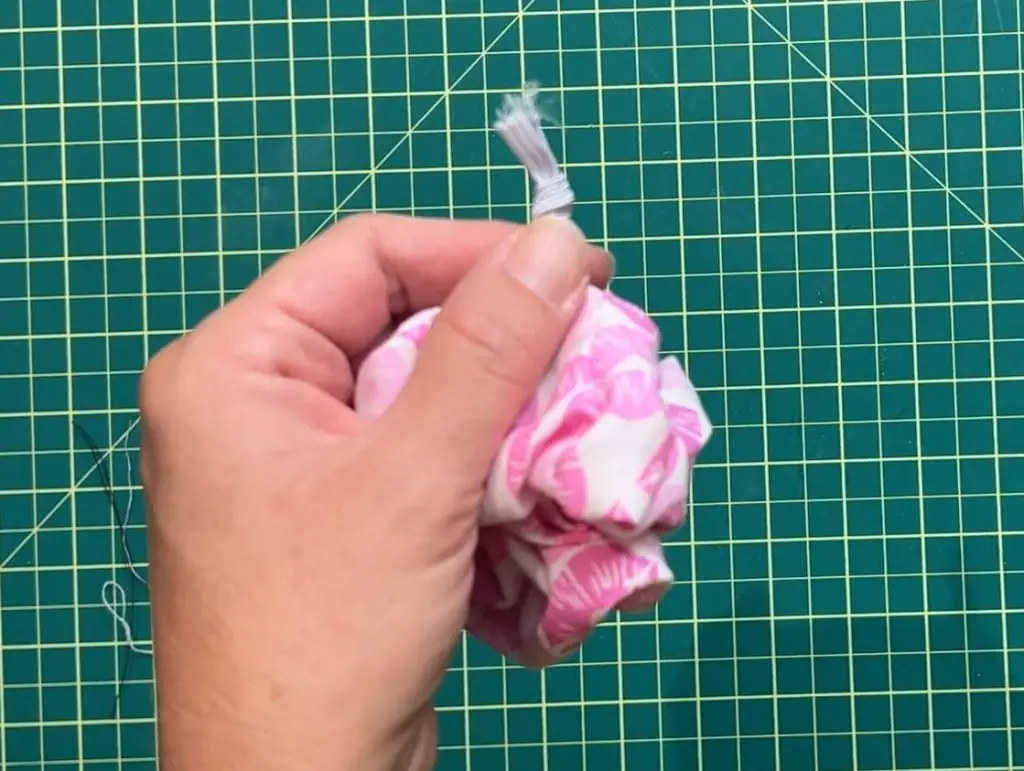
Before we flip the scrunchy right side out, pull the elastic through the center of the scrunchy. Though the hole of the scrunchy, not the 1″ gap left from sewing. Tie a knot in the elastic.
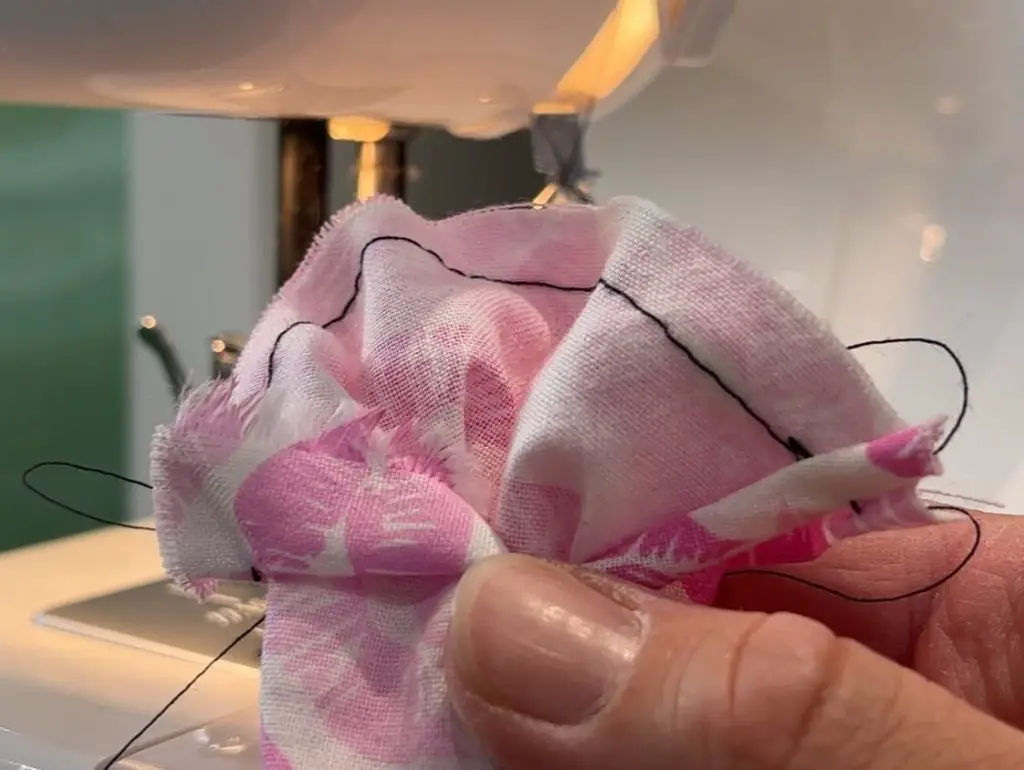
Now, through that little hole in the fabric pull and flip the scrunchy so the design is on the outside. This is very quick, as once you get a small section out, you can pull the whole thing through, and it flips by itself.
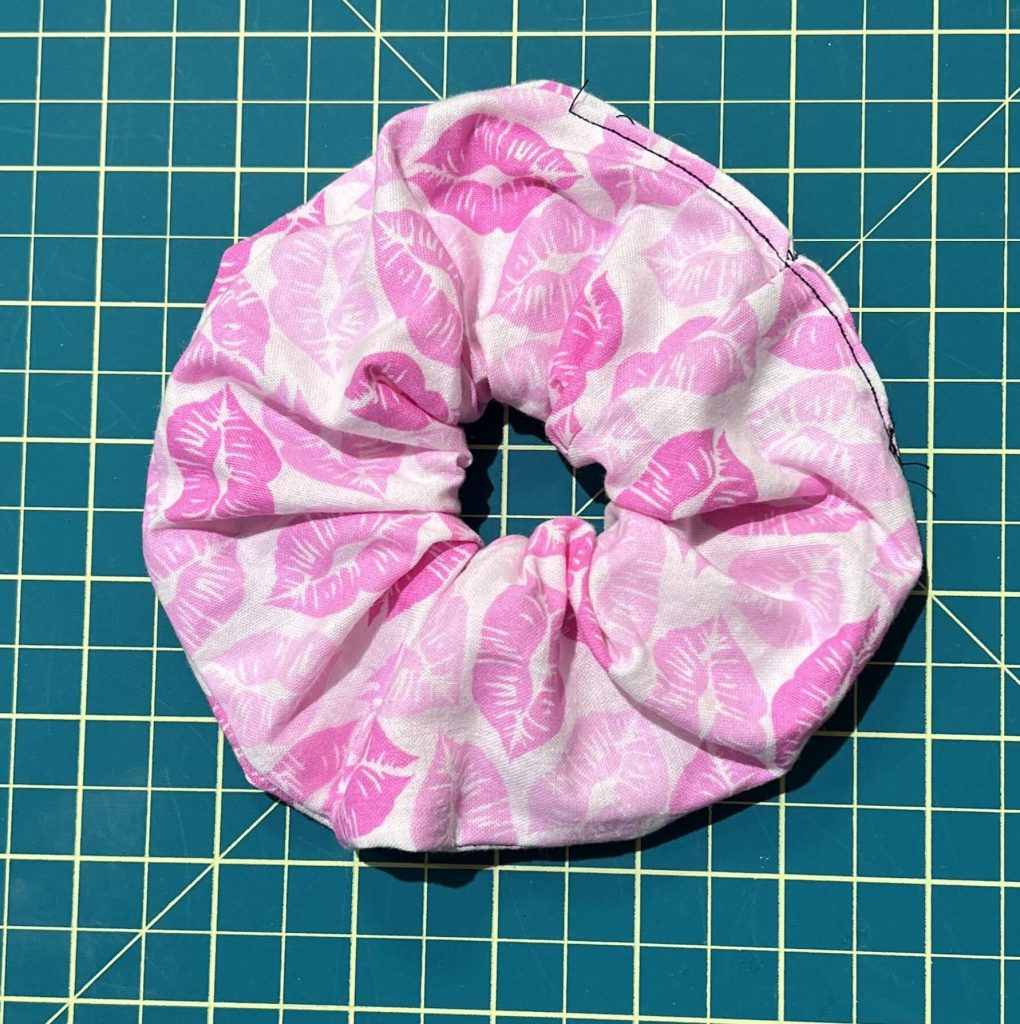
Now, back to our sewing machines to close up the scrunchy. Sew an invisible seam, or, as I do, sew a thin seam along the top edge of the opening to close it all up. When doing this, it is best to have a thread that matches your fabric. But for the purpose of this blog post, I have made it a different color to stand out.
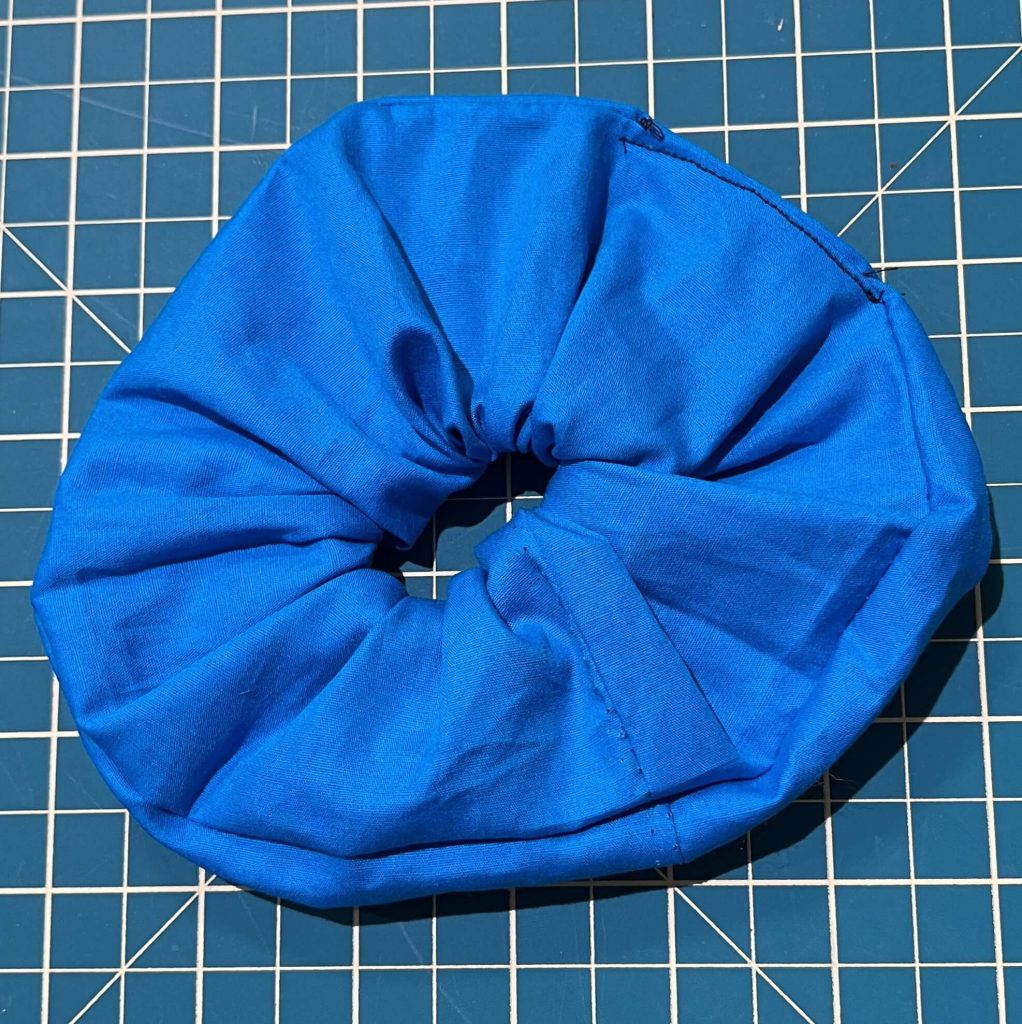
And that’s the burrito method, done!
Scrunchy Sewing Method 2 – Sewing the Seams one by one
Onto the next method. I personally don’t like this method as there is too much back and forth with flipping and sewing, but in case you don’t trust the burrito method, you can do this one instead.
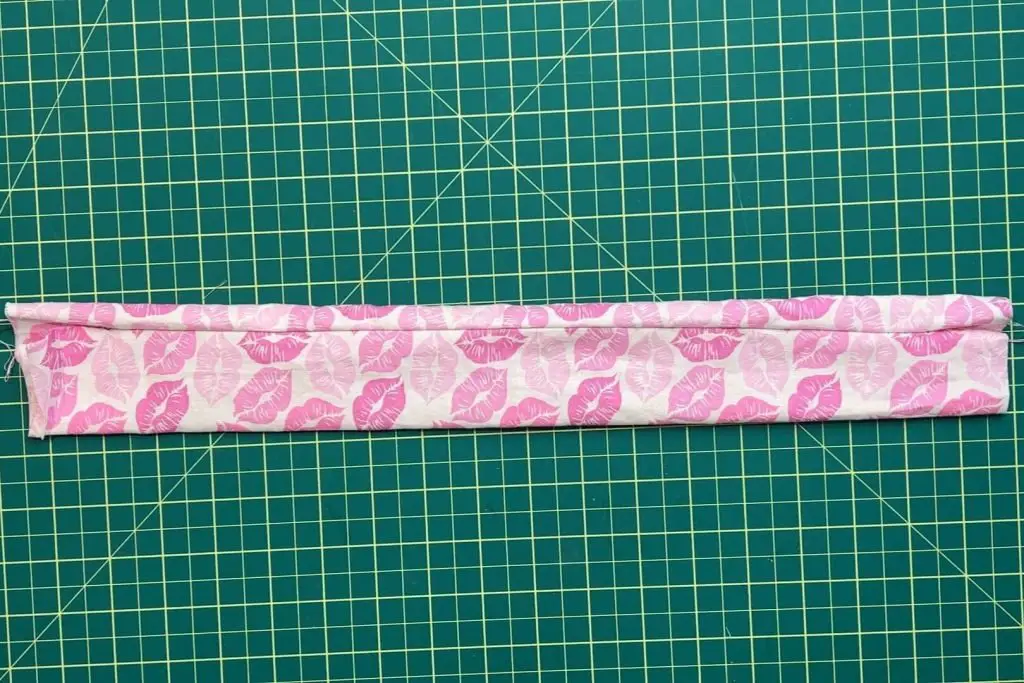
Fold your fabric in half, length size, making sure the design is facing inwards in the fold. Run a seam the length of the long edge, but make sure to leave about 1″-2″ at the top and bottom.
Once you have sewn the seam, flip the fabric right side out.
Then, using pins, pin the short edges together. You want to align your pins in the same direction for easy removal while sewing and to align your ends. You will be sewing on the inside of the fabric.
Run a seam through this pinned area and flip it through so your scrunchy looks almost done.
We need to pull the elastic through the scrunchy, using a safety pin to attach one end of the elastic to the scrunchy so it doesn’t escape. Then, using another safety pin, I attach it to the other end of the elastic. Then, I push the elastic through the scrunchy. I find having the safety pin makes it easier to pull the elastic through.
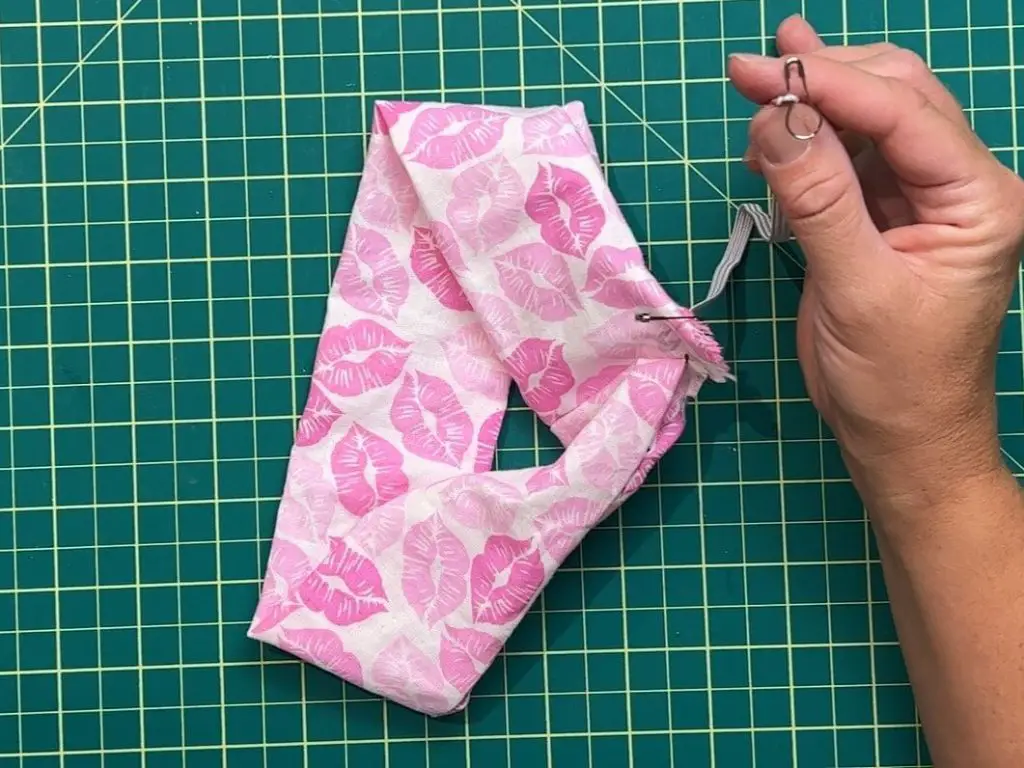
Once the elastic is through, make sure you hold on to both ends of the elastic before you remove the safety pins. Tie a knot into the elastic.
Back to our sewing machines to close up the scrunchy. Sew an invisible seam, or, as I do, sew a thing seam along the top edge of the opening to close it all up. When doing this, it is best to have a thread that matches your fabric. But for the purpose of this blog post, I have made it a different color to stand out.
And there you have it! Your Simple Scrunchy is done!
Things I learned While Making these Scrunchies
If you have been following me, you will know that I’m still mostly new to sewing, but I am learning as I go. So, I have learned a few things while making these scrunchies:
- The burrito method is awesome. I love it! It was really intimidating the first time I tried it, but now that I have figured it out, it is amazing! It seriously makes this sewing project take about 3-5 minutes, in total time. I highly recommend you try it.
- I have read and researched how to sew an invisible seam, but I still have no clue how to do it. So I sewed a thin seam on the outside instead. The smaller the hole you leave to flip the fabric, the smaller this seam will be. So it is ideal to have a similar thread color to your fabric color.
- Making scrunchies is super easy. I have made about 30 of them for my kids and their friends. The fabric I bought and the elastic cost me about $15 total, and I still have leftover fabric to make more. So, if we go back to my opening paragraph where scrunchies were being sold for $10 a piece, I am making some huge savings here.
- I used new fabric for this project, but you can also use scrap fabric from other projects, or upcycle previously loved fabrics.
- The dimensions for scrunchy fabric sizes I gave are what I use, but you can experiment with larger or smaller pieces to give you the size and shape you like best.
Did you enjoy this tutorial?
Did you enjoy this tutorial on making a simple scrunchy? If so, be sure to leave a comment below.
Also, be sure to check out some of my other sewing projects here.
And if you wan to know what my favorite sewing project is, check out how to make a cell phone pouch here.


thanks for your tutorial, these will be great for those days I want a pony tail