Before you toss that bin of scrap paper, let me show you how to turn it into beautiful laminated bookmarks in just a few easy steps. This is a simple, beginner-friendly craft that uses supplies you probably already have.
You can keep these for yourself, gift them or tuck them into books as thoughtful little surprises.
Let’s jump in!
🎥 I also made a video about making these laminated bookmarks! You can watch the YouTube Video Here.
As an Amazon Associate, I earn from qualifying purchases. This post contains affiliate links. I may receive a commission if you purchase an item from one of my links. This will not change the price you pay.
Supplies Needed
To make laminated scrap paper bookmarks, you’ll need:
- Scrap patterned paper or cardstock
- Coordinating cardstock (optional, for backing)
- Paper trimmer or scissors
- Glue (light application)
- Hole punch (optional)
- Thermal laminating pouches
- Laminating machine
- Corner rounder (optional) or scissors
- Tassels or ribbon (optional). If you want to learn how to make your own tassels, you can watch a video here or read about it here.
Laminating is optional, but it adds durability and gives your bookmarks a polished, professional finish.
Matching Scrap Paper for Double-Sided Bookmarks
Bookmark Scrap Paper Color Matching
Most of the patterned paper I own is white on the back. And if you’re like me, and don’t want a plain white reverse side, match two coordinating scraps together to create a double-sided bookmark.
Look for:
- Similar sizes
- Complementary colors
- Coordinating patterns
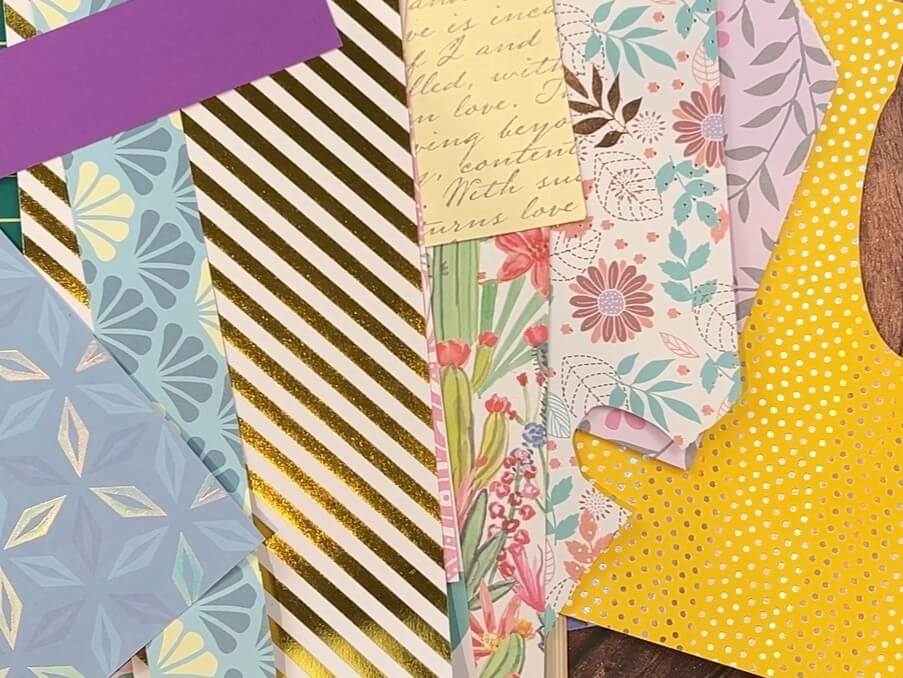
If you don’t have two patterned pieces that match, you can glue patterned paper to solid colored cardstock instead.
Cutting Scrap Paper to Size for Bookmarks
Cut your paper into:
- 1½ inches wide
- 6 inches long
This is a standard bookmark size, but you can adjust the width or length to your preference.
Don’t stress about perfection; this is a fun scrap project!
Gluing Paper to Create Double-Sided Bookmarks
Apply a thin layer of glue and adhere your coordinating pieces together.
You don’t need much glue. The laminating process will help hold everything securely in place. The glue is just there to prevent shifting while you prepare them.
If your paper is already double-sided, you can skip this step.
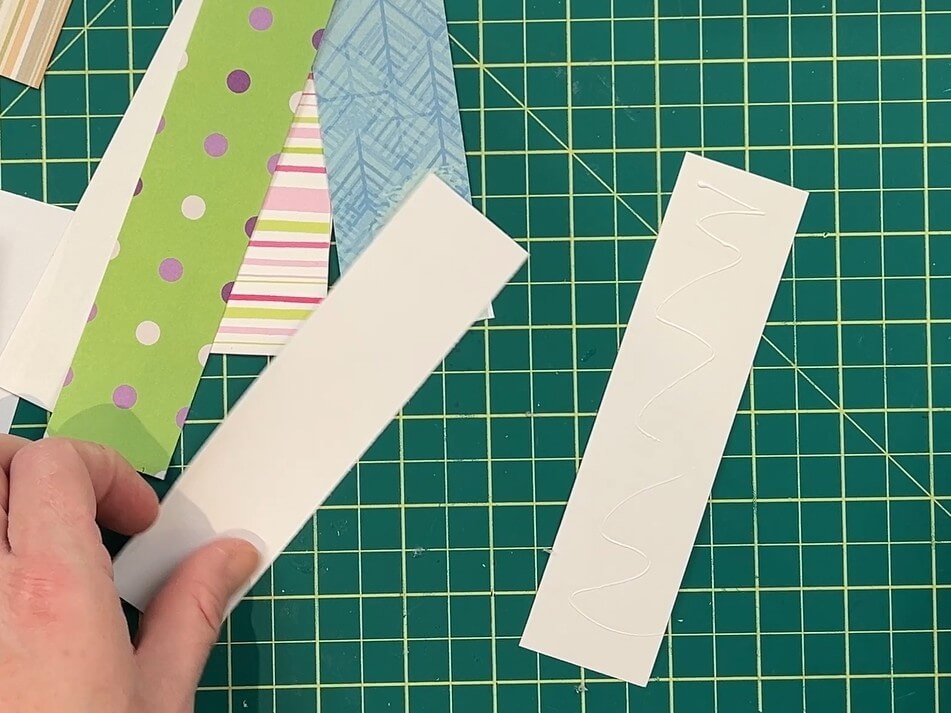
Trimming Bookmarks Evenly
Once glued, trim off any uneven edges so both sides line up cleanly.
They don’t need to be identical in size , especially if you’re using up small scraps but trimming gives them a neater look before laminating.
Shaping Your Bookmarks
At this stage, you have a few options:
- Leave corners square
- Round the corners
- Create tapered or angled edges.
You can use:
- A corner rounder
- Scissors
Rounding the corners helps soften the look and prevents sharp edges later.

Adding Optional Tassel Holes
You can punch holes:
- Before laminating (you’ll need to re-punch after).
- After laminating (punch through the bookmark and laminate together).
If punching before laminating, the hole will seal during the lamination process and must be punched again afterward.
Center the hole near the top of the bookmark if you plan to add a tassel or ribbon.
If you don’t like tassels, skip the hole entirely.

Laminating Bookmarks
Place your bookmarks inside laminating pouches.
Tips:
- Leave about ¼ inch of space around each bookmark.
- Leave space between bookmarks for cutting.
- Don’t overcrowd the sheet.
Run the pouch through your laminator.
If you notice air pockets or weak seals along the edges, simply run it through the machine again.
Make sure the sheet feeds straight and doesn’t curl at the back; curling can cause warped bookmarks.

Rough Cutting the Laminated Bookmarks
Once laminated, cut them apart using a paper trimmer or scissors.
Important:
Leave a small laminate border around each bookmark. Cutting too close to the edge can break the seal and cause peeling over time.

Trimming Sharp Laminate Edges
After cutting, the laminate corners can feel sharp.
Round them using:
- A corner punch
- Scissors
This step prevents poking fingers and gives your bookmarks a smooth, finished look.

Adding Holes for Tassels (Optional)
If you didn’t punch holes before laminating, now is the time.
Re-punch any sealed holes or add new ones near the top of your bookmarks.
Don’t worry if they aren’t perfectly centered, a handmade charm is part of the fun.
Adding Tassels and Ribbon to Bookmarks
Option 1: Store-Bought or Handmade Tassels
To attach a tassel:
- Insert the loop through the hole.
- Pull the tassel through the loop.
- Tighten
You can make your own tassels or purchase them; both options work beautifully. If you want to learn how to make your own tassels, you can watch a video here or read about it here.
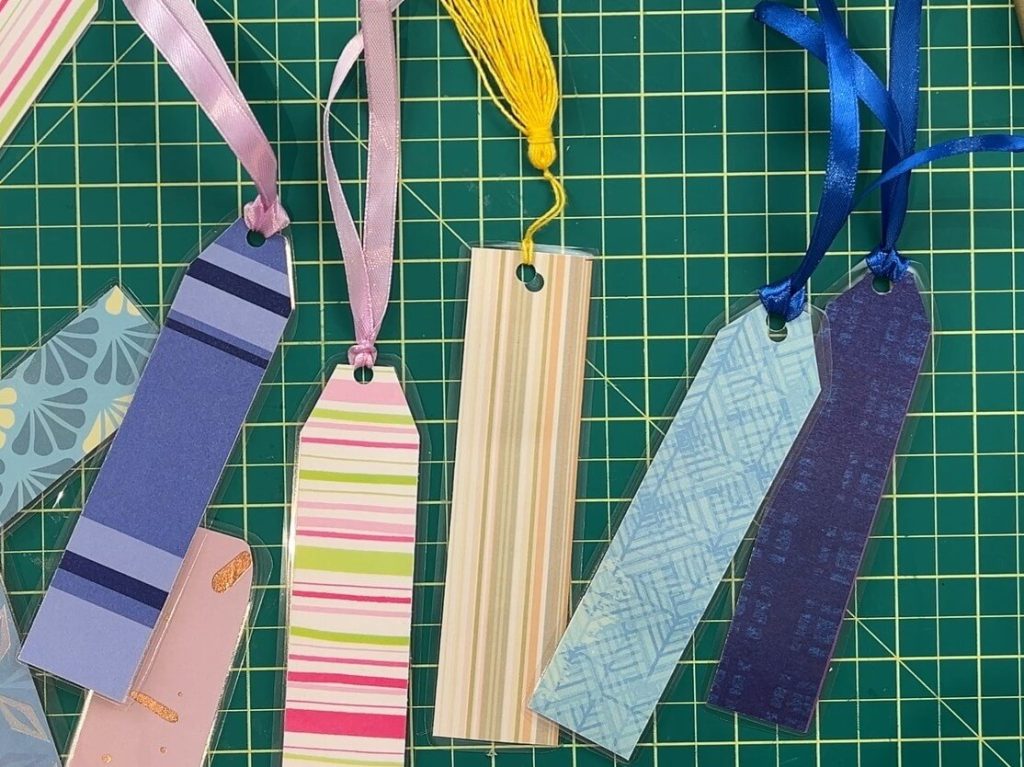
Option 2: Ribbon
Cut about 6 inches of ribbon.
- Fold in half.
- Insert the folded end through the hole.
- Pull the loose ends through the loop.
For a clean finish, lightly heat-seal the ribbon ends to prevent fraying.
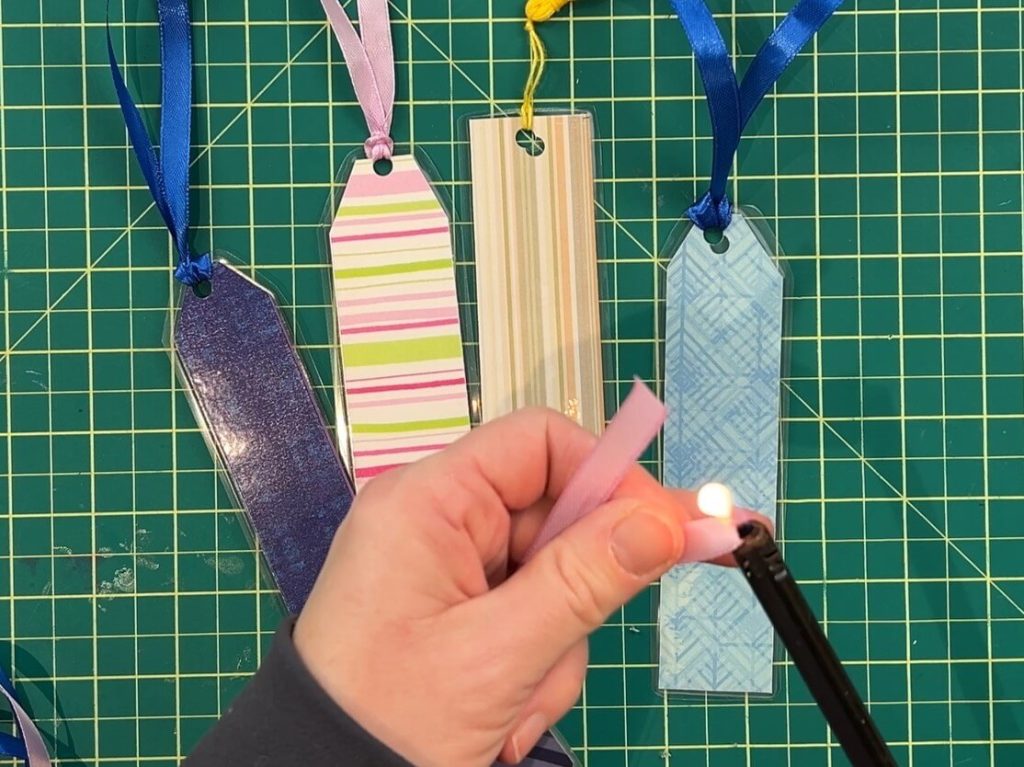
Ribbon lies flatter than tassels, which some people prefer for practical everyday use.
Completed Laminated Bookmarks
At this point, your bookmarks are ready to use.
You can:
- Keep them plain
- Add ribbon
- Add tassels
- Mix styles
These are perfect for:
- Personal use
- Gifts
- Classroom bookmarks
- Book club favors
And because they’re made from scraps, they’re budget-friendly and satisfying to create.

Final Thoughts on Scrap Paper Laminated Bookmarks
🎥 I also made a video about making these laminated bookmarks! You can watch the YouTube Video Here.
This is one of those quick projects that feels productive and creative at the same time. You’re using what you already have, reducing waste, and making something genuinely useful.
If you love simple, practical paper crafts, this one’s a keeper.
Have fun experimenting with different paper combinations, shapes, and finishes, and enjoy putting those scraps to good use.
Did you enjoy learning how to make laminated bookmarks with scrap paper?
Did you enjoy learning how to make laminated bookmarks with scrap paper? Let me know in the comments! Did you make laminated bookmarks with me? Let me know how they turned out!
If you enjoyed this project, check out my: