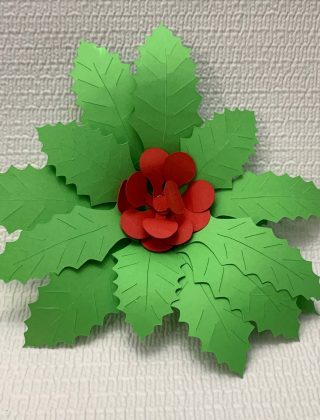
If you’ve ever looked at those gorgeous 3D paper stars in the store and thought, “Wow… that’s probably super complicated,” I’m here to tell you — nope! Believe it or not, you can turn two simple sheets of paper into a beautiful eight-point 3D Christmas star. Seriously. It’s way easier than it looks, and even better… It’s actually a really relaxing craft.
So let’s jump in!
🎥 I also made a video about these stars. You can watch the YouTube Video Here.
As an Amazon Associate, I earn from qualifying purchases. This post contains affiliate links. I may receive a commission if you purchase an item from one of my links. This will not change the price you pay.
The Supplies You’ll Need
To make your 3D paper star, you only need a handful of items you probably already have.
- Two sheets of 12×12 cardstock – Square paper works best, but if you’re working with regular 8.5″ x 11″, just trim it into a square and you’re good to go.
- Glue – I used both crafting glue and hot glue. Technically, you can get away with just hot glue, but if you know me, you know I’m really good at burning myself with hot glue, so I keep it to a minimum.
- Scissors are a must – you’ll get to do a tiny bit of precision cutting.
- A needle and some yarn or thread – if you want to hang your star, you’ll need these.
Ok, now that we have all our supplies, it’s time to get this project started!
Making a 3D Paper Star
Folding the Base of Your Star
Okay, now the fun part, time to start making our 3D paper star.
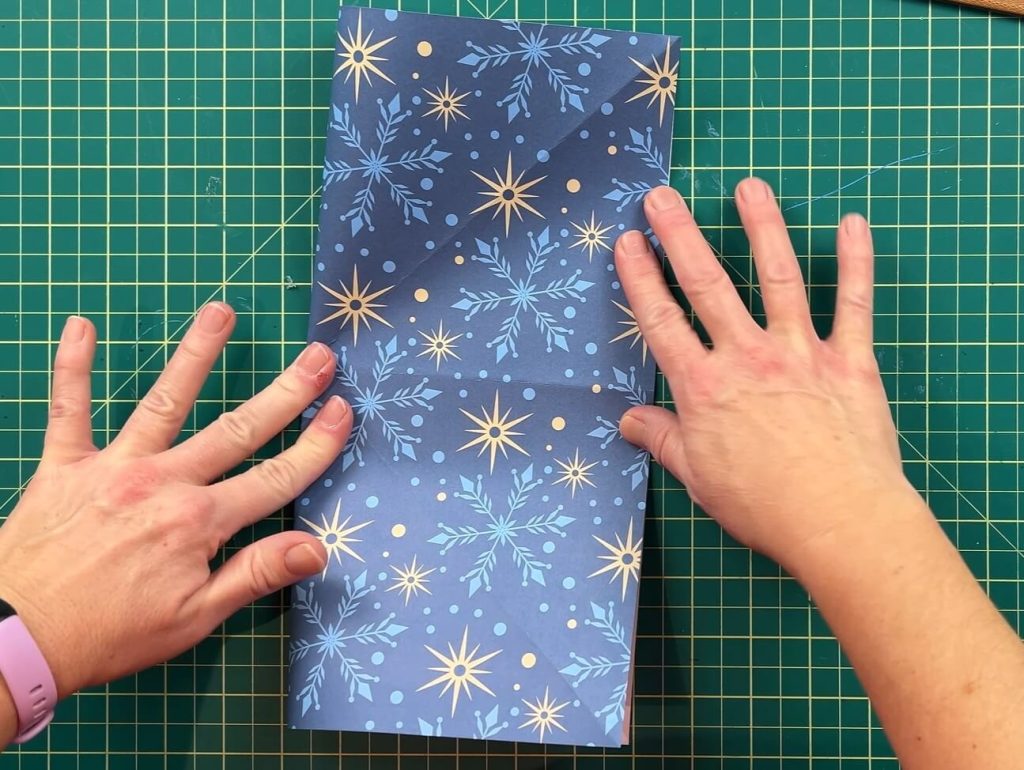
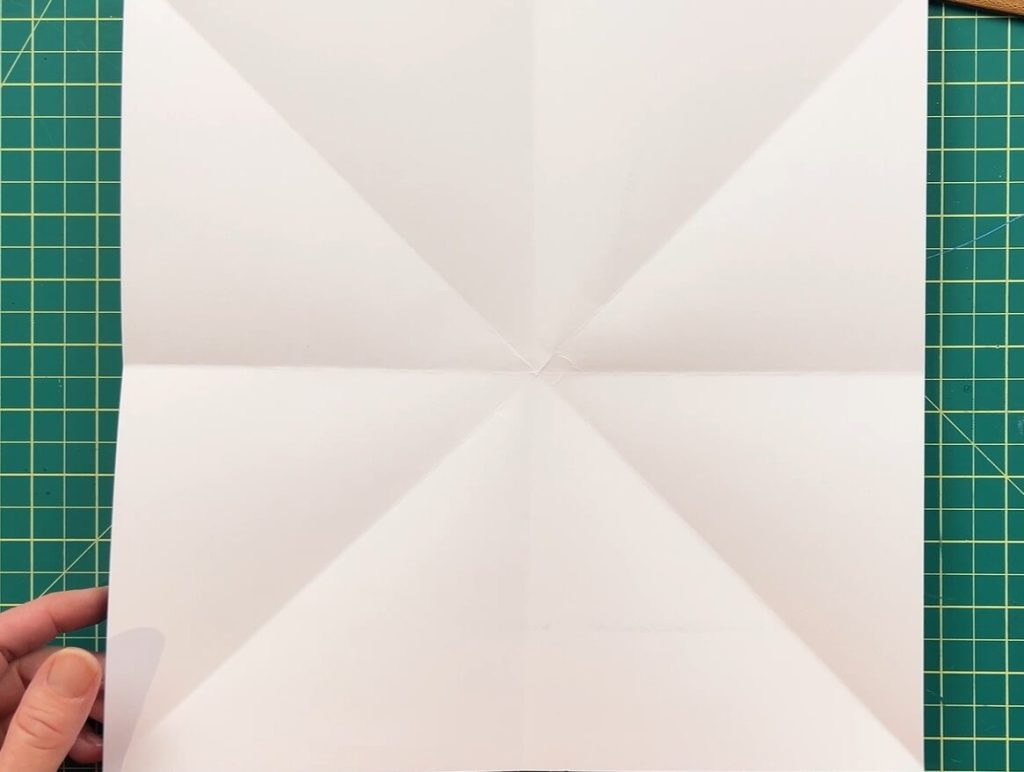
We’re going to fold it in half twice, then fold it along both diagonals. When you open it back up, you should see eight triangular sections. You want the white side inside of all the folds. If your cardstock has a design on both sides, make sure the design you want is on the outside of the folds.

Adding the Cuts
Now grab your scissors. Along each straight side of the paper (not the corners), cut halfway toward the center fold. You can measure and mark it if that makes you feel fancy, but honestly, it doesn’t have to be perfect. If you cut too far, no stress. If you don’t cut far enough, you’ll see pretty quickly when we start shaping the points, and you can increase the cut then.

But if you want to cut it to an exact measurement and you are using 12″ x 12″ cardstock, you will want to cut it 3″ long so it is halfway up the side.
Folding the Star Points
Now that your cuts are done, it’s time to fold each section inward. Fold from the cut toward the corner fold, making a nice pointed shape. Once you’ve done one, the rest follow easily.


And just like that, the hardest part is behind you.

Gluing the First Half Together
We are working on each point individually. We are not folding the star on itself.
Apply glue to the design side of one side of your folded point, then gently press the other side over it.
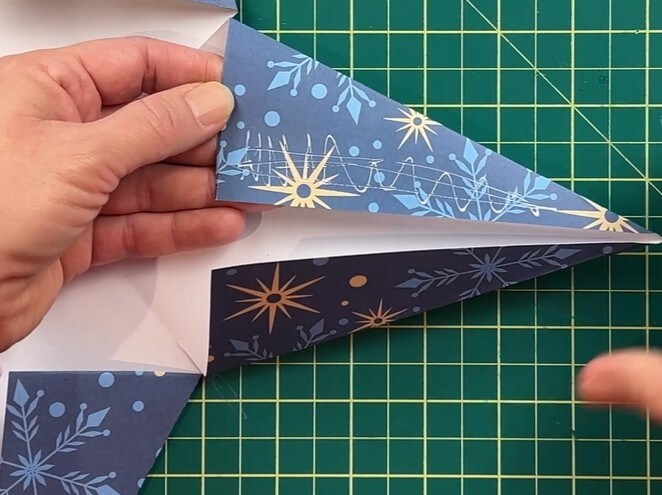
I find that using 12″ x 12″ cardstock makes for great stars, but the points are long. If you are having trouble reaching the inside of the point to hold the paper in place for the glue to adhere and dry, a pen is your best friend. Pop it inside the point and press outward while holding the outside down. This helps the glue stick to the ends of the points.
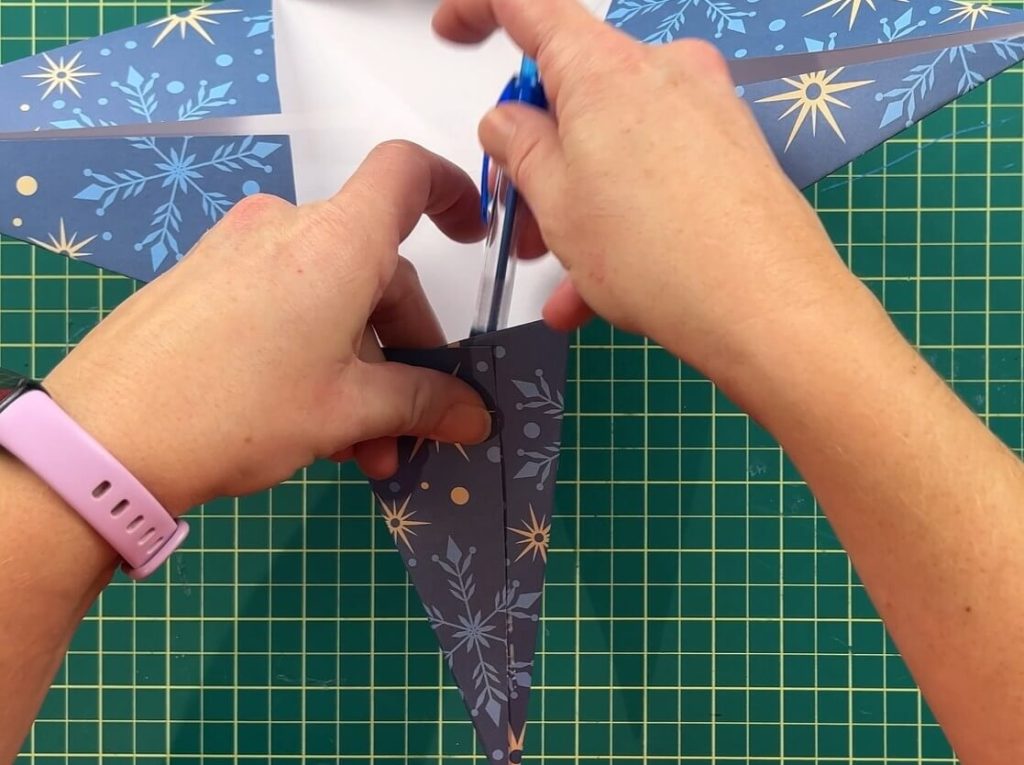
Repeat this for all four points, and then pause to admire your work. At this stage, you have a cute little 4-point star! If you’d like a simple wall décor piece, you can stop here.
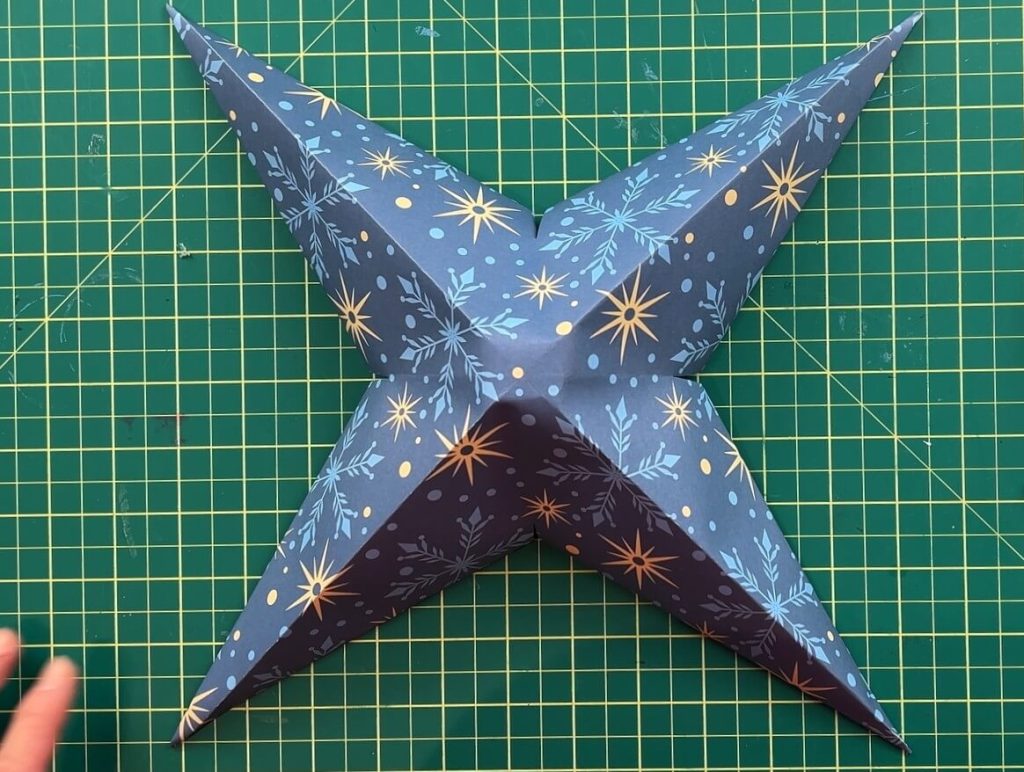
But if you want that beautiful, full 8-point star… let’s keep going.
When you’re gluing the points, if you push the bottom and top pieces all the way together, you will form a dome in your star. This is normal and nothing to fret about. If you want less of a dome, when gluing, don’t push the points together so tightly.
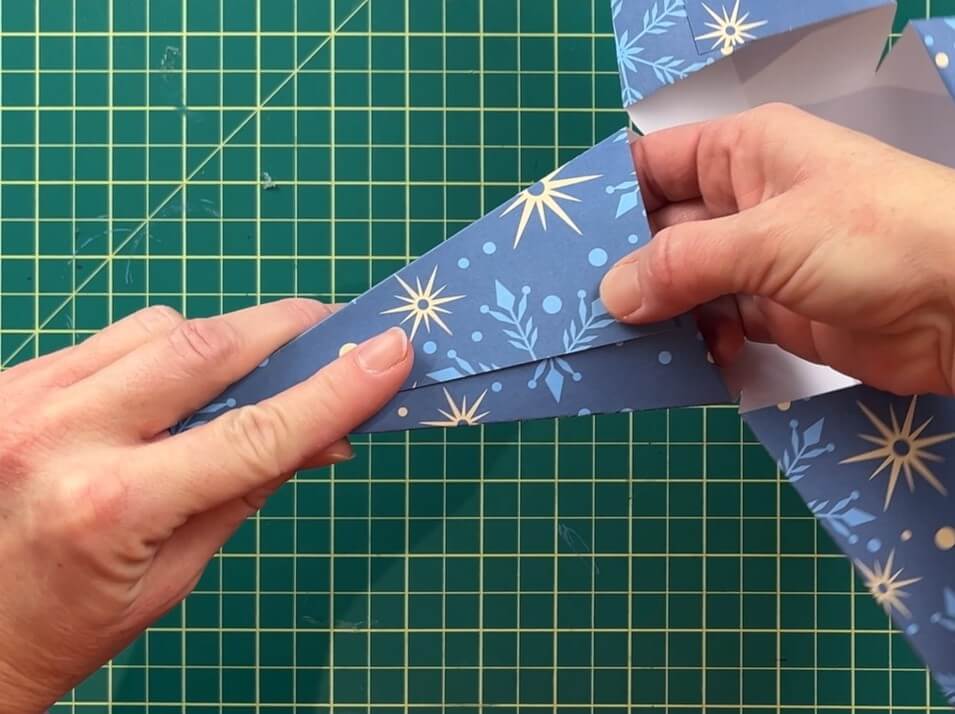
Making the Second Half
Grab your second sheet of paper and repeat the exact same steps — fold, cut, fold again, glue. It goes much faster the second time around since you already know what you’re doing.
If the top points of your star have buckled a bit during the folding and gluing process, simply and gently fix the fold with your fingers. Since you already folded the paper, this is a simple fix.
And just like that, you’ve got two star halves ready to be united.
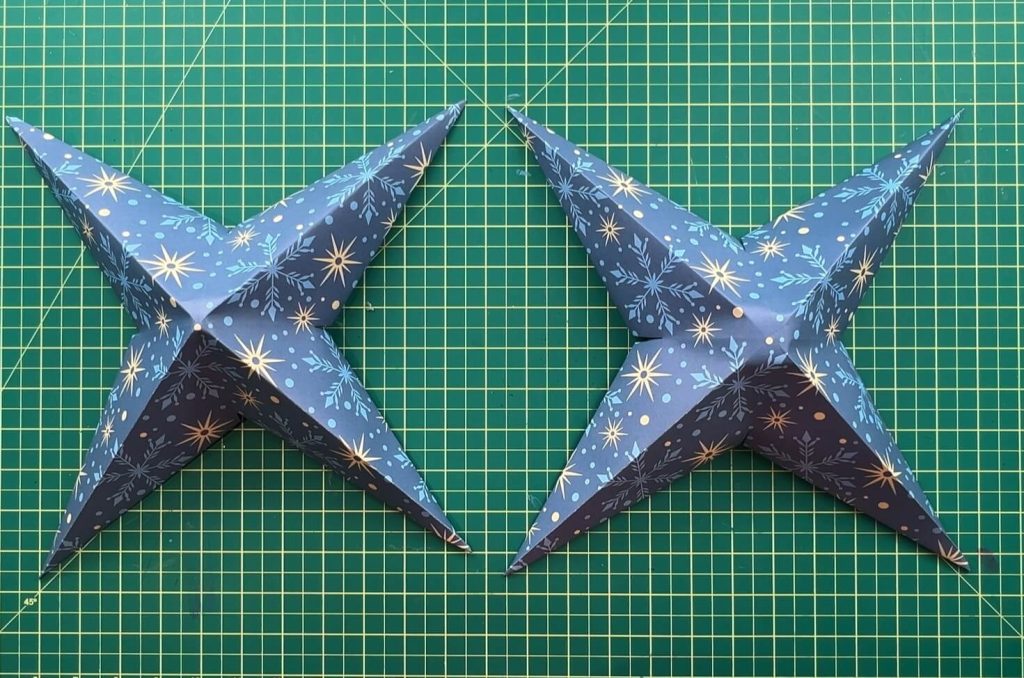
Creating the Full 8-Point Star
This is where the hot glue shines. Take one star half and add two dabs or a thin line of hot glue inside each point.

Then grab your second star. Rotate it 45 degrees so the points are offset (this is what makes it look so fancy), and press the backs together.

Hold everything for a few seconds. If your star has a dome, as I mentioned above, just push the paper together and let it grab the glue.
Adding a String to Hang Up your 3D paper star
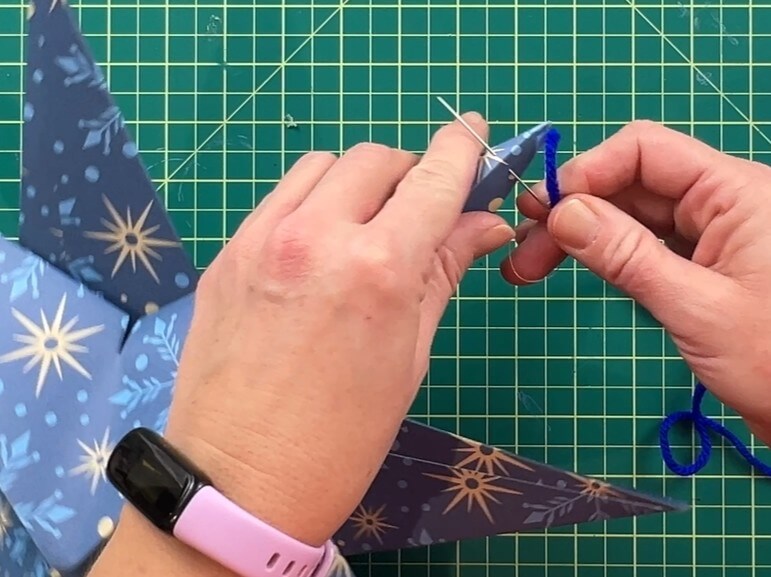
If you want to hang your 3D paper star, grab a large needle, poke a small hole through one of the points, and thread some yarn or string through. Tie a knot at the top and boom — it’s ready to display.
And that’s it! You’ve learned how to make a 3D paper star!

🎥 I also made a video about these stars. You can watch the YouTube Video Here.
Making a 4-point Star
If you don’t want to hang your star, having a simple 4-point star is also an option. A 4-point start can go on your wall or a door. So don’t think you need to make an 8-point star.
Making an 8-point Star – Alternate Layout
The 8-point star I made above has the backs of both 4-point stars attached, so the star can be admired from both sides. But if you want an 8-point star up on a wall or door, you can glue the back of one star to the top of the second star. This will give you a beautiful 8-point start that easily attaches to a wall.

Making a 16-Point Star
OK, so while making the 8-point star, I got a bit carried away… and I made a 16-point star! I know, I know! too much! But, if you’re like me and enjoy it too much, you can make two alternate 8-point stars, glue the backs together, and ta-da! A 16-point star!

Things I learned while making these 3-D paper stars
Okay, now that I’ve made my fair share of these stars, here are a couple of fun little things I’ve learned along the way.
- The middle of the star will have a hole on the back. That’s totally normal, but if your two halves don’t align perfectly, it can look more like a gap. If that bothers you, just glue a little square of matching paper inside during assembly to hide everything.
- The cardstock books I purchase typically only have two of each design, which is why I don’t patch the inside holes. I don’t want to add a different paper inside the star, as it may draw more attention to the middle of the star than a small visible gap.
- Lastly, the domed shape is easy to control with practice. The more stars you make, the better you’ll get at finding that sweet spot between “nice and flat” and “cute and puffy.” But even if you make both halves of the star have a dome, they glue together nicely, and the star still looks beautiful.
Let Me Know if you enjoyed making this 3D paper star
If you made this star, please let me know how it turned out!
Tell me if you are making a 4-point version, the 8-point version, or going all out with the 16-point version? And I’d love to hear where you’re hanging your star — your tree? Your window? Somewhere magical?
And if you know someone who could use a relaxing craft moment today, feel free to share this project with them. Crafting is always better when we do it together.
If you enjoyed this craft, be sure to check out my other crafts:
- Check out my Paper Crafts Here
- Check out my Christmas Crafts Here
🎥 I also made a video about these stars. You can watch the YouTube Video Here.
Until next time, Happy Crafting! 💛