So… you finally finished that puzzle. The last piece went in, angels sang, and now you’re staring at it thinking, “Well, I can’t just put you back in the box after all that.”
If you’ve ever wondered how to frame a puzzle, you are absolutely not alone. There are a million opinions out there, and everyone claims their way is the best. Tape it! Glue it! Seal it forever! Never touch it again!
Here’s the truth, though: there is no one-size-fits-all solution when it comes to framing puzzles. The best method depends entirely on what you want in the long-term. Do you want to reuse the frame later? Take the puzzle apart someday? Or are you committing to this puzzle for life?
In this post, I’m walking you through three different ways to frame a puzzle:
- Doing absolutely nothing (my personal favorite)
- Using tape on the back
- Using Mod Podge for a permanent finish
Each method gives you a very different result, so by the end, you’ll know exactly which one makes the most sense for your puzzle.
🎥 I also made a video about how to frame a puzzle. You can watch the YouTube Video Here.
Doing Nothing to the Puzzle to Frame It
Let’s start with my favorite method because it’s easy, requires the least effort,, and honestly feels a little rebellious. 😏
This method is exactly what it sounds like: you don’t tape, glue, or seal the puzzle at all. Once your puzzle is finished, carefully slide it onto the backing of your frame, add the glass (My picture frames have plexiglass, so I don’t accidentally injure myself), line everything up, and close the frame. That’s it.
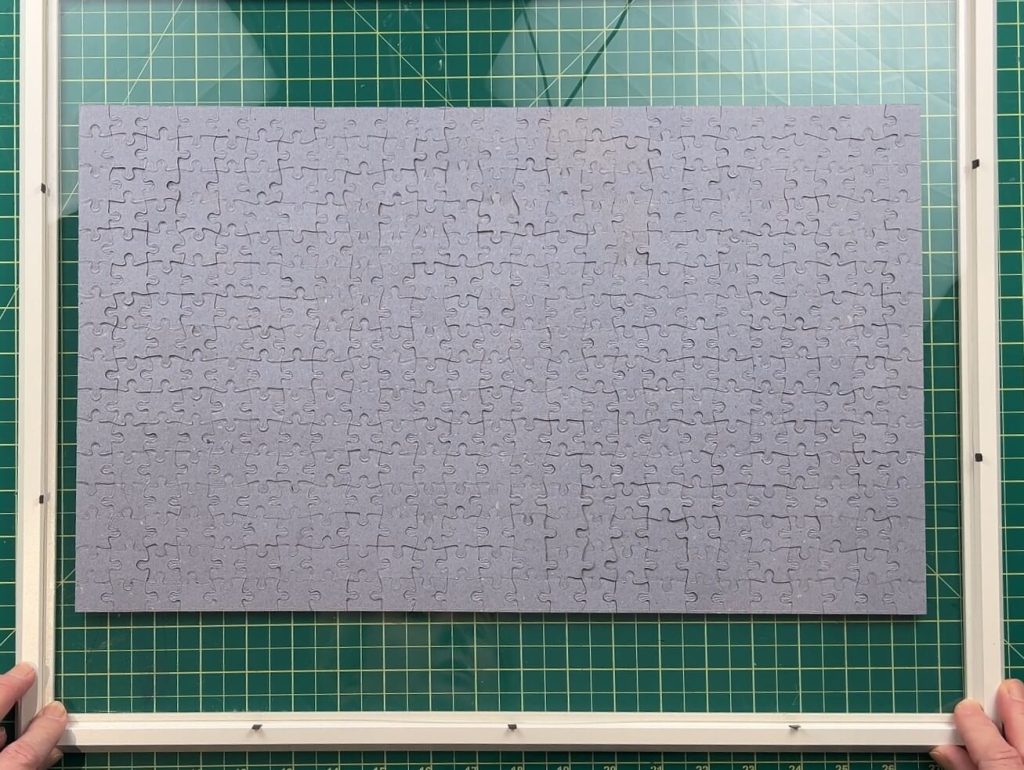
Flip it over and…Ta-Da! Your puzzle is framed with zero commitment.
Now, this method has some very real perks. The biggest one? You can take the puzzle apart later. This is especially handy if you’ve got kids whose tastes change faster than the seasons. Today it’s tigers, tomorrow it’s dinosaurs, next week it’s something neon and chaotic. With this method, you can swap puzzles and still reuse or sell the old puzzle when you’re done with it.
The downside? Gravity is undefeated. If your frame falls off the wall (I’m looking at you, 3M command hooks), that puzzle is going to explode, and pieces will fly everywhere. Ask me how I know. 😬
Still, if flexibility matters to you, this is a fantastic way to frame a puzzle without making it permanent.
Using Tape to Frame a Puzzle
If the idea of puzzle pieces scattering across the floor gives you anxiety, the tape method might be more your speed.
With this approach, you flip your completed puzzle upside down and apply painter’s tape across the entire back. I personally like green painter’s tape because it removes fairly easily later, but blue painter’s tape or specialty framing tape also works. The key is to overlap the tape slightly so the whole back is covered and supported. Also, each puzzle piece needs to be covered with tape, even the corner pieces.

Once taped, the puzzle becomes a solid piece. This is great because it can be placed in a frame easily. You can pick it up, move it around, and center it without holding your breath the entire time.

This method is a great middle ground. The puzzle holds together much better than the “do nothing” method, but it’s still technically reversible. That said, tape is a little sneaky. If it’s been on there for a long time, removing it can sometimes pull cardboard fibers off the back of the puzzle pieces. Going slow helps, but it’s something to keep in mind.
If you want stability without full commitment, taping the back is a solid choice when figuring out how to frame a puzzle.
Using Mod Podge to Frame a Puzzle
Alright, buckle up, this is the serious relationship option.
Using Mod Podge to frame a puzzle means sealing it permanently. Once you go down this road, there is no going back. This puzzle is one picture piece forever. No take-backs. No re-dos. This is a one-and-done situation.
All you need for this is some Mod Podge and a paintbrush, or a paint sponge. I recommend placing your puzzle on wax paper or parchment paper when using the Mod Podge method. This will save your workspace.
To do this, you brush Mod Podge over the entire front of the puzzle, making sure to get into all the cracks between pieces. Applying the Mod Podge in the same direction is best, so either go left to right or up and down. Do not go crazy brushing in all directions. That will show visible lines when the Mod Podge dries.
It looks white at first, but it dries clear and gives the puzzle a really nice shine.
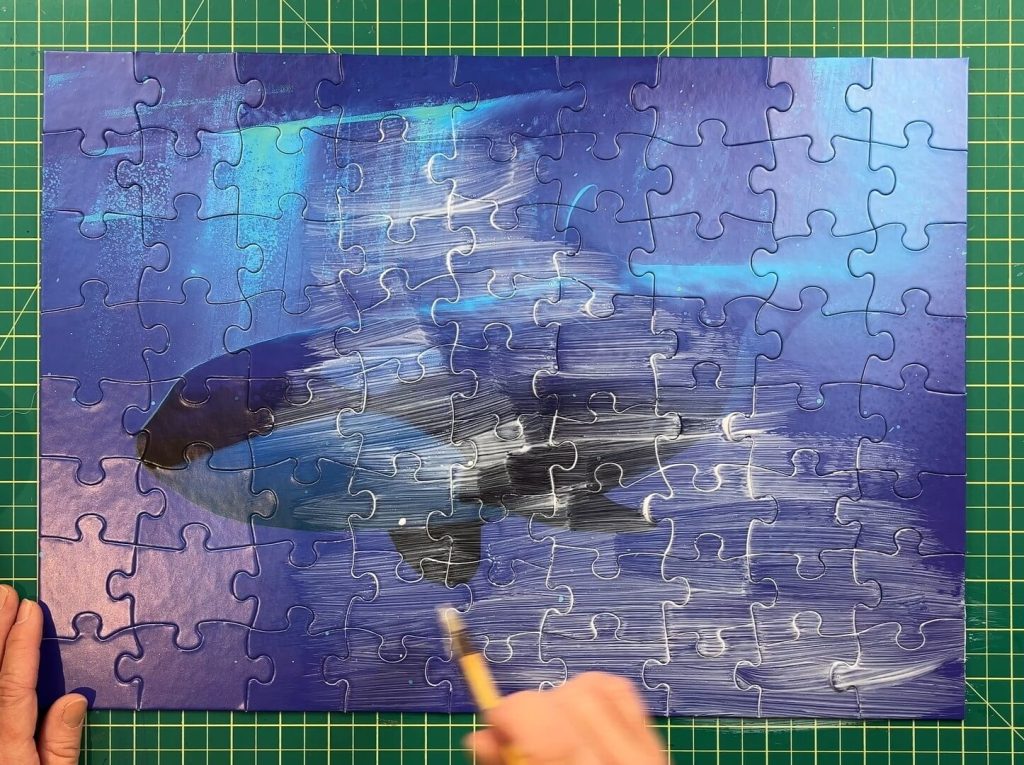
After that dries, you flip it over and apply Mod Podge to the back as well to fully seal everything.
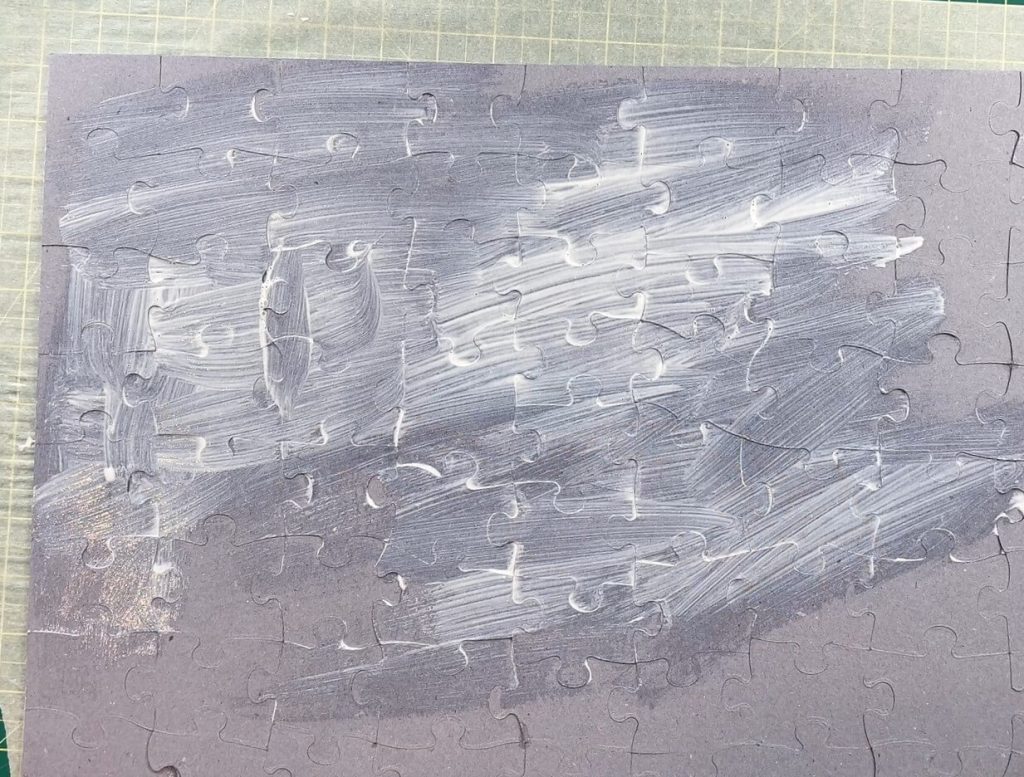
Once the back is dry, you can apply one more coat of Mod Podge to the front, but that is not required. Once all of your Mod Podge-ing is done, wait 24 hours for it to cure.
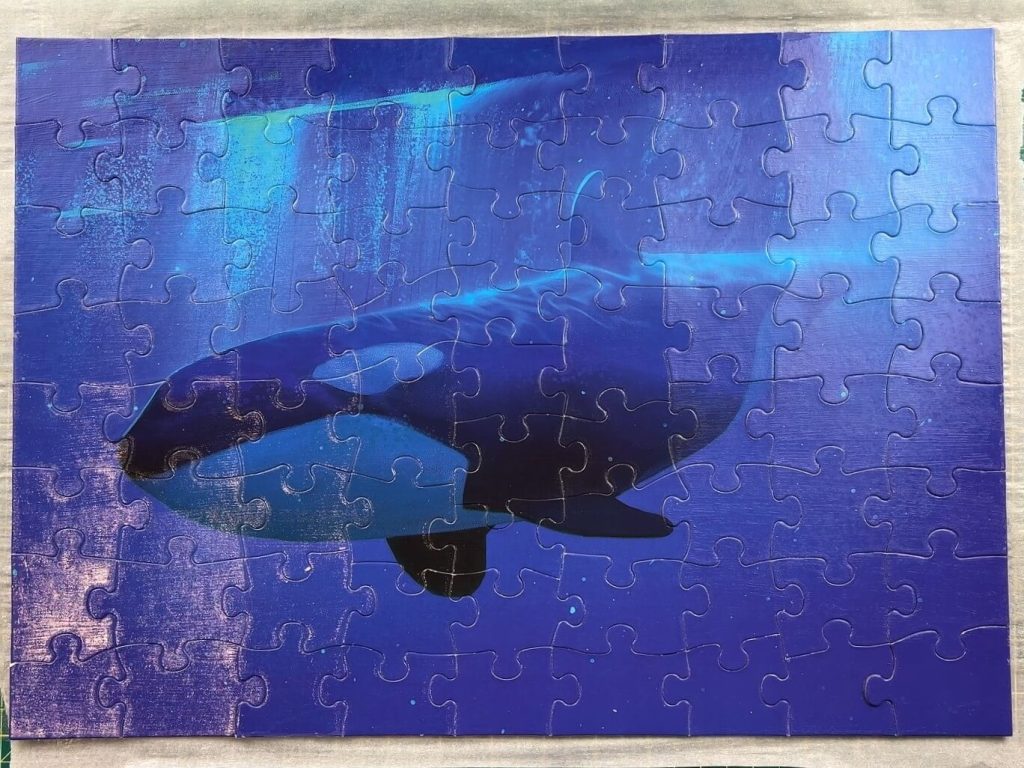
This method takes patience. Dry time matters. Cure time matters. And if you rush it, you may end up with a puzzle that sticks to the glass inside your frame, which is a problem nobody wants. Trust me. Waiting the full 24 hours before framing is worth it.
The upside? Once it’s dry, the puzzle looks more like artwork than a puzzle. It’s sturdy, glossy, and easy to handle. The downside? You’re married to this puzzle now. If you ever want to change it out, the puzzle will need to be tossed, and if the Mod Podge didn’t cure all the way, you may end up tossing the frame as well.
If permanence is your goal, this is a classic way to frame a puzzle.
Tips and Tricks for Framing a Puzzle
No matter which method you choose, there are a couple of small tricks that make a big difference in how your finished puzzle looks on the wall.
Puzzle Framing Tip 1 – Wrap the Frame Backing
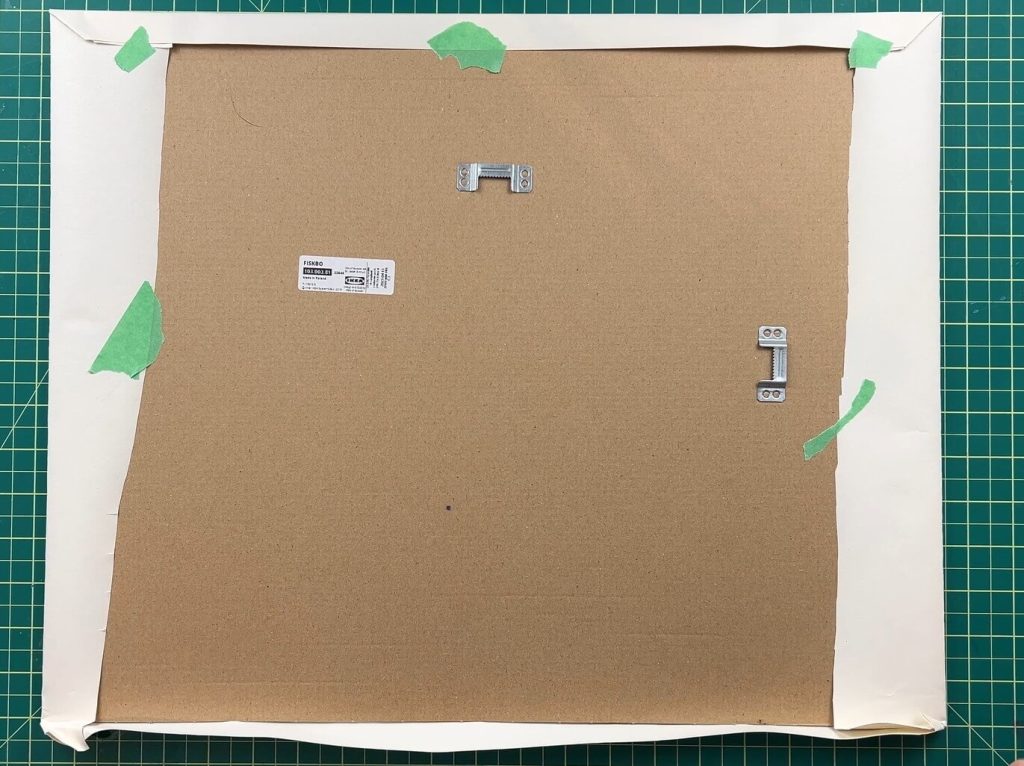
Many frame backings are brown, cardboard, or particle board, and that color can show through around the edges of your puzzle. Wrapping the backing in white craft paper before assembling the frame instantly gives your puzzle a cleaner, more polished look.
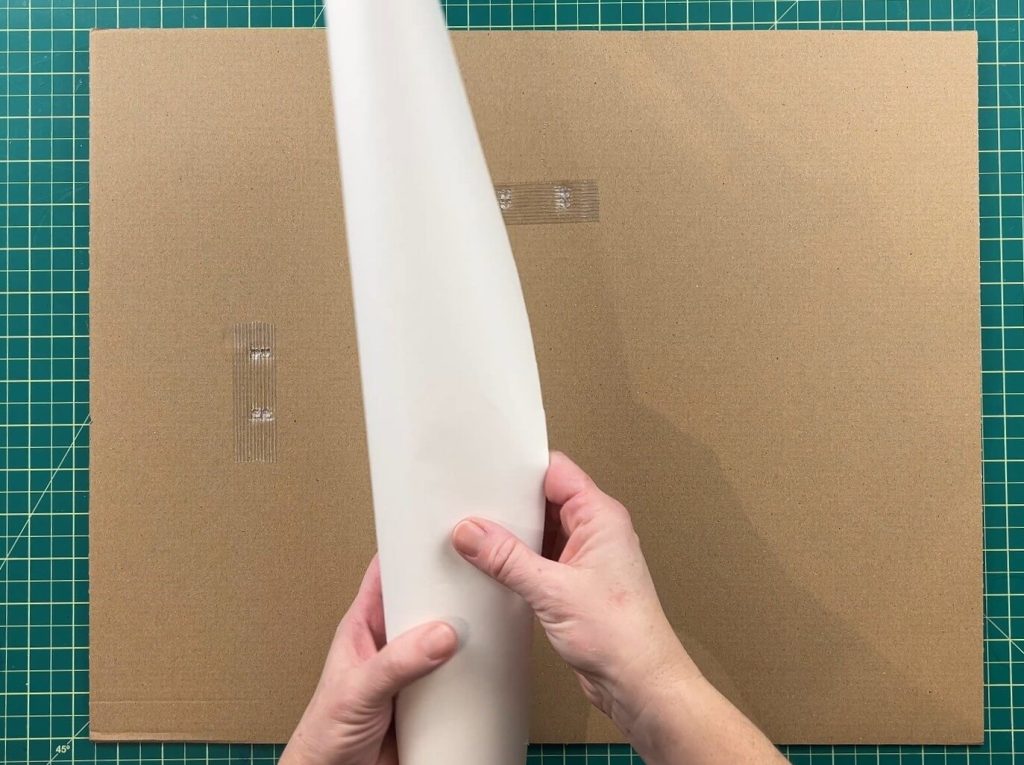
I just wrap it like a gift, nothing fancy, and suddenly everything looks intentional and professional (even if it absolutely wasn’t).
Puzzle Framing Tip 2 – Tape the Puzzle to the Frame
This tip works with all the methods above. If your puzzle is smaller than the frame, it can slowly slide over time, especially if it’s not taped or sealed.
Once you have the puzzle perfectly centered, add painter’s tape to the back of the puzzle and attach it directly to the frame backing. This keeps everything in place, so your puzzle doesn’t drift like it’s trying to escape.
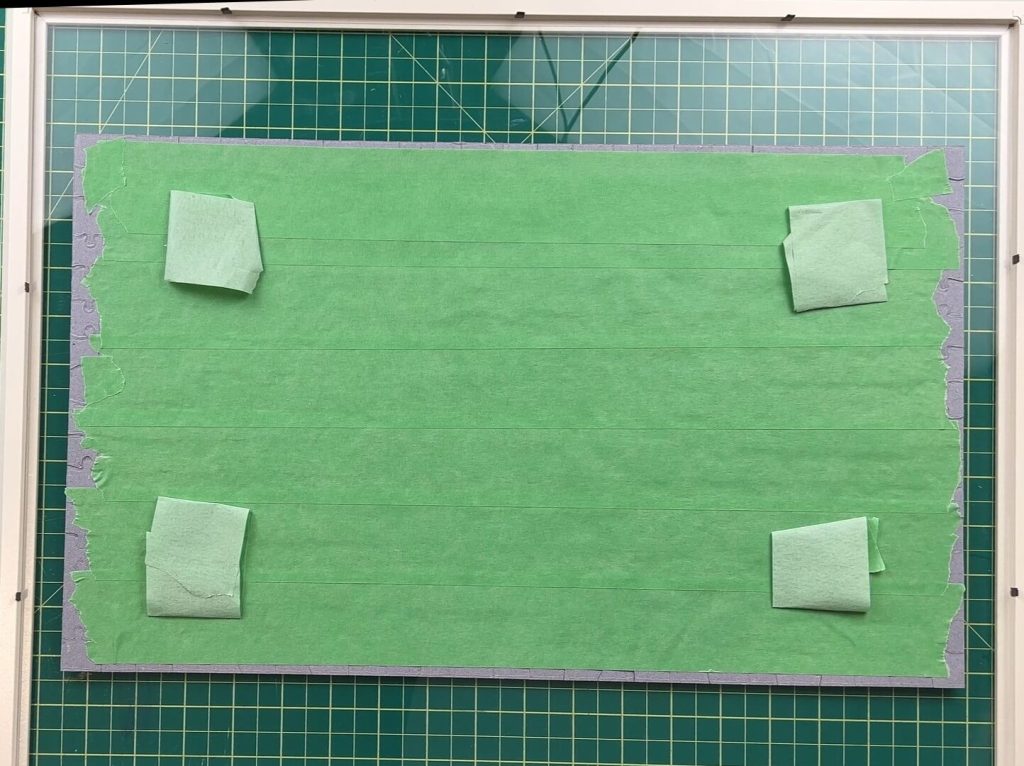
It’s one of those tiny steps that saves a lot of future frustration.
And There you have it! You have successfully Frame a Puzzle 3 different ways!

Things I learned while learning to Frame a Puzzle
After trying all three methods, here’s what I’ve learned: the best way to frame a puzzle depends entirely on you.
If you:
- Like flexibility and changing things up, do nothing.
- Want stability without full commitment, use tape.
- Want a permanent, polished display, Mod Podge is your answer.
There’s no wrong choice, just different levels of commitment.
If you’ve ever struggled with how to frame a puzzle, I hope this helped clear things up and maybe saved you from a few puzzle-related headaches along the way. And if you have a method you swear by, I’d love to hear about it.
Happy crafting, and happy puzzling. 🧩
Supplies Used in the Craft
As an Amazon Associate, I earn from qualifying purchases. This post contains affiliate links. I may receive a commission if you purchase an item from one of my links. This will not change the price you pay.
If you are interested in using the supplies I mentioned above, here they are:
- Green Painter’s tape:
- Blue Painter’s Tape
- Picture Framing Tape
- Mod Podge Gloss
- Mod Podge Puzzle Saver
- White Craft paper
Did you enjoy Craft?
Did you Enjoy Learning How to Frame a Puzzle? Let me know in the comments below which is your preferred method!
If you enjoyed this craft, check out these other Tip and Tricks.
🎥 I also made a video about how to frame a puzzle. You can watch the YouTube Video Here.