If you love adding handmade touches to your gifts but don’t want a complicated craft project, these DIY gift tags are the perfect place to start.
Today, I’m sharing 10 easy gift tags made from scrap paper and odds and ends you probably already have at home. They’re quick, simple, and add a thoughtful touch to any present, without adding stress to your crafting time.
Let’s jump in.
🎥 I also made a video about these 10 Cute Gift Tags. You can watch the YouTube Video Here.
Making Blank Gift Tags from Scrap Paper
The first step is shopping your stash.
Pull out:
- Scrap patterned paper
- Solid cardstock (white or colored)
- Any specialty papers (glitter, holographic, double-sided)

You don’t need matching pieces. In fact, mixing random scraps often creates the most interesting results.
How to Cut Your Tags
Trim your paper into rectangles approximately:
- 1 to 1½ inches wide
- 2½ to 3 inches long

There’s no exact size requirement; just keep the shape longer than it is wide, so it resembles a traditional gift tag.
To create that classic tag look:
- Snip off the top two corners.
- Or leave them rectangular.
- Or round the edges for a softer look.
I prefer using a paper cutter for clean edges, but scissors work just fine if that’s what you have.
Adding Holes to Your Gift Tags
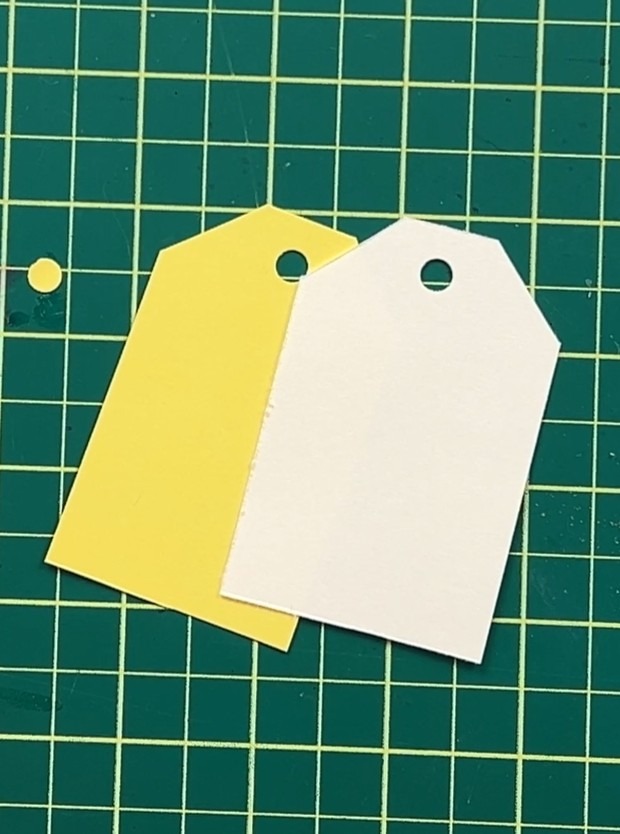
Once all your tags are cut:
- Punch a hole at the top.
- Use a single hole punch, decorative punch, or even a three-hole punch (use what you have!).
Now you’ve got a stack of blank tags ready to decorate.

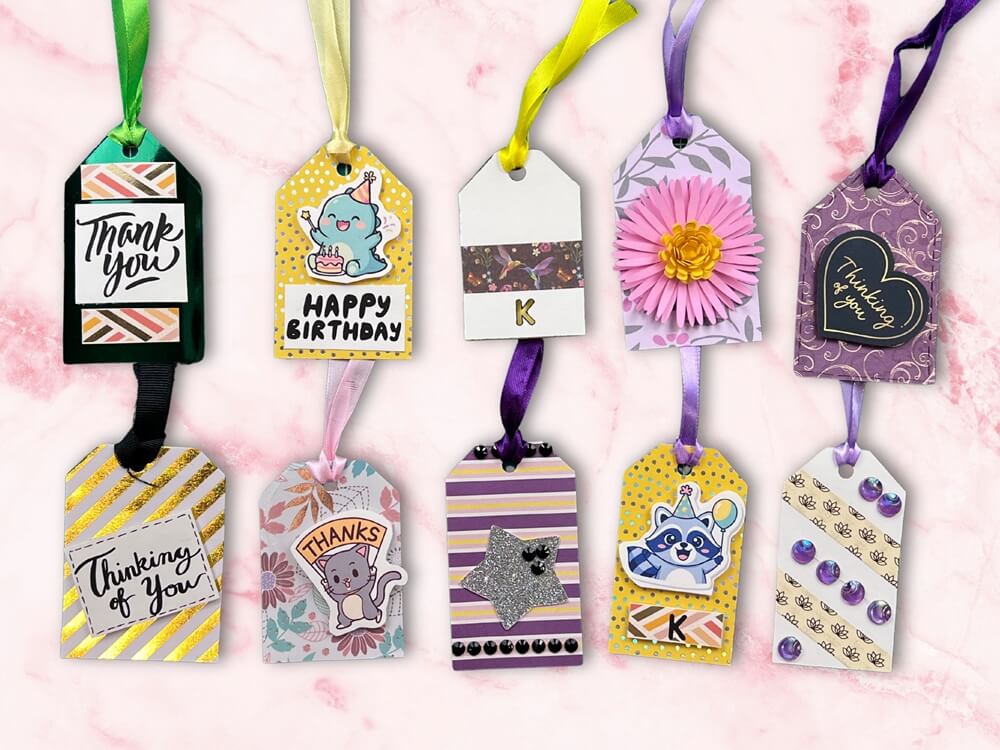
10 Easy DIY Gift Tag from scrap paper
Here are ten simple ways to turn those blank tags into something special.
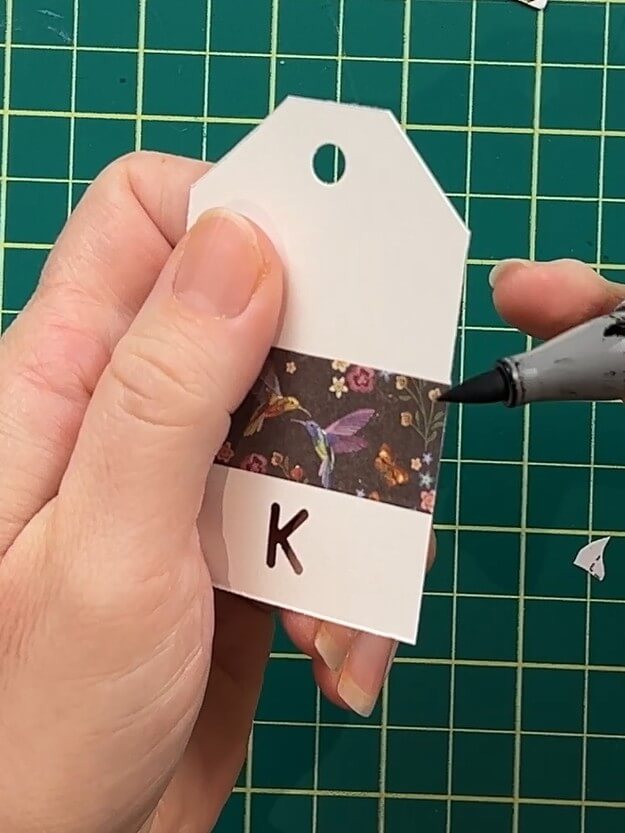
Gift Tag #1 – Letter Punch + Washi Tape
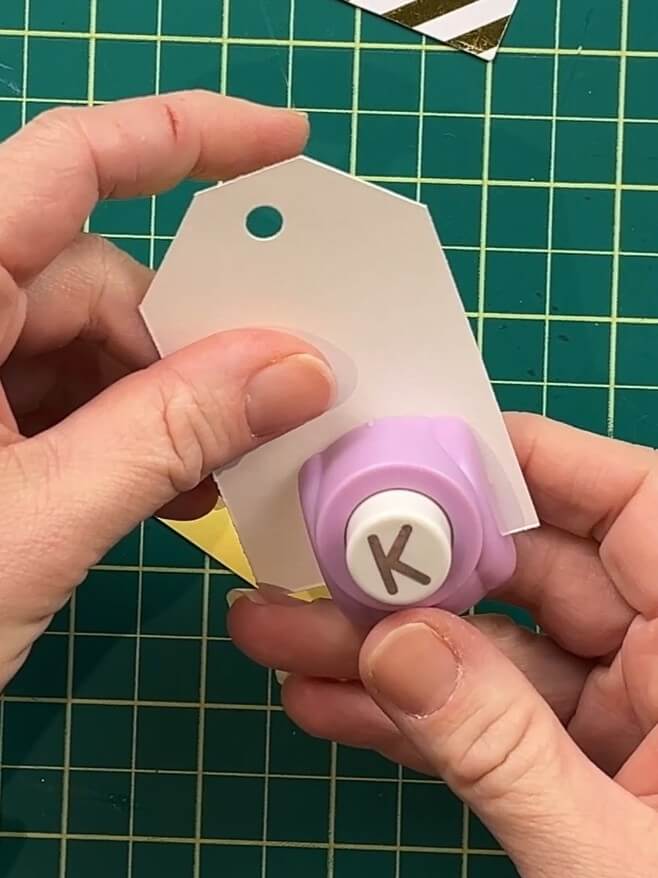
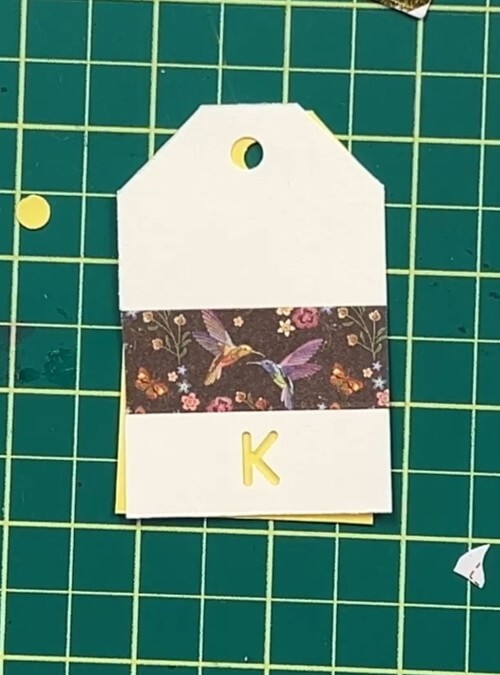
This tag uses layered cardstock and a punch letter for personalization.
How to make it:
- Cut two tags the same size (for example, white and yellow).
- Punch a letter into the top tag.
- Add washi tape above the letter.
- Outline the edges and letter with a black marker to make it pop.
- Glue only the top portion together.
- Add matching ribbon.
Perfect for customizing with someone’s initial.

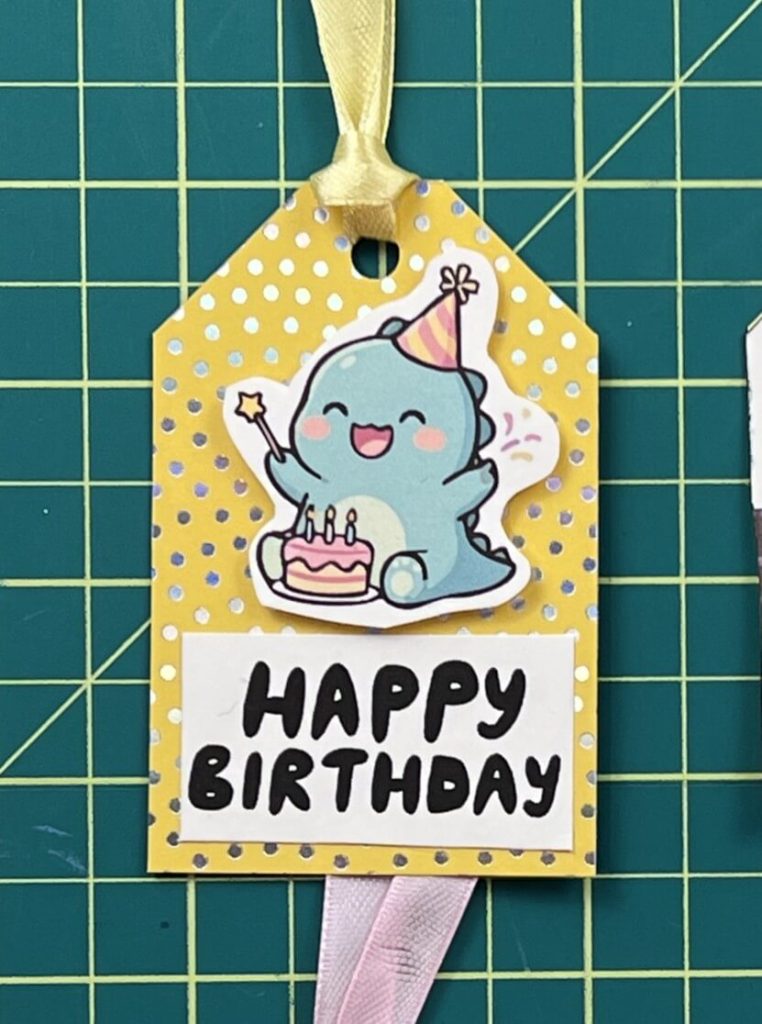
Gift Tag #2 – 3D Birthday Dino
This one uses printed sentiments and foam tape for dimension.
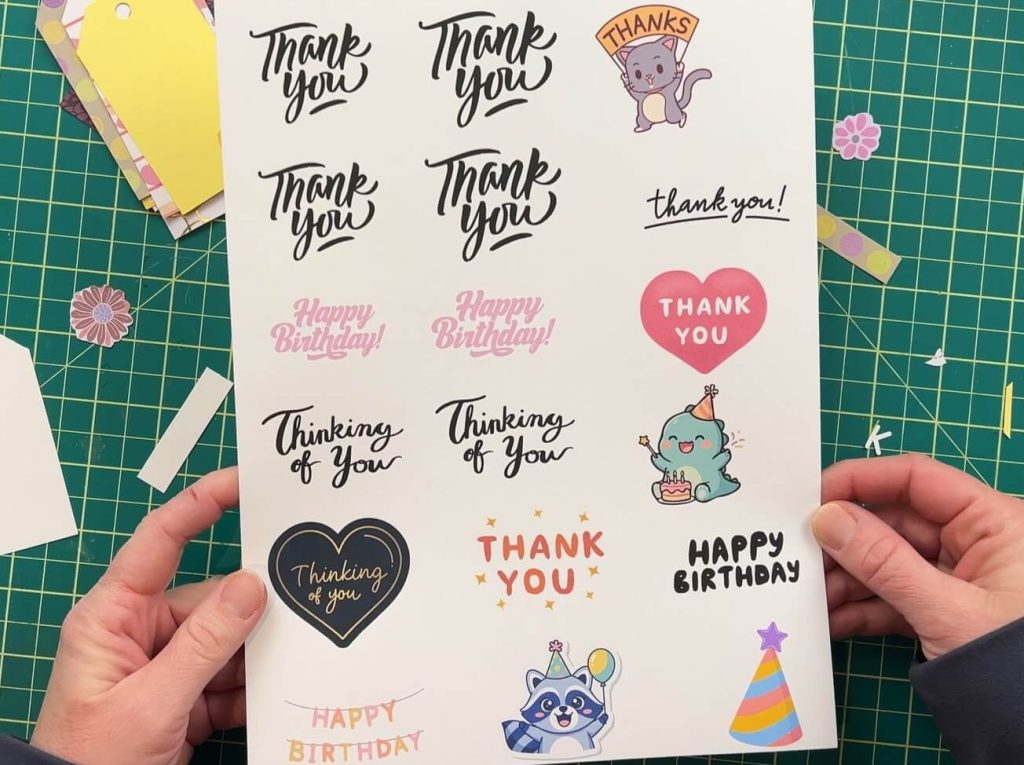
I designed and printed sentiments using Canva, then cut them out. If you want to learn how to make sentiments in Canva, check out this video here.
How to make it:
- Pull out a cute pre-cut tag from your pile that matches the colors of your sentiment and cut image.
- Cut out a Happy Birthday sentiment with scissors or a paper cutter, then glue the sentiment flat.
- Add a fussy-cut image (like a birthday dinosaur) with double-sided foam tape.
- Finish with matching ribbon.
Foam tape instantly makes tags look more polished.
Gift Tag #3 – “Thinking of You” Faux Stitched Sentiment
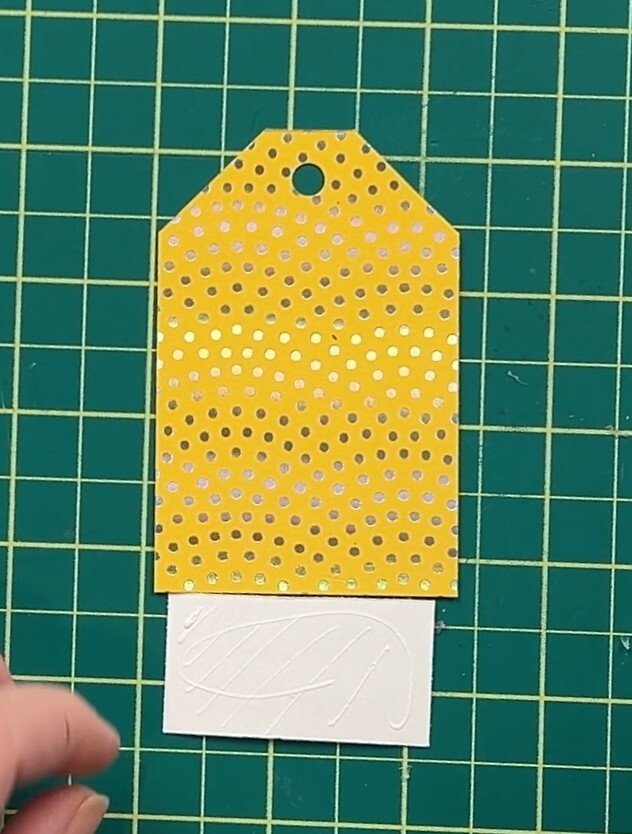
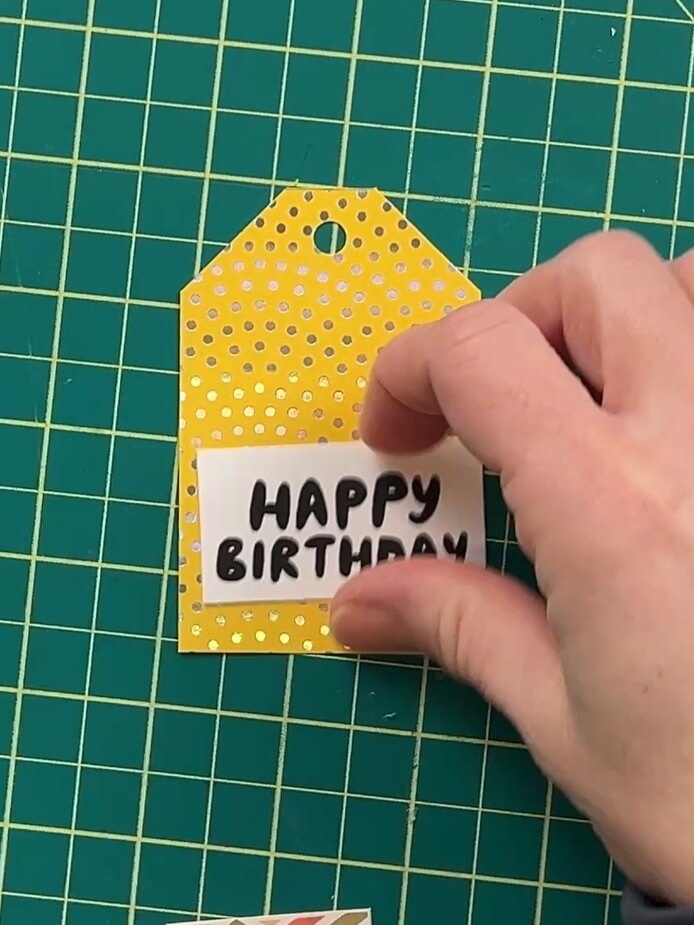
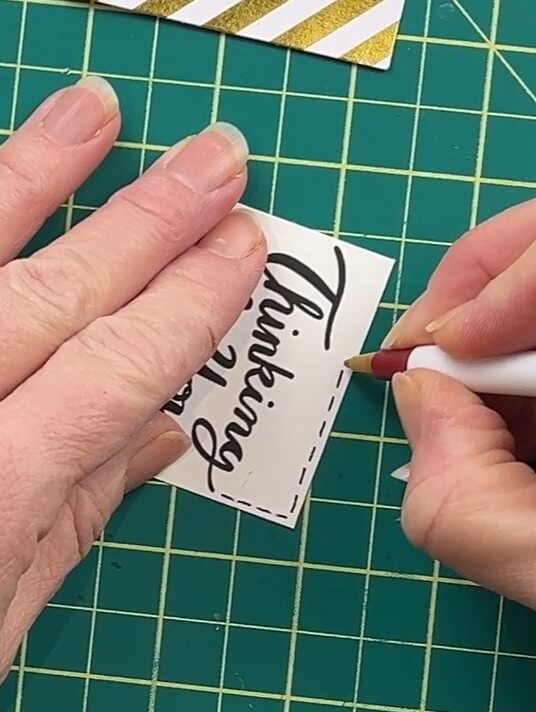
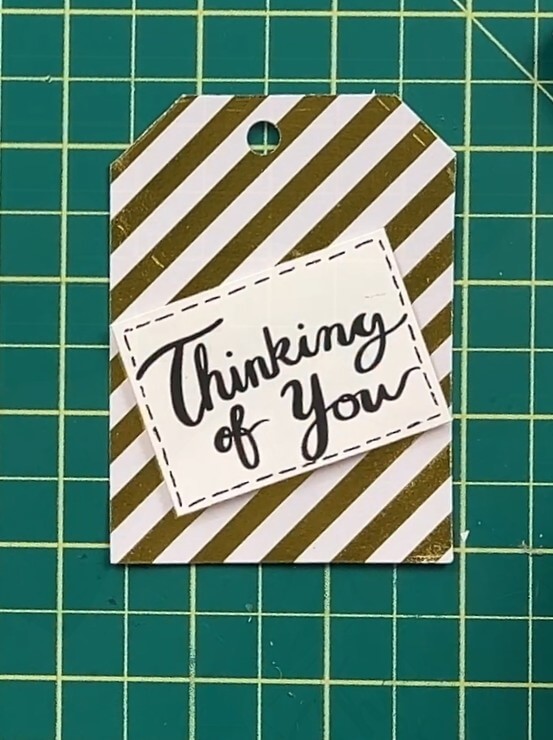
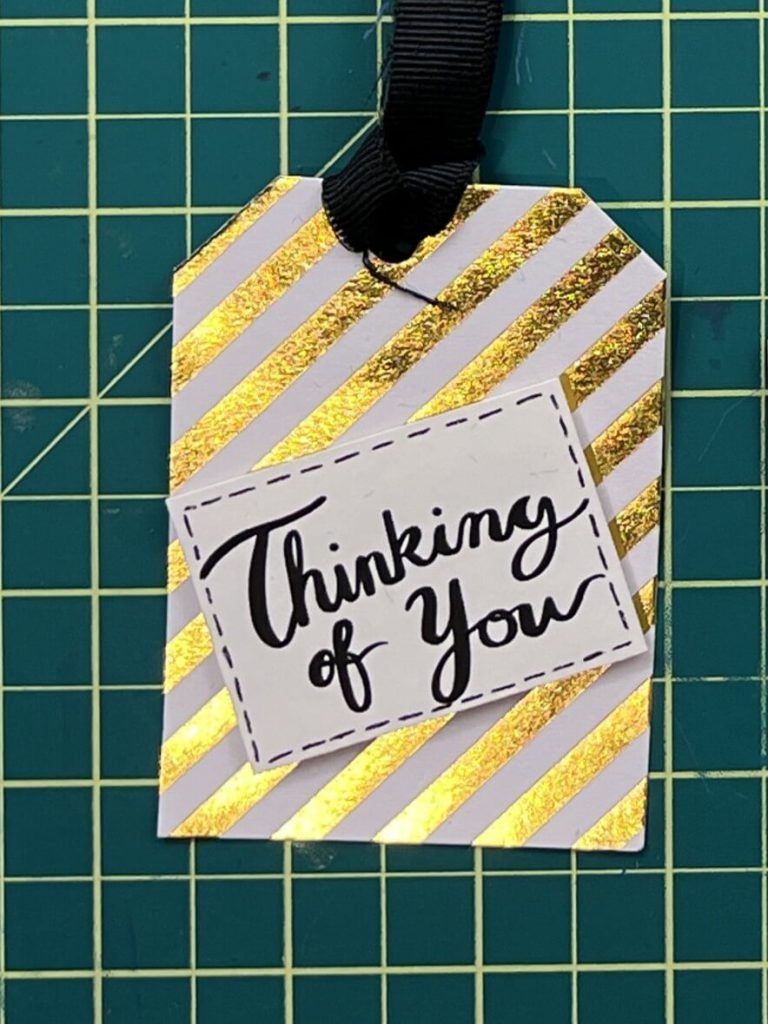
This tag looks sewn, but it’s just pen work.
Steps:
- Grab a cute pre-cut tag from your pile.
- Pull out your “Thinking of You” sentiment and cut it out into a rectangle. Add small dash marks around the sentiment to mimic stitching. You want this color to pop. I used black to match the font and to pop.
- Mount the “Thinking of You” sentiment with foam tape.
- Angle it slightly for visual interest.
- Add matching ribbon.
It’s a tiny detail that adds so much charm.
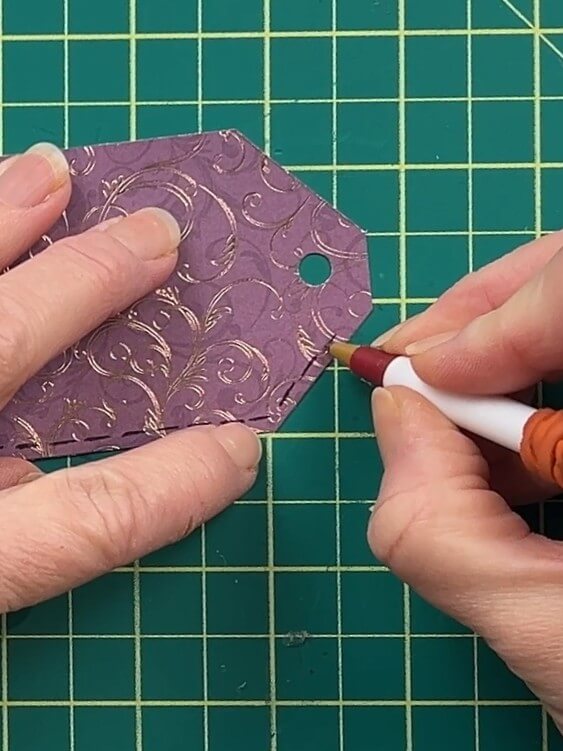
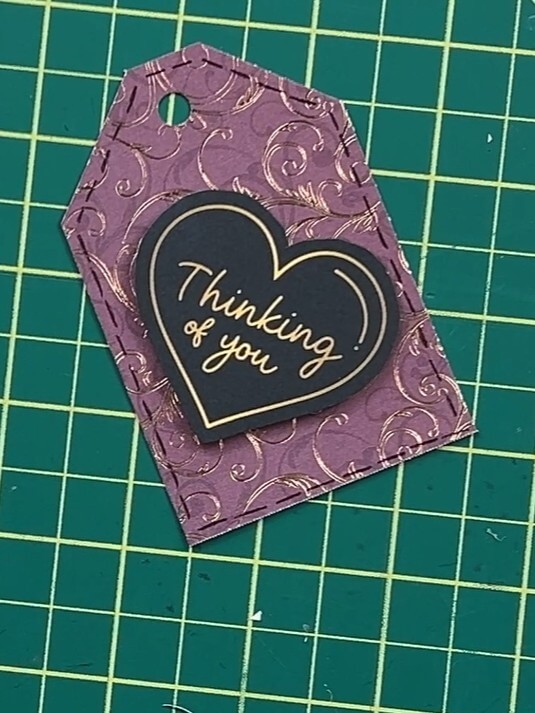
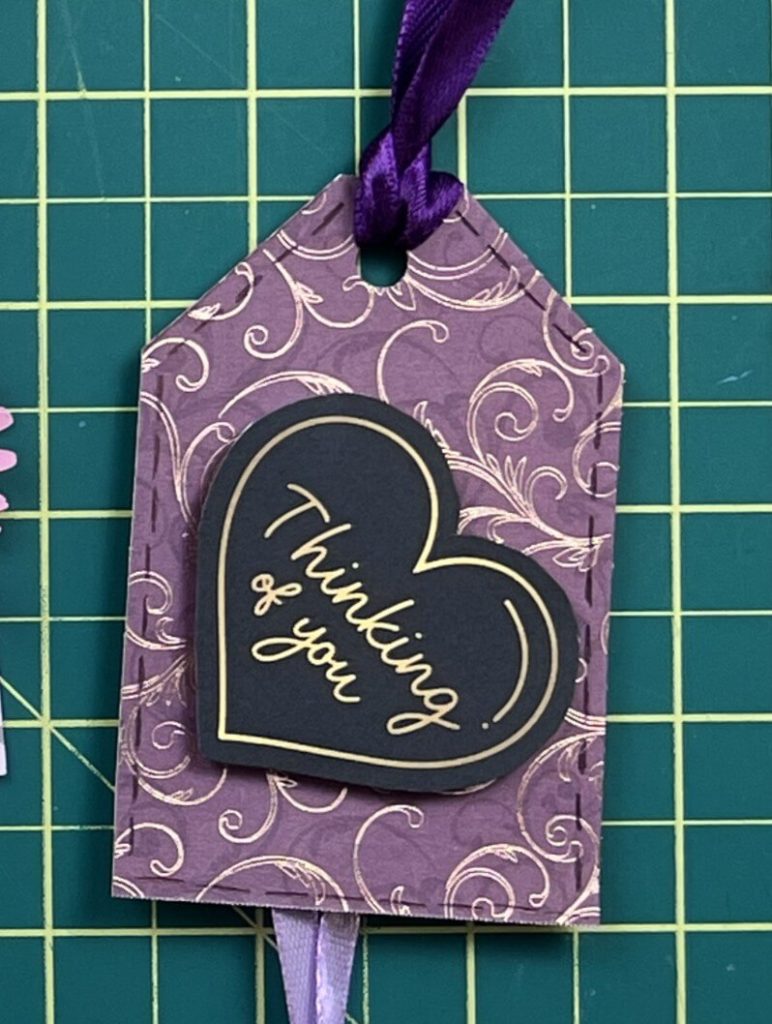
Gift Tag #4 – Faux Sewn Border Tag – Thinking of You
This tag will also have a sewn border, but the entire tag will have this effect.
Steps:
- Grab a cute pre-cut tag from your pile.
- Pull out your “Thinking of You” sentiment and fussy cut it to shape. In my case, I’m using a heart-shaped sentiment. I opted to cut right up to the heart and not leave a white outline.
- Using a pen with a color that pops, add a dashed line around the tag. I used black in mine, but white also looks nice.
- Mount the “Thinking of You” sentiment with foam tape.
- Angle it slightly for visual interest.
- Add matching ribbon.
Instant “handmade boutique” vibe.
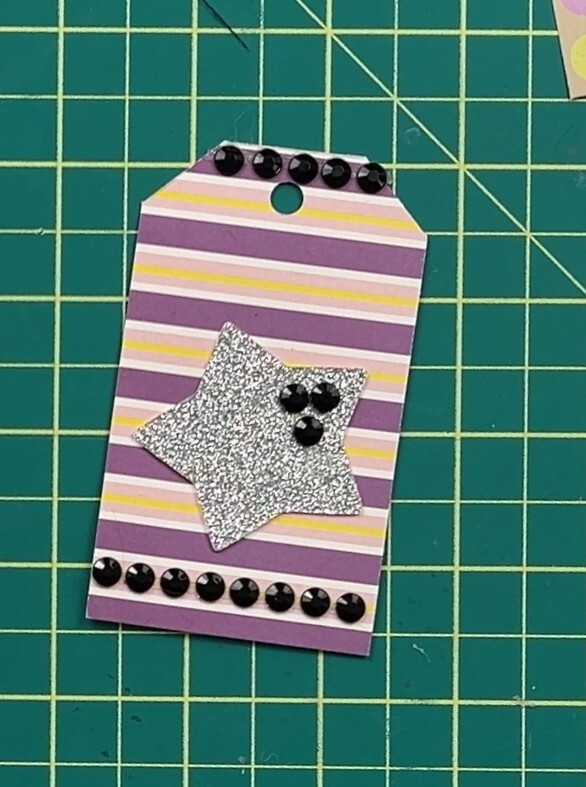
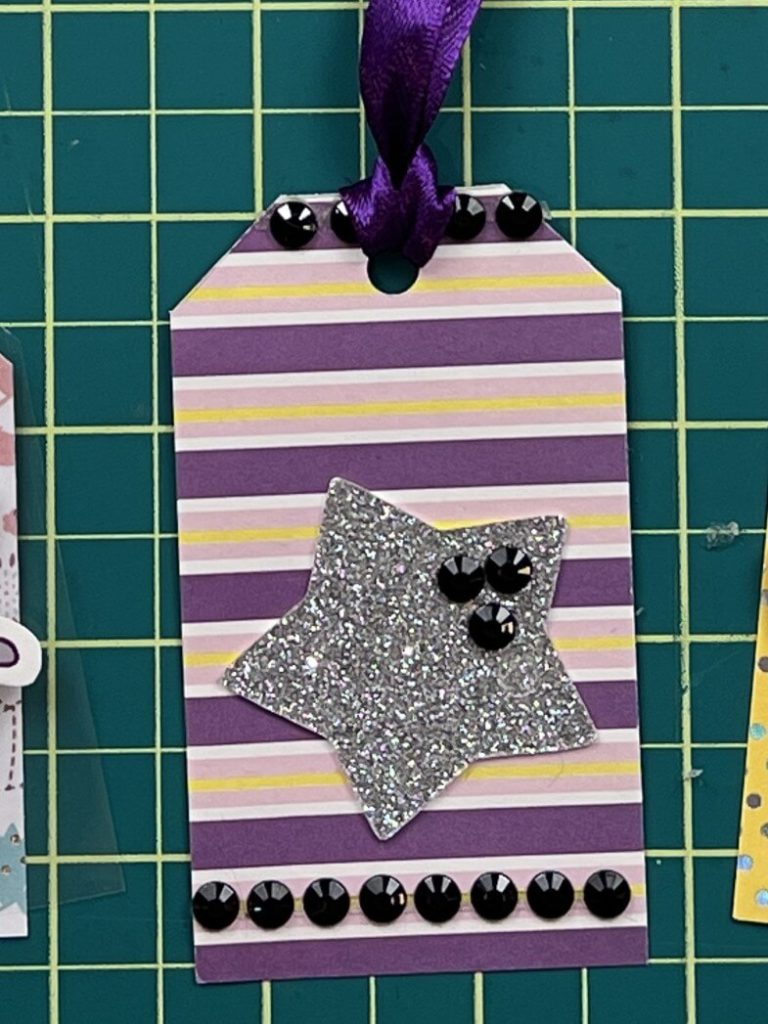
Gift Tag #5 – Bling and Glitter
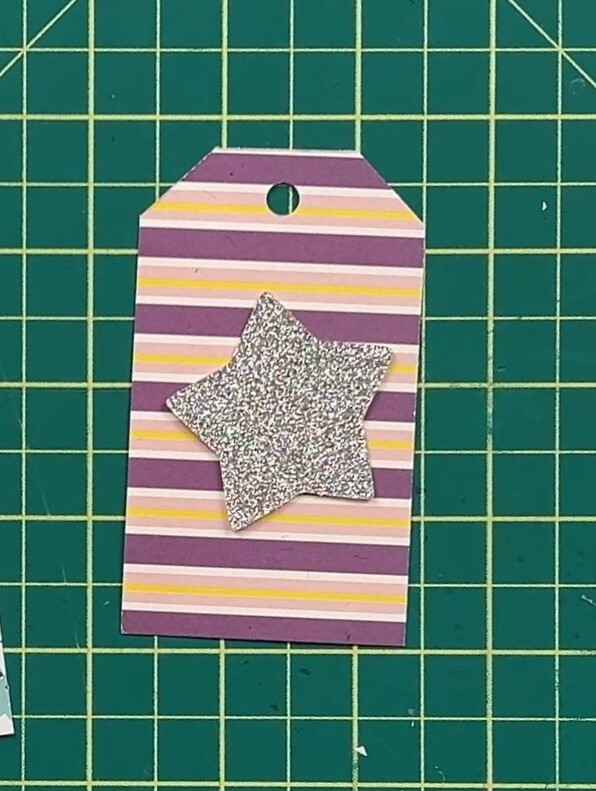
For this tag, I’m using double-sided patterned cardstock for a finished front and back.
Steps:
- Pull out a glitter shape from your supplies. I used a silver glitter star.
- Glue the star onto the tag.
- Then, place a few gems on the star and in several spots on the tag to make the gems pop.
- Add a coordinating ribbon.
This is a great way to use up leftover embellishments.
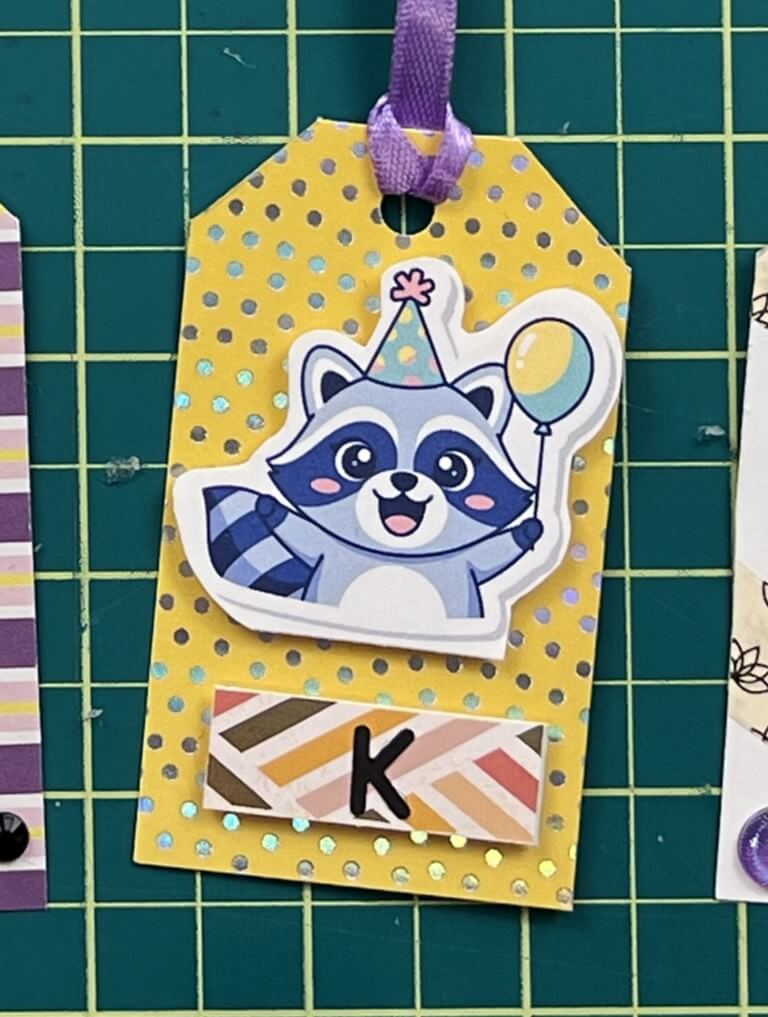
Gift Tag #6 – Multi-Dimensional Birthday Tag
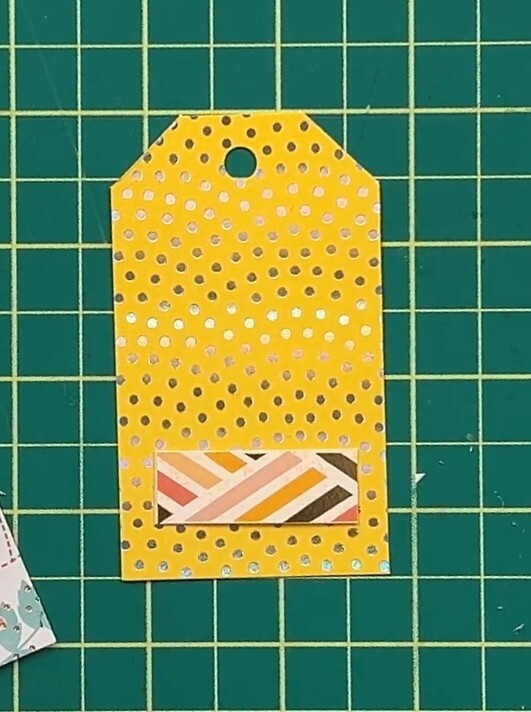
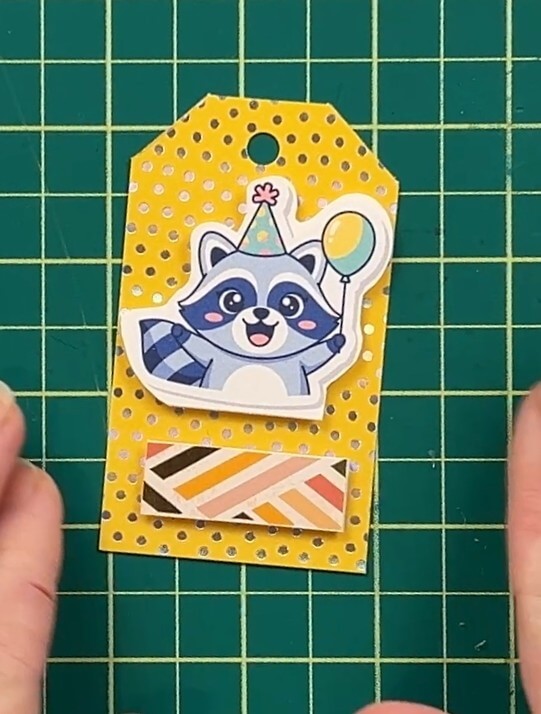
Grab a cute tag from your pile, something that yells Birthday!
Next, we want to:
- Find a scrap piece of accent paper that fits onto the tag. Mine has several lines going in opposite directions.
- I reused the letter that was punched above, and colored it black to make it pop.
- I fussy cut out a cute birthday raccoon.
- Both the raccoon and the accent paper were attached to the tag with double-sided foam tape.
- Add some ribbon to match.
Another cute birthday tag is complete!
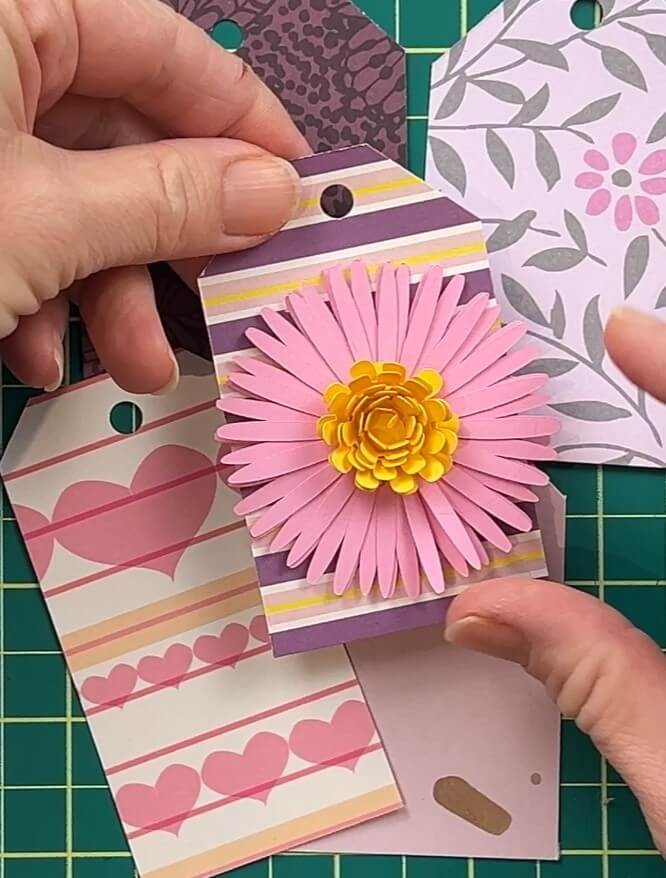
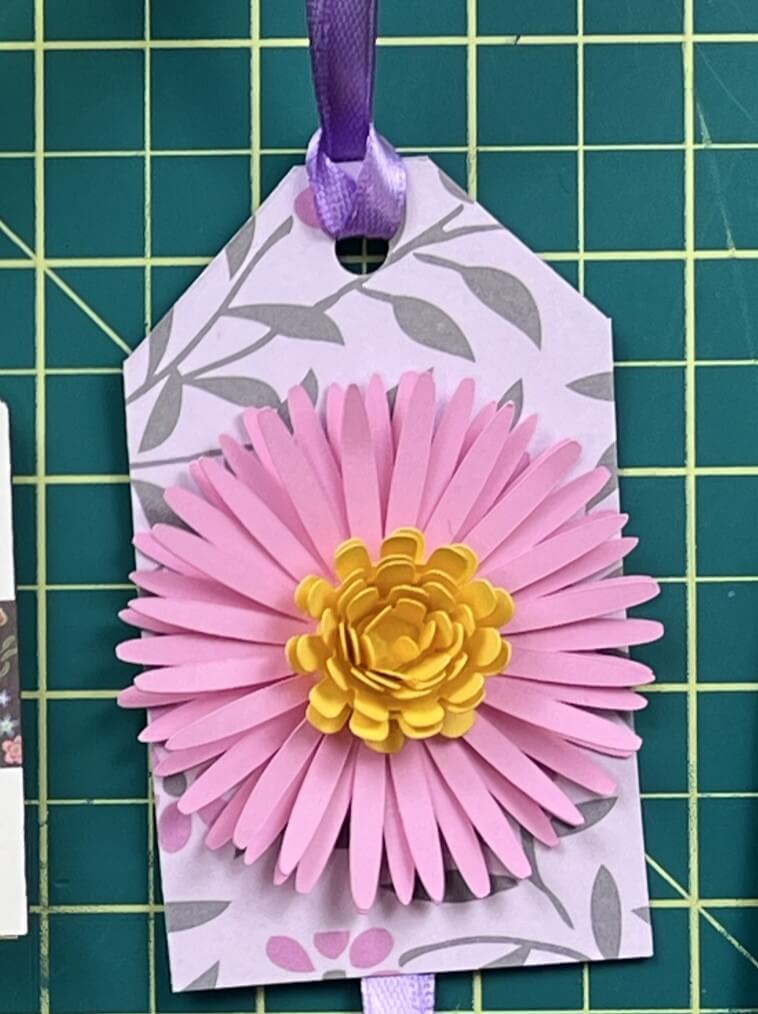
Gift Tag #7 – Flower Embellishment Tag
Not every tag needs a sentiment.
For this tag, I grabbed a flower I had in my stash of embellishments. You can get this exact flower here.
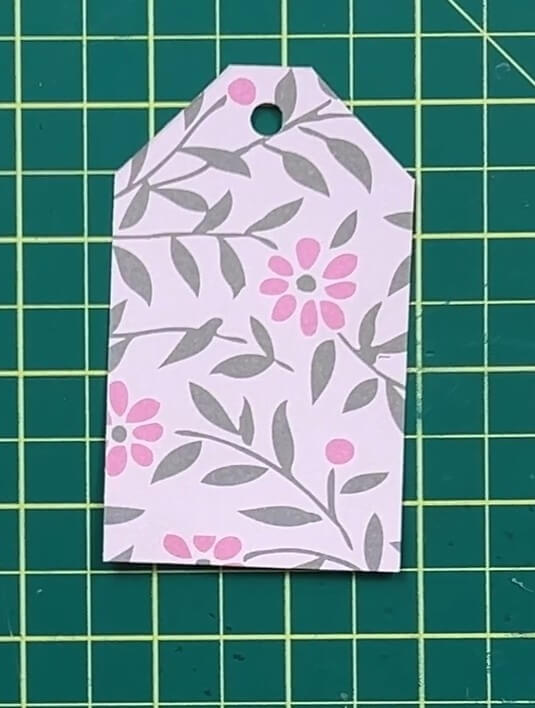
Glue the handmade flower onto a patterned tag. Choose a tag color that makes the embellishment pop.
Add ribbon, and you’re done.
Simple. Elegant. No words needed.
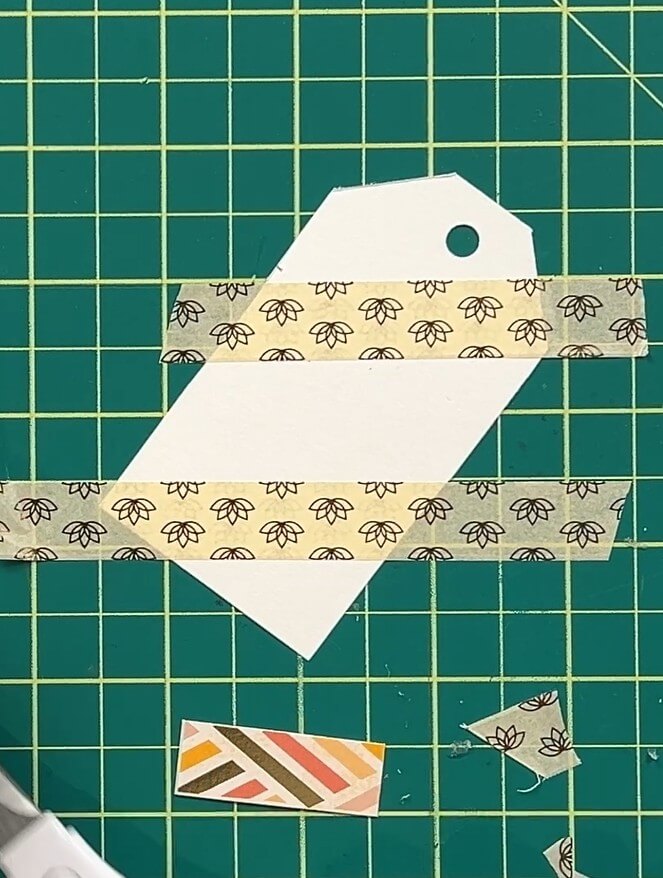
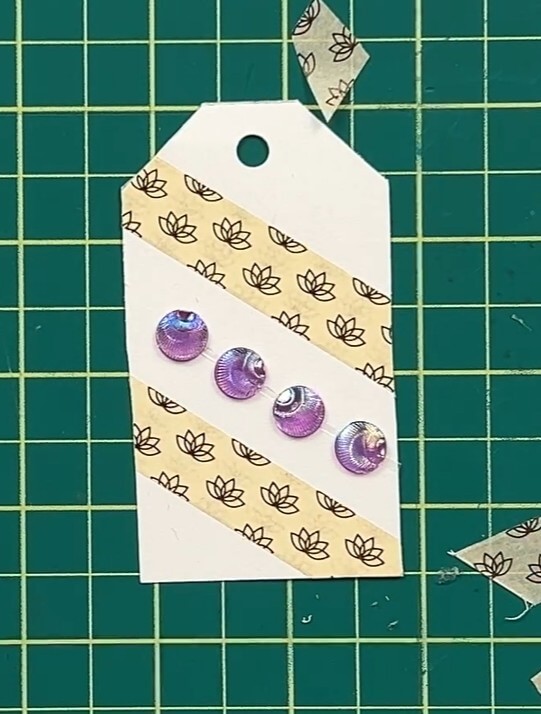
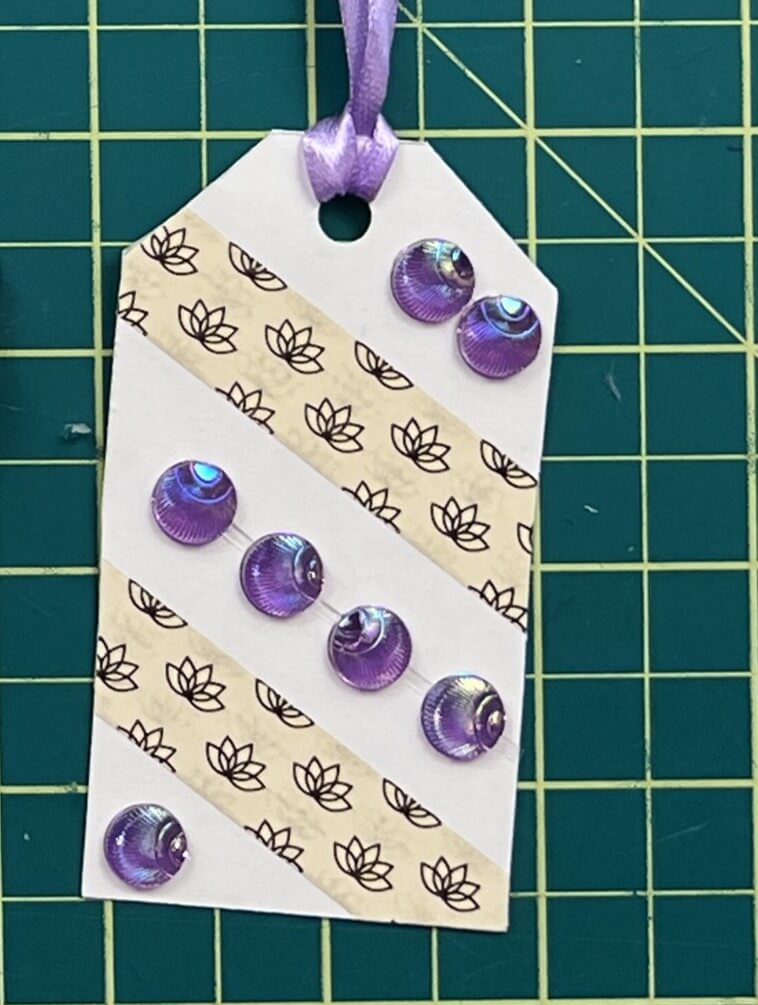
Gift Tag #8 – Washi Tape and Gems
Start with a plain white tag.
- Add strips of floral washi tape.
- Decorating both sides of your base is plain.
- Trim excess washi tape.
- Add coordinating gems.
- Finish with a matching ribbon.
Washi tape is perfect for quick, low-effort decoration.
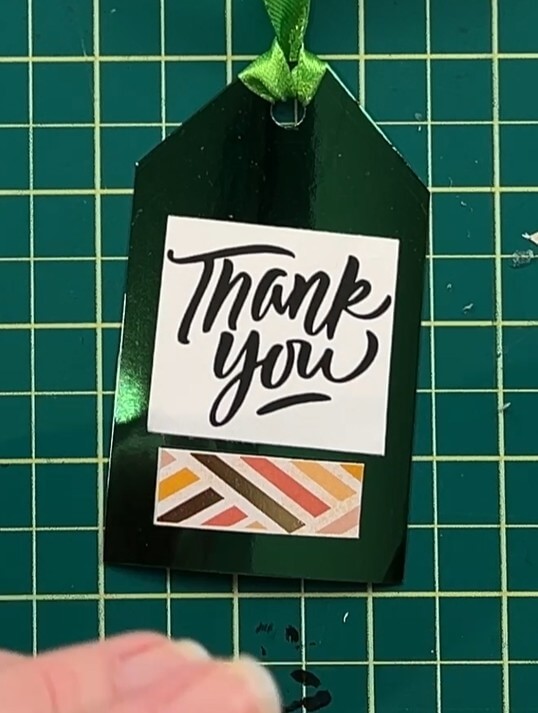
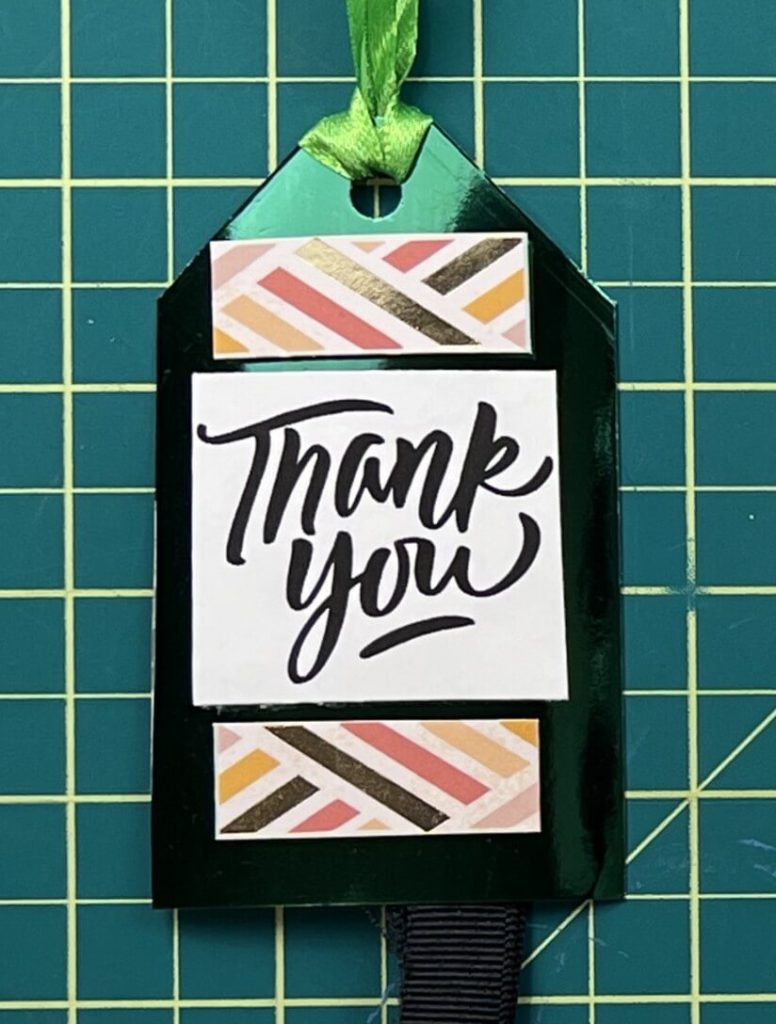
Gift Tag #9 – Holographic Design Tag
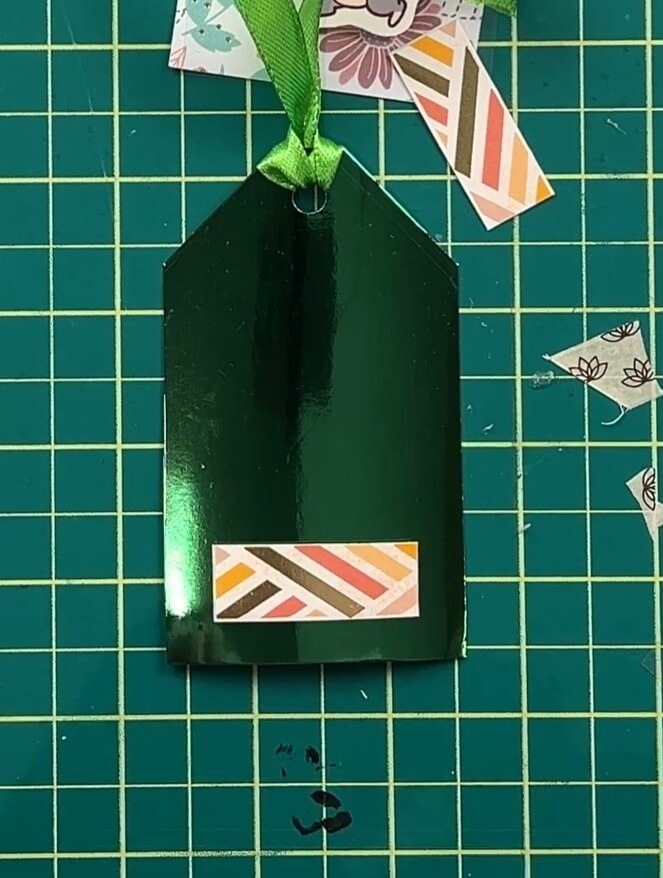
Glitter and holographic paper instantly elevate simple designs.
Here’s what I did:
Added matching ribbon, and done!
- For this tag, I grabbed a “Thank You” sentiment and cut it with straight lines.
- I cut out 2 small rectangle embellishments to add above and below the Thank You.
- Before adding anything to the tag, I placed my pieces to verify everything fit.
- Using foam tape on the back of all 3 pieces, I placed them down.
- Added matching ribbon, and done!
If you need to reposition elements, foam tape lifts cleanly from holographic paper without damaging the finish.
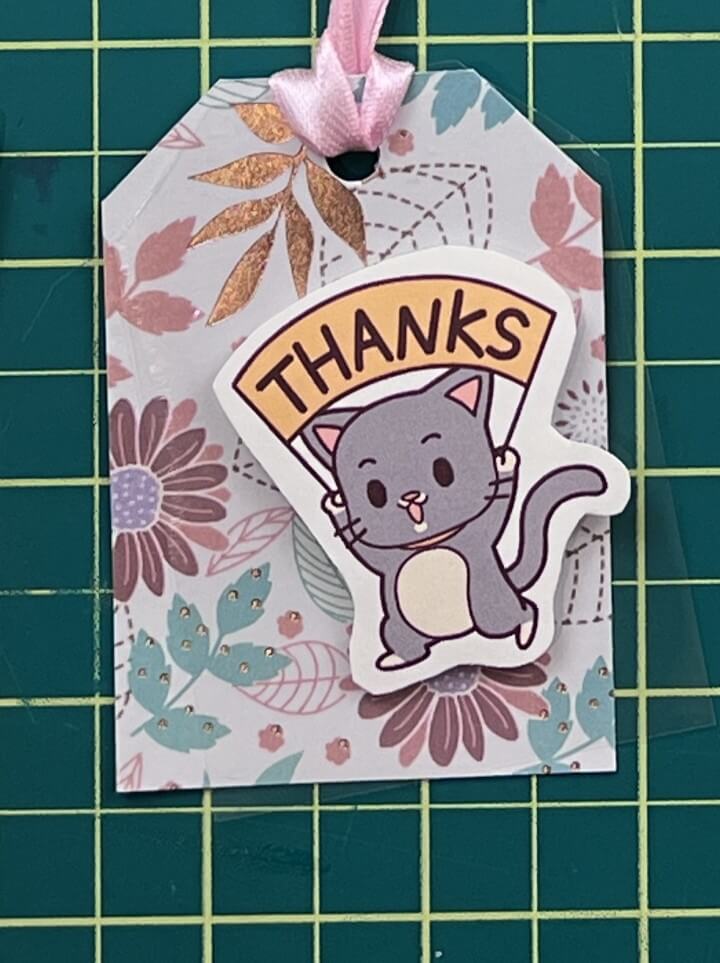
Gift Tag #10 – Acetate “Dancing” Cat Tag
This one is playful and interactive.
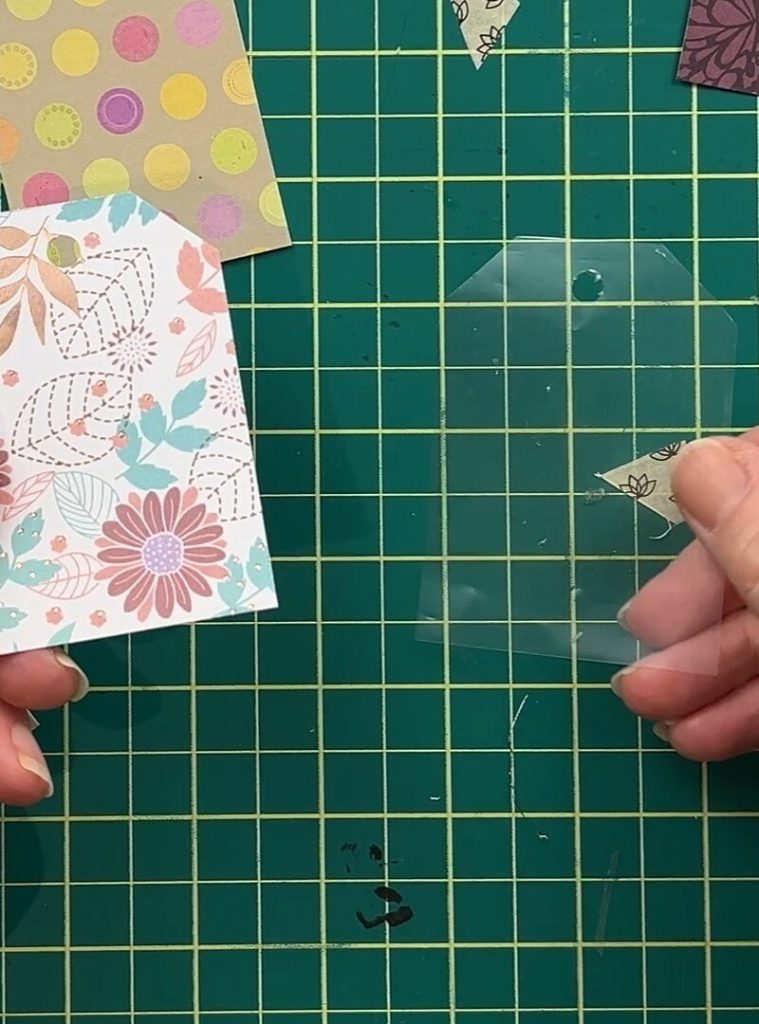
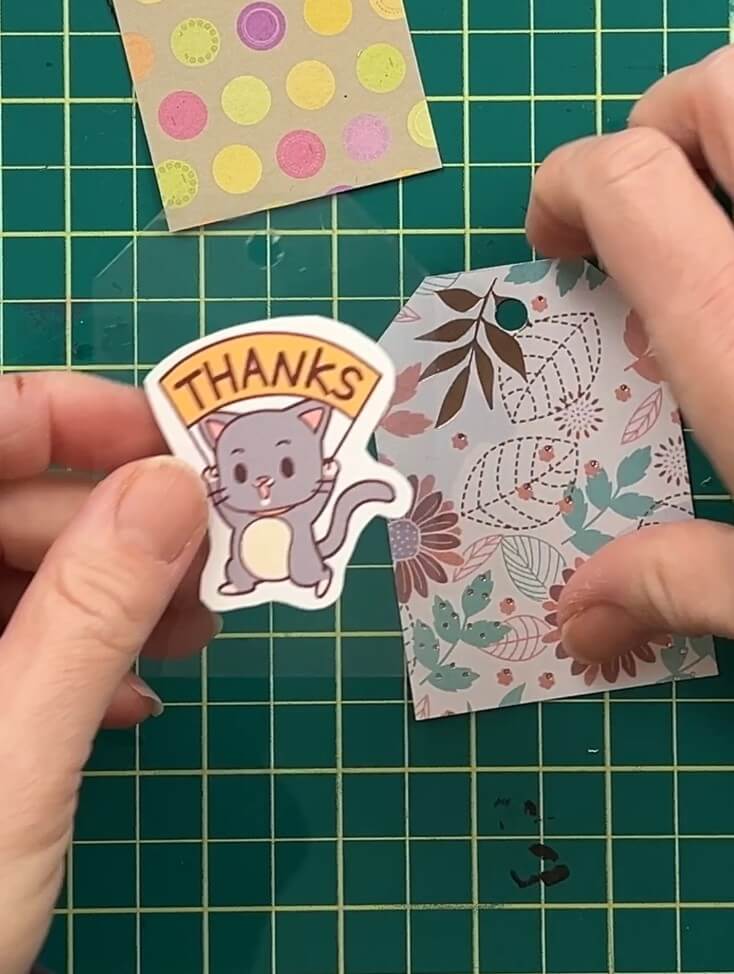
- Cut:
- A cardstock backing tag.
- A matching acetate tag (or use a clear page protector).
- Mount your image onto the acetate using foam tape.
- Layer the acetate over the patterned backing tag.
- Instead of gluing them together, tie both with ribbon so the image “floats” and moves.
It adds personality and a fun surprise element.
Final Thoughts on Making DIY Gift Tags from Scrap Paper
I love projects like this because they prove something important:
You don’t need fancy supplies to create something special.
These DIY gift tags:
- Use scraps you already have.
- Take just minutes to make.
- Add a thoughtful, handmade touch.
- Help reduce crafting waste.
If you’re building your crafting skills one small project at a time, this is a great place to start.
Quick. Simple. Meaningful.
And honestly? Once you start making your own gift tags, it’s really hard to go back to store-bought ones.
🎥 I also made a video about these 10 Cute Gift Tags. You can watch the YouTube Video Here.
Did you enjoy making these gift tags from scrap paper?
Did you enjoy making these gift tags from scrap paper? Let me know in the comments which one is your favorite!
If you enjoyed this paper craft, check out my other paper crafts HERE