I always need a bag for something. But not just any bag, a cute lined pouch is what I need. I use them for holding random odds and ends, using them as purses and as gift bags. You name it! Sometimes I get lazy and use only one piece of fabric, but that is not today. Today, we are going to make a DIY Lined Pouch.
So, let’s jump in.
As an Amazon Associate, I earn from qualifying purchases. This post contains affiliate links. I may receive a commission if you purchase an item from one of my links. This will not change the price you pay.
Supplies Needed to make a DIY Lined Pouch
The supplies needed for this sewing project are not much different than what we need for other ones, but we still need to review them. So, here goes:
- Fabric – You need two pieces of fabric. The sizes that you use will dictate how big or small the lined pouch will be. For this example, I used a piece that was 12″ long by 9″ wide. One piece had a pattern and the other was solid, for the outer and inner layers respectively. You can use the same color inside and outside if you prefer.
- Interfacing – Using interfacing is optional. In this example, I didn’t use interfacing, but if you are going to use it, you will want to use the same size as the fabric for the lined pouch.
- Thread – Ideally, you want your thread to match the fabric.
- Ribbon or yarn for the drawstring.
- Sewing machine
- Pins or Clips to hold the project together.
- Iron & Ironing board
Now that we have all our supplies, it is time to get this project started!
How to make a DIY Lined Pouch
Preparing your fabric
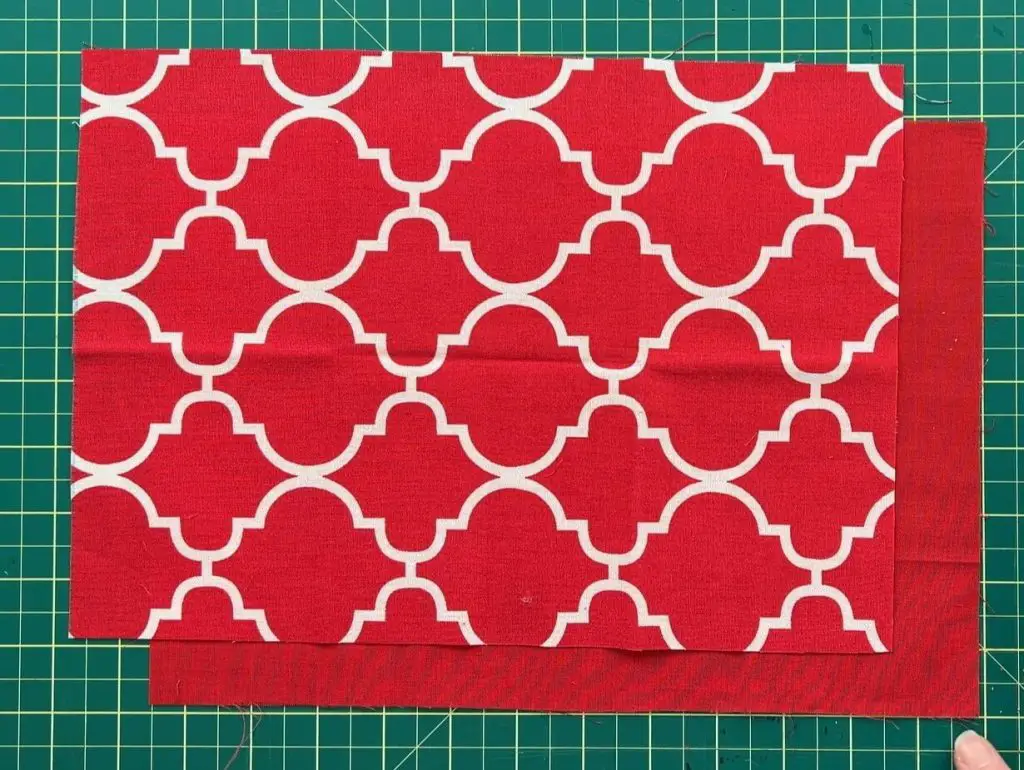
As I mentioned in the supplies, you will need 2 pieces of fabric.
I am using 9″ x 12″ pieces. One piece has red and white chevrons, and the other piece is solid red. The solid red will be the inside of the bag.
You can use interfacing for this project. If using iron-on interfacing, you can make it slightly smaller than the fabric. If you are using sew-in interfacing it will need to be the same size as the fabric.
Arranging the fabric to sew
Once you have your fabric cut, place the two pieces of fabric down on your workstation with the design inwards for both. So, the bottom piece of fabric will have the design facing side, and the top piece will have the design side down.
If you are using interfacing, place it on top of the top piece of fabric.
Sewing the outer edge of the lined pouch
The first seam we will be sewing is what will be the bottom of the bag. Ideally, this should be the shorter sides of the bag, unless you want to make a short wide bag.
I ran a 1/8″ seam along both sides.
Sewing the Lined Pouch Shut
Next, we come to a bit of a tricky part. It is time to sew the bag shut.
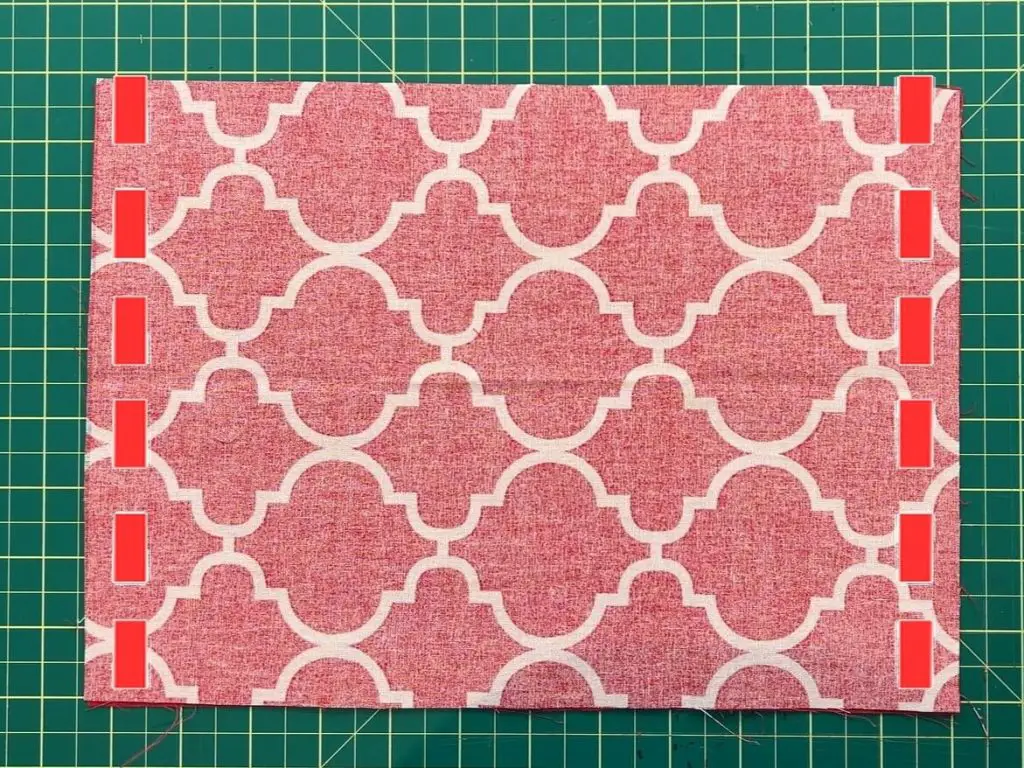
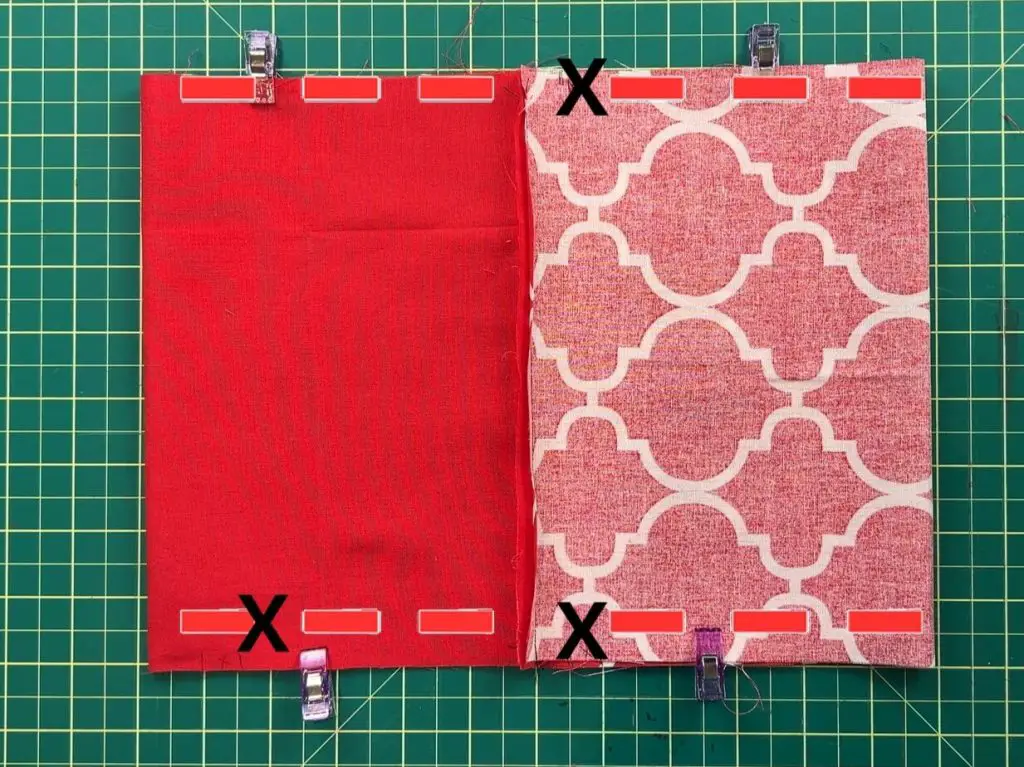
We will arrange the fabric so that the two seams are lined up in the middle. You can iron the seams flat if you would like. Clip or pin the fabric together to hold it in place.
On the side of the lined bag that will be the outside of the bag, measure 1″ from the seam. Next, measure 1″ from the line that was just drawn. This will be the opening for the drawstring. Repeated this on the other side of the fabric.
On the fabric that will be the inside lining, mark off a section about 2″ in length. This is where you will pull the bag through after sewing is complete.
Sew 1/8″ seams along the edges, do not sew through the 2″ opening or the 1″ drawstring gaps.
Flip the lined pouch, iron and Sew Shut
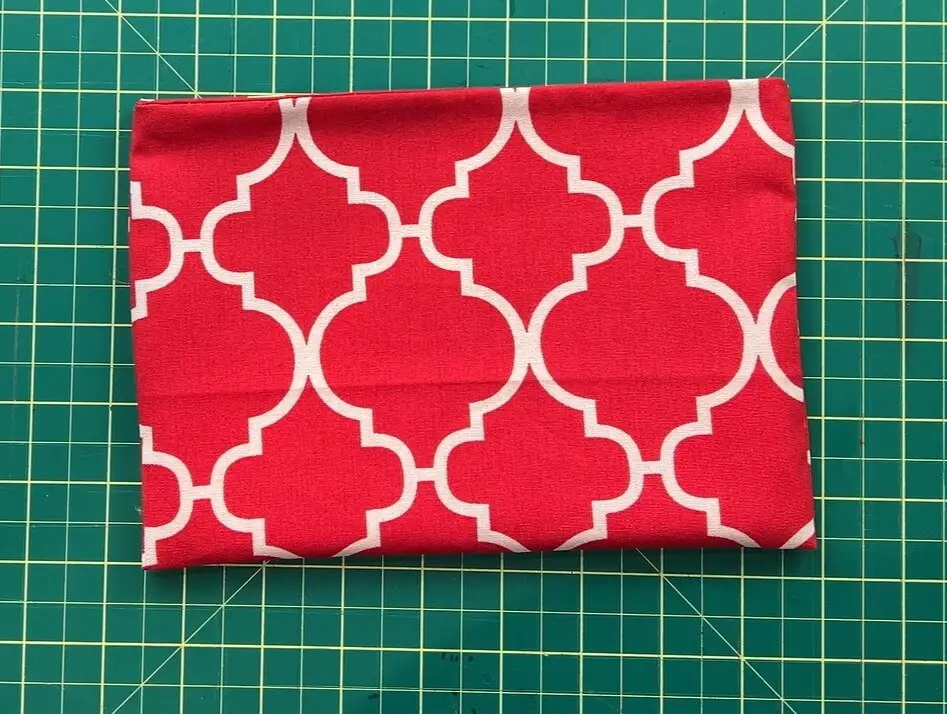
Once the bag has been sewn, it is time to flip it right-side-out. Using a knitting needle or a pen, flip the fabric through the 2″ hole. Make sure to push all the corners out.
Once the fabric is flipped, quickly run under an iron to flatten and smooth all the surfaces.
Finally, the 2″ hole that was used to flip the fabric will need to be sewn shut. Adjust the fabric so that it is flipped inwards to produce a straight edge with the existing fabric and sew it shut, either by hand or by using your sewing machine.

Adding the Draw String
Now it is time to align the bag so we can sew in the drawstring compartment.
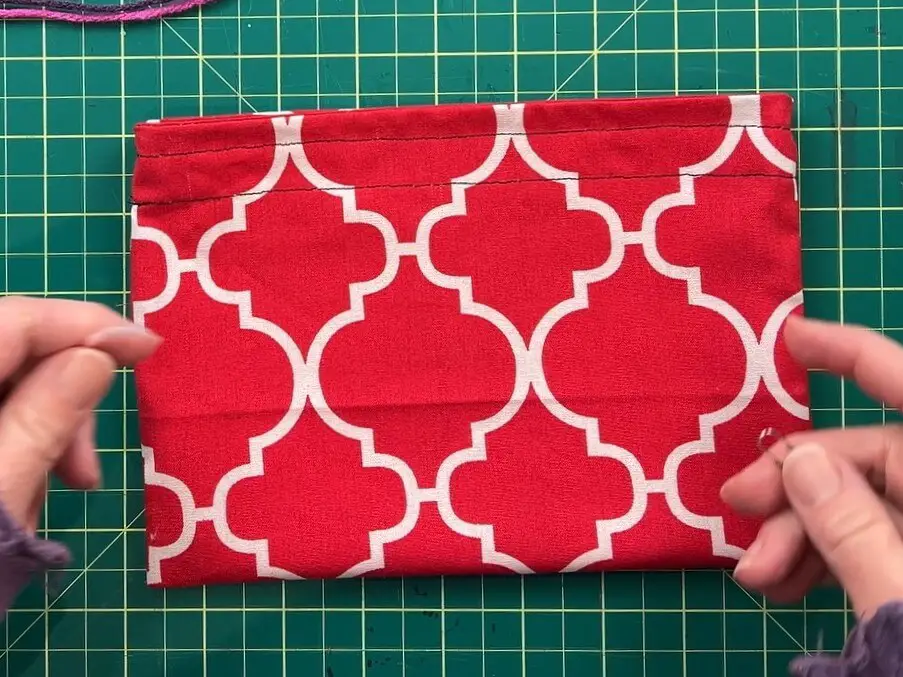
Open the bag at the middle seams, where the outside and inside fabric meet. Push the liner into the outer fabric to create a rectangle that shows the outer fabric only. You may need to run the fabric under the iron to flatten the seams at the top of the bag.
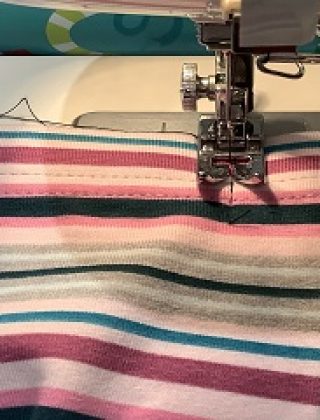
Next, sew 2 lines around the full width of the pouch. The first will be 1″ from the top, lined up with the top of the hole that was left for the drawstring and the second will line up with the bottom of the hole for the drawstring. You want to arrange the bag so that when sewing, it will pull the bag all the way around the sewing machine.
Finally, we get to pull in the drawstring. Either using a safety pin or a paper clip loop the string around to keep it secure. Pull the string all the way around the drawstring compartment. So, if you start on the right side, you will finish on the right side.
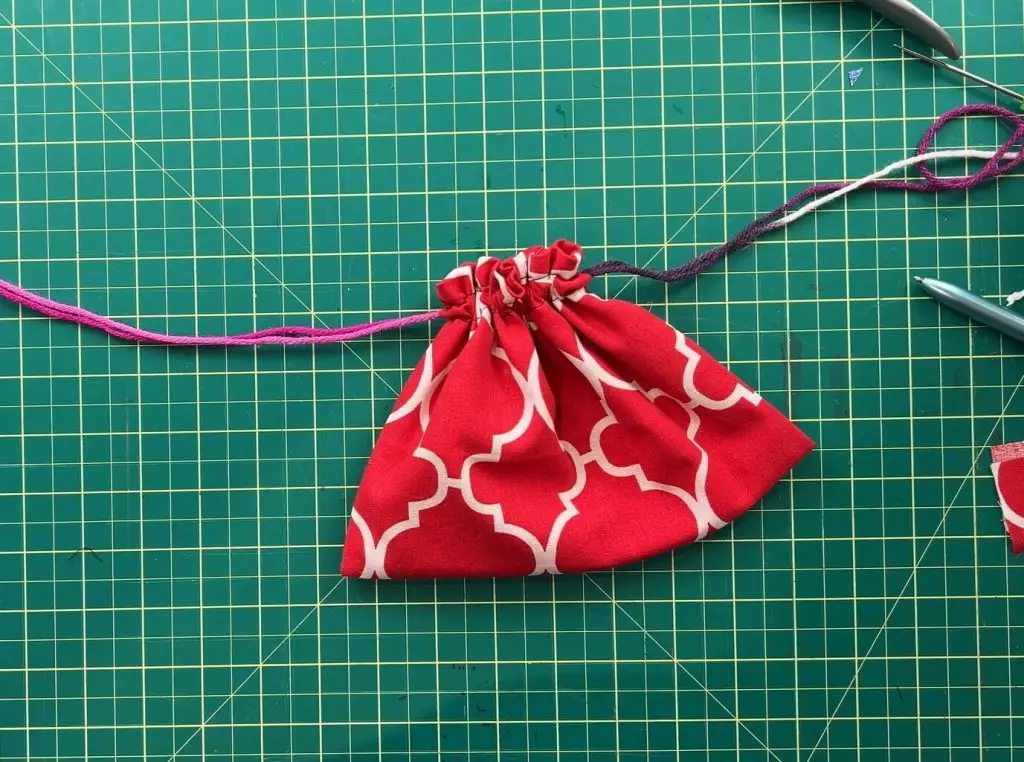
Then, repeat this for a second drawstring, but start and finish on the opposite side.
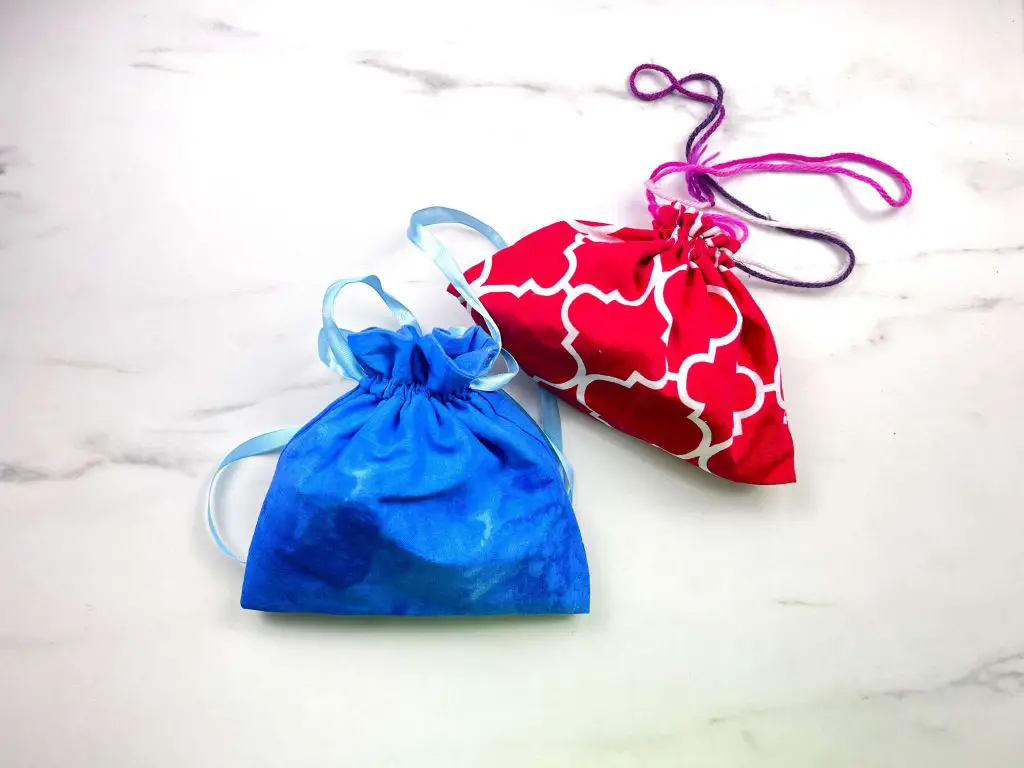
And there you have it, your DIY Lined Pouch is complete!
Things I learned While Making this DIY Lined Pouch
No project is complete without a list of lessons learned:
- I made several of these bags, some included interfacing, and some did not. I found the ones with interfacing felt nicer overall and in the future, any bags I make will have interfacing.
- When leaving a gap to flip the fabric through, make sure you are leaving enough space to easily pull the whole project through. The red bag I made had a 1/2″ hole and it was very difficult to pull the fabric through. I recommend at least an inch or more.
- Make sure you know which side will be the outside and which will be the inside of the bag when you are done. This is important to know because when you are sewing the bag shut and leaving a gap to pull the fabric through, you want that hole to be on the inside of the bag, not the outside.
- If you leave the hole on the outside of the bag, you will need to stitch it shut by hand so it is invisible.
- The larger the fabric you use for this project, the larger the final lined pouch will be. I used 9″ x 12″ for the project in this tutorial. The size worked well for my kids, but in the future, I will be making them larger so that they can store more things.
- I sewed a drawstring compartment, so the string would be in the area I wanted. I could have skipped this step and left it open on the inside of the bag. This would still allow the bag to shut and would make it easier to pull the string through, but I don’t think it looks as cute.
- When pulling the drawstring through the pouch, I like to start with one string, make it to the second opening, add the second string, continue all the way through the bag to the first hole to remove the first string, and then continue to the second opening and pull out the second string. This saves me a few passes of pulling the string through the lined pouch.
Did you enjoy this Sewing Tutorial?
Did you enjoy this sewing tutorial? Let me know if you made this project and how it turned out. If you have any suggestions on how to make this better, drop me a note in the comments below.
If you enjoy sewing projects, be sure to check out my sewing projects here.
Here are some of my favorite sewing projects for you to try:
- DIY Simple Mini Wallet
- Simple Scrunchy – Simple Sewing Project
- DIY Flat Fanny Pack
- DIY Cell Phone Pouch