I have been thinking about Valentine’s Day recently, and I thought it would be fun to make a heart-shaped candy box. I have seen a lot of different types available but decided to try my hand at designing my own. Maybe something a bit different, but not so different. I mean in the end, it is just a heart-shaped candy box, right?
As an Amazon Associate, I earn from qualifying purchases. This post contains affiliate links. I may receive a commission if you purchase an item from one of my links. This will not change the price you pay.
Supplies needed to design and make a heart shaped candy box
We will be designing and making the candy box, so we also need to have our design program on our list of supplies!
- Design Space – I am designing this in Design Space, as it has hearts in their pre-designed shape, but you can use any design program to sketch up the design. All you need to do is remember to save the file as an SVG so that you can upload it to Design Space.
- Cutting machine – I use my Cricut Explore Air 2, but any model of Cricut will work, as well as any Silhouette machine.
- Card Stock – I like Recollections Brand, but any cardstock that is red, pink, white, or any color you associate with Valentine’s day.
- Glue – I like to use Bearly Art Precision Craft Glue, but any glue will work.
And that is it. Those are all the pieces we need to make our heart-shaped candy box, so let’s jump in!
Let’s Design our Heart Shaped Candy Box
Let’s open up Cricut Design Space and start designing.
This project does not require many shapes, just a few hearts and a few rectangles.
Designing the front of the heart shaped box
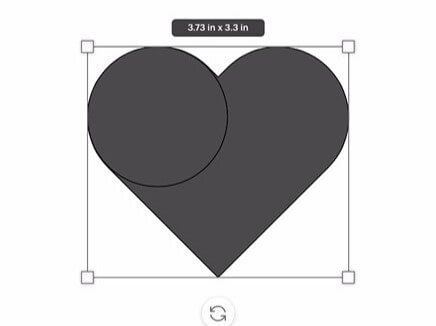
Select a heart from the shapes menu. For this tutorial, make the heart 3.73 inches in width and 3.3 inches in height.
Duplicate it, as you need one for the front and one for the back.
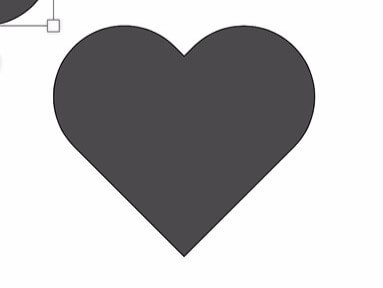
That is it. The front and back are designed!
walls of the candy box
How to measure wall Lengths
Now, we need to measure the length of the side of the heart. Start by rotating the heart 45 degrees. There are 2 ways to do this:
- You can use the rule and grid line at the side of the canvas to measure the straight distance. Or,
- You can make a square from the shapes menu, place it next to the heart and see how big it needs to get to be the same length as the straight part of the heart. This is my preferred method.
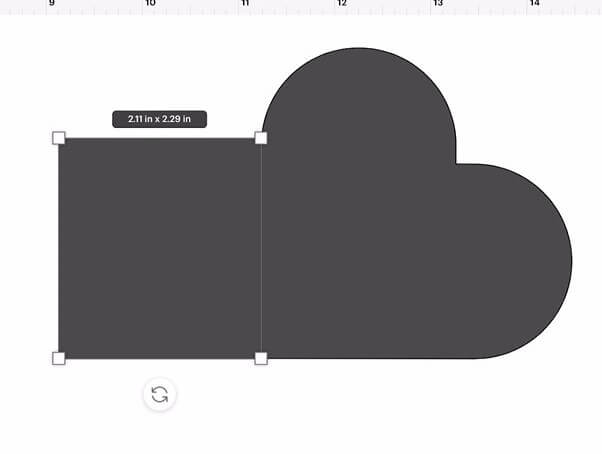
In my case, the straight section is 2.29 inches.
Now, pull in a circle, and make sure it is arranged on top of the heart. Adjust the circle size until it is the same size as one of the humps of the heart. For mine circle, it is 2 inches. Quickly calculating half the circumference (3.14 x half the diameter) is 3.14 inches. Adding the bottom part of the heart and this half circumference, give us 2.29 inches + 3.14 inches = 5.4 inches. This is the maximum length we can use for the top half of the heart-shaped candy box.
We can make the side wall shorter, but you cannot go smaller than the straight part plus the half circle diameter, so 1 + 2.29 = 3.3 inches. If you go smaller than this, the sides will not reach each other, and the box will not close.
Ideally, you want somewhere between these 2 values (max of 5.4 and min of 3.3). We are going to go with the a middle number of 4.5 inches for our design.
Designing The walls
In the above steps, we measured the possible wall heights. We are going to use the size of 4.5 inches.
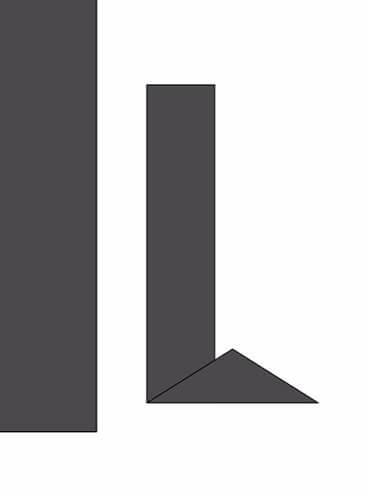
Make a square from our shapes menu that is 4.5 inches high and 1.5 inches wide.
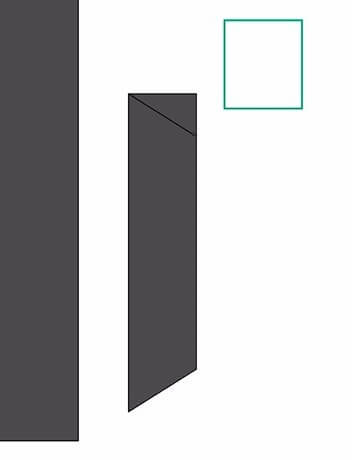
Now, again selecting a square from the shapes menu, adjust the size to be the length of the straight section of the heart (2.29 inches) and 0.5 inches wide. This will be the tab for our side wall. Bring in a triangle, place it at the bottom of the rectangle, align it and adjust the size so you can cut the corner off the rectangle. Once aligned, use the slice tool, and slice the corner off. You can delete the unnecessary parts. Repeat this for the top corner.
Once you have the tab completed, duplicate it 2 times. For one of the duplicates, you will need to flip it vertically and bring it to the other side of the wall. The second tab will need to be rotated 90 degrees and will go to the bottom tab. This will hold the 2 walls together.
Align the 2 vertical tabs with the bottom of the wall rectangle. Duplicate these 3 pieces (2 side tabs and one wall rectangle). Put them to the side, as you will need them for the second wall later.
Line up the bottom tab under the rectangle. You will need to reduce the size to match that of the wall. So, reduce the length to 1.5 inches as in my example, but keep the thickness the same (0.5 inches).
From the shapes menu, select a heart, and rotate it 90 degrees. Line it up with the top of the side wall. Adjust the heart size so that the tips are smaller than the width of the wall. I made my heart 0.75″, as the wall is 1.5″ wide.
Once you are satisfied with the size of the heart, make a duplicate of it as you will need this for the latch later.
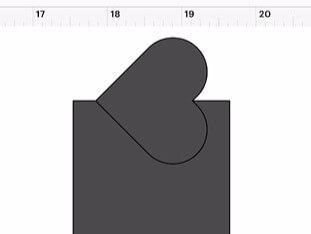
Using a new square, slice the heart in half. Keep one half for this wall, and put the other half to the side with your other wall pieces.
Center the heart onto the top of the wall. Select all 3 tabs, the half heart and the rectangle and weld them together.
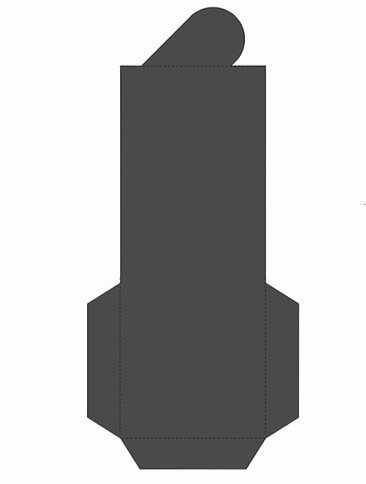
Once all of your tabs and heart are welded on, we need to add score lines in those 4 locations to make folding easier. Attach these to the wall so they stay in play when cutting.
One wall is complete.
Making the Closing Latch
Moving over to the other wall, now.
We have almost all of the pieces we need for this wall. We can line up the 2 tabs at the bottom of the wall and weld them to the wall rectangle.
Select a rectangle from the shapes menu, and place it about 0.25-0.5″ from the top of the wall. You want this rectangle to be large enough for the heart to fit through but not so wide the heart can pop in and out. This should almost be a slit. Having it 0.25″ wide is too much. You should be looking at about 1.3″ x 0.1″
Slice this rectangle out of the wall and delete the excess pieces.
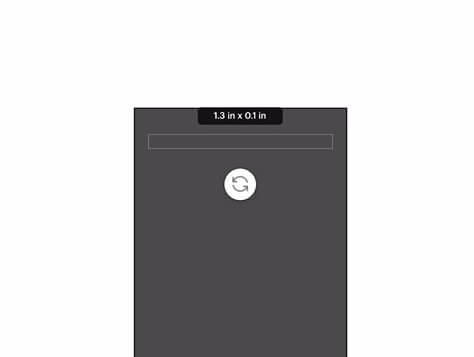
Now, like above, we will add 2 score lines to help fold this wall. Make sure you attach these to the wall so that they stay in play when cutting.
Now our second wall is done, and we are ready to MAKE IT!
So, send it off to your machine to cut and score.
Assemble the box!
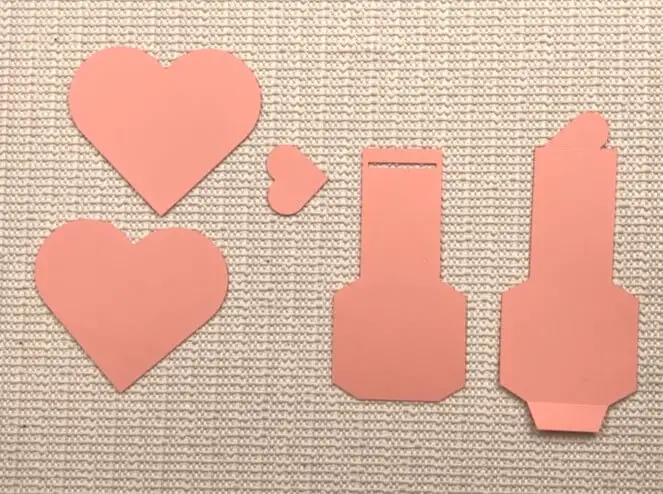
Once all your pieces are cut, it is time to put them together.
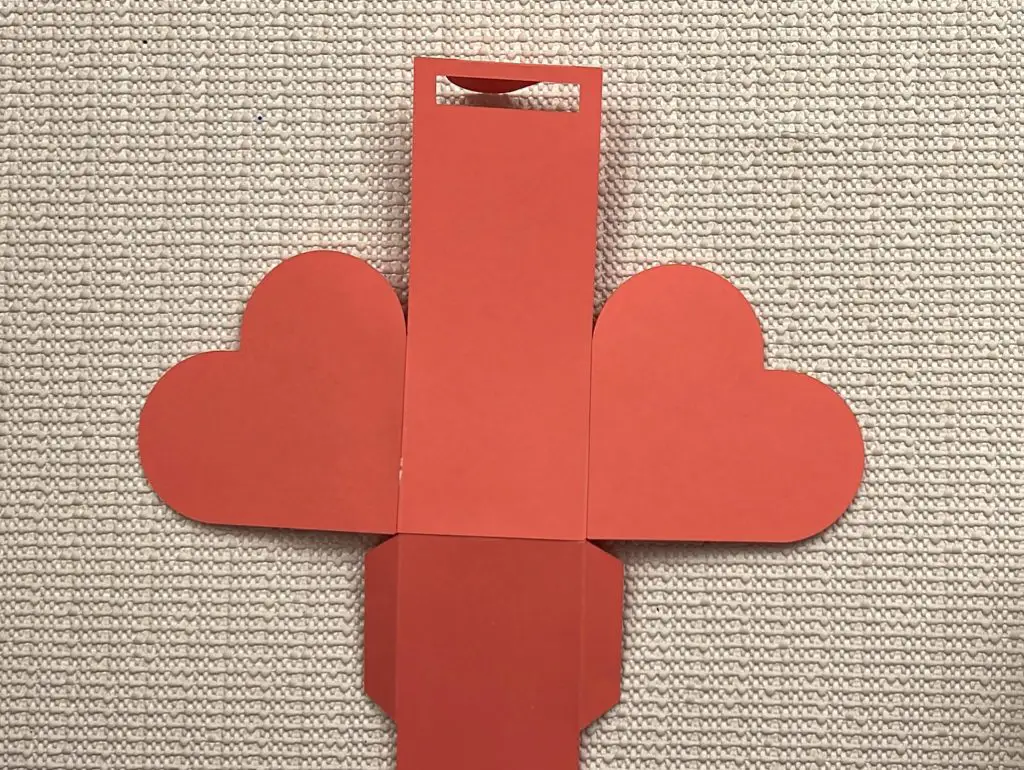
The first step is to fold all the score lines:
- First wall – 2 side tabs, 1 bottom tab, and one 1/2 heart
- Second wall – 2 side tabs and one 1/2 heart
- Small heart – fold in half
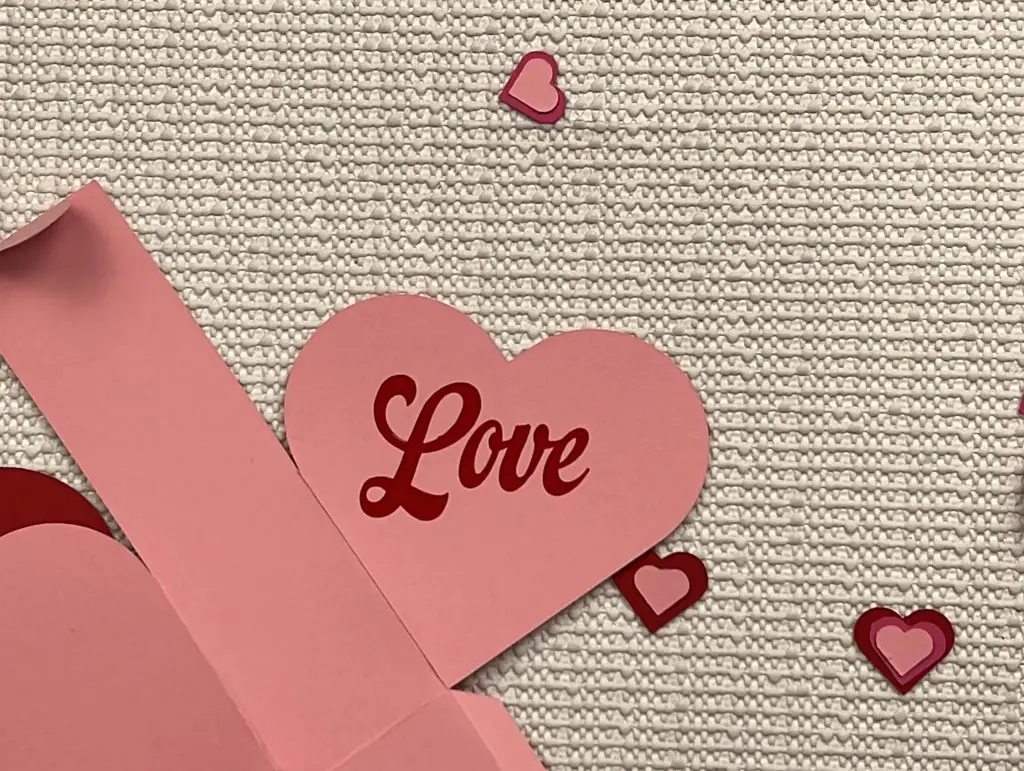
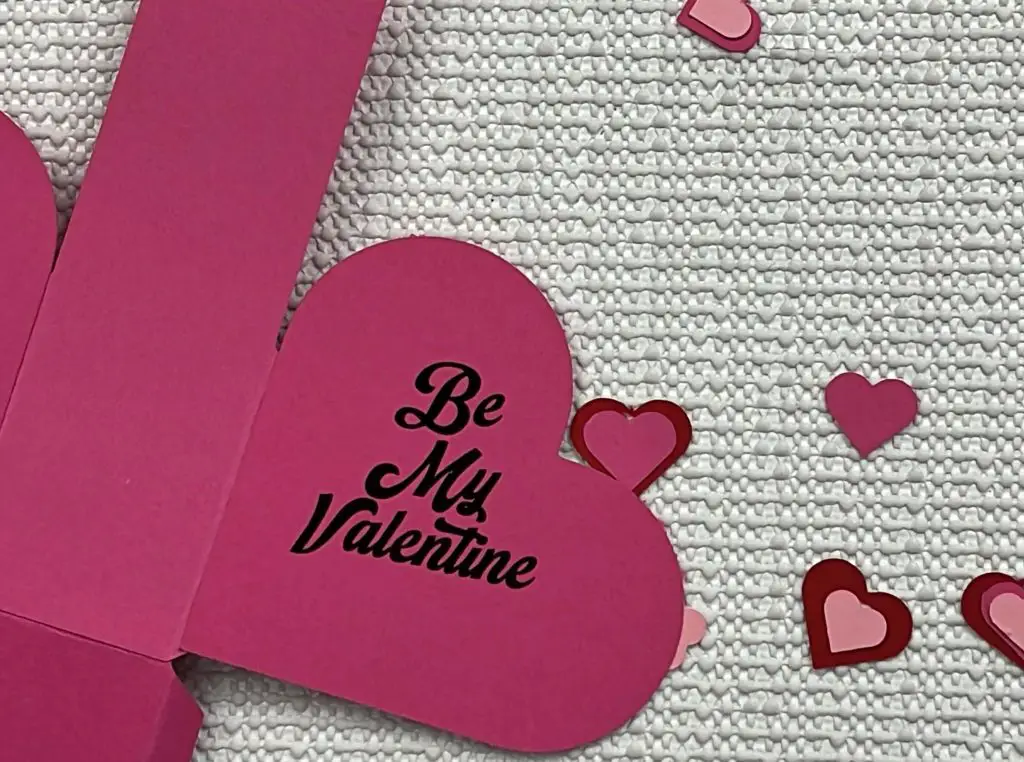
Optional – Add Embellishments
If you want to add phrases or hearts to the front and/or back faces of the box it is best to do it before you glue. You can do this now.
You can do it after gluing, but it is a bit harder.

Glue the box together
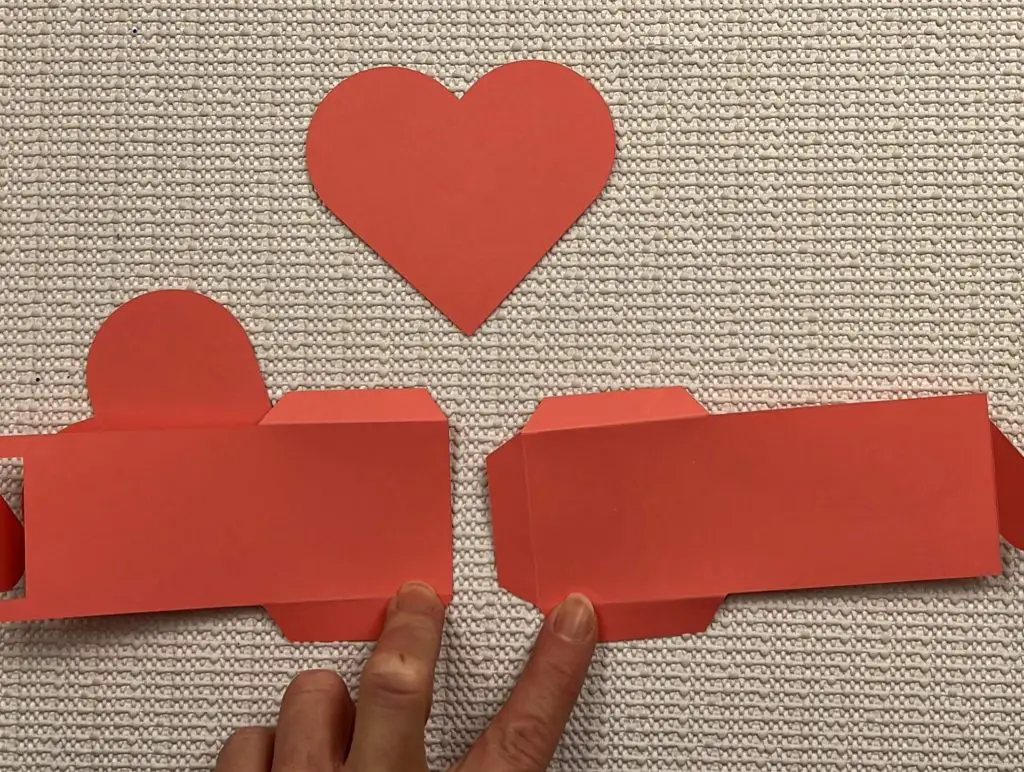
Start with the two walls.
Line them up so the hearts are facing in the same direction. Now, apply some glue to the bottom tab of the first wall. Glue these pieces together.
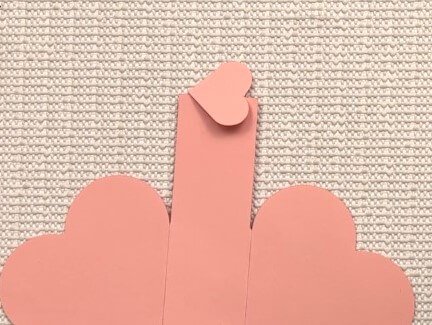
Once the two walls are together, we can glue on the folded heart onto the half heart of the one wall. Make sure to only glue half of the full heart to the half heart.
Now, select one wall to work with. Apply glue to both tabs on this wall, and glue on the two hearts. Once the glue has dried enough, apply glue to the two tabs on the other wall, and glue the tabs onto the 2 hearts.
Fill the box
Once the glue is dry, you can fill the box with candies and treats of your liking.
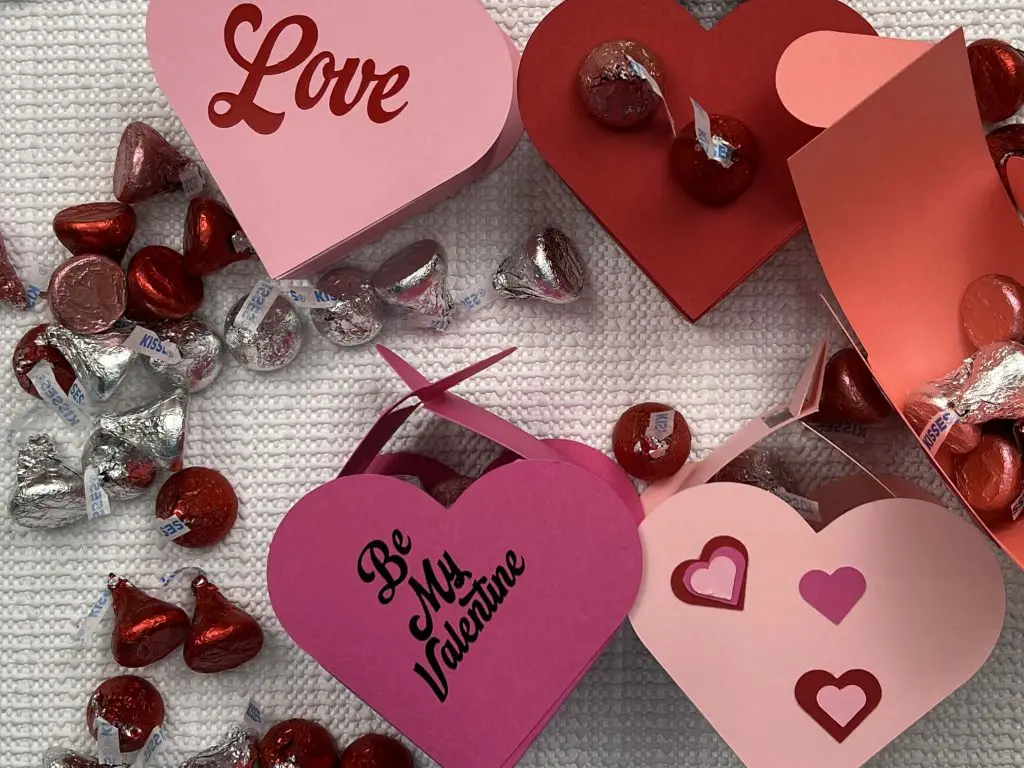
Close the box, and you are done!
Your Heart-Shaped Candy box is complete!
Things I learned while making the heart shaped candy box
Not all of my projects work out on the first try. And there are always improvements that can be made. And this project is no different. So, here are some things I learned along the way
- The size of the walls matters. If you make them too thick, like I initially did at 2 inches, it will require a lot of candies to fill the box to a reasonable level.
- The height of the walls matters. If they are too short, the walls will not reach. If they are too long, the walls will close, but much higher than the heart top.
- Closing boxes is not easy. I used a slot and half a heart shape to close the box. And while this does keep the box closed, it can open by itself. Applying a dab of glue at the connection point for the closing latch, or using a heart-shaped sticker gives the box a more secure seal. Also, make sure this slot is narrow.
- Adding embellishments – there is nothing wrong with plain heart-shaped candy boxes. If you want to add embellishments, such as words, phrases or more hearts, it works best to do it before you attach all the walls to the hearts. You can do it after the fact, but it is a bit harder.
Did you enjoy this tutorial on making a heart-shaped candy box?
Did you enjoy this tutorial on making a heart-shaped candy box? Let me know in the comments below! Did you try making this craft? Share how it turned out!
If you enjoyed this paper craft, be sure to check out my other paper crafts here.