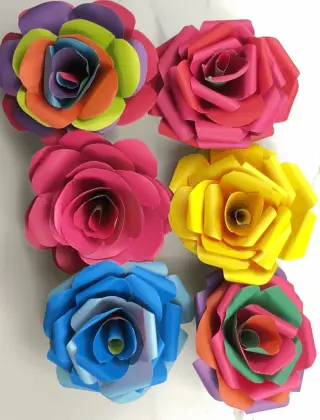
Getting ready for Christmas and the holiday season can be time-consuming and expensive. Buying decorations can also break the bank. I was looking for some new decorations when I stumbled upon a really cute Christmas tree. I was not interested in paying full price, so I decided to make my own. So let’s jump in and start making this cute Rainbow Christmas tree.
As an Amazon Associate, I earn from qualifying purchases. This post contains affiliate links. I may receive a commission if you purchase an item from one of my links. This will not change the price you pay.
Supplies needed to make a rainbow Christmas tree
I did this craft 2 different ways, so you need to pay attention to the supply list, as you don’t need 2 sets of fabric.
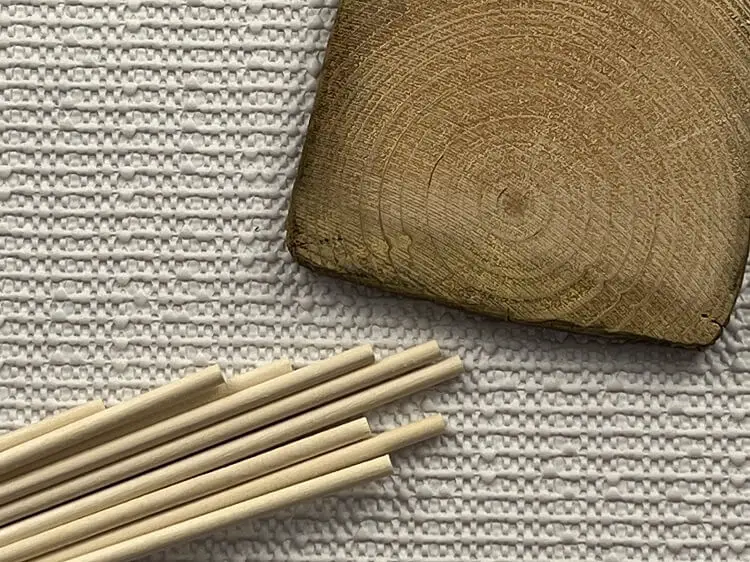
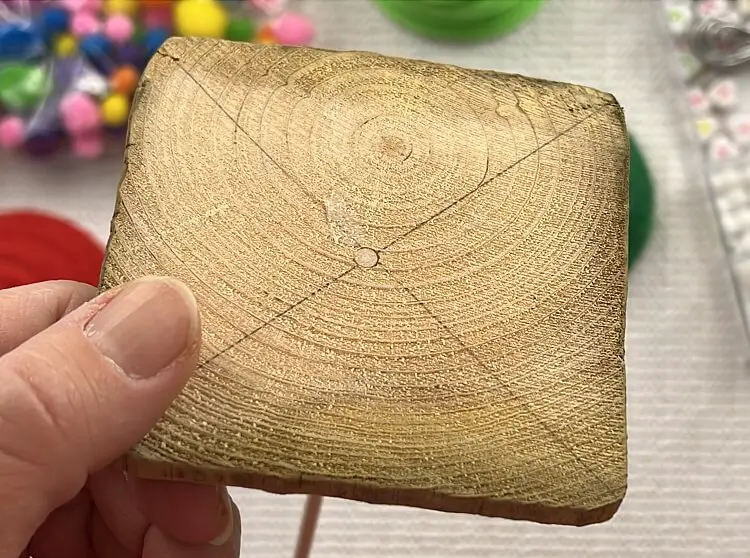
- Wood base – I used some surplus 4×4 blanks that I had left over from previous projects. You can use any piece of wood for the base. The ones I saw at the store have a similar base to these wood blanks.
- 3/16” Size wooden dowel – This will be the tree trunk for the tree. I bought mine at the dollar store, but you can buy them online here. 3/16″ dowels fit inside plastic beads perfectly. If you get a larger or smaller size, you will need different beads or none at all.
- Fabric – I tried this with felt and with foam paper. I have not done much with felt in the past, so I was not certain how it would turn out. I also used foam paper because I thought it would have a better hold.
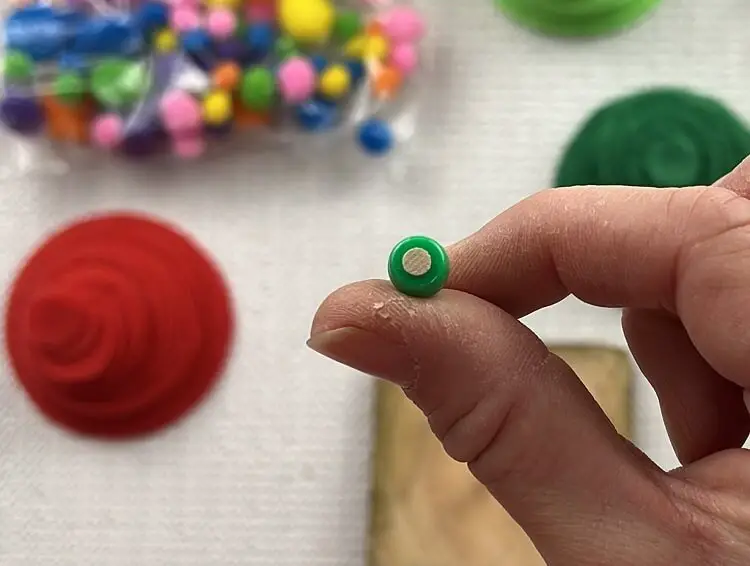
- Plastic beads – These plastic beads are or separating the fabric layer. I bought a large pack at the dollar store, but you can buy some here.
- Glue – You don’t need much glue, but you need to glue the dowel onto the base and the top bead to keep the whole tree from falling apart. I used my glue gun and hot glue.
- Scissors/Cutting machine – I used my Cricut to cut out the circles, but you can use scissors.
- Drill – Optional – I pre-drilled a hole in the base for the dowel to fit into. This helps the dowel stay stable. But you can use glue instead.
Now that we have all our supplies, it’s time to get started.
Prepare your Rainbow Christmas Tree Pieces
Cut the fabric for the tree
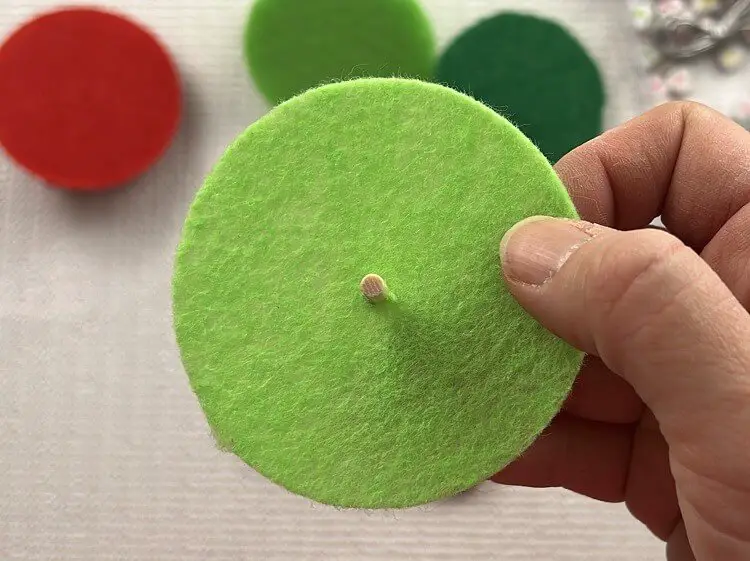
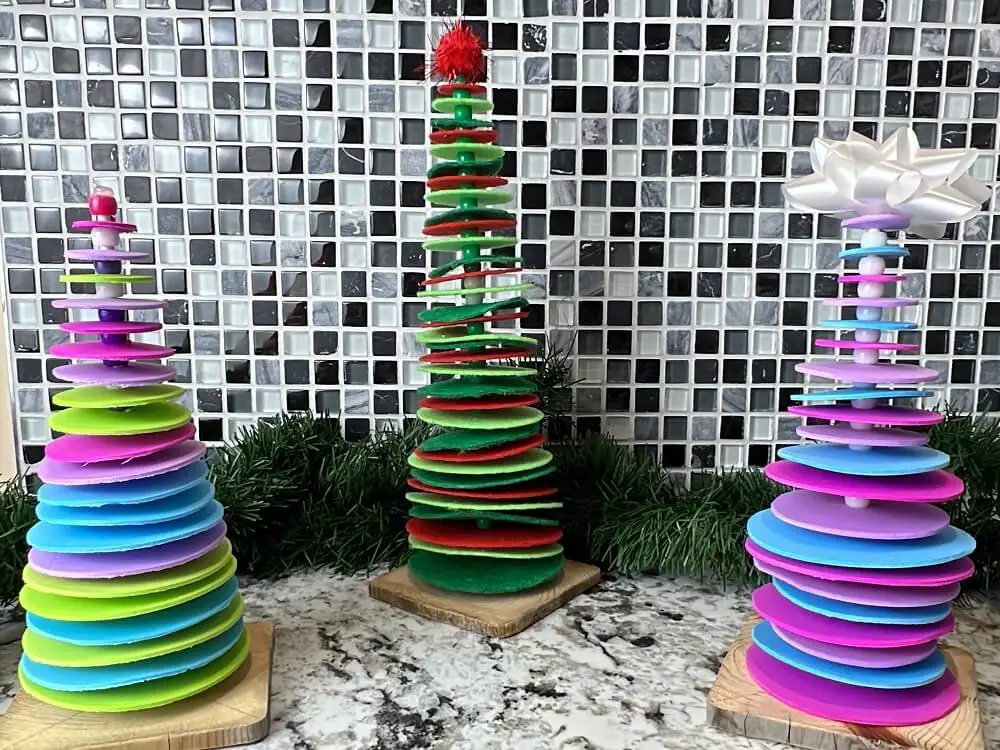
Your Rainbow Christmas Tree will need many multiple sizes of circles. I started with a 3-inch diameter circle for the bottom layer of the tree. I then made 18 more circles and reduced each succeeding one by 1/8th. I did this until the smallest circle was 0.75 inches in diameter.
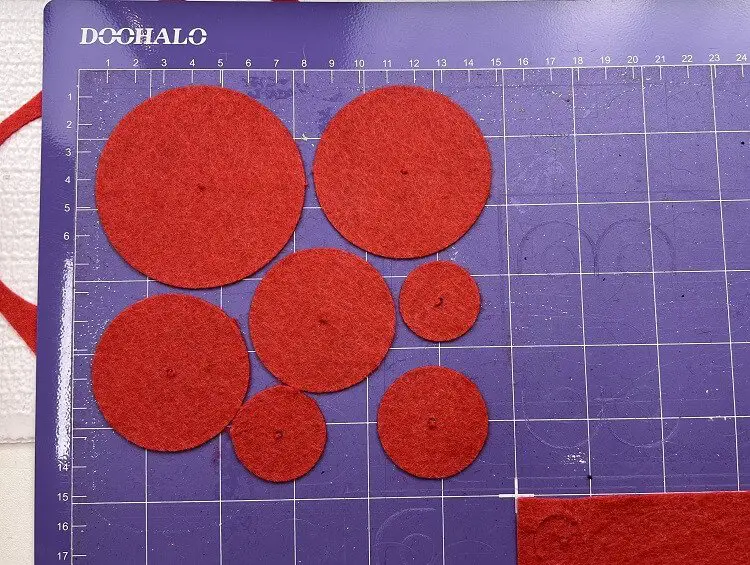
Each circle also had a small 3/16” hole in the center.
I used my Cricut to cut all of these circles and holes, but this can be done by hand if you don’t have one.
Making all of these circles took quite a bit of time. If you are short on time, you can get a copy of the circles here at my store.
Assemble the Tree Trunk
The base of the tree should be wood. I used surplus 4×4 pieces I sliced for other projects, but any wood blank will do. Ideally, you would like to it be about 4″ in diameter.
Drill a hole in the middle of the wood blank. You will want to use the same size or slightly smaller than the wooden dowel. In my case, I have 3/16” dowels, so I drilled a 5/32” hole.
Using hot glue, I glued the dowel into the base.
On some previous trees, I did use a 3/16″ drill bit. This worked as well, but there was excess space in the base for the dowel. This was not a big issue as the glue held the dowel in place and filled in any gaps.
Assemble your Rainbow Christmas Tree
Now for the fun part!
The whole design is based on the premise of 1 bead followed by one circle. So, starting at the bottom, slide one bead down to the bottom of the dowel. Then, follow that up with the largest circles. This is then followed by another bead.
You continue alternating between fabric circles and beads until you are happy with the shape and height of the rainbow Christmas tree.
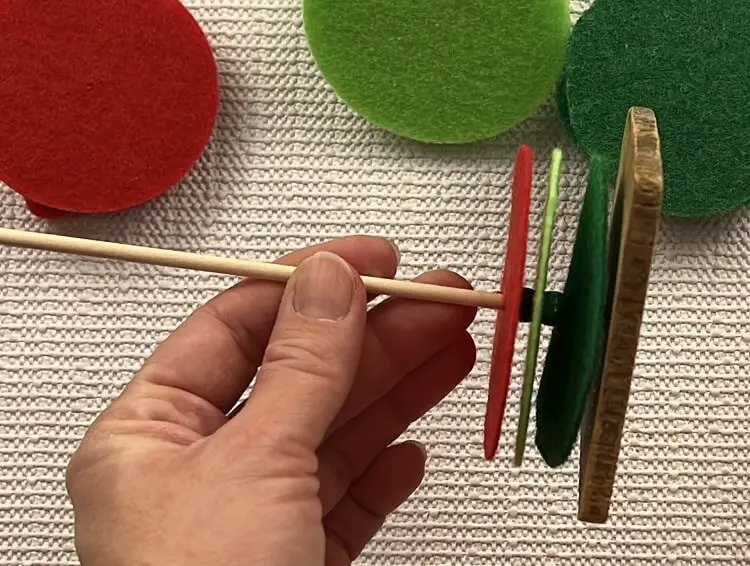
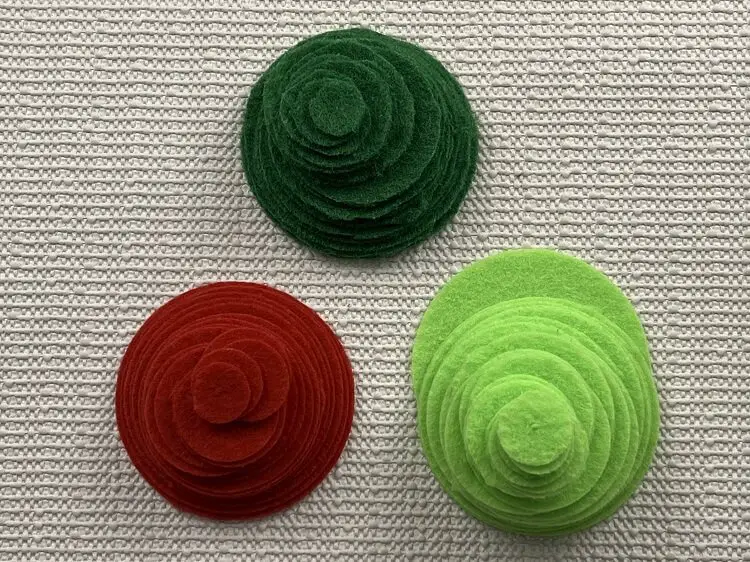
When using the fabric, you can go from largest to smallest, or alternate and put some different sizes in the mix every once in a while to give the tree a bit more character. You can also use one color or multiple colors like I have
You can also put more than one bead between the fabric. The options are endless.
And that’s it! You’re done your Rainbow Christmas Tree!
Frequently Asked questions about Rainbow Christmas Trees
Do I have to use felt? Can I use paper?
You can use any material or fabric that you like. I made trees in both felt and foam paper. I found the felt was harder to cut but worked just fine when assembling.
I did not use paper, but so long as you have center holes in the paper for installing on the wooden dowels, it should not rip and should work well.
How long does it take to make a rainbow Christmas Tree?
Creating and Cutting out all of the pieces was the longest task, which took about 45 minutes. Assembly took about 5 minutes. I even got my kids to make some and it took them about 15 minutes.
How long do the rainbow Christmas trees last?
Like any decoration, if you take care of it, it will last a long time. If you put it away carefully with your other Christmas decorations, it should last for several years.
Did you enjoy this tutorial on making a Rainbow Christmas Tree?
Did you enjoy this tutorial on making a rainbow Christmas tree? Let me know in the comments below! If you like this post, make sure to check out some of my other Christmas posts as well: