I am unsure what the problem is, but my house is always collecting dust… that might be because I spend more time crafting (and making a mess) than cleaning. And certain things, although I use them semi-regularly, collect a lot of dust. And my heat press is one of those things…. So, I have finally found time to make a heat press dust cover.
As an Amazon Associate, I earn from qualifying purchases. This post contains affiliate links. I may receive a commission if you purchase an item from one of my links. This will not change the price you pay.
Supplies needed to make a heat press cover.
My heat press is not a small item, so the supplies needed for this project are in large quantities:
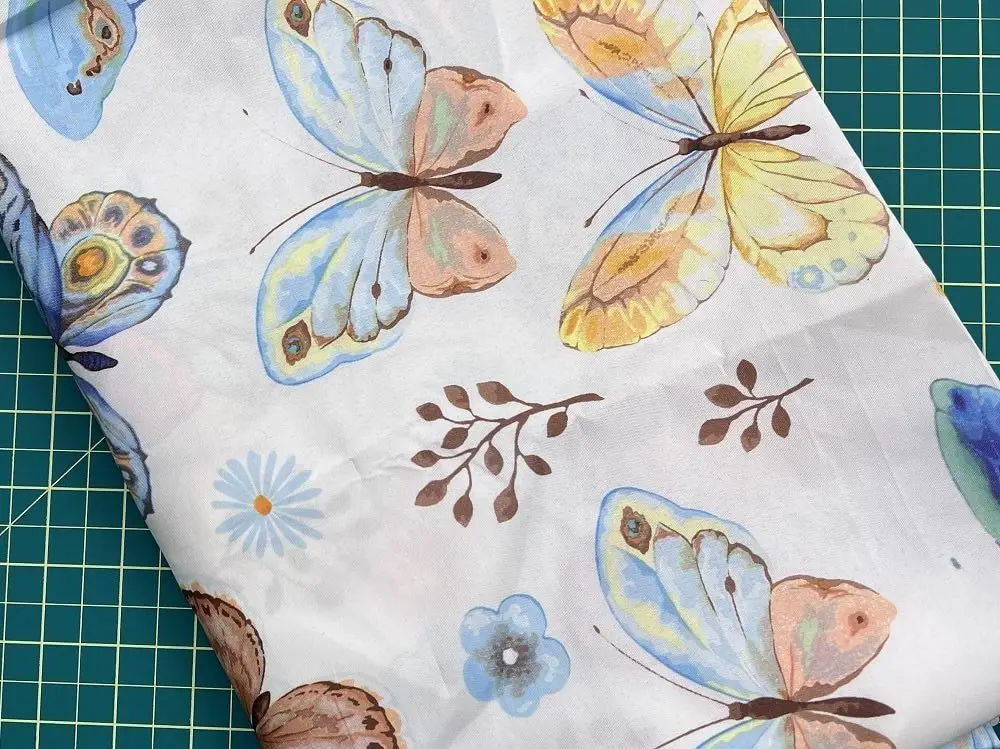
- Fabric – my heat press is about 20″ (l) x 19″ (w) X 16″ (h). And the amount of fabric for this is more than I am willing to work with scraps and sew them all together. So, instead of spending hours sewing bits and pieces together, I used a simple tablecloth I bought from the dollar store years ago (that no one in my house likes).
- Sewing Machine – I do not recommend sewing this by hand, but if you have time, why not. But I recommend using a sewing machine.
- Chalk – for marking the fabric to cut.
- Thread – Ideally, you want the matching thread to your fabric, but the stitching is on the underside and will not be visible, so any color will work.
- Scissor or rotatory cutter – for cutting your fabric. I typically use my rotary cutter.
- Sewing pins – for pinning the fabric together. You can use clips instead, but I am not fond of them.
- Bias tape – this is optional. You do not have to use bias tape, but I finished the heat press dust cover with some bias tape to give the edges a clean look. If you are using it, you will need enough to go around the entire heat press base – in my case, that was 80 inches.
- Heat Press – You should probably have a heat press if you are making a heat press cover dust cover, but I guess you could make this as a gift for someone, so it is not necessary. But maybe have access to one.
- 1-2 hours time for the whole project.
Ok, now that we have all our supplies, let’s jump in and make a heat press dust cover!
Making a heat press dust cover
Measure your heat press
I know this sounds simple, but for simplicities sake, let’s do this.
We need to measure our heat press. My heat press is not a square. The handle moves, so if it is in the open or closed position will dictate the shape and size.
You must figure out the not-in-use position for the heat press. I always keep mine closed lightly. So the top of the heat press rests on the bottom shelf and does not float in the air.
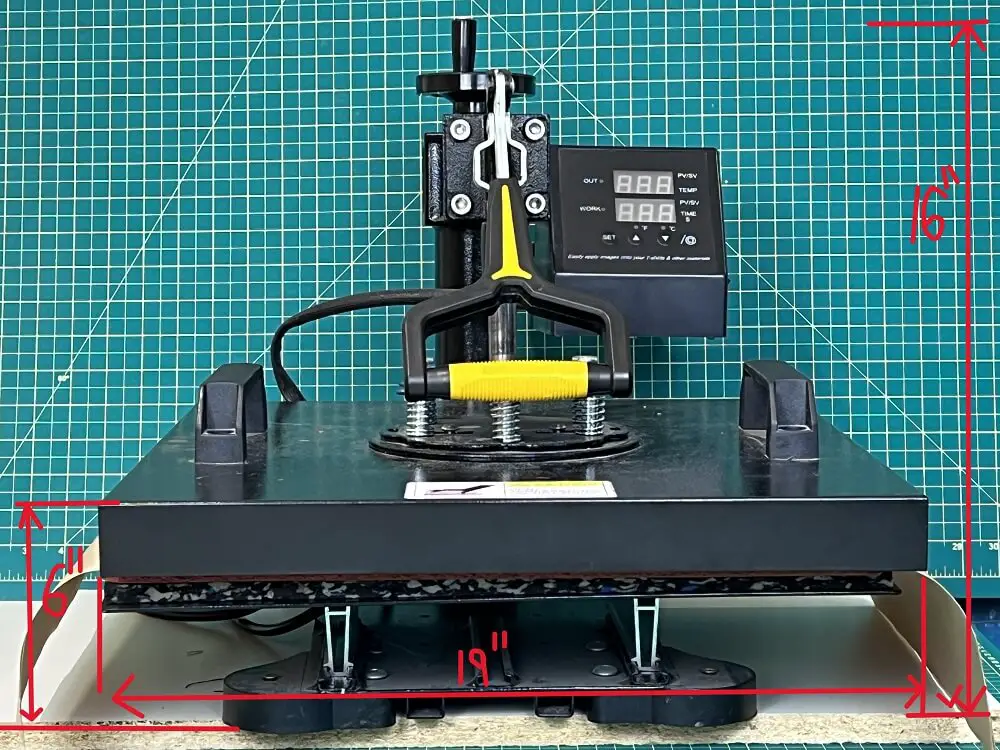
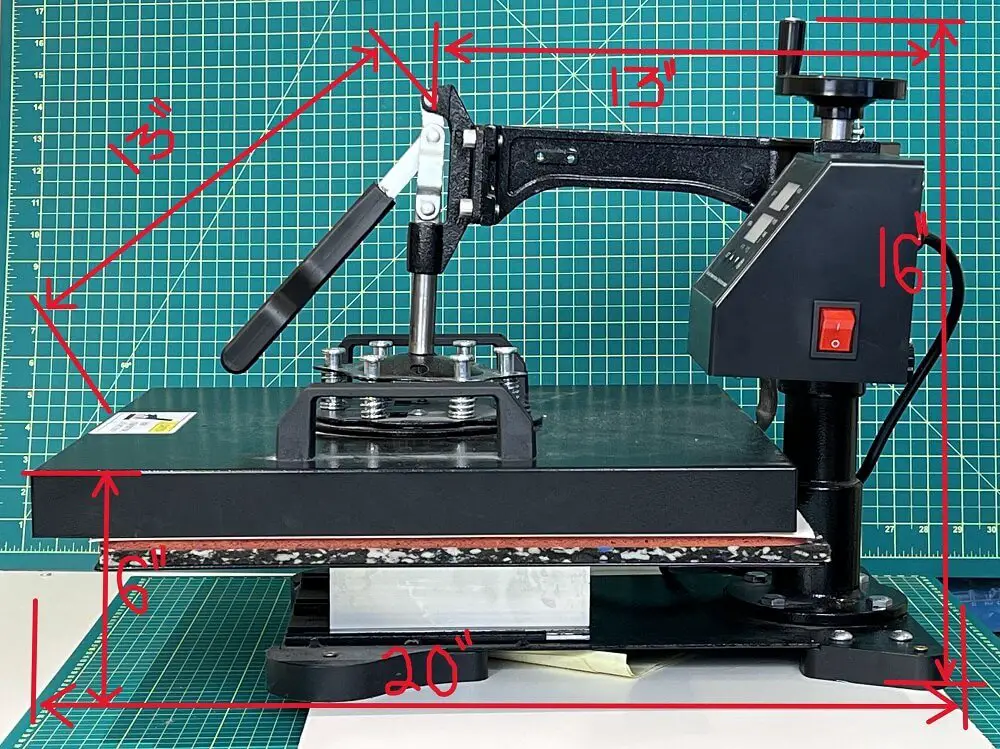
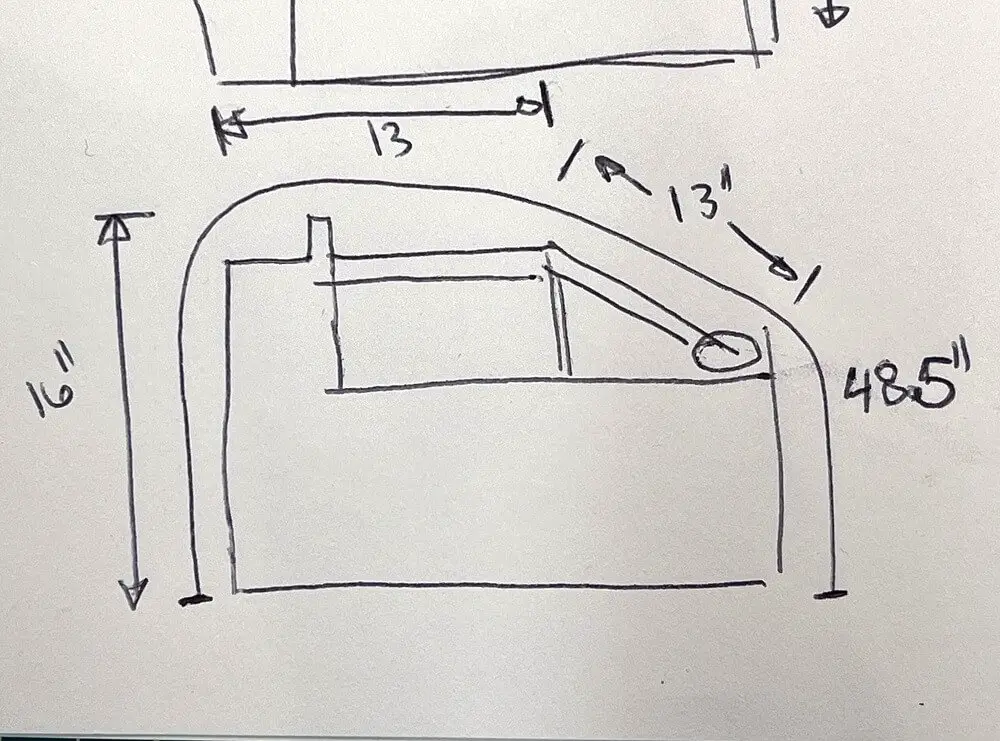
I sketched my heat press and measured all the sides and a few extra areas.
To keep sewing to a minimum, I wanted one long piece of fabric to go over the heat press from the back, over the top, and down the front, with 2 side panels of the same size.
Based on my sketches, I needed one long piece that was 48.5″ long x 19″ wide. Remember, you need to leave a bit of surplus fabric (1/4″ – 1/2″ per side) so you can sew the pieces together.
My side panels were weirdly shaped, but I wanted to avoid a square. There are no dowels going into this dust cover to make it rigid, and the high points will drop. So there is no point in having extra fabric.
Cut the fabric for your heat press dust cover
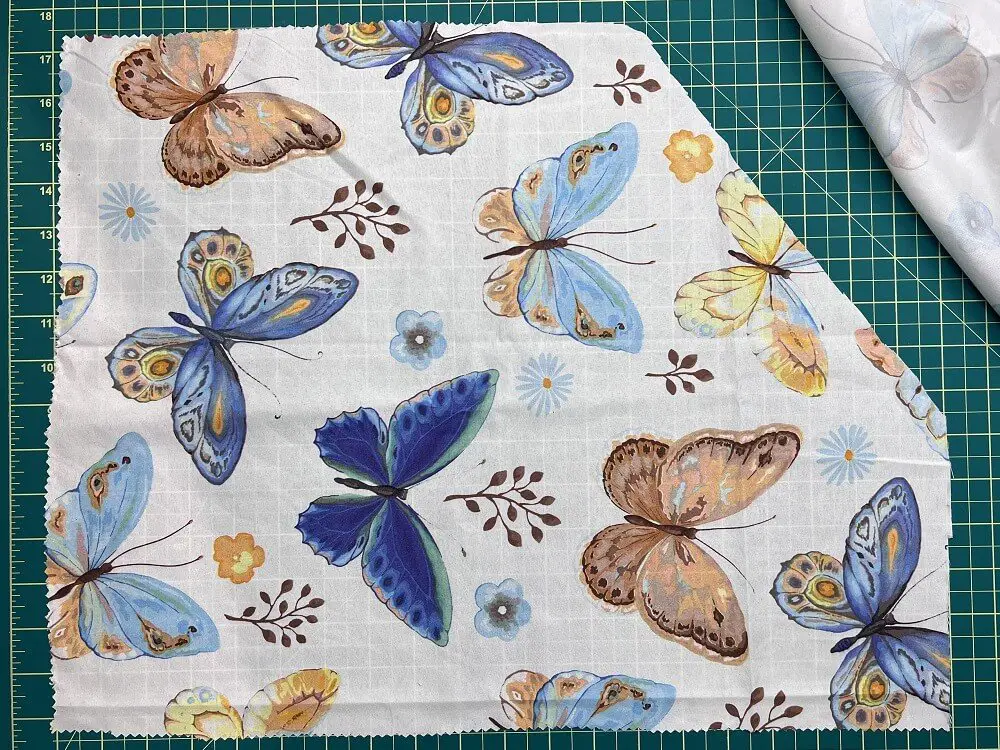
Once you are happy with the measurements you have made of your heat press, it is time to cut your fabric.
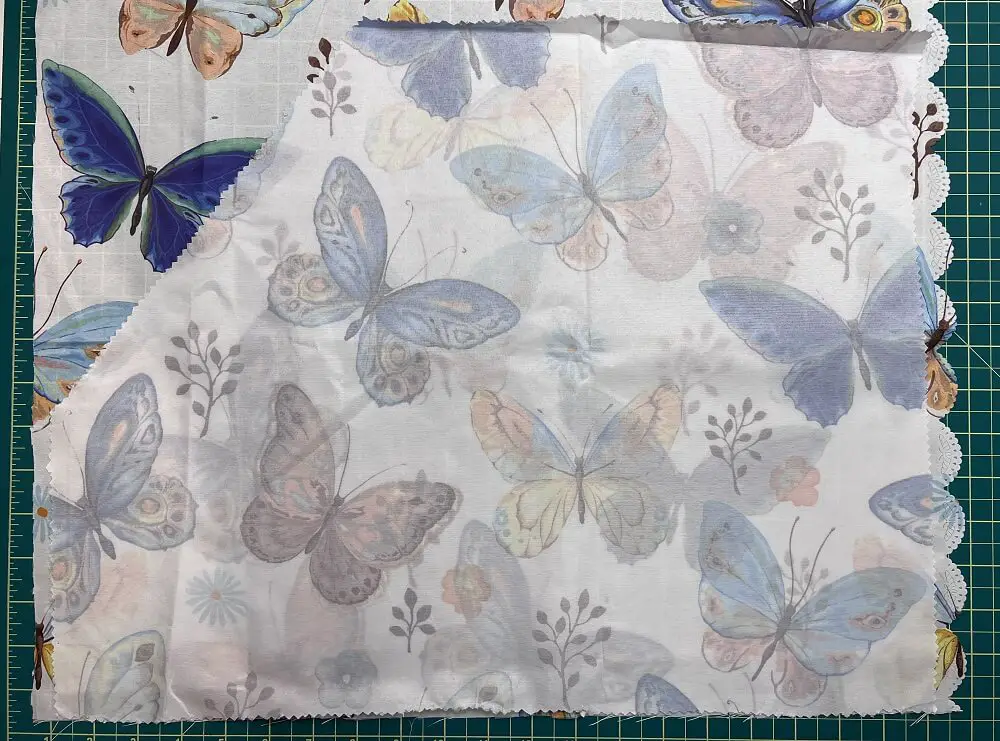
When cutting the side panels, I only measured for the first panel. I then placed the cut piece on a section of fabric, pinned it together and cut out the second piece. When cutting out the second panel, you must correctly line up the fabric to have a left and right side panel. You can place the non-patterned side together and cut, or you can have the pattern facing inwards. If you place the fabric with both pattern sides up, you will have 2 of the same piece, and it will not work when sewing. (unless, of course, you have one side with no pattern).
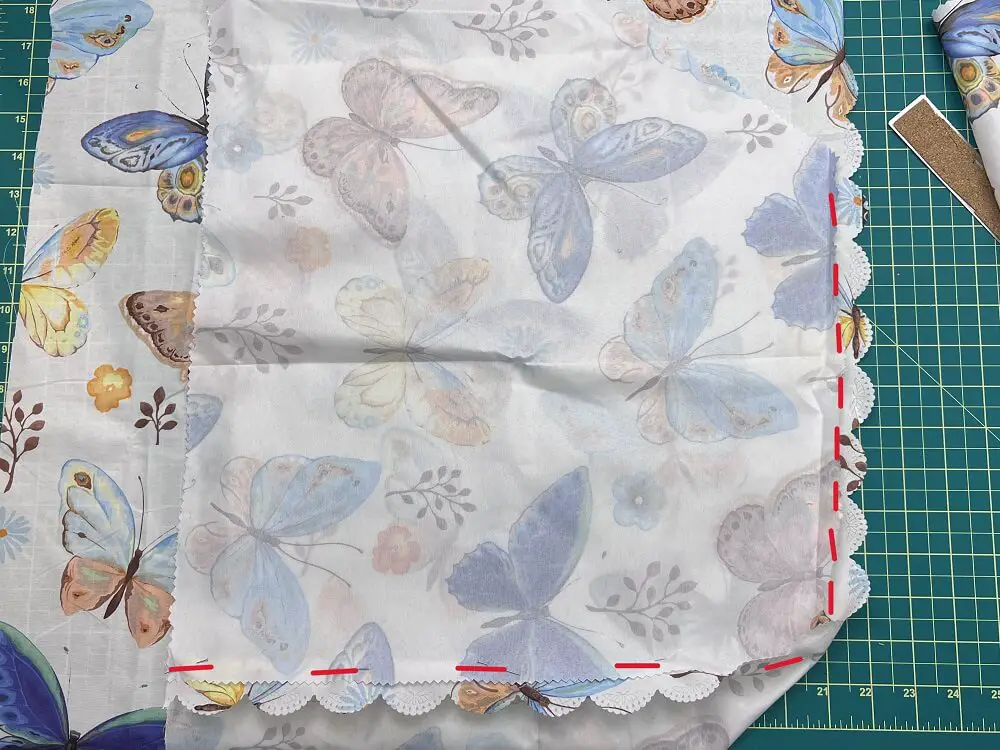
Pin the heat press cover fabric piece together
Now for the fun part. It is time to pin the whole thing together.
I like to pin all the pieces together before I sew individual pieces. This way, I have a chance to make any last-minute changes.
Using the long piece and one of the side panels, align them so that the pattern is facing inwards for both (ie: the pattern is touching both fabric pieces). Slowly work around the one side panel and the long body fabric piece. Be sure to add a bend at the corners by adding a slight crease in the fabric and holding it in place with a pin.
Once you have completed the first side, it is time to repeat this for the second panel.
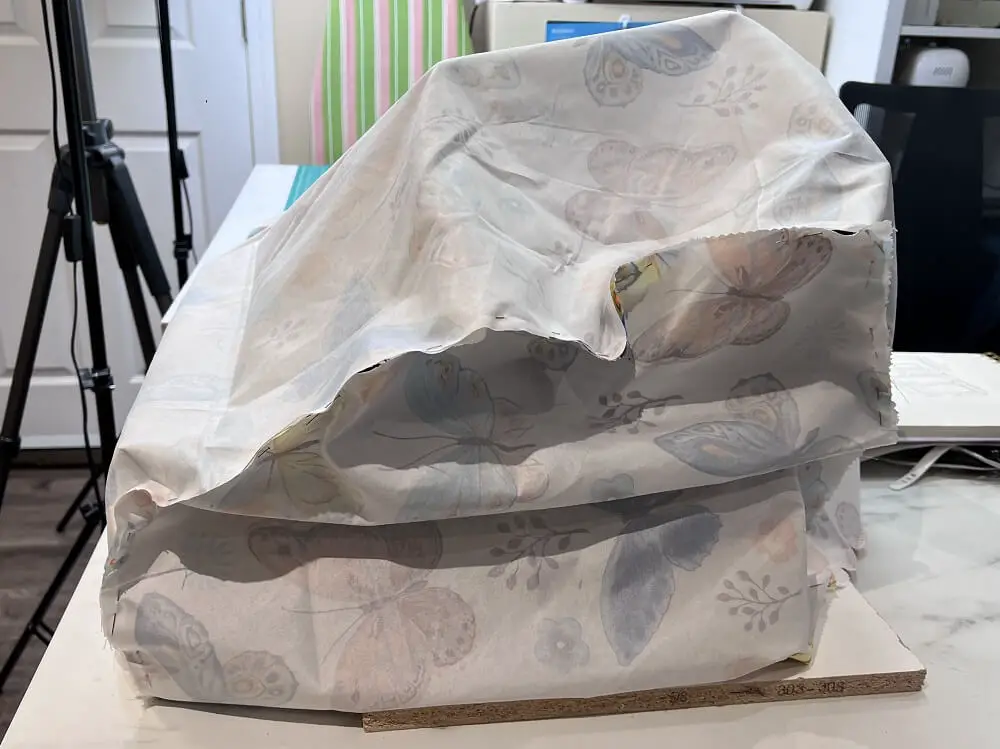
Once all 3 pieces are pinned together, it is time to check it on the heat press to ensure it will fit.
Place the dust cover over the heat press and see if it fits, if it is too loose or if any adjustments need to be made to the pin placements. There may be some loose fabric, but you do not need to adjust it if you do not want to.
Sew the heat press dust cover together
Once you are happy with the fit and placement of the pins, it is time to sew the heat press dust cover together. Simply run the fabric through your sewing machine along the line of the pins.
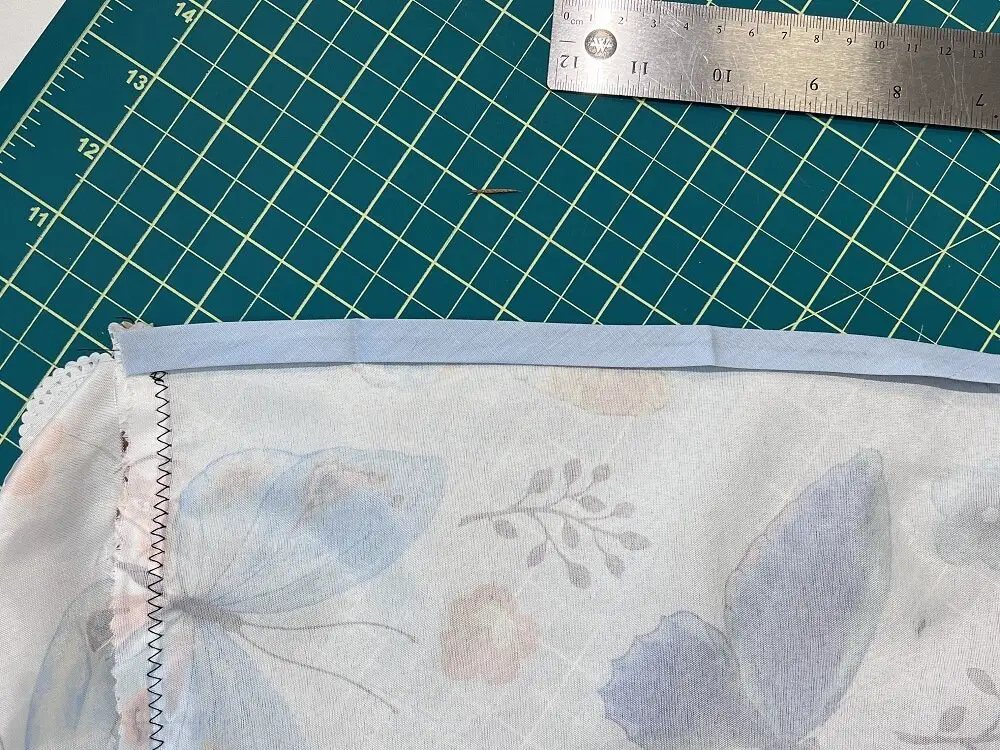
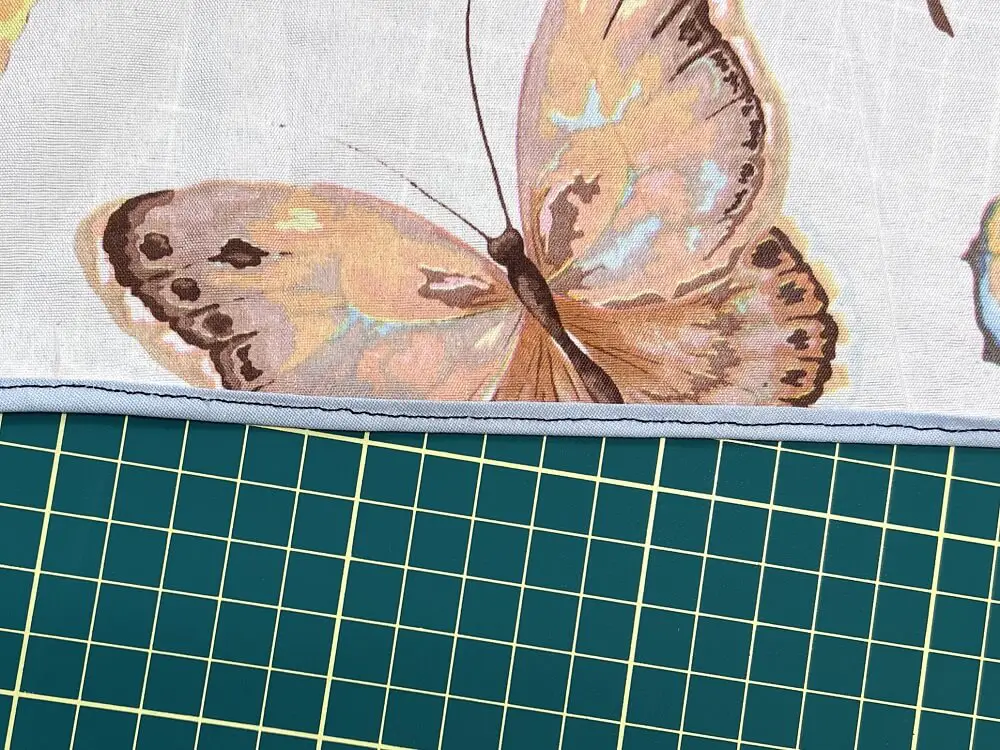
Optional Bias Tape
Depending on the cut of the fabric and if you want to sew more, you can add bias tape along the bottom edge of the heat press dust cover. I added a band of bias tape along the bottom to give the dust cover a clean finish.
Finishing Touches for the Heat Press dust Cover
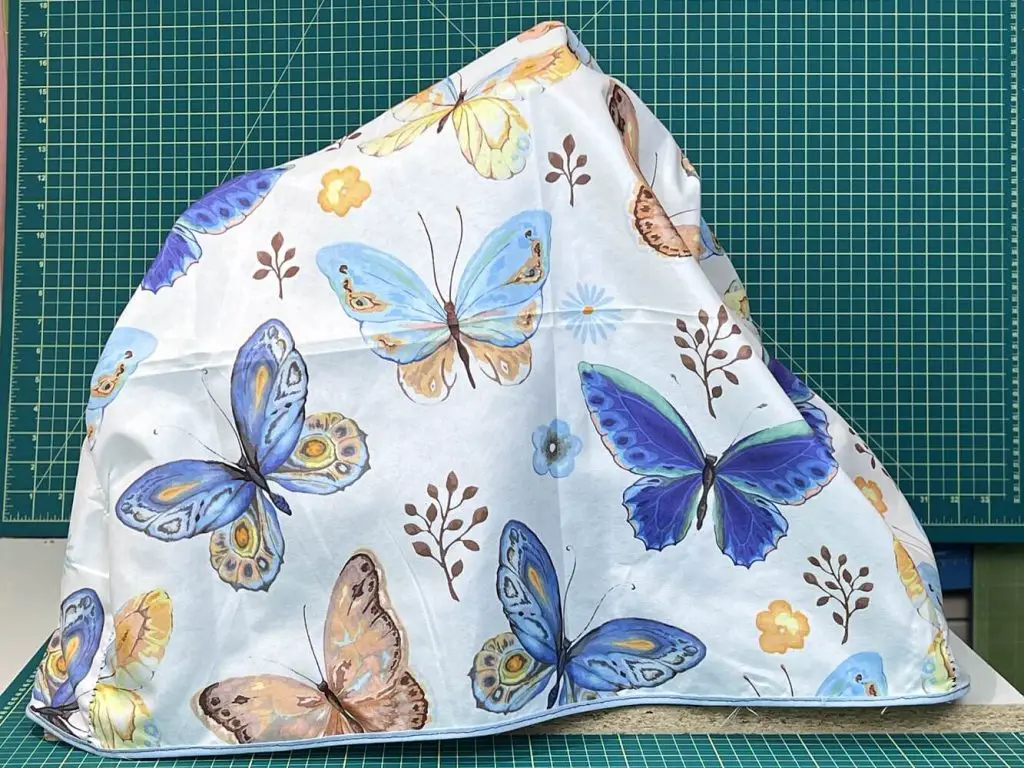
In the above section, when checking if the heat press dust cover fits the heat press, I mentioned that we could adjust the pins to reduce loose or surplus fabric. At that point, I did not, but after placing the final dust cover on the heat press, I thought it looked frumpy. So, I folded the surplus fabric and sewed it together to hold the fabric more tightly. But this is not required.
And that’s it! Your Heat press Dust Cover is Complete!
Things I learned along the way while making this project:
- If you recall, I’m not the best sewer, but I try. I am ok with simple shapes, but pinning and sewing the side panels together proved to be a bit of a challenge. It might have been easier if I had adjusted the pins prior to sewing and made the side panels smaller. This would have given the final dust cover a bit more of a boxy shape, but I am happy with how it turned out.
- The heat press dust cover is rather large and when I take it off while using the heat press, I forget which side is which, as they all look the same. So I added a small section of bias tape of a different color to indicate a specific corner. This way, I know which way to place my dust cover each time so that it fits.
- I really should have dusted my heat press before starting to use the dust cover…. but at least it won’t get dustier… hahaha.
frequently Asked Questions about making a heat press dust cover
Why use old fabric for a dust cover? Why not buy new fabric?
I have an old tablecloth that no one in my house likes, so it just sits in a box. I could donate it to the local Goodwill center or somewhere. But then I would also need to buy additional fabric for this project. And as money for everyone, these days is tight, present company included, using things I have already paid for makes more sense to me.
Also, I can buy a new tablecloth at the dollar store for a buck or two. I cannot purchase this amount of fabric at a fabric store for this little.
So, that is my reasoning.
And, I like the pattern on the tablecloth, so I can enjoy it in my workspace.
Is it safe to used a dust cover on a heat press?
Your heat press will get hot. There is no question about that. But if you use common sense and only put the dust cover on the heat press after it has cooled down completely, and take it off before you even plug your heat press in, then it is safe to use.
But you need to make sure you always check that the heat press is cold before your put on your heat press dust cover. ALWAYS.
Did you enjoy this tutorial on making a heat press dust cover?
Did you enjoy this tutorial on making a heat press dust cover? Let me know in the comments below! Did you try making your own! Let me know how it turned out!
If you enjoyed this project, check out my other sewing projects here.