So, Halloween is upon us, and it is full speed ahead over here at KatherineLearnsStuff. I have been very busy doing lots of projects, and this one is a bit bigger than my usual ones, but it is still fun and easy to make. And it is a terrific addition to any Halloween decorations outside. So, let’s jump in and make some gates to hell, or as my husband calls it, a Zombie Pit.
As an Amazon Associate, I earn from qualifying purchases. This post contains affiliate links. I may receive a commission if you purchase an item from one of my links. This will not change the price you pay.
Supplies Needed to make the Gate to Hell
There are quite a few odds and ends needed for this project. Most of them can be purchased at your local dollar store a few weeks before Halloween, but just in case, I have also put links to places you can buy some of them if needed. I also put in some tips on where else you can find them. So, here are the supplies you need:
- An old skid – The condition of this skid does not need to be great. It can be a bit broken or loose. That will give it more character. You can typically find these at the back of stores or people tossing them after major gardening jobs. But these can be picked up for free. You can even shout-out on your local Facebook groups to find one.
- Paint – You will need several colors of paint. We opted to paint the skid gray. I did not have gray paint available, so I mixed black and white. You will also need red paint to add splotches to make it look like blood. Also, have on hand some neon red and white paint if possible.
- Gray fabric mesh – I bought this at the dollar store. It does not need to be anything crazy. It is to help conceal the grass underneath.
- Some plastic body parts – I purchased legs, arms, and a skull from the dollar store.
- Plastic Chains – I bought mine at the dollar store.
- Scrap Wood – I used random 2″x4″ and some broken shelves I had lying around from previous projects.
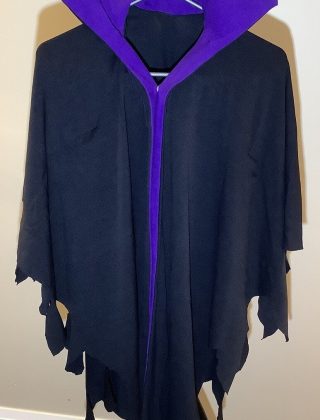
- Cheap Black Fabric – this can also be picked up at the dollar store or your local fabric store.
- Paint Brushes and a painting tarp.
- 3-4 old tent pegs
Optional Supplies: These are additional things we use to make the gate to hell scarier but are not required.
- A fog machine with fog juice. You can get these at your local hardware store or Spirit Halloween store before Halloween. If you are reading this after Halloween, you can get a fog machine for really cheap after Halloween as everyone is trying to offload their Halloween stock.
- Black Lights – We use these to add a creepy effect.
- LED lights – Again, you can buy these at the dollar store.
Now that we have all our supplies, it is time to put the gate to hell together!
How to Assemble the Gate To Hell
Paint the Skid to make it look like old gates
You will need quite a bit of room to build this project. I recommend outside if possible. I was lucky as we had great weather in early October, so I could do all my work outside. But in a garage will also work.
Paint the skid gray. You do not have to do a perfect job, but you want to get the top, outside and even the inside. This will keep the wood hidden, and the skid will look uniform.
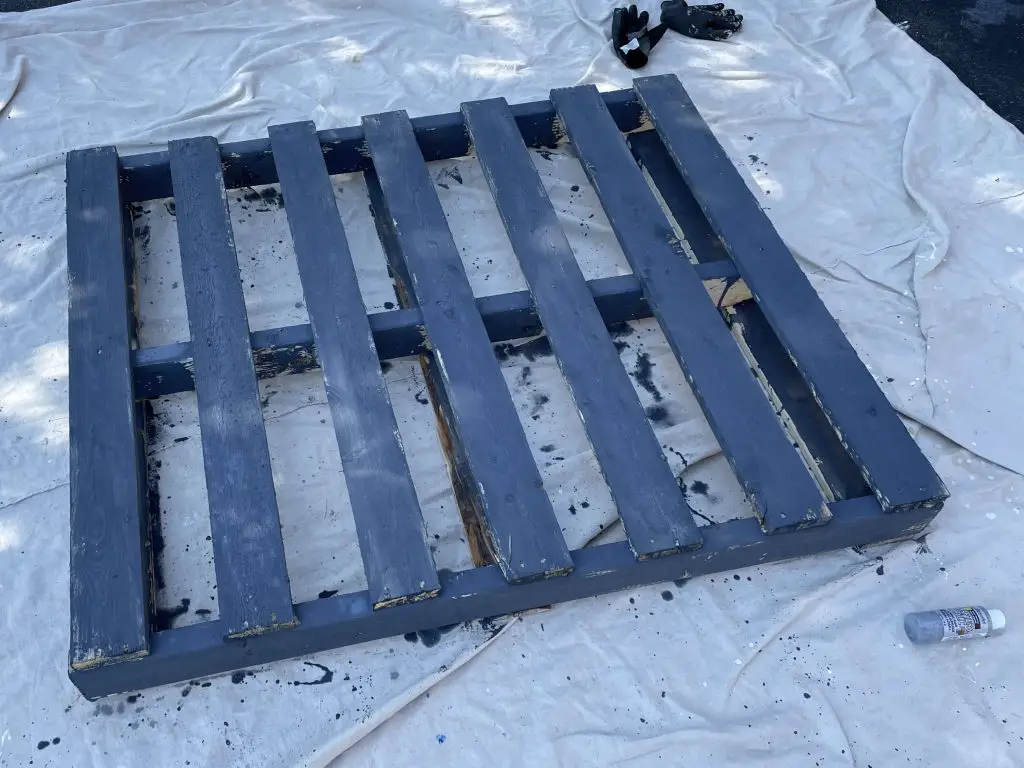
Once the gray paint has dried, apply splotches of red paint. You can fling a paint-covered brush at the skid and let the droplets hit the skid. You can also add some marks that look like handprints being dragged towards the gates.
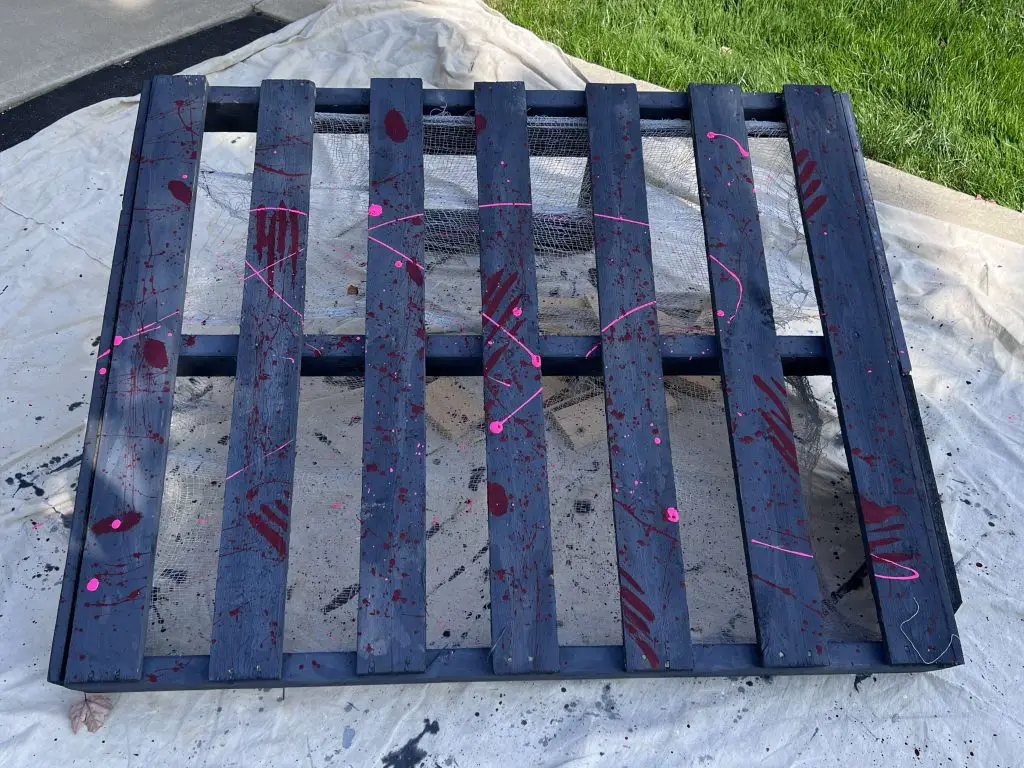
I also did a few splats of neon pink paint. This will show up nicely in the blacklight at night.
Elevate the Gates to Hell
I want my gates to hell to be elevated slightly, so they can be seen from the street. So I used some leftover 2 x 4s from my wood pile, made a square and attached it to the one long side of the gate. This will allow the one side of the skid to be elevated.

I also screwed some old particle board pieces onto the one short side to keep things hidden within. This required some cutting at grass level with a saw.
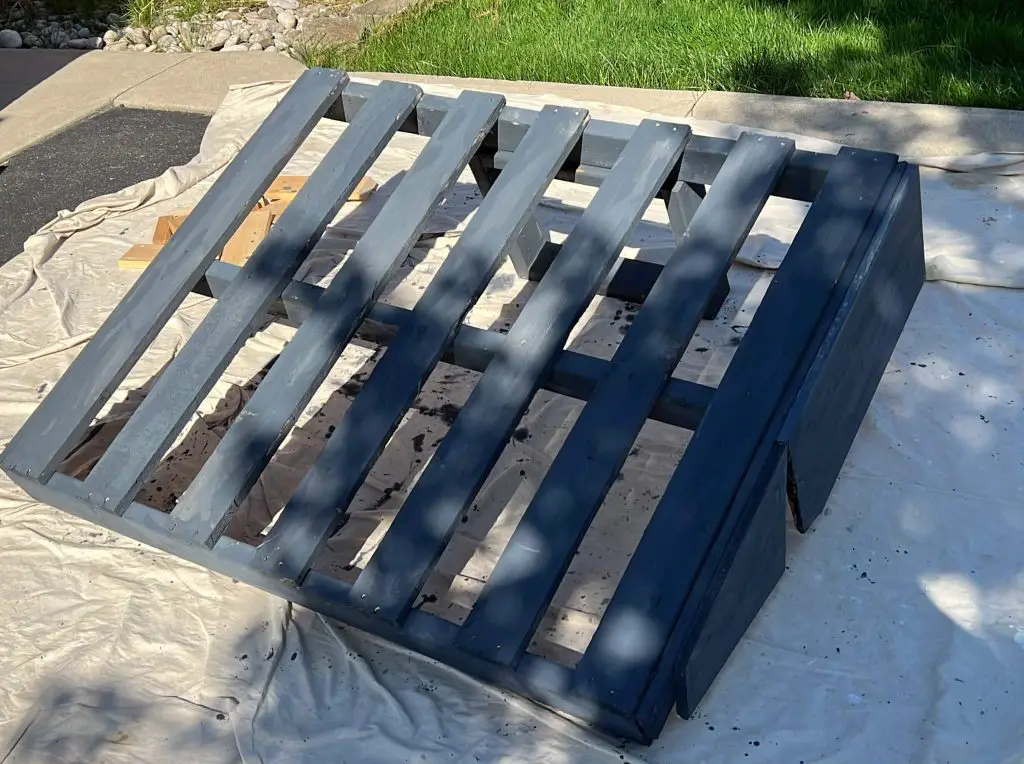
Once happy with the elevation and the size, I painted these pieces gray as well.
I left one side open to allow space to assess under the skid later.
Make the Gates of Hell Dark Inside
So, you want the gates of hell to be dark inside. When someone comes up during the day, you don’t want them to see the grass. And at night, you don’t want any lights from other props shining into the skid. So, we need to add a few more touches to the gates
Flip the gates upside down. Using a staple gun, staple the gray mesh fabric onto the inside top of the skid. You only need one layer, but you can use more. This simply blocks the light.
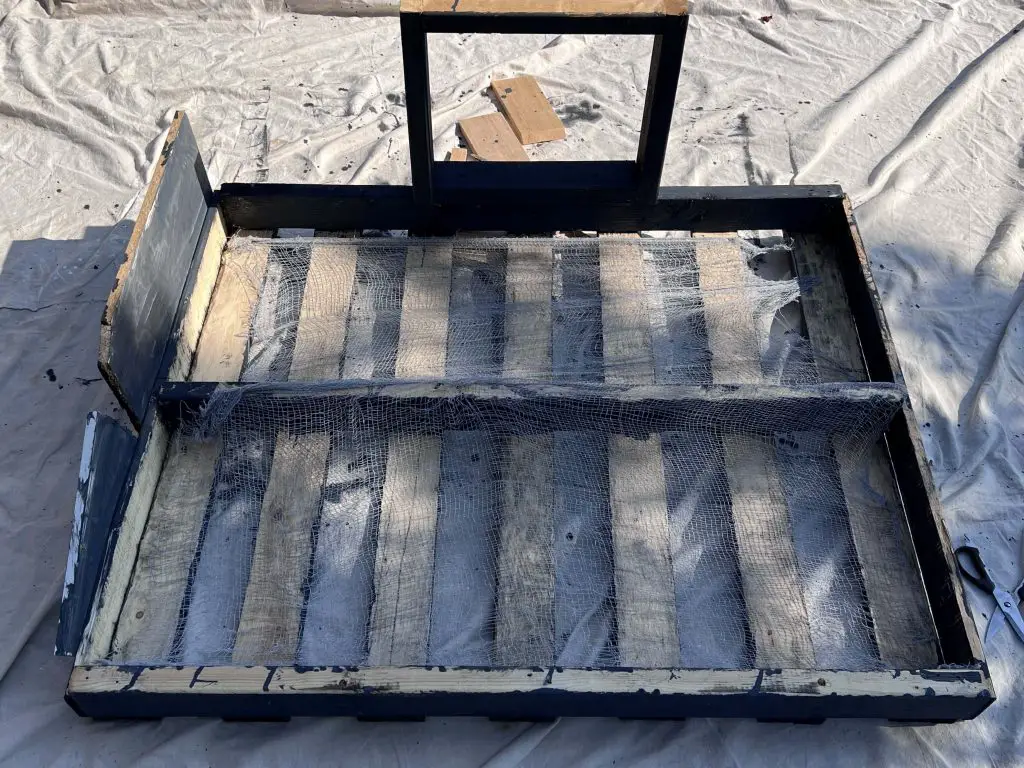
You will then want to staple some black fabric on the one open short side and on the elevated back side. You can trim the fabric so that it is slightly longer than the distance to the ground, but I recommend leaving extra, as it will help hide the grass.
Place the Gates To Hell where they belong
Once your preliminary work on the gate to hell is done, it is time to set up in place. Figure out where they will be placed.
Once you know the best place for the skid, place a piece of black fabric on the ground in that location. You want the black fabric to be the size of the skid. By now, your grass should already be dead for the year, so it should not have a huge impact on the grass. Place the fabric down, and then place the skid on top. You can use old tent pegs to pull in the black fabric that is attached to the skid and connect it to the black fabric on the ground, and hold it all in place. You will want to leave one loose or open until the end.
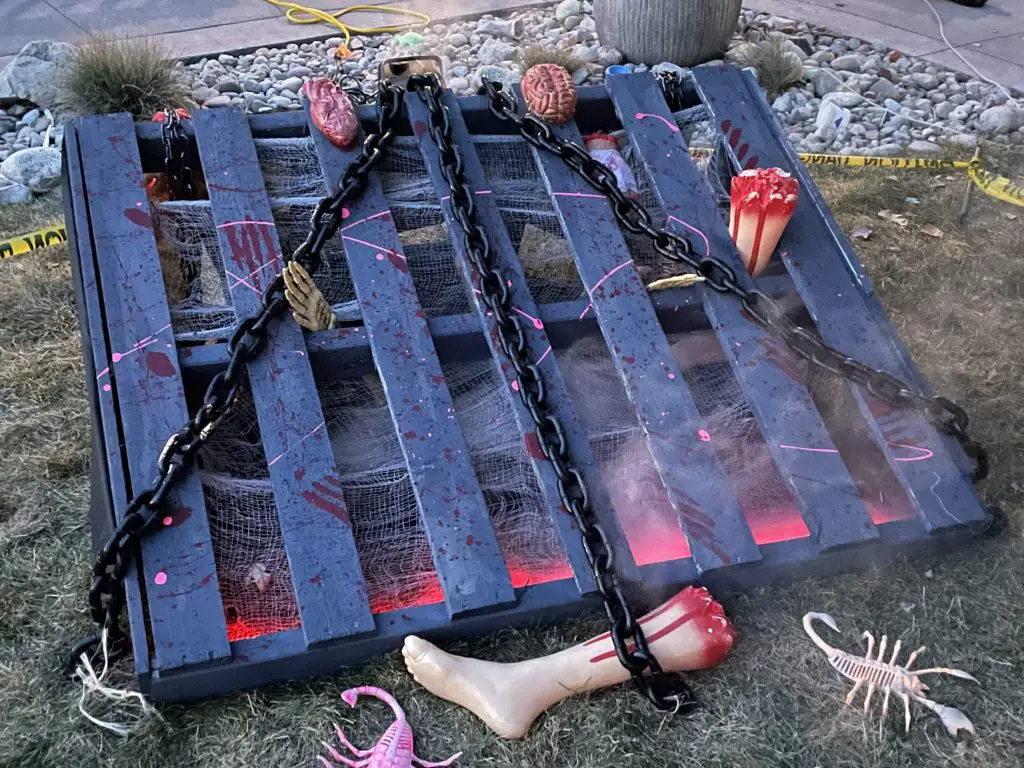
Make the Gate to Hell Scary
Now that the gates to hell are in place, we can add some character to it. Place two to four plastic arms into the slots of the skid. You may need to tape them in place. I recommend duct tape as it will match your skid, or you can stake them into the ground so they do not move or fall over.
Place one to two plastic legs out front of the gates to hell. I have added some additional red paint onto my plastic legs to make them look like they are bleeding. And I have also painted the bones of these legs with neon paint, so they stand out in the black light.
Place the skull inside/underneath the skid. Depending on the skull you have, it may already have a stake in it. You want to position the skull between a set of arms and have it facing the people who will walk by. This placement may take some trial and error, but it is much scarier if the skull appears to be looking people in the eye. Again, you can add paint to the skull so it glows.
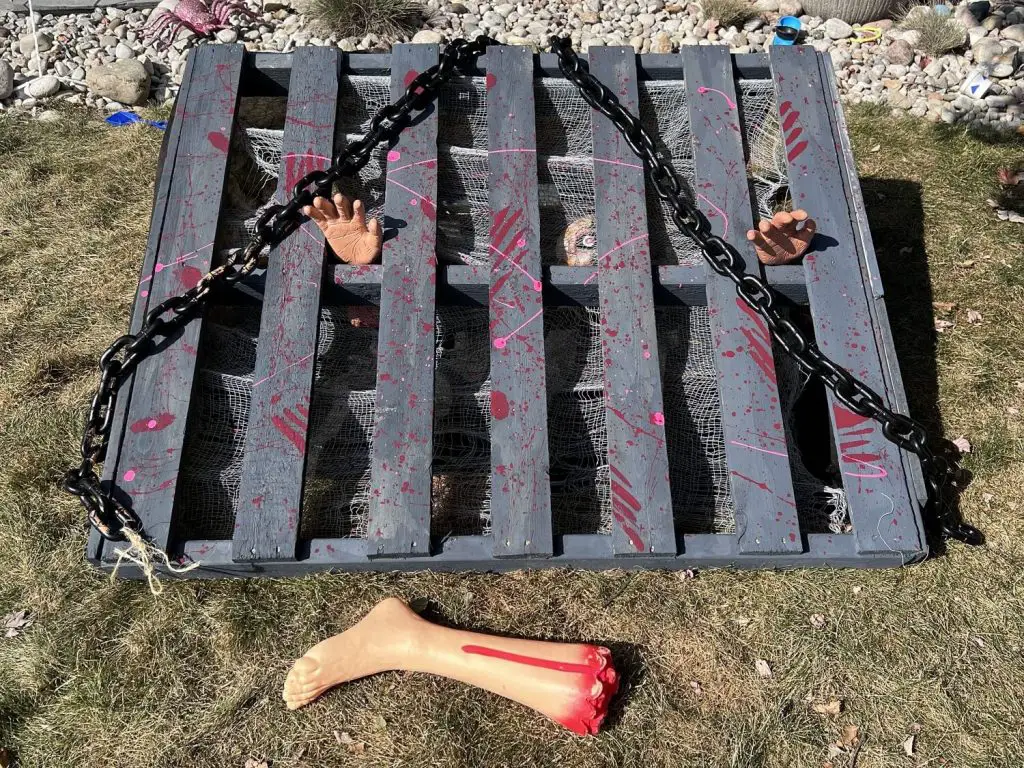
Finally, we threw some plastic chains over the top of the skid to make it look locked. If you have a large padlock (real or fake) to add to the decor, that would look amazing.
Optional Additions to a Zombie Pit
So, in my supplies list, I listed a few optional items that you can use to make the Zombie Pit scarier. We love to make our house scary, so here are some additional options you can do.
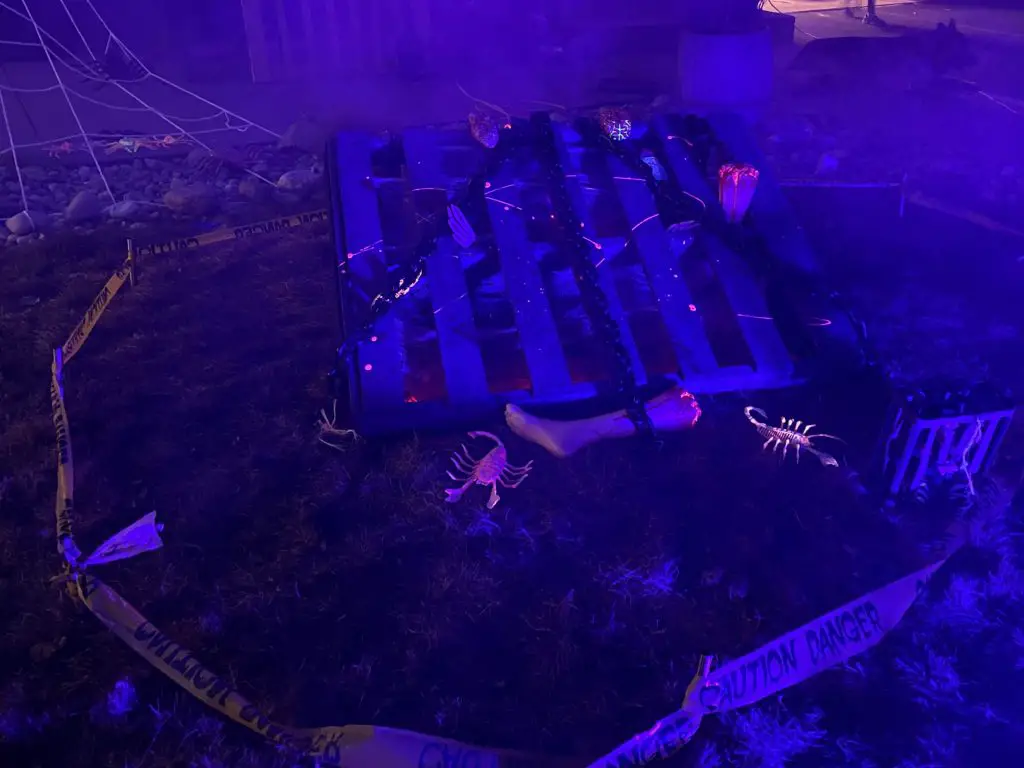
Add a Smoke Machine To your Zombie Pit
So, in order to give the zombie pit a nice spooky effect, you can use a fog machine so that fog can billow out of the zombie pit, making it look like it is steam coming out of hell.
Just a few pointers on this – remember that smoke machines get very hot, so you do not want it touching any of the fabric, mesh or plastic parts in your zombie pit.
We used an aluminum tube to direct the smoke into the zombie pit. That allowed us to keep the fog machine away from anything flammable.
Also, there are several types of fog fluid that you can buy. I recommend a Heavy Fog Fluid or Low Lying Fog Fluid. These stay down to the ground better than plane fog fluid.
Add LED Lights to your Zombie Pit
By the time Halloween rolls around, it is dark in the early evening. We added some lights inside the zombie pit. This illuminates the insides and makes it visible inside the zombie pit at night. I found a strip of decent LED lights from the dollar store. I taped them onto the skid and attached a battery pack to them so they could run the whole night. Red is a nice color for this.
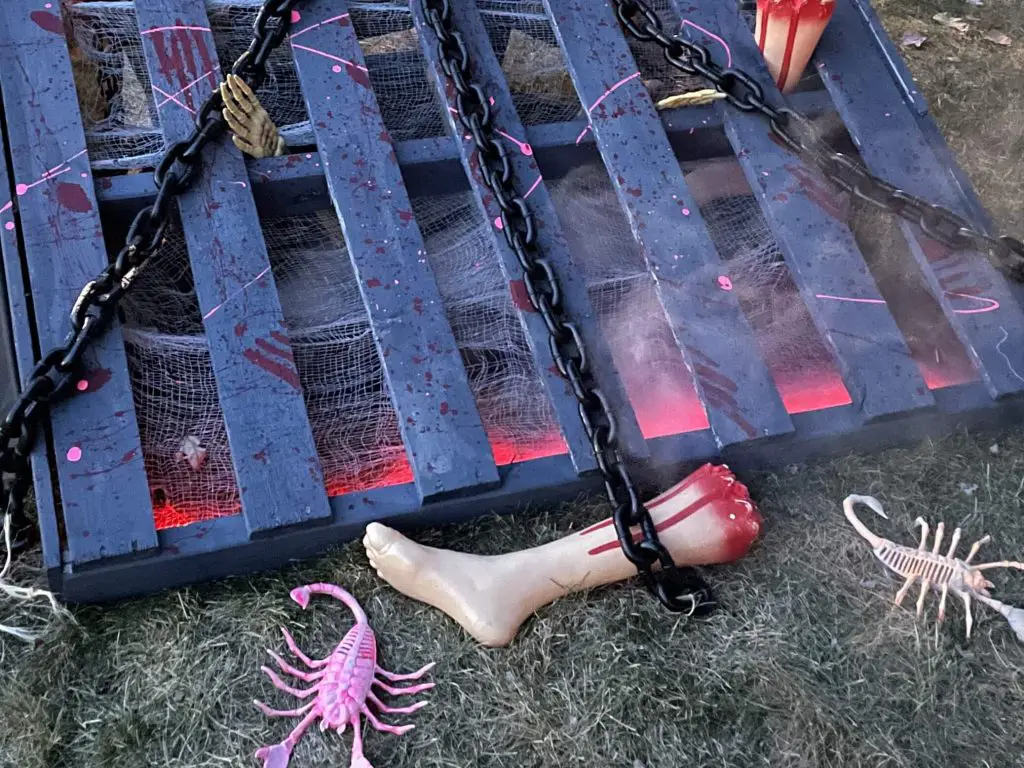
You can decide if you want 1 or 2 strips. Lights inside will always add to the scary factor. More lights can be better, but not too much.
Add Some Black Lights to your Zombie Pit
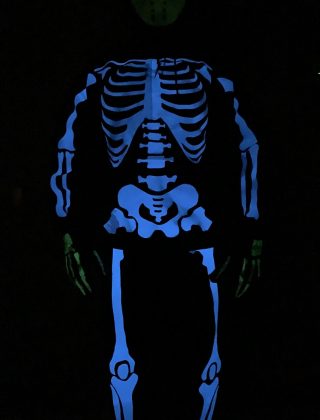
A few years back we bought some Black Lights. These were for some of our other Halloween Decorations. We use them every year now. If you place your black light facing the zombie pit, it will make it pop. Especially if you added some neon paint like I did above. I added neon paint onto the gates, the arms, the legs and the skull. The black lights can make things can get very creepy very quickly.
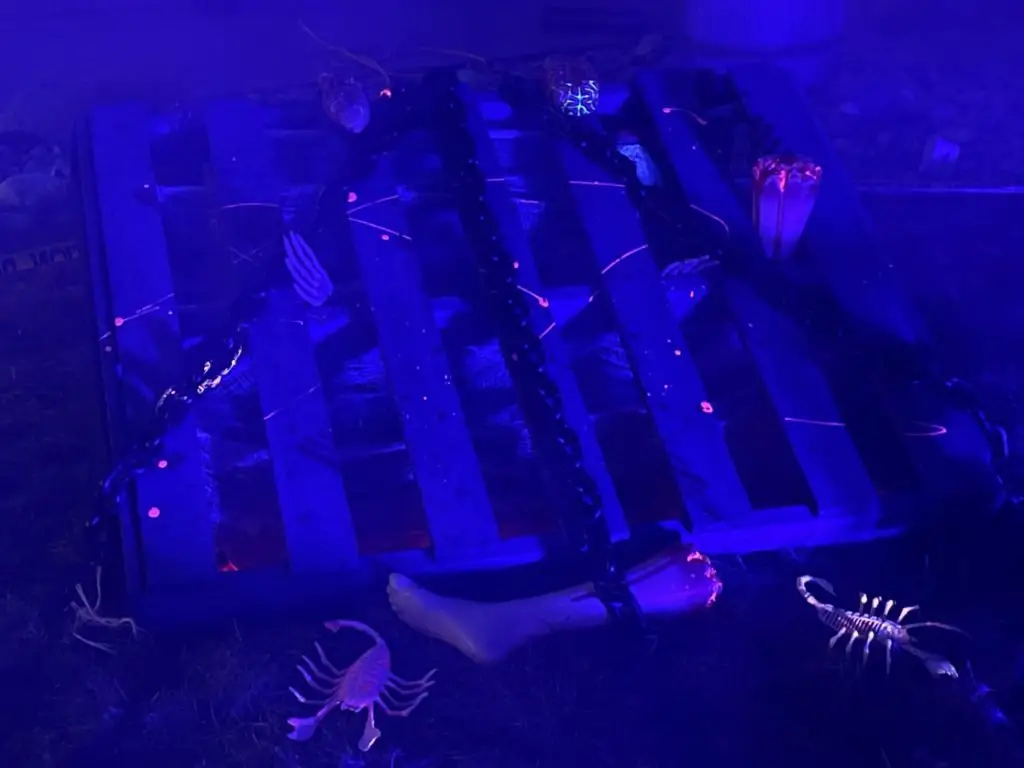
Just a note about black lights. Some lights can get very hot, so you want to keep them away from anything flammable.
You will also need to spend an evening or two before Halloween setting up the direction of the black light. For some reason, I have found that if they are positioned improperly the scary effects will be lost in the lighting.
And there you have it! Your Gates To Hell – Zombie Pit is Complete!
Things I learned along the way making the Gates to Hell Zombie Pit
- I have been desperately trying to get ahead of the curve for Halloween decorations but there is only so much time in advance that I can make and display Halloween decorations. This year, I tried to make them earlier than normal. Between the dog, the kids, the weather and all the leaves that have fallen, I will have to rework the Gates to Hell Zombie Pit again before Halloween to make it in tip-top shape.
- Lighting up the Gates to Hell is a bit of a challenge. We spent a few days trying to get the right lighting. But I think so long as there is some light inside/underneath the zombie pit to light up the faces inside it should be enough.
- Painting skids is easy and quick. You do not need to paint it perfectly but leaving too much wood exposed will not look the greatest. Typically the wood that is exposed is on the underside of the skid.
- This is not a Halloween decoration that can be stored until next year. We do not have space to store a skid for a year. So if we want to do this again next year, we will have to start from scratch again.
Did you enjoy this tutorial on making the gates to hell zombie pit?
Did you enjoy this tutorial on how to make the gates to hell zombie pit? Let me know in the comments! Did you try making this project? Let me know how it turned out and let me know if you made any modifications!
If you liked this post, be sure to check out my other Halloween posts HERE