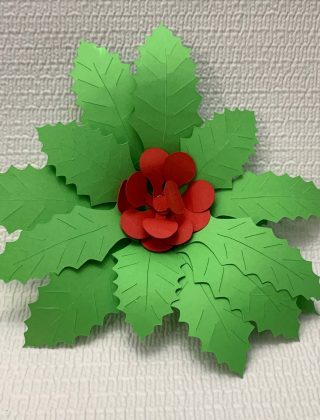
Years ago, my kids and I bought some flower bulbs and tried growing some calla lilies in a pot. It turned out to be a complete disaster. We ended up with a pile of mold and no flowers. So we have given up on growing real flowers indoors. But we really liked the look of the calla lilies and wanted to have some of our very own. And, that is how we came to make a paper calla lily bouquet.
As an Amazon Associate, I earn from qualifying purchases. This post contains affiliate links. I may receive a commission if you purchase an item from one of my links. This will not change the price you pay.
Supplies Needed to make a paper calla lily bouquet
Paper flowers don’t need many supplies, but let’s review them anyway. That way, we can make this paper calla lily bouquet without issues.
- Cardstock – I have listed full-size sheets of cardstock but you can use much smaller pieces per flower. I made several flowers, so I used the full sheets and then some, but if only making one, much smaller pieces can be used.
- 8.5” x” 11” light pink cardstock
- 8.5” x” 11” yellow cardstock
- 8.5” x” 11” green cardstock
- Glue – I used my crafting glue, but sometimes I find that working with cardstock and metal stems needs some hot glue to get things to stick.
- Metal stems – there are many types of metal stems that you can use. I am currently using these ones, but in the past, I have picked them up at the dollar store. I will mention that the flower stems that are coated in a paper film on top work better because the glue has something to adhere to.
- Paper Calla Lily Cut File – This is a simple craft to cut out with scissors if you like cutting with scissors. I am not a fan of cutting with scissors, and that is why I have created a file that you can use to cut with a cutting machine. You can get a copy of my file here.
- Cutting machine – If you are like me and too lazy to cut with scissors, using a cutting machine is the thing to do. I use my Cricut Explore Air 2, but any cutting machine will work.
- Cutting mats – needed to cut cardstock on a Cricut Machine
- Scissors – If you are not a fan of cutting machines, you can do this whole craft with scissors instead.
Ok, now that we have all our supplies, it is time to get this project started!
How to make a Paper Calla Lily
As I mentioned above, you can get a copy of my file here. But this design is simple and you can recreate the design with scissors.
How to use the Paper Calla Lily SVG File
How to import the Paper Calla Lily SVG File
Once you have the file saved to your computer, you will need to perform the following steps:
- Unzip the file –
- Right-click on the file with your mouse and select Unzip
- Select a location where you want the file to be saved.
- Hit Enter and your file will be unzipped and saved.
- Upload the file to Cricut Design Space.
- Select the Upload Icon on the left side of your screen.
- Select the Upload Image button.
- Select the File from the location where the file was saved from above.
- Select the file from your DS Recently Uploaded documents. There should be a green rectangle around it.
- Hit the Add to Canvas button.
Modifying the Calla Lily SVG File
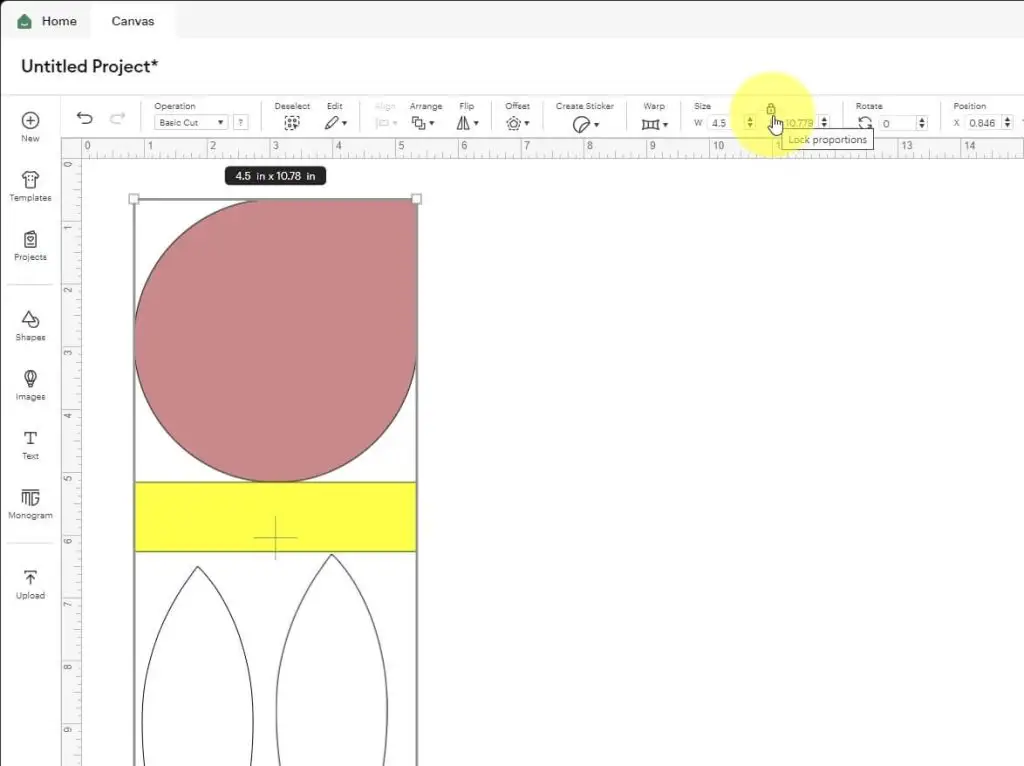
This SVG File is simple to use and no major modifications are required, but I want to review the size with you.
Select the design that has been uploaded onto your Canvas.
When I made this project, I set the width to 4.5”. This makes a good-sized flower. The larger the flower petal, the larger your flower. So, if you want a larger flower you can increase the size.
Duplicate the file as many times as you would like to create more flowers.
Now the file is ready to cut. Select the Make Button and cut out the design on the cardstock setting.
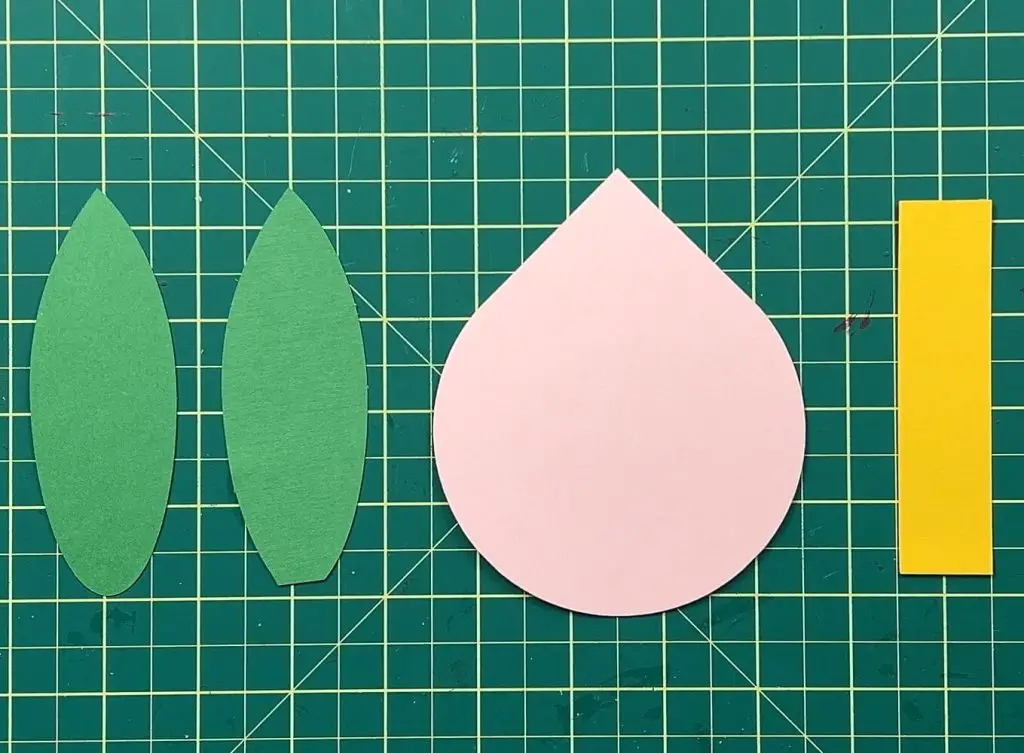
Reviewing the cut pieces
Even though this design is simple, let’s review the cut pieces – each paper calla lily should have:
- 1 pink flower petal in the shape of a teardrop
- 1 yellow rectangle,
- 2 green leaves.
Assembling the Paper Calla Lily
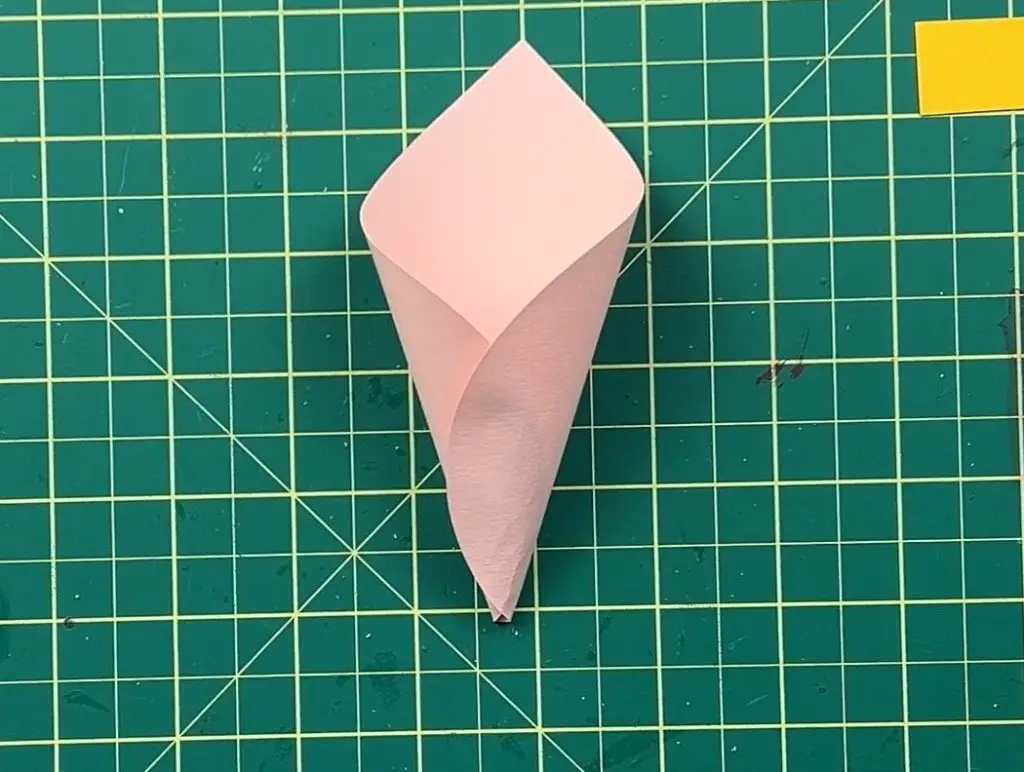
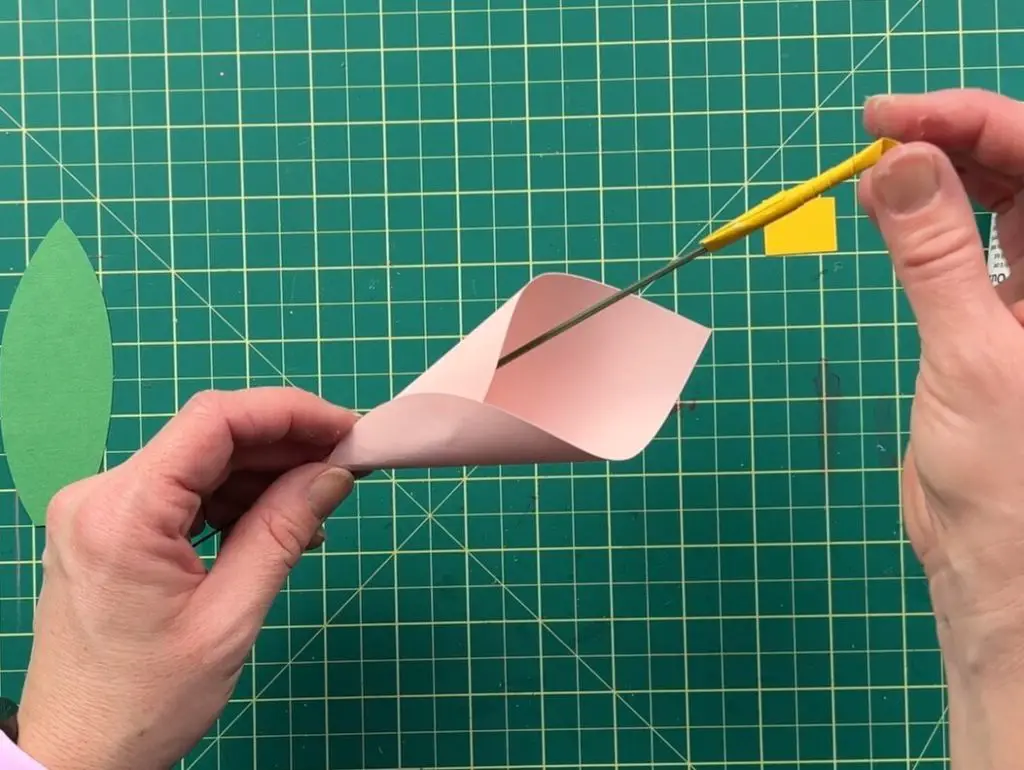
Let’s start by folding the flower petal. You want to curl the flower petal in thirds. Apply glue to the underside of the top third and hold the petal together while it dries.
When rolling this flower petal, you want the bottom of the flower petal rolled tight and the top to be open wide.
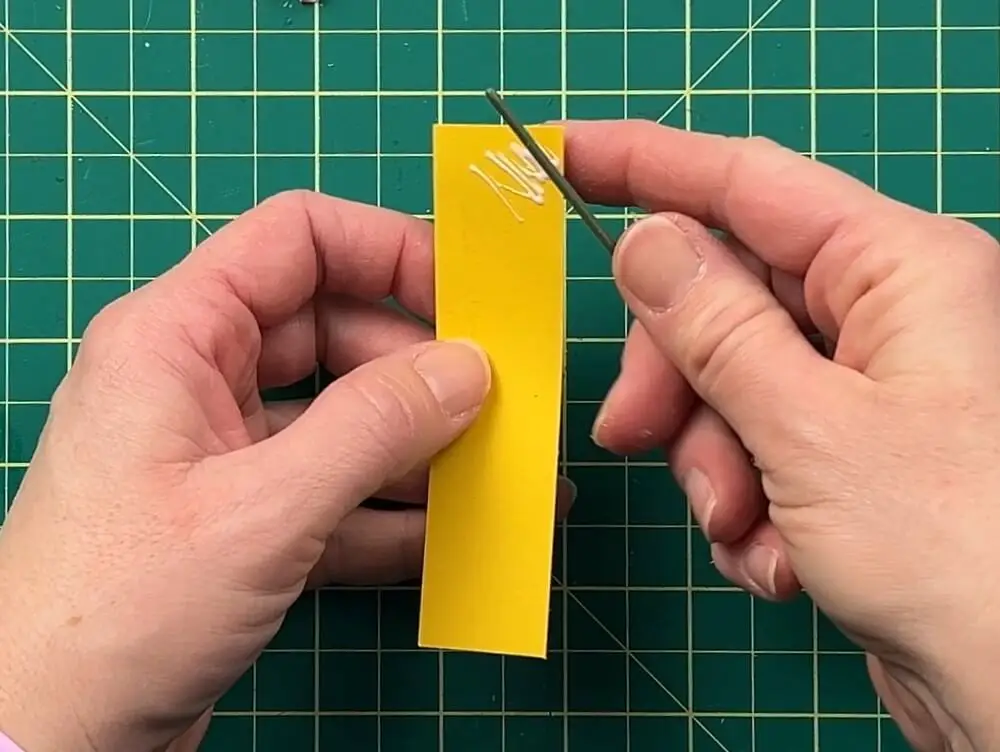
Next, we are going to work on the flower center. Apply glue to one side of the yellow rectangle. Roll it onto the flower stem. I recommend rolling it on an angle. This will allow the yellow rectangle to roll down the stem further.
Once the flower petal and flower center are dry, pull the bottom of the stem through the small opening in the flower petal.
You can use glue to hold the stem in place, either by applying glue to the bottom of the petal opening or to the back of the yellow center.
For best results, wait until the flower petal and center are dried before attaching the leaves.
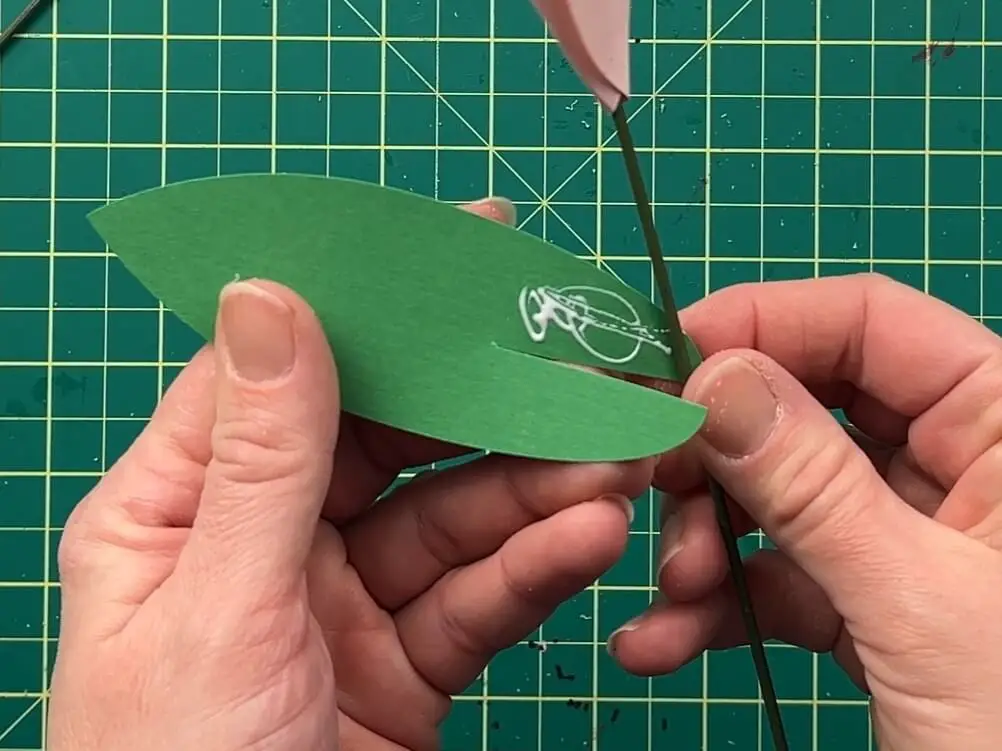
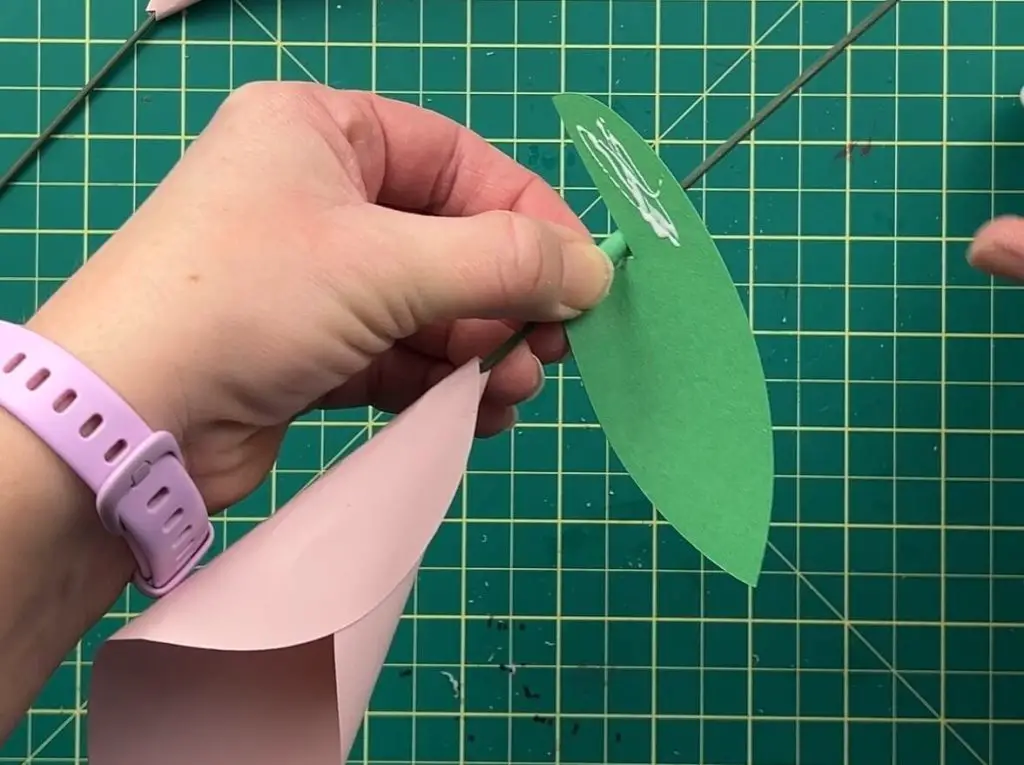
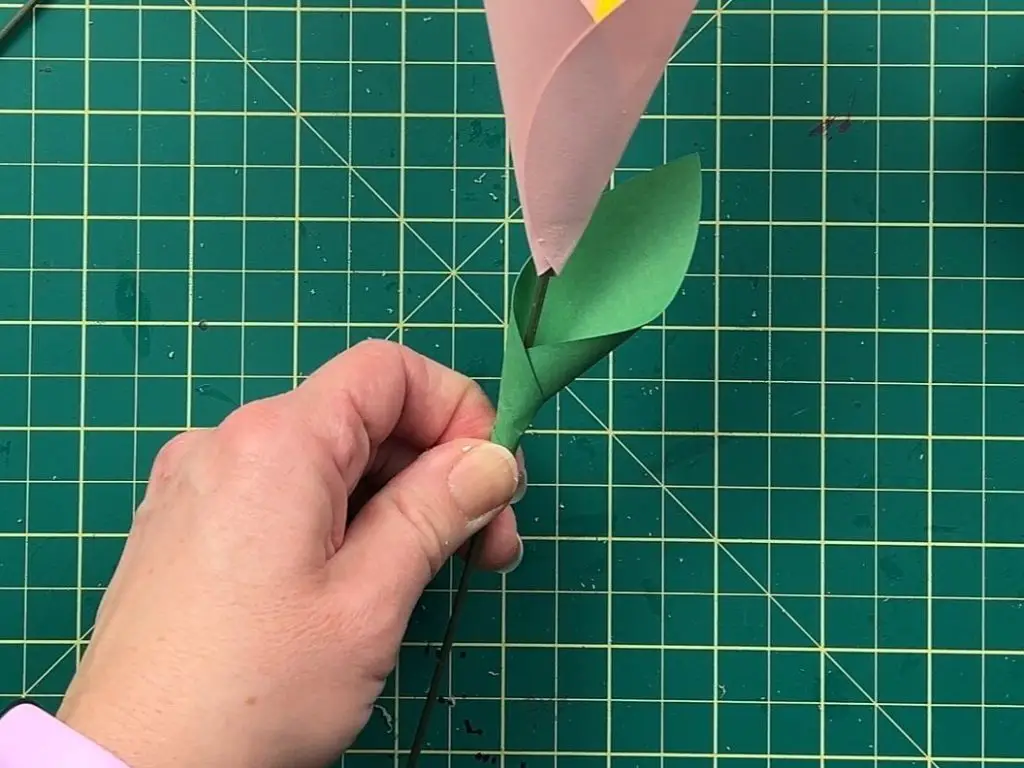
Cut a slit in the bottom of both leaves. Apply glue to one of the cut halves of the leaf. Roll the glued section around the stem. Then, gently fold the leaf, apply glue to the second side and roll the second half down the stem. Repeat this for the second leaf if you want 2 leaves on the flower.
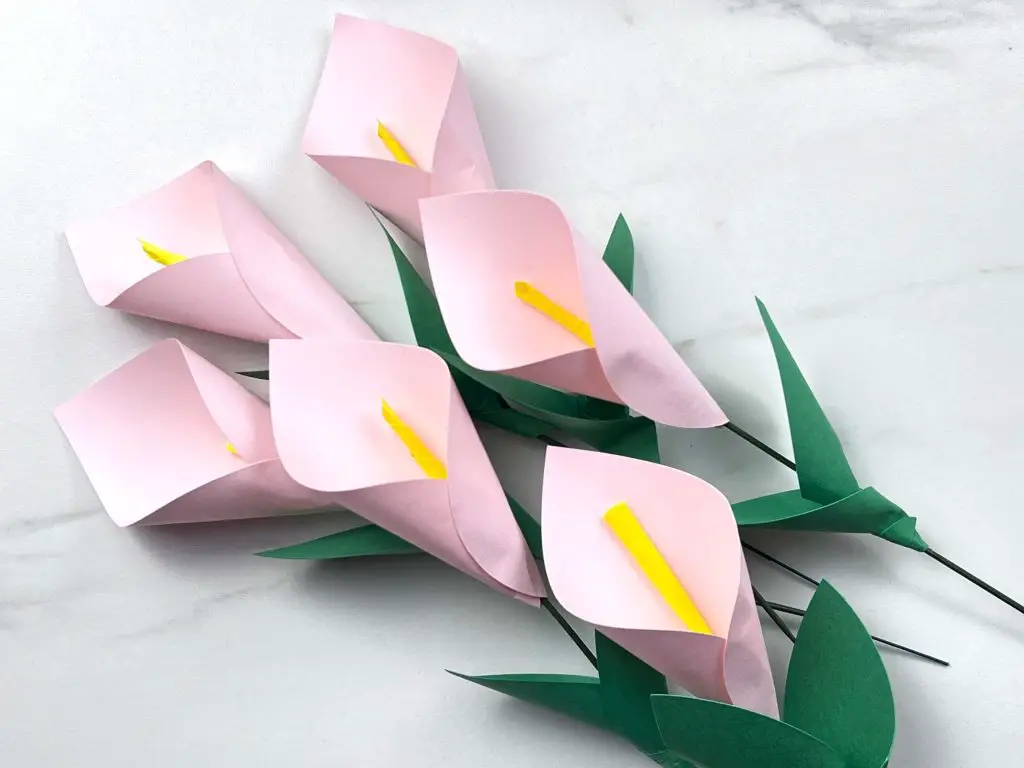
And there you have it! Your Paper Calla Lily Bouquet is complete!
Things I learned while making these flower
For the most part, these flowers were not difficult to make, but as always, we learned some things. So let’s have a quick chat about that.
- The stems that I use are not great for gluing paper to. This caused me to use more glue to hold the flower petals in place. If I had used stems that were paper-lined it would have been easier to hold this together.
- No matter how I tried to roll the leaves onto the stem, the second leaf would always end up directly on top of the first leaf. If you have this problem as well, I recommend you don’t roll the second leaf on tightly at the start. Then loosely massage it into place and tighten the roll.
- I intertwined all the stems together so they stayed as a bouquet all facing the same direction. This was the best solution to keep all the paper calla lilies facing in one direction.

Did you enjoy learning how to make a paper calla lily bouquet?
Did you enjoy learning how to make a paper calla lily bouquet? Let me know if you tried this craft and how it turned out. If you have any suggestions on how to make this project better, let me know in the comments below.
If you enjoyed this project, be sure to check out my other Paper Crafts Here
You can also see my other Flower Projects Here.
And don’t forget you can pick up a copy of this project file Here.