I am always looking for new craft ideas for my kids. And painting on paper just seems to be no fun these days. So, I recently tried something new, and I do not know what to call it! So, what I am going to call it is Painting Framed Glass. It is easy to set up, and your kids can have fun painting and have a nice picture for their room later.
This post contains affiliate links. I may receive a commission if you purchase an item from one of my links. This will not change the price you pay.
What you need:
- Picture frame – I just bought them at the local dollar store as there is no need to spend too much money on these frames.
- Paint
- Vinyl – preferably black, but any color will work.
- Transfer Tape
- Colorful paper to your liking.
- Cutting machine – I use my Cricut.
Preparing the Design
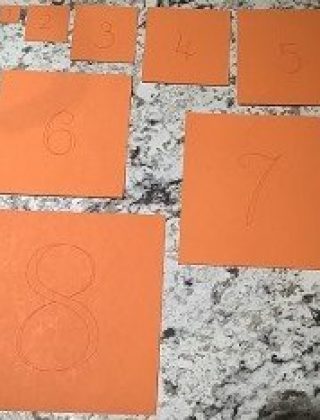
Before you can do the activity – you need to figure out the design you want to place on the glass. My girls have some favorite things and characters right now, so it was easy for me to find an image that they already had saved.
If you do not know how to make your own design – check out this page here, and I walk you through the steps.
Preparing the Picture Frame
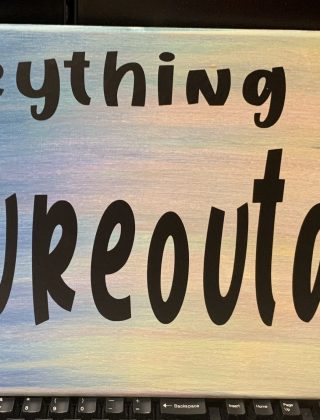
Once you have your design, you need to cut it with your cutting machine and weed it.
You will need to use transfer tape to take it off the carrier sheet to get it ready for transfer.
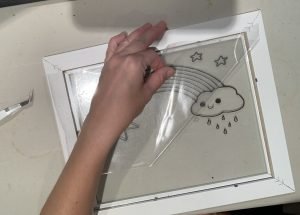
Take the picture frame apart so that you can remove the glass. Place the design onto the glass and burnish it on. Remove the transfer paper, and your glass is ready for painting.
Prepare your work space
Like with any craft at my house, we have to prepare the workspace. I use newspapers to protect my table. But an old drop cloth or table cloth works well also.
When you place your glass down on the paper, you want to make sure that the vinyl is on the top side. As we are painting between the lines of the vinyl, and these are our guides.
One important thing to note about preparing – I placed the glass on the table and taped it down all around the 4 sides. Although the glass is cut and treated, the edges are still sharp, and I do not need to add stitches to my list.
Paint the Design
Remember you want the vinyl on the top side of the glass.
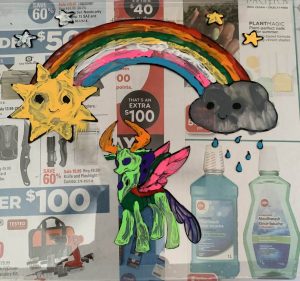
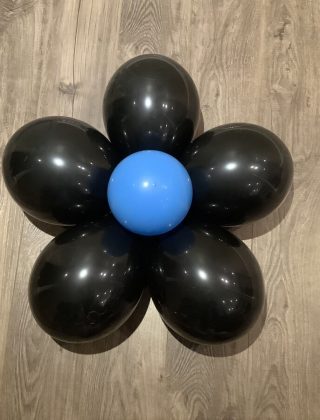
Start painting! The vinyl will help your littles stay in the lines and keep the colors where they should be.
Paint until the entire image is painted in. The full glass does not need to be painted, however, if you want to paint the whole glass pane, you can.

Select Backing paper
This is an optional step. If the glass pane is entirely covered in paint, it does not require a backing page. If you did not paint the entire glass pane, this is used as an accent.
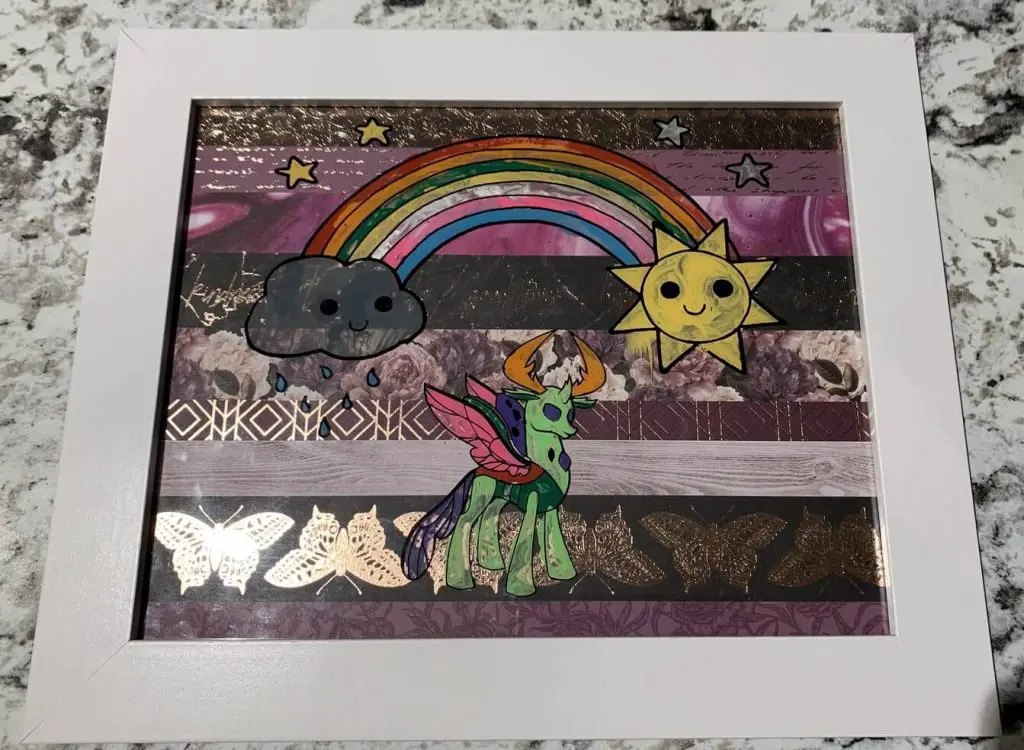
Once the design is dry, you are ready to select a backing paper to put into the frame. This can be a simple solid color or one with a more elaborate design. Insert it into the picture frame behind your glass, and there you have it!
Reassemble the frame, and….

That’s it! You’re Done!
Things I Learned Along the Way
Like with all crafts, there are some things that I learned that I think are worth sharing, so here goes:
- The design that you pick – Some of the images we used for our design had very thin separation lines. This caused a bit of a problem when transferring to the glass.
- The nice thing about working with glass is that if the paint goes outside the lines it can quickly be wiped clean and no tears are shed.
- Kids like to pick up their creations and admire their work. I taped the glass pane down onto the newspaper around all edges so that they would not cut themselves. Even the edges of plastic panes can cut, so be careful.
- Some picture frames have a plastic pane inside instead of glass. This will work just fine.
- If you do not have a cutting machine, you can always buy outline stickers to get great results as well.
Don’t forget to sign up for my newsletters! You’ll get inside tips on upcoming posts and additional behind the scenes details about what’s happening on the site!
Did you find this Tutorial Helpful?
Did you find this tutorial on painting framed glass helpful? Let me know in the comments below! And let me know if you tried it out!
If you liked this tutorial, check out other similar projects here.
As an Amazon Associate, I earn from qualifying purchases. This post contains affiliate links. I may receive a commission if you purchase an item from one of my links. This will not change the price you pay.
A yes to all. very informative. thanks for sharing.
Glad you enjoyed it!
What an unique activity a d great keepsake… savin g this for summer fun!
Thanks! Hopefully you get a chance to try it out! Let me know how it turns out!
This is such a beautiful activity! I can’t wait to try it with my little ones 🙂
Hopefully you get a chance! Send in a picture when you’re done so that we can all see as well! Good luck!
My students students school and my son would love this. How creative and satisfying to create framed art!
Thanks! My kids love it!
How interesting! I remember how I did such creative crafts as a child. These are vital for kids to learn.
Thanks for the kind words!
My sister and friend are both teachers. Will definitely pass this down to them!!
Thanks for sharing! I hope they enjoy it!
A terrific idea. I think it could work with dry erase markers, eg chalk markers, as well, & although it would not be as vibrant, it could be redone time & time again, using different colours & each time a picture could be taken of how it turned out, so the child doesn’t mind wiping away the colour to start again.
That’s a great idea! I hadn’t thought of that. Let me now if you try it out!