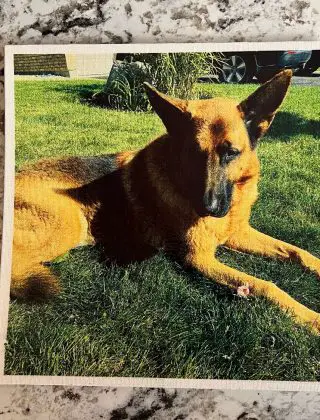
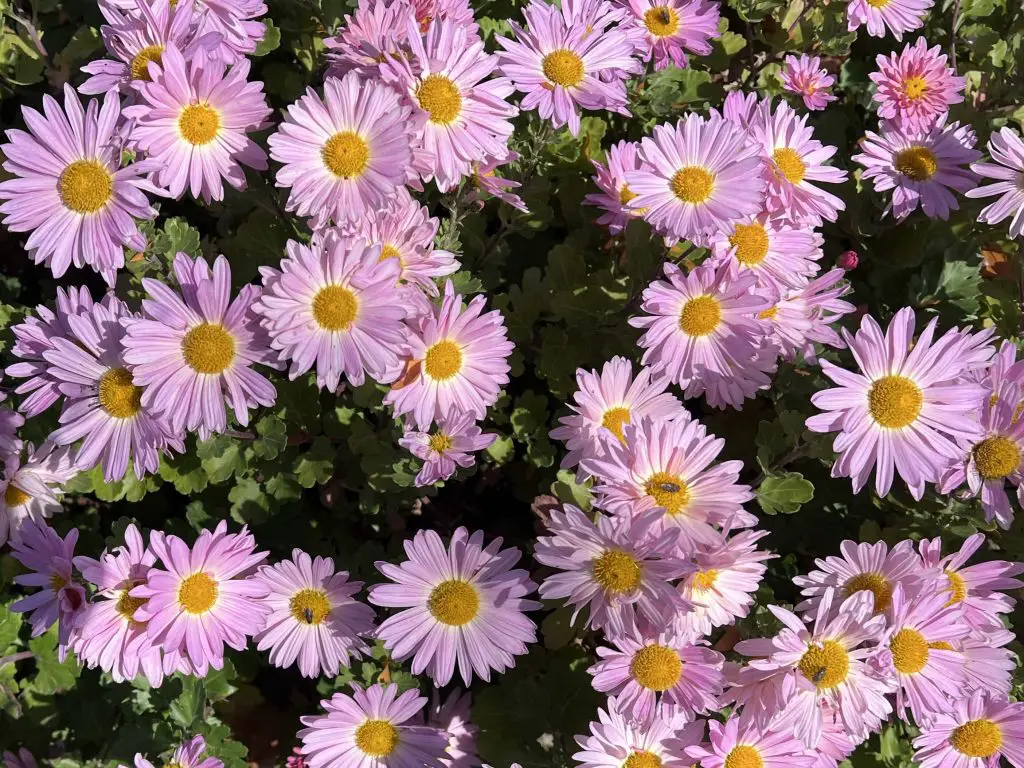
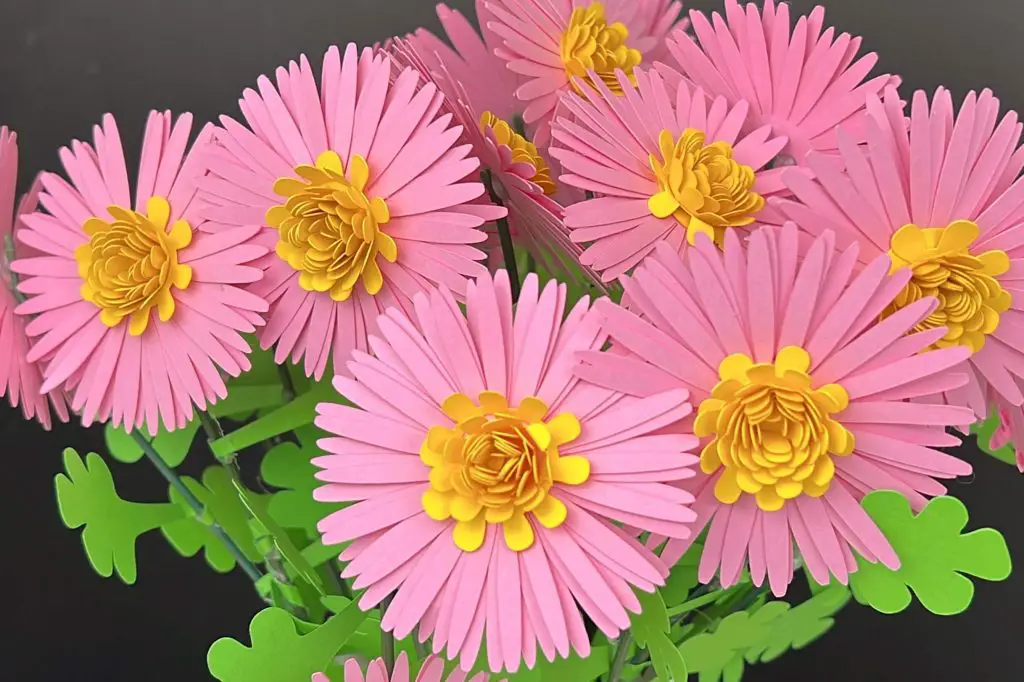
I have started to design and make paper flowers. I love paper flowers because they are quick to make and last forever! Well, almost forever. And the latest addition to my paper flowers is DIY Mini Chrysanthemums. I saw these flowers in the fall when out walking with the dog. I snapped a picture of them. Then I sketched it up and got carried away with stickers, but it is here now! So, let’s jump in and DIY ourselves some mini pink chrysanthemums in pink!
Supplies needed for DIY Mini Chrysanthemums
Paper crafts don’t need too much, and since these mums are made of paper, here is our short-ish list:
- Cardstock – I used Recollections brand cardstock. I find that the 8.5″x11″ works best for me. You will need 3 colors:
- light pink – for the flower petals
- yellow – for the flower center
- green – for the leaves
- Metal flower stem – I often buy my flower stems from the local dollar store, but this time when needed, the dollar store had none in stock. So, I bought these ones on Amazon. These work well for my mini-mums because they are thin and short.
- Glue – There is a fair amount of gluing required here. So, you will need:
- Crafting glue – I used my Bearly Art Crafting glue. This is for the flower petals and center.
- Hot glue with a glue gun – this is for working with the stems.
- SVG cut file – You can get a copy of my SVG cut file here.
- Cutting Machine – I used my Cricut Explore Air 2
Now that we have all our supplies let’s jump in and DIY Mini Chrysanthemums!
Using the Mimi Chrysanthemums SVG File.
You will want my SVG file which you can get here. But any mum file will work.
Once you have downloaded the file, there are a few steps that need to be taken when working with this file. So, I’ll do a quick walk-through of what we do.
- Download the file to your computer or tablet.
- Unzip the file.
- Upload the file to Cricut Design Space.
- Select the Upload Icon on the left side of your screen.
- Select the Upload Image button.
- Select the Mini Mum File from the location where the file was saved.
- Select the mini-mums file from your DS Recently Uploaded documents. There should be a green rectangle around it.
- Hit the Add to Canvas button.
- Once the mini-mums are on your DS canvas, select the image, and hit the Ungroup Icon on the top right side of your screen.
- Select one of the pink mum petal pieces. The size should be 2.53″ x 2.49″. This is a good size for these mini chrysanthemums. But if you want them bigger or smaller, select all of the items from the design and increase or decrease the size to your liking.
- Duplicate the flower as many times as you wish.
When making this flower, I cut out 24 of them. Whenever I see these mini mums in real life, they are in a big bunch, so I cut out a whole bunch.
Once happy with the number of flowers, hit the Make button and send the flower to your Cricut to cut.
Assembling your DIY Mini Chrysanthemums
Paper Mum Pieces
Once you have cut out your DIY mini Chrysanthemum, you should have the following pieces:
- 3 pink petal pieces
- 1 yellow spiral
- 1 yellow circle
- 6 leaves
- 1 green cut circle
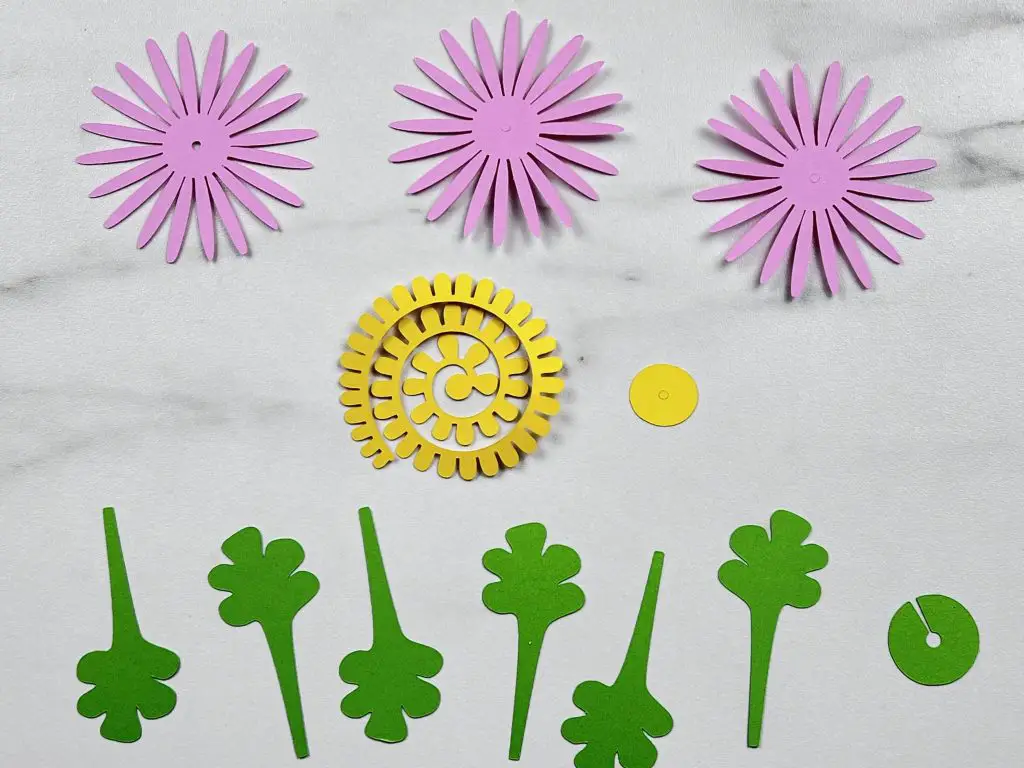
Each flower should have all of these pieces. If you want, you do not need to use 6 leaves for each flower. You can vary from 1-6 pieces per flower. The choice is yours. I like more greenery inside the bouquet to make it appear more life-like.
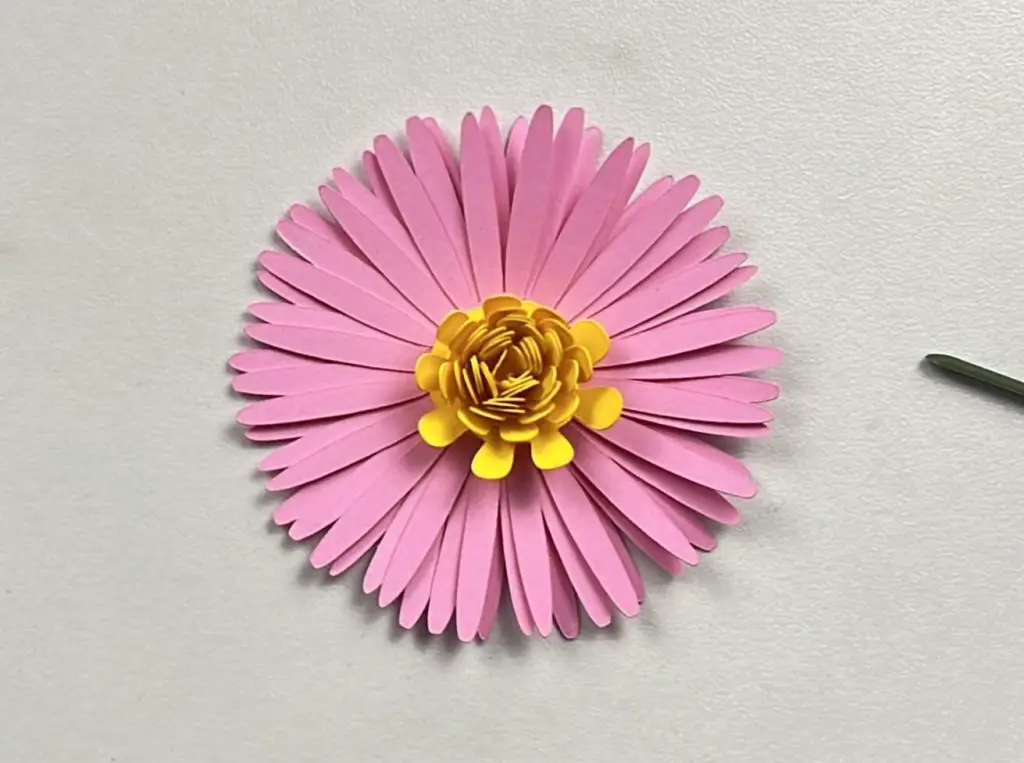
Assemble the Mini Mum Flower Head
Assembling the flower head is not overly difficult, but it can be troublesome if going too fast. So, let’s walk through this together.
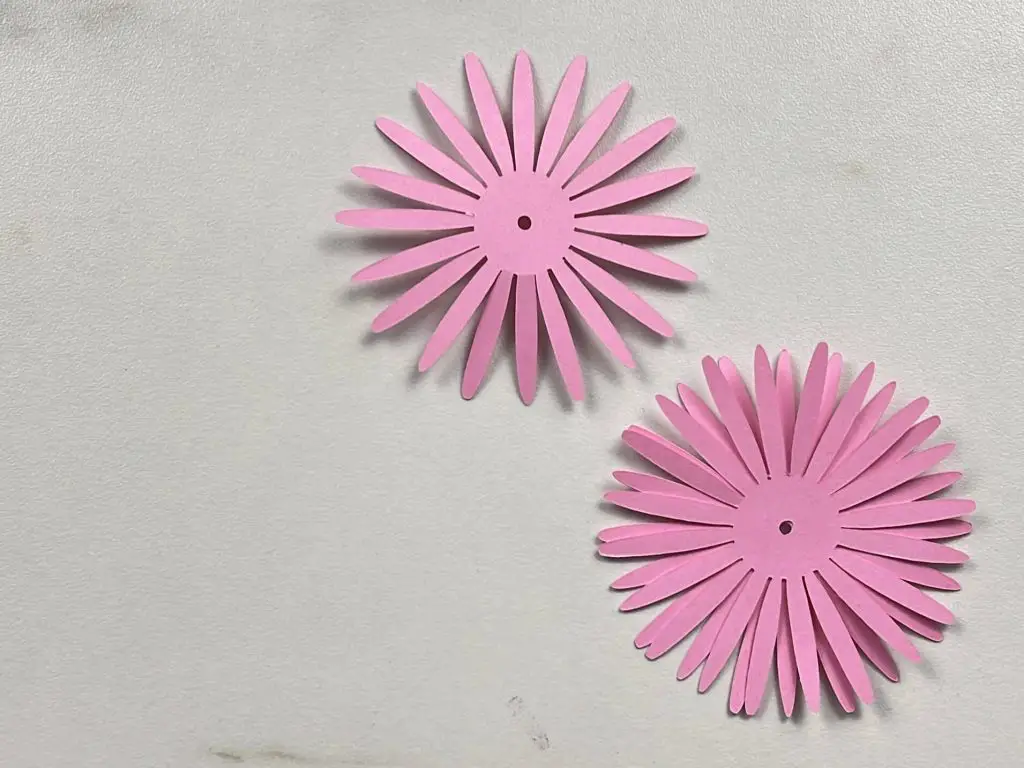
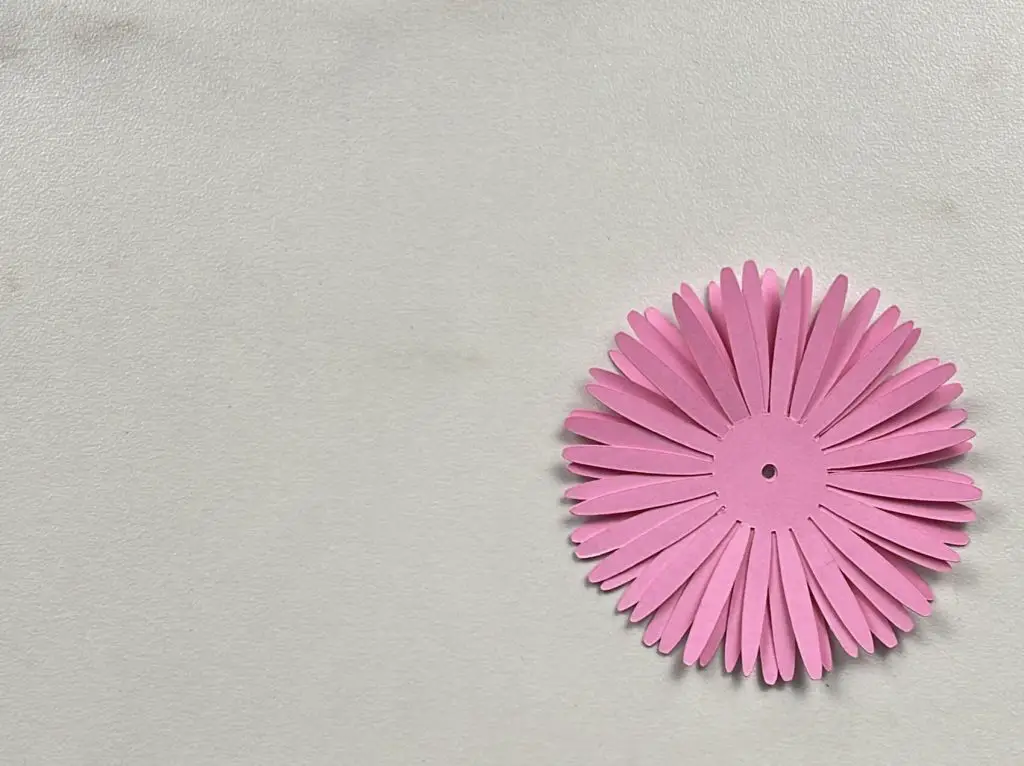
There are 3 pink petal pieces. You want to glue these three pieces together. When placing the petals on top of each other, you want to shift the petals around so that they fill in the gaps between the petals below. Glue each layer to the next one. The hole in the middle of the petals is there to help you align the centers. The flower petals are not symmetrical. So long as the part of the hole in the center aligns with the others, you are in good shape.
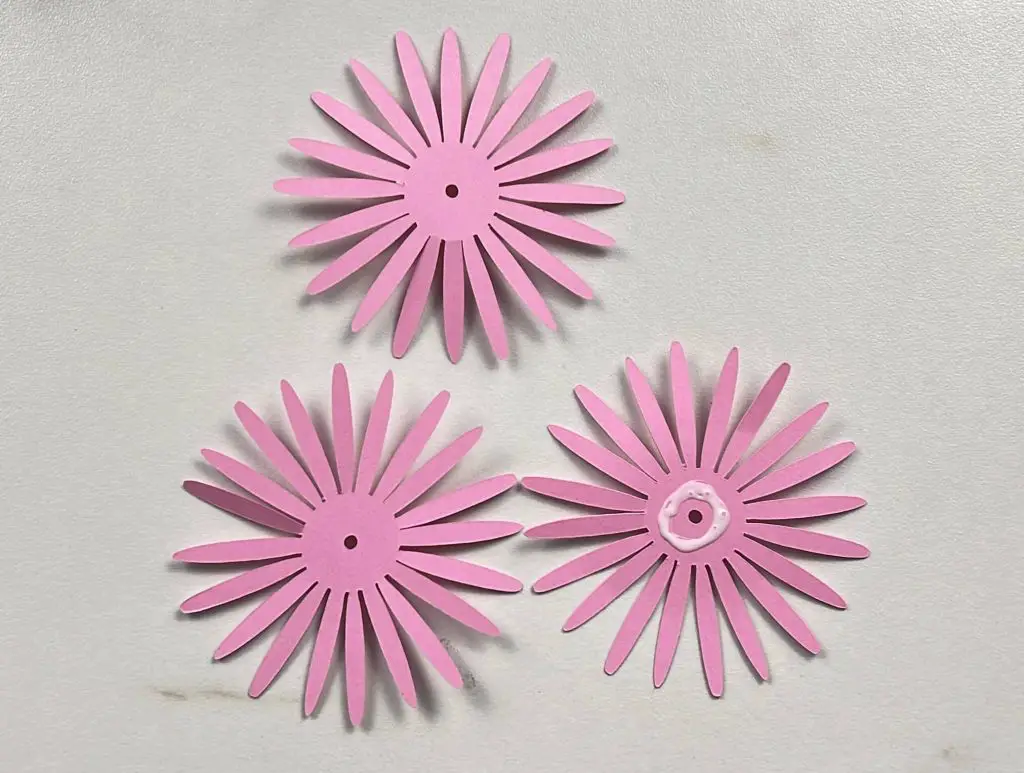
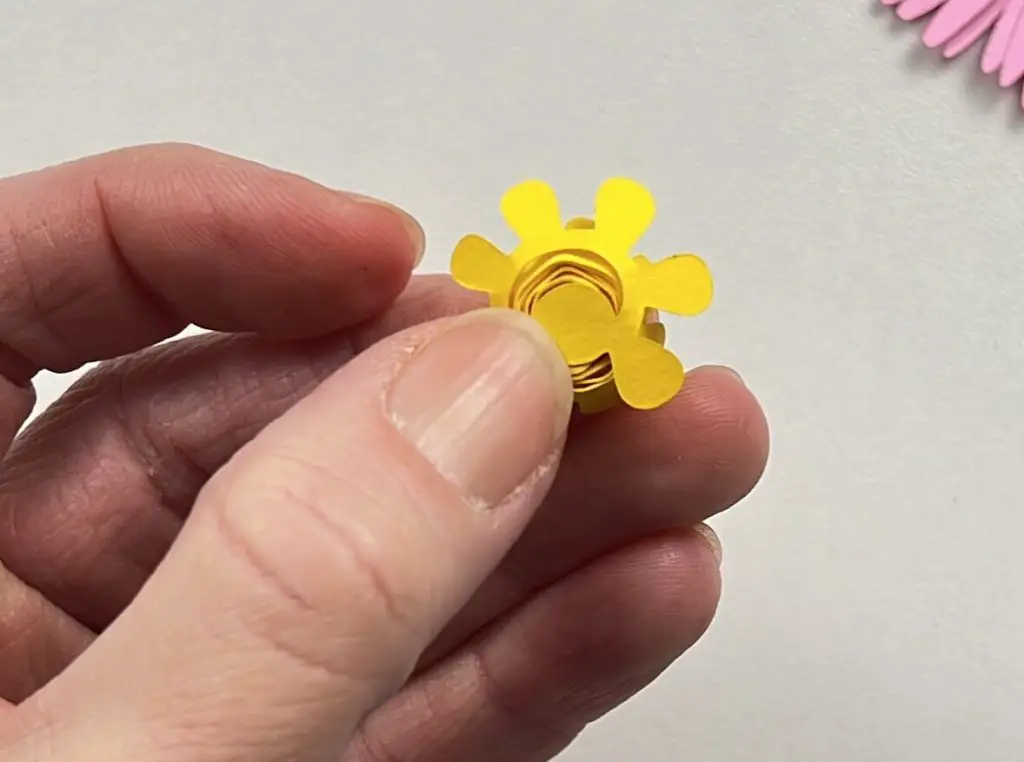
Once you have the 3 pink pieces glued together, glue the small yellow circle onto the top of the petals.

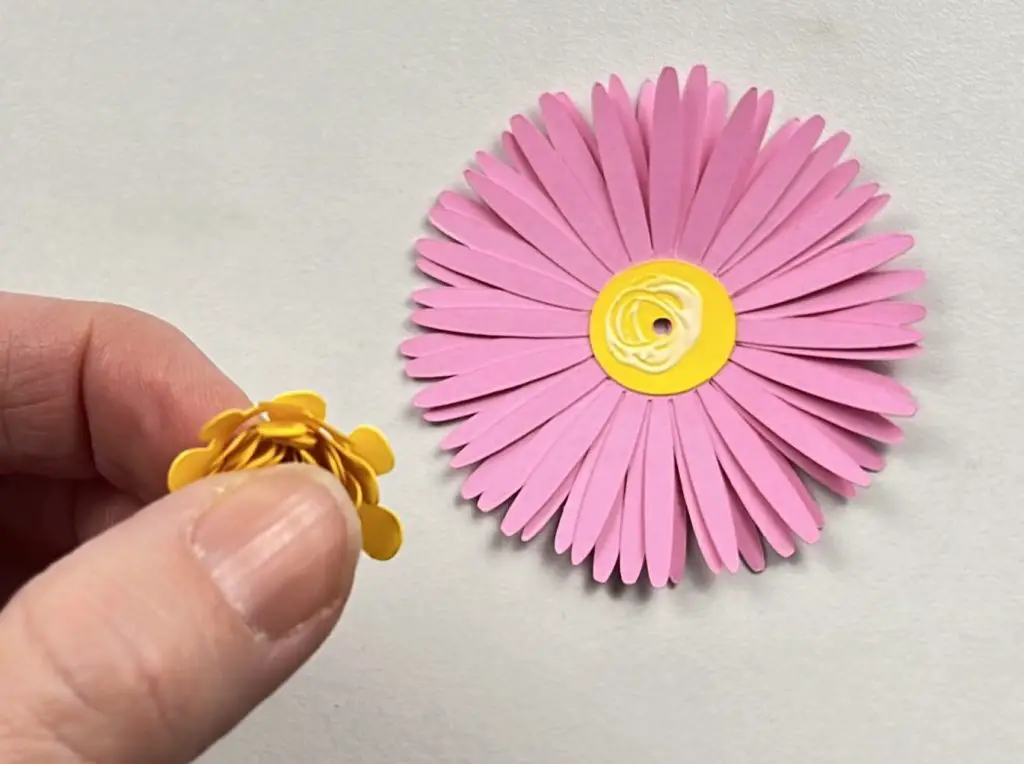
Roll the mini mum flower center
Now for the hard part. It is time to roll the yellow center of your mini chrysanthemum. Starting with the outside of the yellow spiral, slowly start to roll it into a small circle. I find squishing the paper with my fingers and making it more pliable helps with rolling. Keep rolling until the entire spiral is rolled.
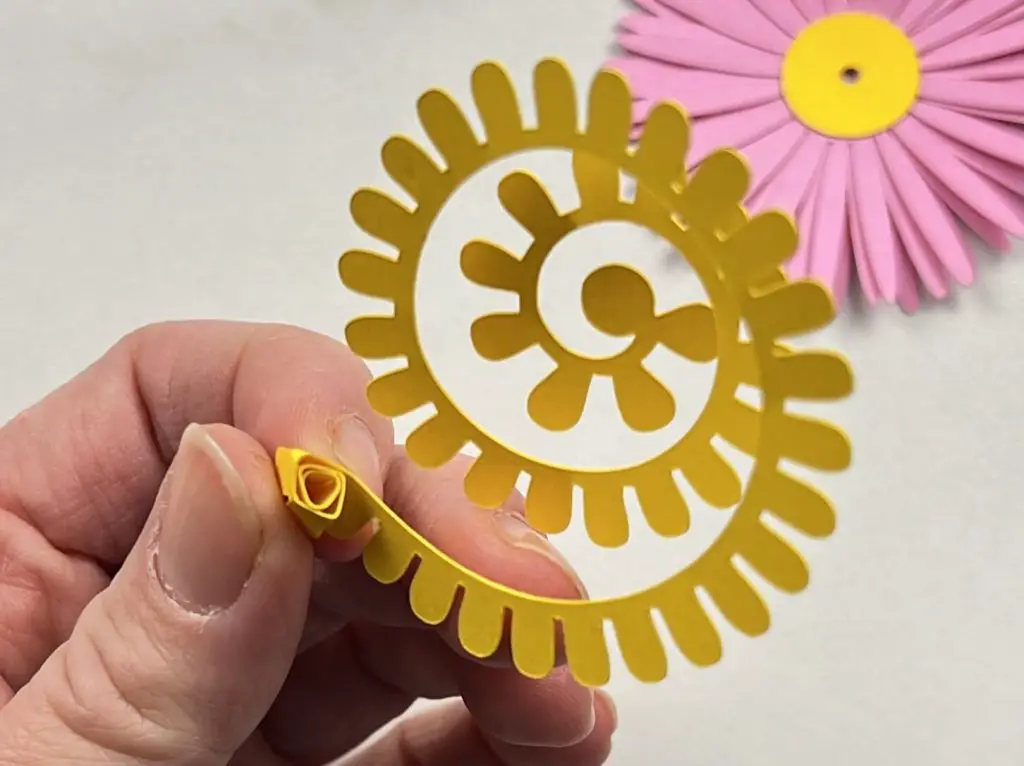
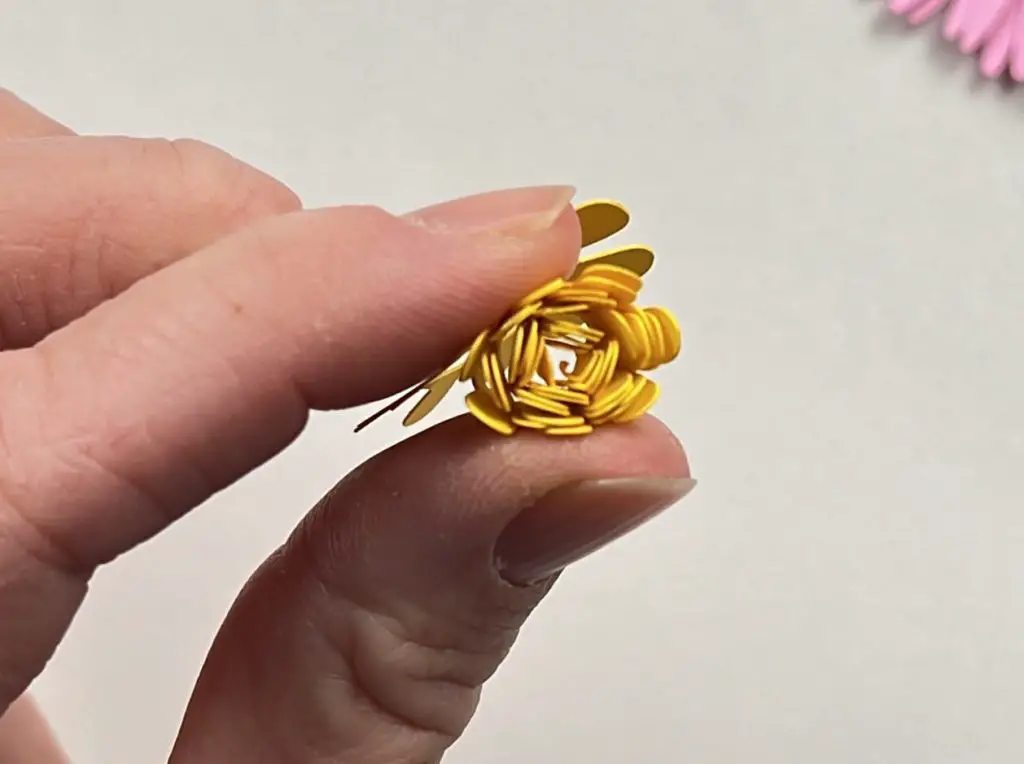
This is IMPORTANT – you do not need to roll this center tightly. You want it to be loose. So, when rolling, you can have it tight to start, but at the end, you want to release it a bit so it has more volume.
Once you have rolled the center all the way, there is a little circle at the end. This is used to help glue it in place. But all of the rolled center will not fit on this center circle. So, carefully apply glue to the inside portion of the center circle, as well as the bottom edge of the rolled flower. Now, place it in the yellow center on the petals. Hold it in place for a few seconds while the glue dries. Remember, you want the center to be loose, not tight, so it is ok if it falls apart while it is being glued into place.
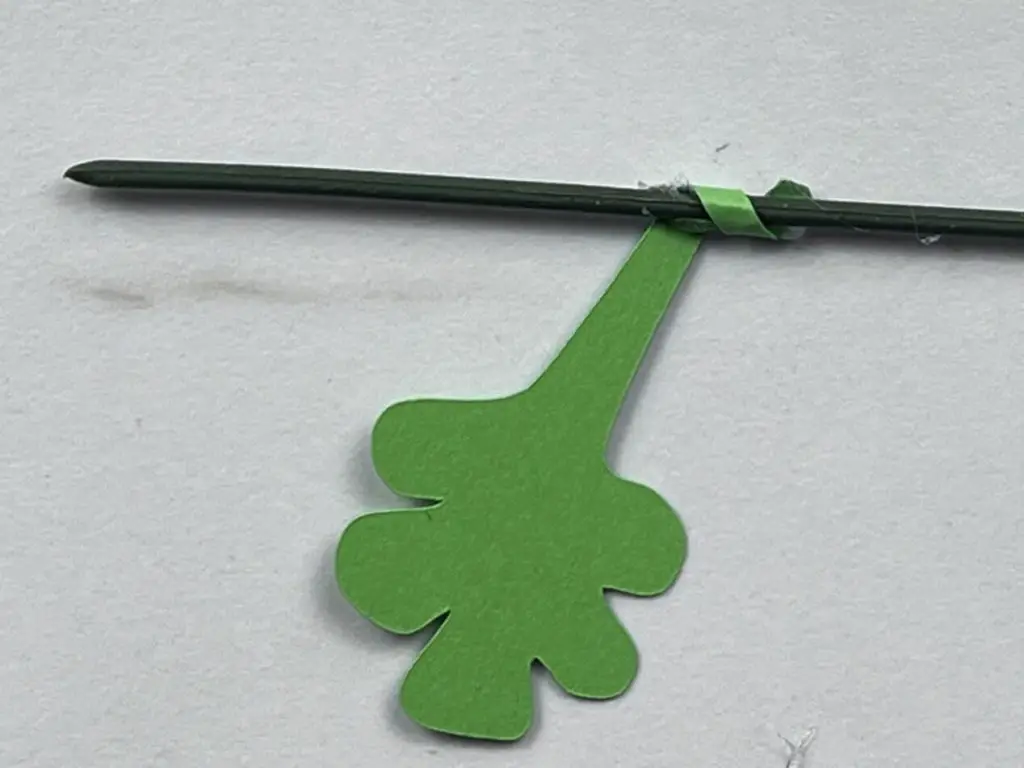
Attaching the leaves to the stem of your paper flower
When attaching the leaves to the stems, I find that working with my hot glue and glue gun works better. Since these need a quick dry, I found hot glue works best. So, let’s warm up our glue guns and start attaching leaves to our stems!
As I mentioned, there are 6 leaves per stem. You do not need to use all 6 on each stem. You can use 1 or 2 or all 6. It is your choice. I like to have a variation so that each flower is different.
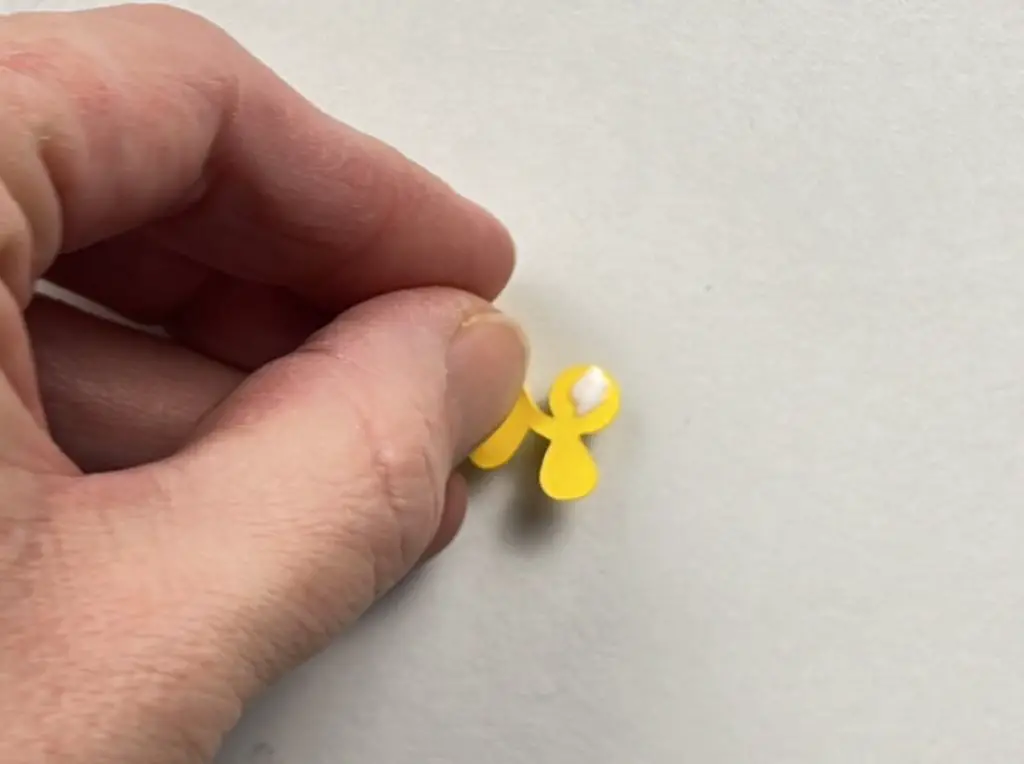
I’m going to walk you through one leaf. Then repeat the steps for however many leaves you want to add to your stem.
Find a location on the stem where you want the leaf to be. Angle it at about 45 degrees from the stem. Drop a dab of glue at the bottom of the leaf. Attach it to the stem. Start to roll the leaf around the stem. You should be able to get 2-3 turns around the stem with the paper leaf. Add a small dab of glue on the leaf at the edge of the stem to hold the leaf in place.
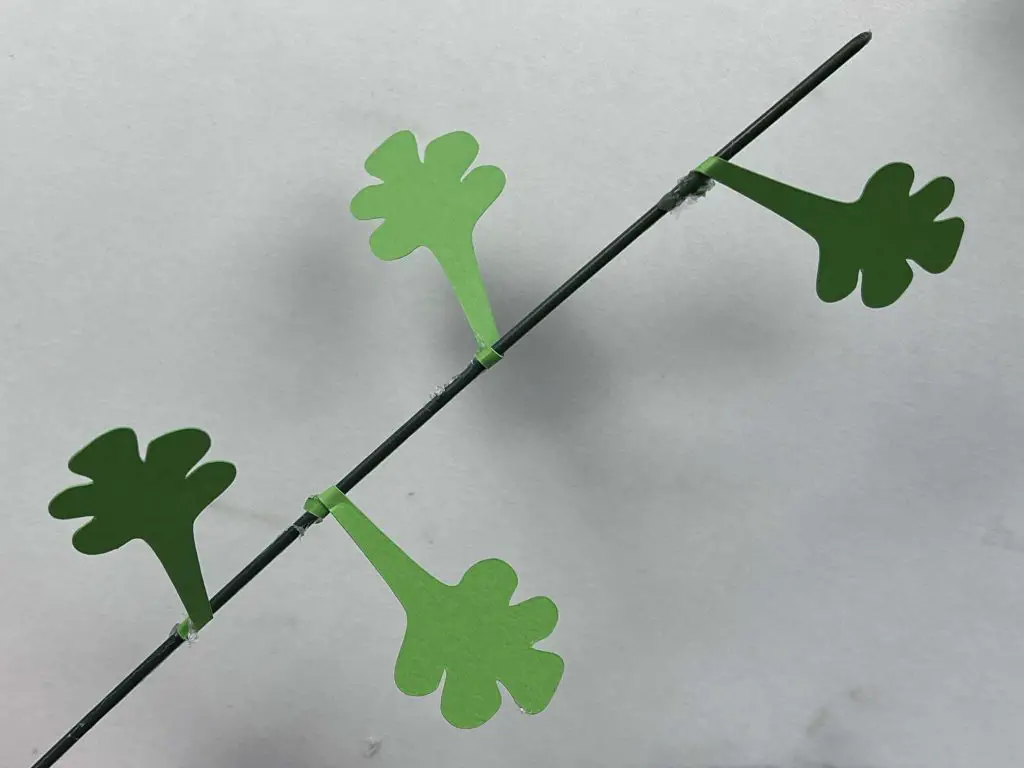
Repeat this process for as many leaves as you want on the stem.
One thing I like to when adding multiple leaves to the stem, is I like to have the leaves finish off at different locations along the stem. I find this gives the flowers a more life-like appearance.
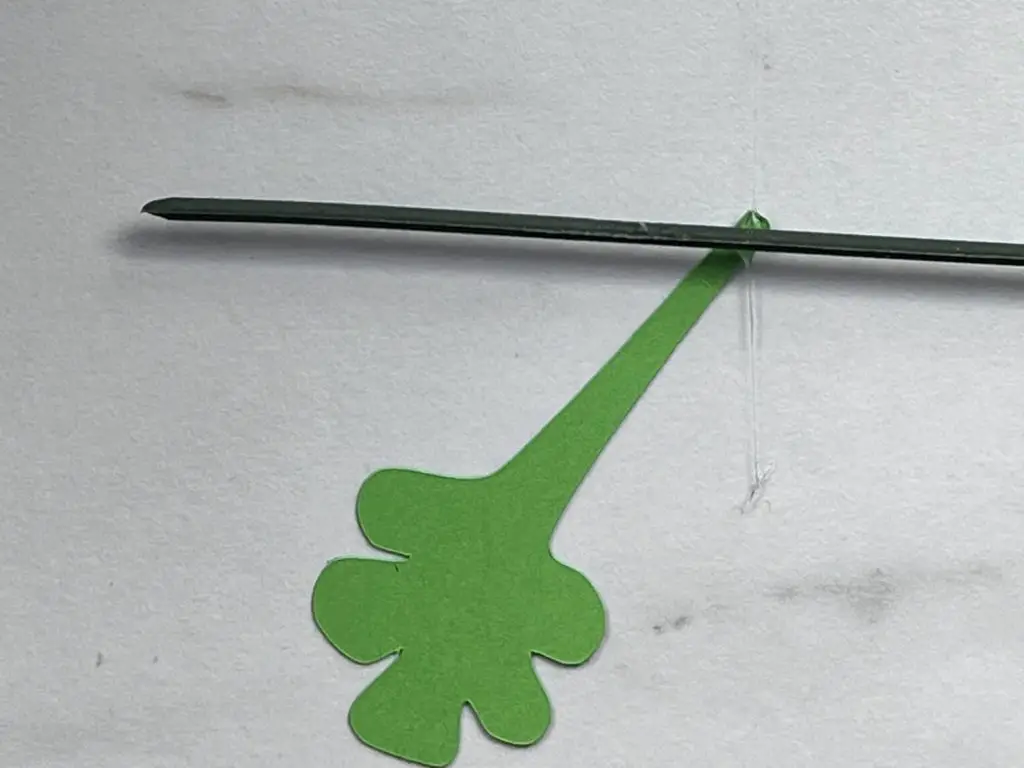
Attach the stem to the flower head
Ok, we are well on our way to being complete! One last thing! And it is to put the whole thing together.
So, apply a small dab of glue to the back of the flower head. I used hot glue for this as well. Then, place the top of the stem onto the glue.
If you want, you can give the top of the metal stem a bit of a bend so the flower face isn’t fully flat with the stem.
Repeat for each flower.
Final touches on your mini mums – Optional
Ok, so the flower is basically done, but some final optional touches for your DIY mini Chrysanthemums.
In my design, I have created a small green circle to cover the back of the flower. This is to hide the glue where the stem attaches to the flower head. You can glue this onto the back of the flower if you would like.
Also, at no point in the above steps have we moved the flower petals around to give them a more life-like look. You can fold, bend and twist the pink petals to your heart’s content. However, I have noticed that with these mini-mums, and all the movement they have undergone during the assembly process, they are already pretty disheveled, so not much work is required. But you can make them as messy or as proper as you would like.
I found that not much work was required to manipulate the petals as they were in rough shape already, and when they were put into a vase together, they moved around more and looked just fine as is.
So, the last thing to do is to place them into a vase or put a ribbon around them, and they are ready to go!
And there you have it! Your DIY mini mums are done!
Things I learned while making these DIY Mini Chrysanthemums
I have only made a few paper flowers in the past, so this was a bit of a challenge for me. But here are some of the things I learned:
- When rolling the center of the flower, tighter is not better. If you roll the flower center too tight, they look fake. So, in this case, you want the flower center rolled loosely.
- When cutting out the petals, if you lose a petal piece in the cut or during removal from your cutting mat, it is not the end of the world. You can still use the imperfect pieces. In nature, things aren’t perfect, so it is ok for them to be imperfect when we make them. I find that these little imperfections make the flowers more unique. Also, if you are missing a petal or 5, so long as it is not on the top layer, you cannot even notice it.
- I designed these flowers to have 6 leaves on the stems. This is a bit much. You can easily get away with 2-3 per stem. The main reason I say this is because once you are trying to put these into a vase or on display, having too many leaves makes it hard to put them all together.
- My design has a yellow center under the yellow spiral center of the flower. After making a whole bunch of these flowers and losing a whole bunch of these yellow centers, I realized that the flowers without the yellow look just as nice as the ones with it. If your center flower spiral is loose enough, you cannot tell if there is or isn’t a yellow under-layer.
Frequently Asked Questions about DIY Mini Chrysanthemums
How long to paper chrysanthemum last?
I have found that if you take care of your paper flowers, they will last a long time. I have paper flowers that are 2-3 years old and still look amazing. All they need is a good dusting every once in a while.
How Do you care for your paper flowers?
Some tips that I use for keeping my paper flowers looking fresh and alive longer are:
- Keep the paper flowers out of direct sunlight – even inside, paper will be bleached over time. They can be in a sunny room but not in direct sunlight.
- Do not spray the flowers with water when cleaning them.
- Dust the flower regularly. Simply shake the dust off with a dry dust rag or shake them outside. These are more sturdy than you think!
How can you make Mimi paper mums smell?
If you want the flowers to smell, you can always add a drop of essential oil onto them, add a dry pack of scent into the vase or even spritz them with some perfume.
I am not a flower expert, but all of the chrysanthemums I have seen in real life do not have a very strong smell, so even just leaving them with no smell is nice.
What materials do you make DIY Mimi Chrysanthemums with?
The DIY mini Chrysanthemums that I made are made with cardstock, however, you can make these flowers with other materials as well. I have made paper flowers with the following, and they turned out beautifully as well:
- Foam paper
- Faux Leather
- Felt
- Leather
When working with faux leather and felt to make flowers, if you are using your Cricut to cut the material, you may need to reinforce it with either vinyl or interfacing respectively, to give the material more support during the cutting process.
how do you roll flowers?
There are several different ways that you can roll flowers. I like to use my hands and roll and squish the flowers in my fingers to give them a more rounded look. However, if you are rolling a lot of flowers, this may not be the best solution. Other ways to roll flowers are:
- Using a wooden dowel – cut a small slice through the center to allow the paper to sit inside. You can tape the dowel below the cut point to keep it from falling apart. Then, you can roll the flower using the dowel. This works well.
- Using a drill – I have seen people use a drill – although I have never tried it myself. Using a wooden down in the drill and slowly pressing the drill trigger to roll the flower. I recommend trying this out on a few flowers you are ok to waste before committing to this process.
how tight to you roll flower?
This is a tricky question because all flowers are different. For these mini-mums, rolling the flower loosely looks best.

But with some flowers, like with my Black-Eyed Susan Paper Flowers, you want to roll the flower tightly. So, it all depends on the flower you are rolling.
I find that rolling loosely looks more natural for most flowers.
Did you enjoy this DIY Mini Mum Tutorial?
Did you enjoy this DIY Mini Chrysanthemum tutorial? Let me know in the comments below! Did you make these flowers? Let me know how they turned out!
If you enjoyed making these paper flowers, be sure to check out some of my other paper flower projects below:
- How To Make Paper Lavender Flowers
- Black-Eyed Susan Paper Flowers
- How To Make Beautiful Paper Hydrangeas
If you want to do more paper crafts with me, check out all my paper crafts here.