In the summer, when we had a bee-stinging incident, we were looking for any way possible the help relieve the fear and anxiety resulting from bee stings. And anything that was flying around. A trick that we tried was doing bee-related crafts. And that is how we came to make a honeycomb toilet paper roll craft.
The activity took some upfront preparations, but once my kids got started with all of the supplies, they were ready to go!
As an Amazon Associate, I earn from qualifying purchases. This post contains affiliate links. I may receive a commission if you purchase an item from one of my links. This will not change the price you pay.
Supplies needed to make a bee honeycomb
There was not much required, and we probably made it more complicated than we needed to, but we did it this way anyways.
So, what you need:
- Toilet paper rolls – you need about 3-4 for honeycomb. If you do not have toilet paper rolls, you can use paper towel rolls or wrapping paper rolls. Any paper tube will work.
- Construction paper – Yellow and Brown
- Backing paper – I used an old cereal box. The rigidity helped when all of the glue.
- Glue – just plain old crafting glue. We use the white Elmer’s glue.
- Paint – optional.
Minor Preparations required before staring your honeycomb
As this activity is for little kids, I prepared some items beforehand.
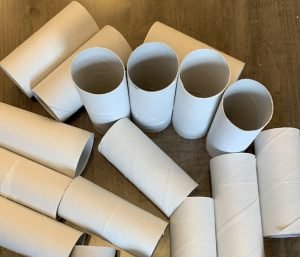
1. Cut the toilet paper rolls
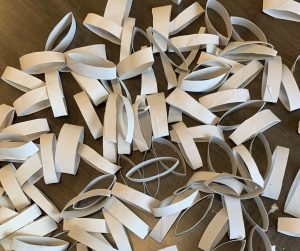
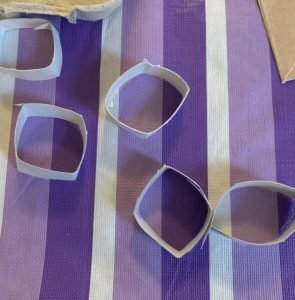
Using scissors, cut the toilet paper roll into rings. They can be anywhere from 1/4” – 1/2″ in thickness. They do not have to all be the thickness. We did different sizes to give it some character.
When cutting the toilet paper rolls, they will get bent and slightly folded, which is ok. I folded them once more to make them diamond-shaped, but you can work on folding them 3-times to make them shaped more like honeycombs, but 2-folds were enough for us.
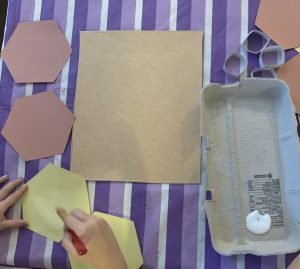
2. Cut the construction Paper into hexagons
Cut the construction paper into hexagons. I made mine about 6 inches in diameter. I made a few in each yellow and a few in brown.
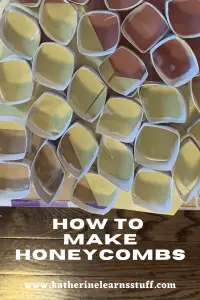
Time to make the toilet paper bee honeycomb
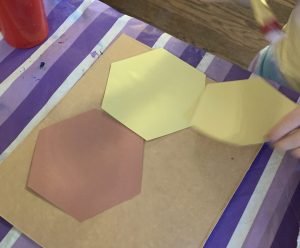
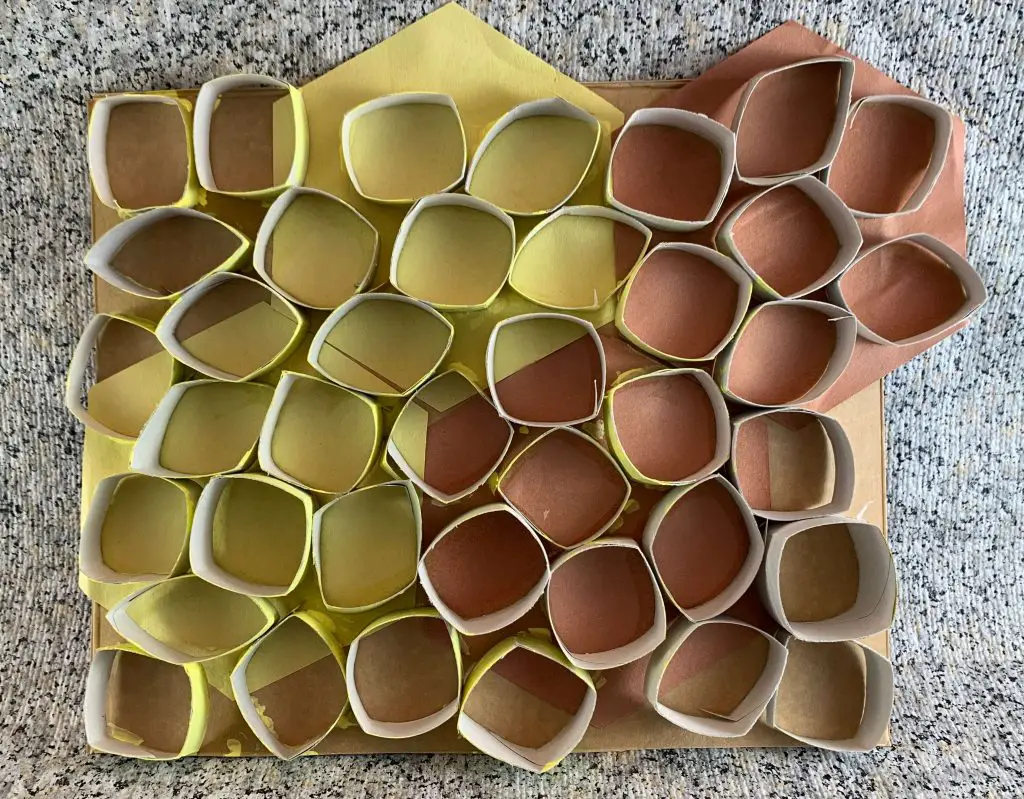
Glue the yellow and brown hexagons onto your backing material, in my case, the cereal box. Once those are on, covering part or all of the cereal box, it is time to glue on the toilet paper rolls pieces.
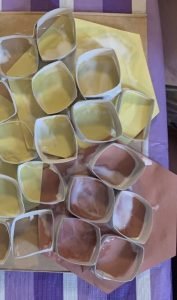
Gluing each piece of cut toilet paper rolls onto the yellow and brown hexagons will start to produce a honeycomb shape. Trying to keep the roll pieces close together will add more definition.
I found that gluing all different depth pieces together gave the honeycomb more shape and character.
Keep gluing more and more toilet paper rolls cut pieces onto the cereal box. Do this until you reach the edges of the hexagons, the cereal box, or your child is finished gluing.
And that’s it! You’re done!
Things I learned along the way:
Although this was a quick and easy craft for my kids, I did have some wisdom to share:
- Using a paper plate or the flat part of an egg carton for the glue works best. Just pour a bunch of glue onto the plate and let the toilet paper roll be dipped in. If you try using a paintbrush to paint the rolls onto the hexagons, it will extend the time of this activity, and you will never finish.
- Keep in mind how long of an attention span your children have. The younger they are, the harder it is for them to stay focused. My kids did this, and we had trouble staying on task for the duration of the cereal box. It might have been better to use a smaller size.
- Once we finished, we painted our honeycombs. It was not necessary, but a want by the kids. We had to paint them the next day. So, this turned into a 2-day activity. But the purpose of the brown and yellow hexagons was to avoid having to paint. But kids will be kids.
Did you find this Tutorial Helpful?
Did you find this tutorial on how to make a honeycomb out of toilet paper useful? How about your kids, did they like it? Leave a comment below and let me know how it went!
If you liked this kids craft, be sure to check out my other kids’ crafts here
Don’t forget to sign up for my newsletters! You’ll get inside tips on upcoming posts and additional behind the scenes details about what’s happening on the site!