I’ve been sewing a bit recently. And when I sew, I like to sew multiple projects at a time. I don’t like to make a sewing mess and then clean it up and start again. So, I do all my sewing at once. Then I clean it all up and don’t touch my sewing machine for a few weeks (or months) again. The next project I wanted to share is this DIY Tissue Pouch. This cute tissue pouch is quick to make and works great to store travel tissues.
So, let’s jump into this project.
As an Amazon Associate, I earn from qualifying purchases. This post contains affiliate links. I may receive a commission if you purchase an item from one of my links. This will not change the price you pay.
Supplies Needed to make a DIY Tissue Pouch
This sewing project requires a few supplies but nothing out of the ordinary. So, let’s take a look at what we need:
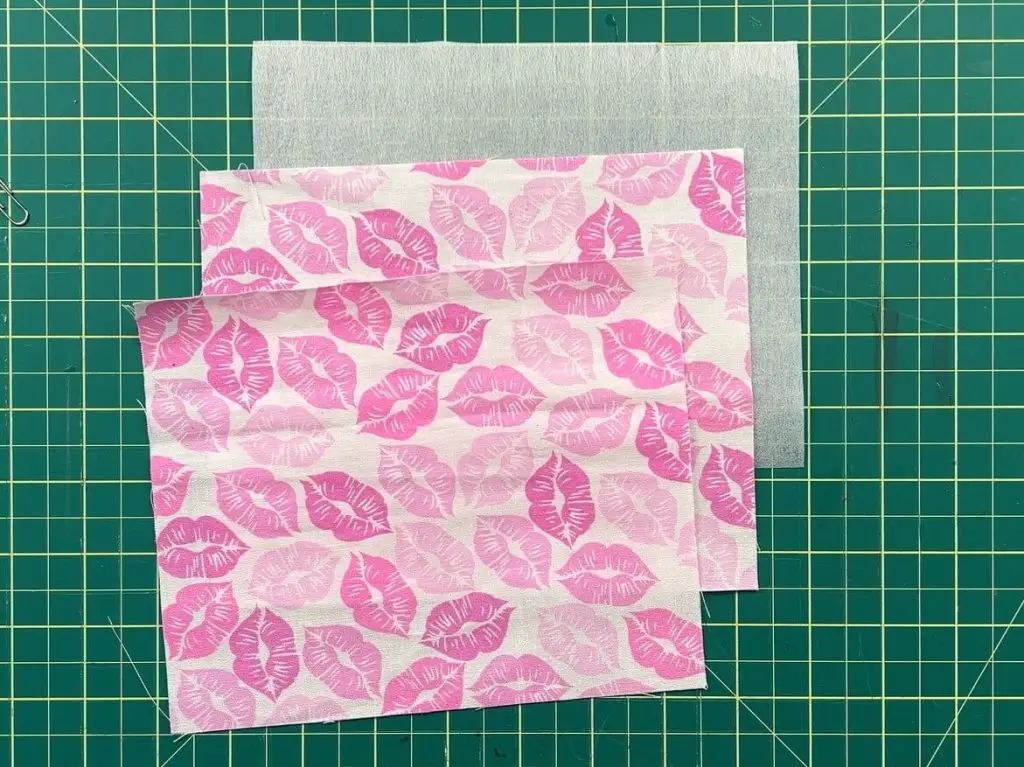
- Fabric – you need two pieces of fabric – each piece needs to be 6″ wide x 7.5″ long.
- Interfacing – Using interfacing is optional. I like to use it as it makes the project a bit more stiff. If you are using standard interfacing that you sew into the project, you will need to cut a piece 6″ x 7.5″. If you are using iron-on interfacing, you can make it slightly smaller as you do not need to sew through it.
- Thread – Ideally, you want your thread to match the fabric, but as all the seams will be hidden you can use any thread you have handy.
- Sewing machine
- Pins or Clips to hold the project together.
- Iron & Ironing board
Now that we have all our supplies ready, it is time to get this project started!
Making a DIY Tissue Pouch
Preparing your Fabric for a DIY Tissue Pouch
As I mentioned above we need 2 pieces of fabric and one piece of interfacing. I use the sew-in type of interfacing but iron-on interfacing also works.
Each piece should be 6″ x 7.5″ in size. If you are new to sewing, I would recommend you give yourself an extra 1/2″ of fabric and cut the fabric into 6.5″ x 8″ pieces.
Place the two pieces of fabric, design side facing in and place the interfacing on top.
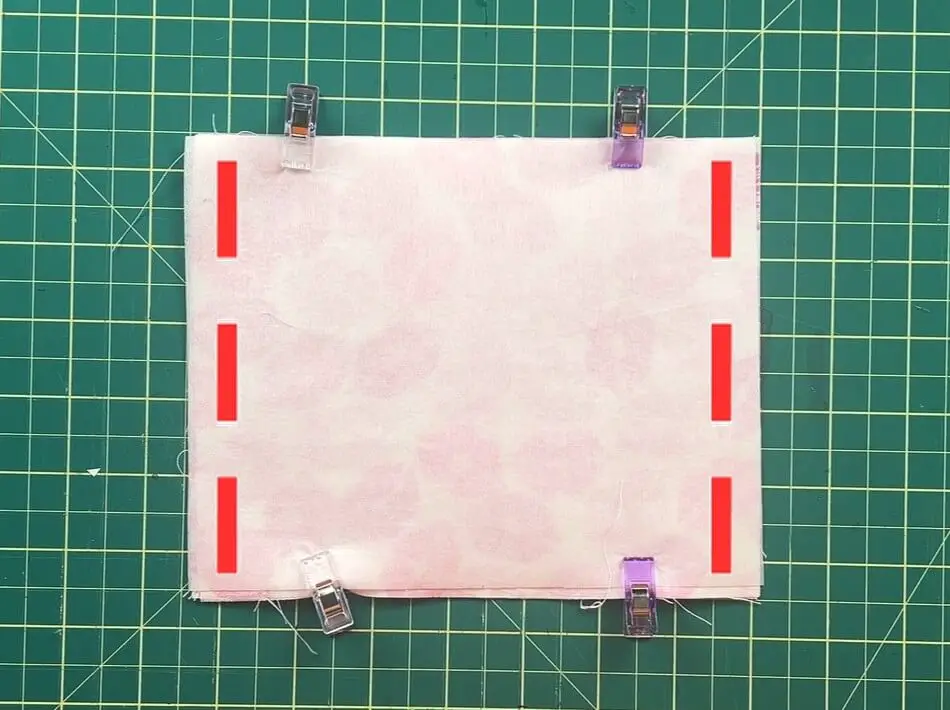
Either pin or clip the fabric together.
Sewing the DIY Pouch – Sewing Step 1
First, sew a 1/8″ seam along the 6″ width of the fabric on both sides.
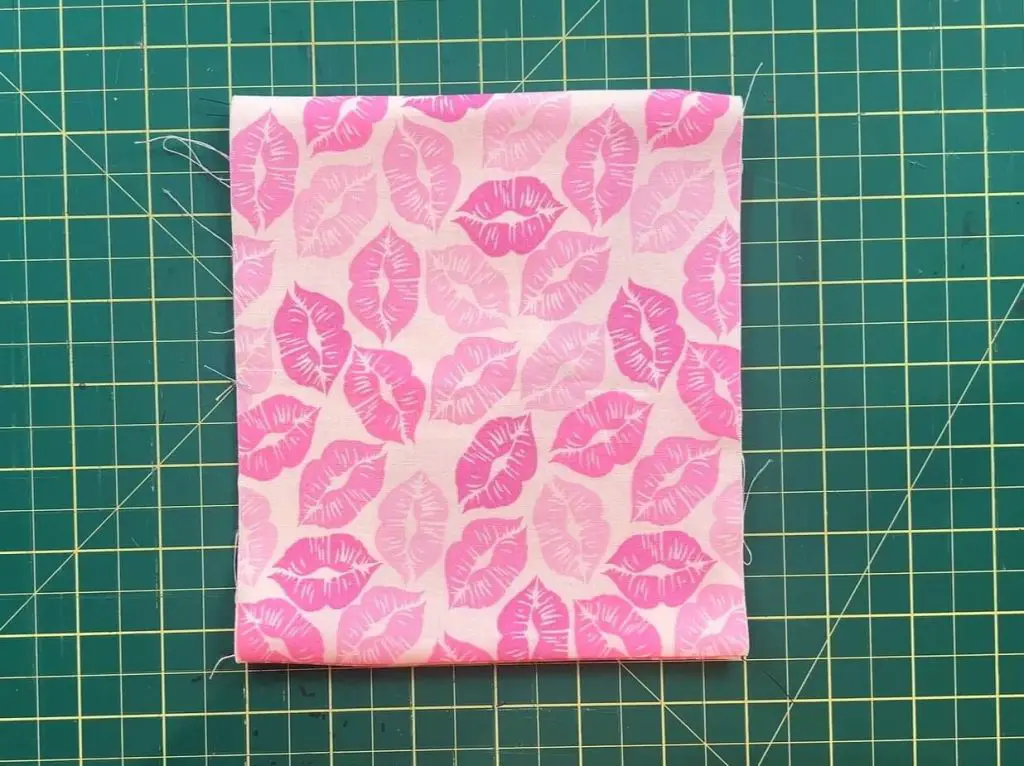
Once you have sewn the pieces together, you will need to flip the fabric right side out. Next, iron the fabric smooth so the seams are flat.
Sewing the DIY Pouch – Sewing Step 2
This next part can be a bit tricky, and I like to use a tissue package to make sure my sizes all work. I hate it when I sew something and I need to redo it.
So, using your tissue paper package, wrap the tissue paper with the sewn fabric. The seams should be on top and bottom. Flip them over the tissue paper package. The top and bottom pieces should overlap. If they do not, you have sewn your 1/8″ seams too large and have run out of room to sew the next steps correctly.
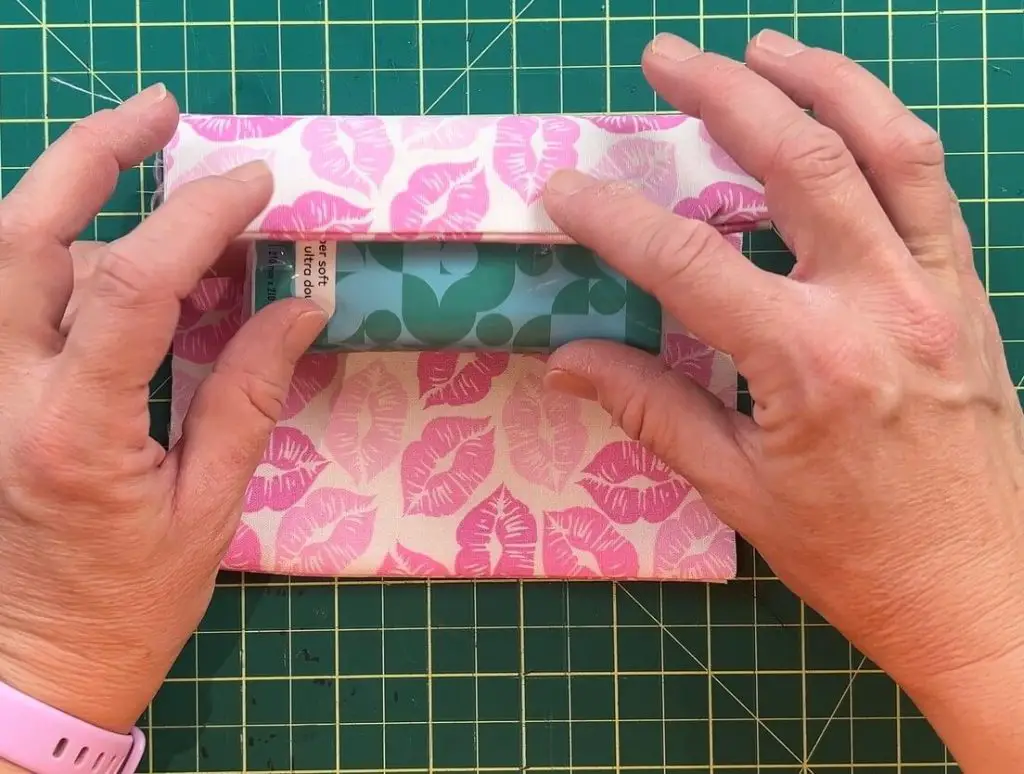
Next, fold the fabric from the top 1.5″ downwards and 2.25″ from the bottom. You want to make sure you fold the top first, as this will ensure a shorter flap on the outside when done sewing.
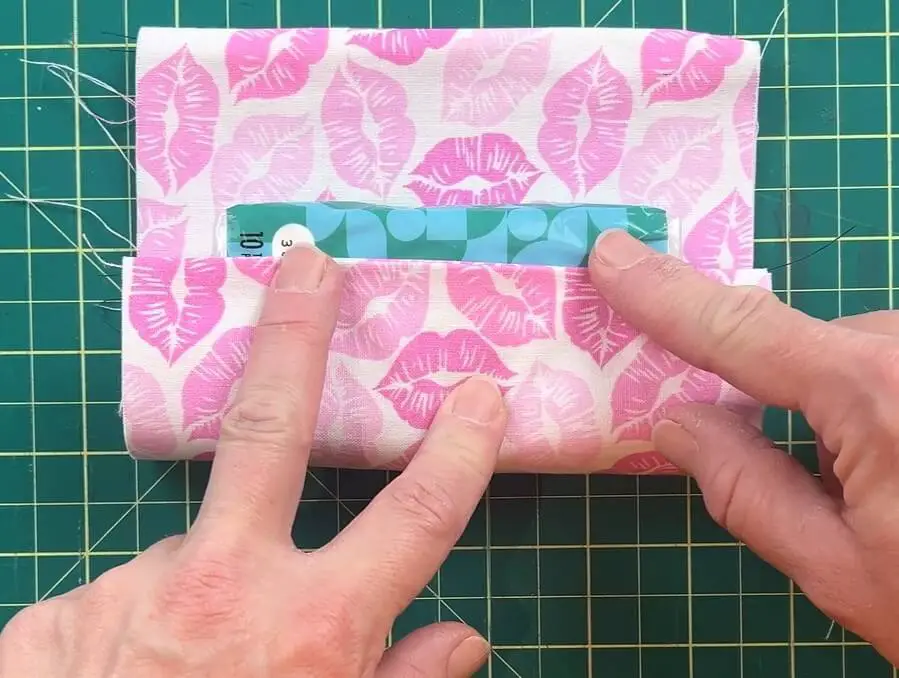
Next, using pins or clips, secure the folded sides into place.
Using your sewing machine, run a 1/8″ seam along the edges.

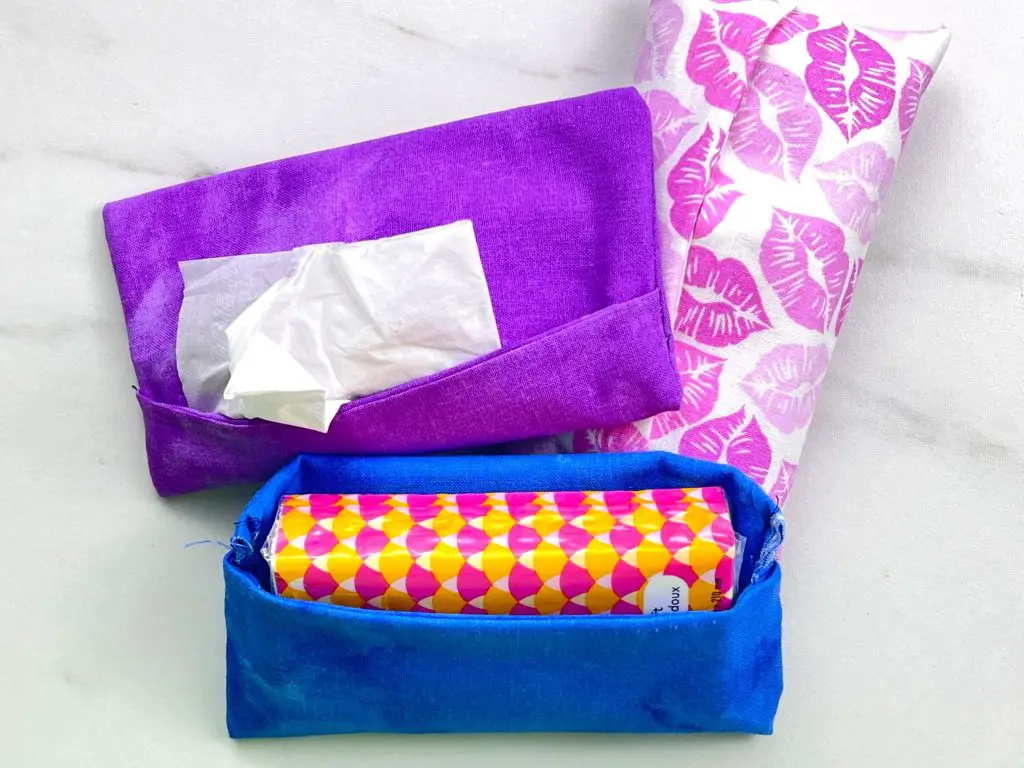
Flip your Tissue Pouch and Fill It with tissues
Now that you have sewn the last seams, all that is left is to flip the pouch right-side out. I like to use a dull pencil or knitting needle to push the corners out.
Now, you can flip the top flap over and insert a tissue package easily.
And that’s it! Your DIY Tissue Pouch is complete!
Things I learned while making this DIY Tissue Pouch
I sew, but I don’t do it every day, and I find that there is always something to learn when sewing. Here are the takeaways from this sewing tutorial.
- Cutting fabric a bit larger to give yourself more room to sew is not a bad thing. It is okay if your tissues have a bit of space inside the package. It does not need to be a perfect tight fit. If it is too tight, pulling tissue out will be a problem, too.
- For some reason when I was sewing this together, my fabric kept moving around, so I had to use sewing clips instead of pins. It was just a weird day. Either will work, but the clips are fun to work with.
- When sewing the final seam, I sewed in the direction from the larger flap over the smaller flap. As the larger flap was on top, it allowed for an easy transition between fabric layers. In one of my tissue holders, I sewed it the other way, and it caused the bottom flap to fold and didn’t produce a nice final result.
- These are cute little tissue holders for pre-packaged tissues. But if you do not want to buy tissue packages to fill into these, you can simply pull out standard-size tissues from a tissue box, fold each tissue in half, and then fold it into thirds length-wise. Fold several this way, and you can have your own tissue to fill the DIY Tissue Pouch.
Did you enjoy this sewing tutorial?
Did you enjoy this sewing tutorial? Let me know if you tried making this DIY Tissue Pouch. And if you tried it, let me know how it turned out and what I could do better next time.
If you enjoyed this sewing tutorial, be sure to check out my other sewing tutorials here.
Or, check out my favorite sewing projects below: