Welcome to our Home!
In the past few years, everywhere you look, you see a big welcome door sign on front doorsteps. There are people all over selling them. Moms are making them all over the country. Craft sales have them by the dozens. Even Amazon sells them!
Go to Google on how to make one or go to Pinterest and check it out! There are more results than you can imagine!
So, why am I writing about this ever so fully saturated topic? Well, I have a bit of a different take on it, and I wanted to share it with you.
As an Amazon Associate, I earn from qualifying purchases. This post contains affiliate links. I may receive a commission if you purchase an item from one of my links. This will not change the price you pay.
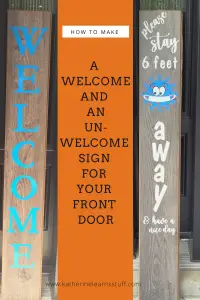
Making Your Own Welcome Sign
There are several bonuses to making your door sign, mainly you can customize to your liking.
You can have it interchangeable, double-sided, have fun and fancy colors, themed for the season, the list goes on! And if you are crafty, you can do it for cheaper than people are selling them for.
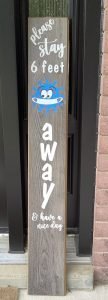
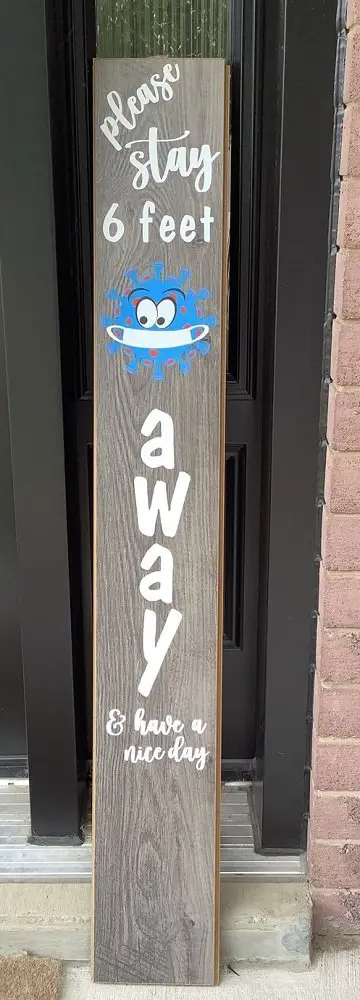
Unwelcome sign
Now, for the past several months, no one has been welcome to my house, you know, COVID and all. And I wasn’t one to have a “Welcome” sign on my doorstep beforehand, but when I was still having people coming to my house selling stuff, coming to visit when we were in total lockdown, I had enough. So I made an unwelcome sign for my front door. Most people thought it was funny, but the people who were there that shouldn’t have been started to get the message. So, just as easily as you can make a welcome sign, you can make an unwelcome sign.
My Alternate Solution
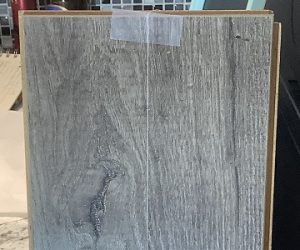
Now, I know not everyone has random junk just lying around their house that they hold on to, just in case…. but for some reason I do (I’m not a pack-rat, I swear!) But when the world was locked down, I wasn’t able to go to the hardware store to buy a 6ft plank of wood for a door sign. But I did happen to have a bunch of leftover old laminate floor planks from years ago when I was fixing a floor.
These are the perfect size for a (un)welcome sign. I had saved a few 4 ft x 7″ pieces in case I needed to repair any areas in the future.
The nice part about these is if you use vinyl on them (even permanent) you can peel it off once you get bored with the design and make a new one.
How to Make a Welcome Door Sign
But if you are in the market for making a welcome sign for your front door, keep reading for full (simple) instructions.
What You Need:
- A piece of wood – anything 4 feet or 5 feet or 6 feet tall will do. You want it to be about 7-12 inches so that it’s visible from far away.
- Optional (but this is what I use) – my faithful Cricut to design and cut the vinyl
- Permanent Vinyl
- Optional instead of vinyl – you’ll need to either buy letters or stencils and paint them on.
Let’s Begin!
Make Your Sign Design
I use my Cricut and Design space for my crafty projects.
In design space, create a simple/complicated design.
For this tutorial, I’m going to make a simple sign but you can always make one more exciting.
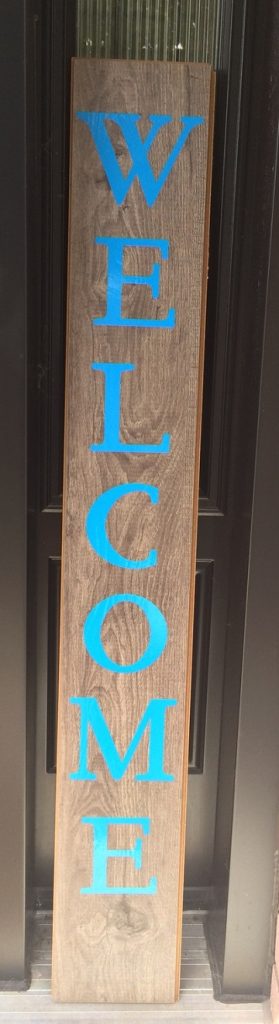
It’s just going to say “Welcome”.
I’m going to use the simple free fonts available in Design Space – Cricut Classic. There are other pay fonts, and you can get free ones online, but we’ll keep this simple.
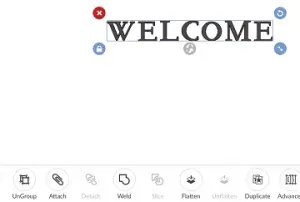
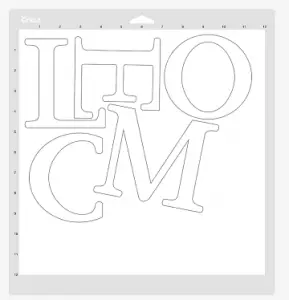
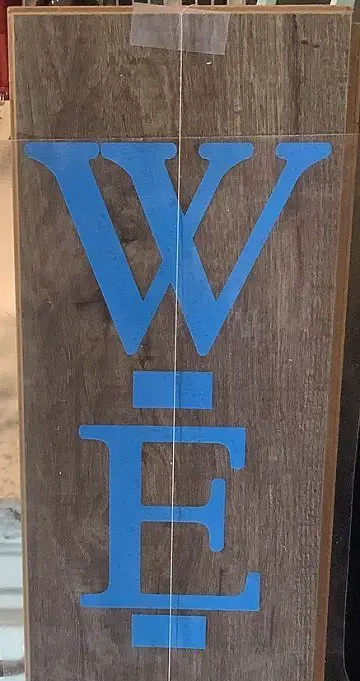
I type the word “WELCOME”
In the Actions toolbar, I select “Ungroup” so that all of the letters are individual elements.
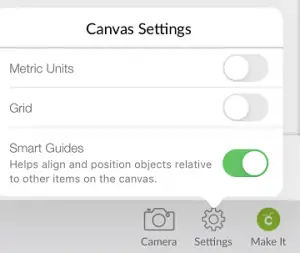
If you’re using a tablet or iPad, there is a neat centering feature that allows you to line everything up on the center point, so it makes it easier to visualize (found in the setting section – called Smart Grid).
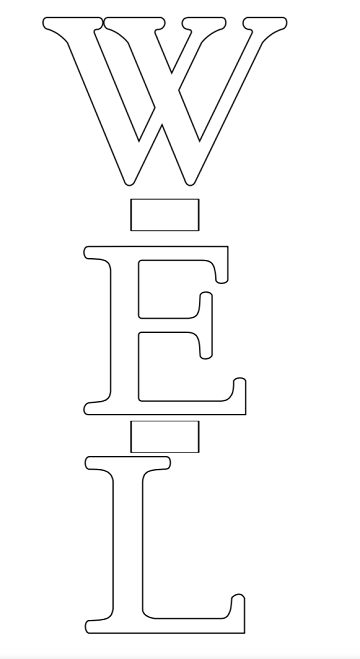
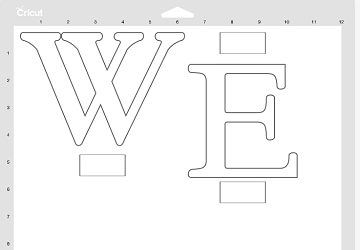
The thing I find helps the best with figuring out the size is making a box the size of my final project. This gives me a good idea of how the design look on the board.

Then I just send it to cut the letters, individually. I try to organize them to save vinyl, but you don’t have to do that.
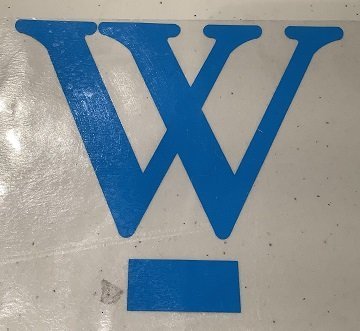
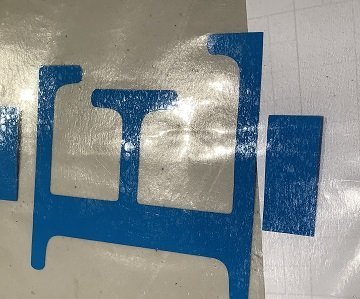
Once it’s all set up for cutting, I cut, weed and apply each letter to transfer tape.
I prefer to use vinyl as I don’t like getting messy with paint.

Adhering the design
There are several ways to do this.
If you are very picky on perfect alignment, you can make center markers above and below each letter to line them up when putting the design on the board.
I will always measure out the center point on the board and use a string to keep on center. Then I will fold the top and bottom edges of the letters in the middle to find the center of the letter.
Alternately, you can just eye-ball it :p I do this sometimes as well. Gives it more of a homemade look.
The above tutorial is just how to make the basic sign, but if you want something more personalized the same concept applies, you just need to add a little bit of imagination.
And That’s It! You’re Done!
Was this Tutorial Helpful?
Did you find this tutorial on how to make a welcome door sign helpful? Let me know your thoughts in the comments below!
If you liked this tutorial, be sure to check out my other tutorials here
Don’t forget to sign up for my newsletters! You’ll get inside tips on upcoming posts and additional behind the scenes details about what’s happening on the site!


I’ve been wanting to make one for a while. Thank you so much! Haha seriously considering a sign that flips from ‘Welcome’ to ‘Unwelcome’ that gave me a chuckle and that’s one thing we all need more of right now.
I like the idea of making it flipable sign.. although with the state of the world, the unwelcome sign will probably be up for a while yet!
Love this!! We’re heading into the second wave here so the Unwelcome sign made me chuckle!
Thanks for sharing!
It’s worked wonders at out house! Sometime we even just place it on the door to keep people away.
wow! this is a thorough guide on making welcome signs for your home.
so many helpful tips and clear instructions on how to make it.
never knew amazon selling welcome signs.
thanks for the great information and a detailed post. Amazing read!
Thanks so much!
So cute!
👍
I have seen these beautiful welcome signs everywhere and wondered how people were able to make them. Thank you for the detailed explanation. It is very helpful.
Thanks for reading! It was fun to make and it’s a nice addition to front step.
I love your unwelcome sign! Such a great idea! I will have to see about implementing one at our house! Thanks for the clear instructions!
I’m looking at updating my unwelcome sign, as people have become used to it, and they now think they are welcome… but it’s fun to have something different and quirky outside.
I love the “unwelcome” sign!
Thanks so much! It was fun to make!
This is super fun, I think I am going to have to make one for my new apartment!
It’s a nice addition to any door! And I like that people will get a good laugh out of mine! You should definitely try it out!
This is so cute and looks pretty easy! I love the unwelcome sign!
The unwelcome sign is super funny but also really smart. I also really like that you added the wish for them to have a nice day.
Ooh, that’s a pretty cool idea! I might give it a go. 🙂