How to Layer HTV Vinyl
So, here is a fun and useless fact – HTV shrinks. But not in a good way, and not all colors shrink the same, and not all brands shrink at the same rate. This kills me when I make shirts! You decide to make a great shirt with an amazing design. You cut, you weed, you press… and then you have gaps left in between the colors! And to boot, you can see the color of the shirt between the gap! This drives me nuts! But have no fear, I have a solution! I have figured out how to layer vinyl so that there are no gaps. I have figure out how to layer HTV vinyl properly!
Now, you need to keep something in mind. This method does not conserve vinyl. So, if you are like me, and for ages, you have been trying to find ways to save as much vinyl as possible, this is not that solution. But remember what the final outcome you want is. You want the design to have no gaps. And this will do that. And be honest with yourself! You do not need more small scraps of vinyl that you will never use.
This post contains affiliate links. I may receive a commission if you purchase an item from one of my links. This will not change the price you pay.
What You Need to Layer HTV Vinyl:
- A shirt, or a bag, or a pillowcase. Really anything that you want to apply HTV onto.
- HTV – (heat transfer vinyl). You will need more than one color. This is the HTV that I have been using recently.
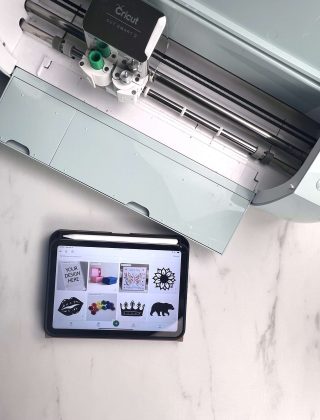
- Vinyl cutter – I use my Cricut, but a Silhouette works, and so do many other machines.
- Iron or Heat Press
- Design Program – I use Inkscape and Vectornator and then upload to Design Space (DS)
- This should not take you more than 30 minutes if you have a design picked out. If you need to create your own design, this may take a while, depending on how indecisive you are.
Let’s Begin Layering HTV Vinyl!
Pick your Design
This is arguably the most critical step. And, often, it is the hardest.
For me, picking a design, especially one for myself, is challenging. But you need a design that has at least 2 layers. So, to keep things simple, I am only going to do 2 layers in this tutorial.
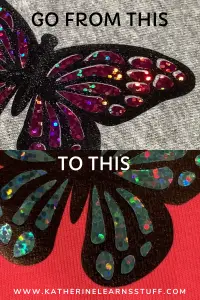
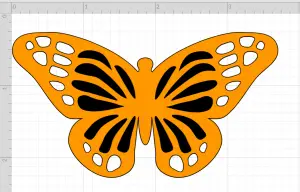
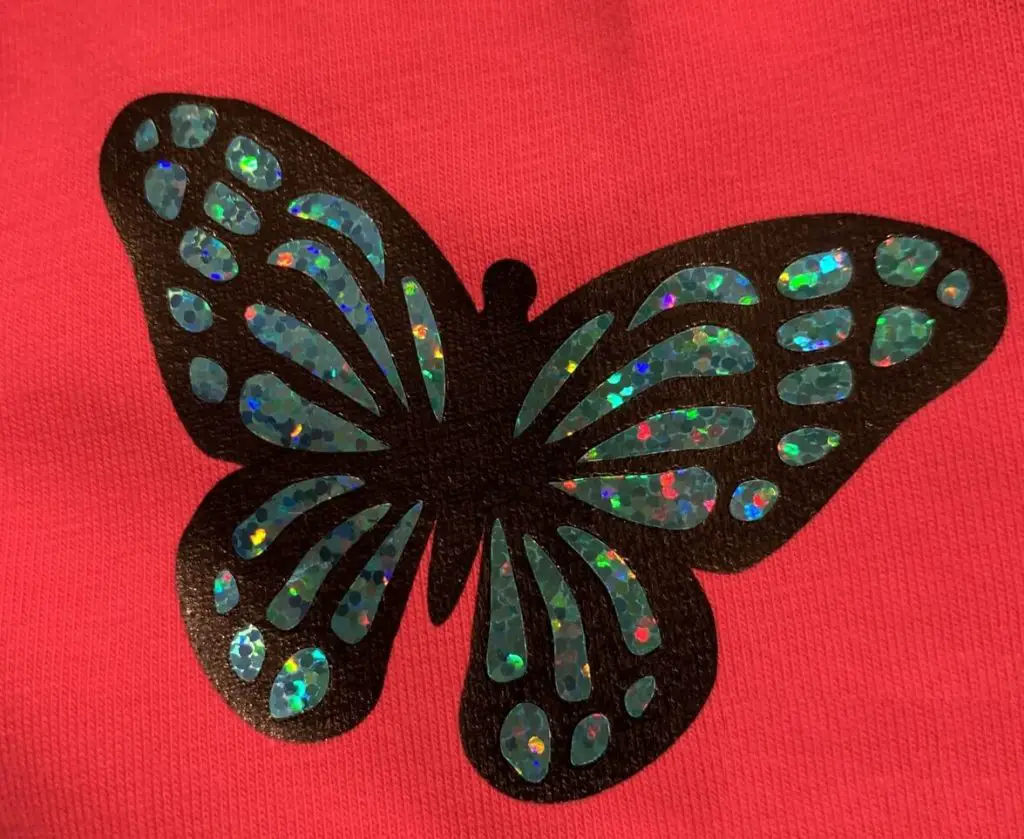
This is the final design we are working towards.
Modify your Design
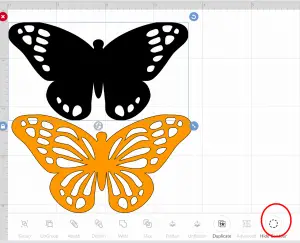
Once you have your design picked out and in Design Space, pull the two layers apart. This way, you can see what you are working with.
Before making modifications, I make a copy of the design and put it at the side.
Put one copy off to the side and leave it there. That is your backup in case you mess up royally.
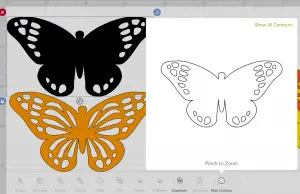
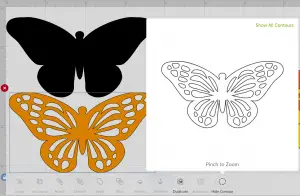
Using your first design piece, hit the contour icon in DS. This is going to be your background piece. So click on all of the shapes, areas, design features to just leave the outline at the most outer edge. This is your background.
Modify your Top Layer
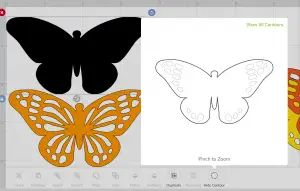
Depending on your design, you may need to also use the contour button to remove any unwanted gaps.
If you change the color of the design to look like the end product, it will help you visualize what the end product will look like.
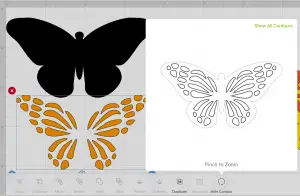
Below is the entire sequence of contouring. You will notice each stage of the contouring process also shows how the butterfly is changing due to the contouring.
Cut, Weed and, Press
Cut your design on 2 different vinyl colors.
Press the first layer on the fabric. This is the solid layer, black in my case. Remove the transfer sheet and apply the second layer.
You will notice no gaps showing around the design. Press this layer and remove the transfer sheet.
And That’s It! You’re Done!
Things I have learned while trying to layer HTV Vinyl
I have spent countless hours making shirts and playing with the sizing of the design to eliminate the gaps when layering HTV vinyl. But at the end of the day, all of my methods failed except for the above. But along this journey, there have been some issues and stumbling blocks, and you name it. So, here are some of the things I have learned about how to layer vinyl:
General Tips and Trick for Laying HTV Vinyl
- The first layer of HTV that you place on your project does not need the full heating time applied. Neither does the second or third. You just need to hold heat and pressure on long enough for the HTV to adhere.
- Once you have removed your carrier sheet and all of your HTV is layered on your designs, give one final press to remove any crease lines from the carrier sheet.
- If you are doing several layers, 3 or more, this will make the shirt stiff in the area of the HTV. There really is not much you can do about this. There are types of vinyl that are softer and adhere better, but with more layers that will only help a little.
- The 1 color base (I usually end up using black) just needs the full back filled in. Then subsequent colors can go on one at a time. You should not need to layer on top of 2 or 3 other layers of vinyl.
- For most of my layering project, I like to use a simple 1 layer design and use the contour feature to make it a 2-layers design. It adds a bit of pizazz to the end project.
- Holographic and Glitter HTV need to be on top. You cannot put regular HTV vinyl on top, as it will not stick properly, it may not stick at all, or it will come off very quickly.
Irons and Heat-Presses for Vinyl Pressing
- I have just recently started doing this with a heat press instead of my faithful iron. Having a heat press makes a huge difference. It heats the HTV more consistently, so when adding a second and third layer, they stick better and do not cause as stiff of a shirt as with an iron.
- If you are using an iron, be careful! Especially if your design is a large one. I have rarely had issues with my iron on single layers. However, when using multiple layers in one area, there could be melting and burning on the HTV Vinyl. And, subsequently, a whole lot of swearing at ruined products.
Saving spare HTV Vinyl for Future Project
- I used to try to get each layer cut out and save as much material as possible. Do not kid yourself. You are not going to use a 1″ x 1″ square for anything. You might as well use the vinyl on a shirt or a bag. There is no point in weeding a small area just to make a disaster of your project. But if you can’t resist, and want a neat way to use up all of those scraps, check out this tutorial here.
Was this Tutorial Helpful?
Did you find this tutorial on how to layer HTV vinyl helpful? Let me know your thoughts in the comments below!
If you liked this tutorial, be sure to check out my other tutorials here.
Don’t forget to sign up for my newsletters! You’ll get inside tips on upcoming posts and additional behind the scenes details about what’s happening on the site!