We are always in need of tissues, especially in the car. The tissue boxes always fall apart, and then I have a million tissues floating around the car. So, I decided I needed a Full-Size Tissue Pouch to solve my problem. This tissue pouch can be used in a purse, diaper bag, backpack, as a gift or around your house. This is a quick and easy sewing project—ideal for beginners—but is also a fun and fast make for more experienced sewists. With just a couple of fabric pieces and 15 minutes, you’ll have a handy and stylish tissue holder ready to use.
As an Amazon Associate, I earn from qualifying purchases. This post contains affiliate links. I may receive a commission if you purchase an item from one of my links. This will not change the price you pay.
Supplies Needed to Make a Tissue Pouch
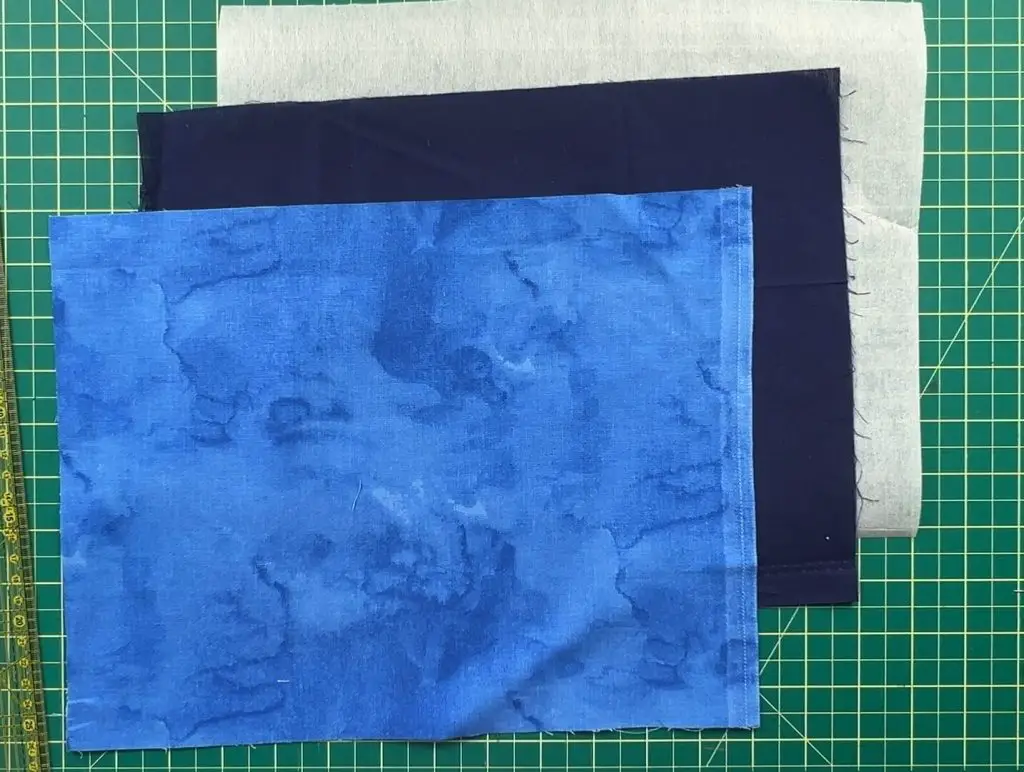
- Fabric – 2 pieces of fabric, each 13″ x 10″
- Interfacing – I use the sew-in kind, but iron-on works as well. This is an optional item, but I feel it makes the tissue holder a bit more rigid.
- Scissors or rotary cutter – to cut and trim your fabric.
- Pins or clips
- Sewing machine and thread – I recommend using a sewing machine.
- Iron and ironing board
- A handful of full-size tissues
Making the DIY Tissue Pouch
Preparing the Fabric to Sew
Cut two fabric rectangles to 13″ by 10″.
You can use interfacing to add more heft to the tissue pouch. I use sew-in interfacing, so I have to cut it to 13″ x 10″. If you are using iron-on interfacing, you can make it a bit smaller, about 1/4″ smaller in each direction, and iron it into place.
Layer the fabrics with design sides facing inwards (one facing up and one facing down). Then, if you are using interfacing, place it on top.
Sew along the shorter edge with a ⅛-inch seam to secure the layers.
You are sewing along the 10″ sides.
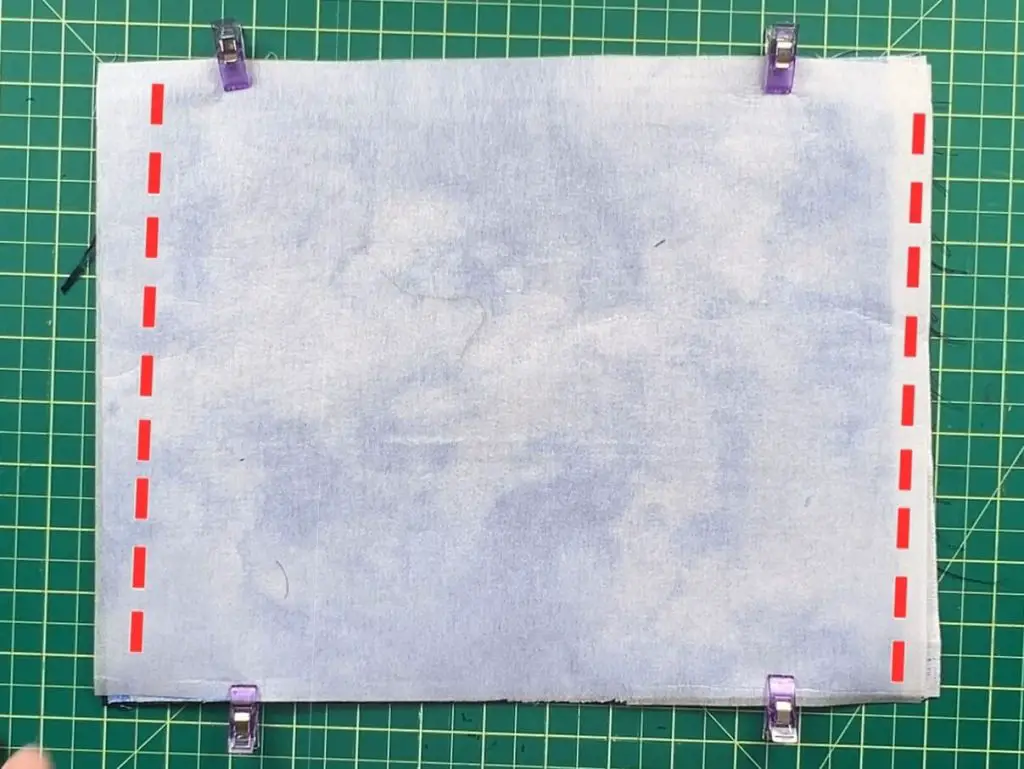
Check You’re Sewing the Correct Side!
It’s important to sew the short sides first. This ensures the tissues will fit properly inside the finished pouch. If you sew the long sides, the pouch will be too narrow to hold he tissues comfortably.
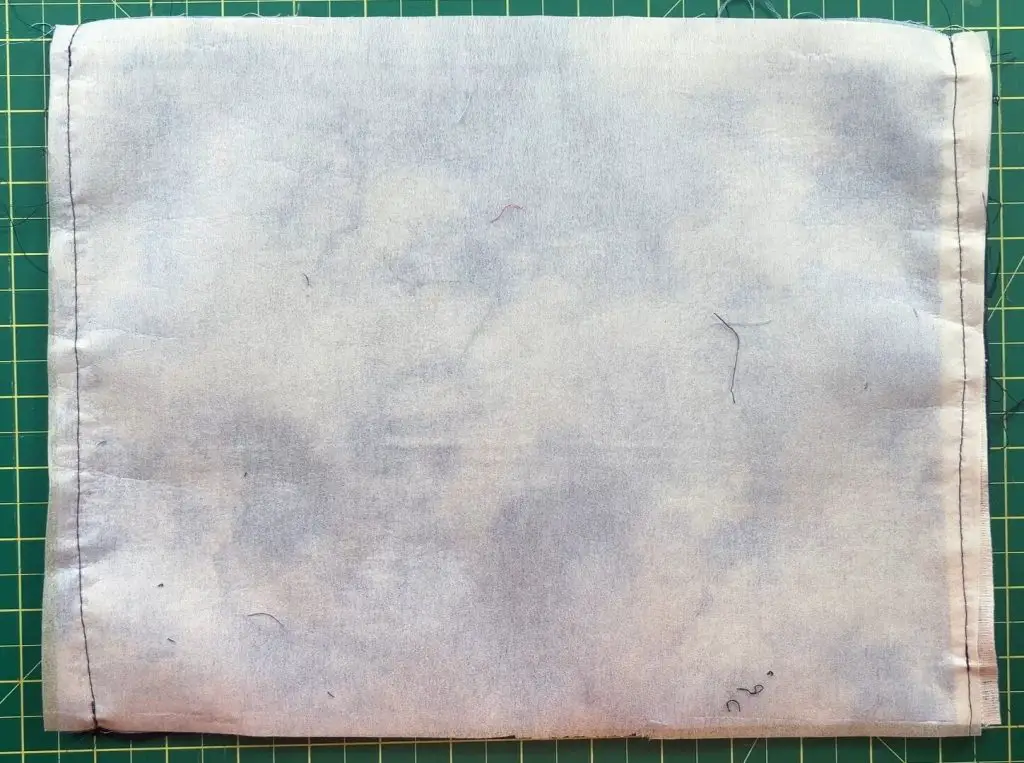
Trim and Flip the Fabric of the Tissue Pouch
Trim away excess threads, then flip the fabric design-side out. Use an iron to press the edges flat so the pouch sits neatly and is easier to fold.
Final Folds and Sewing of the Tissue Holder
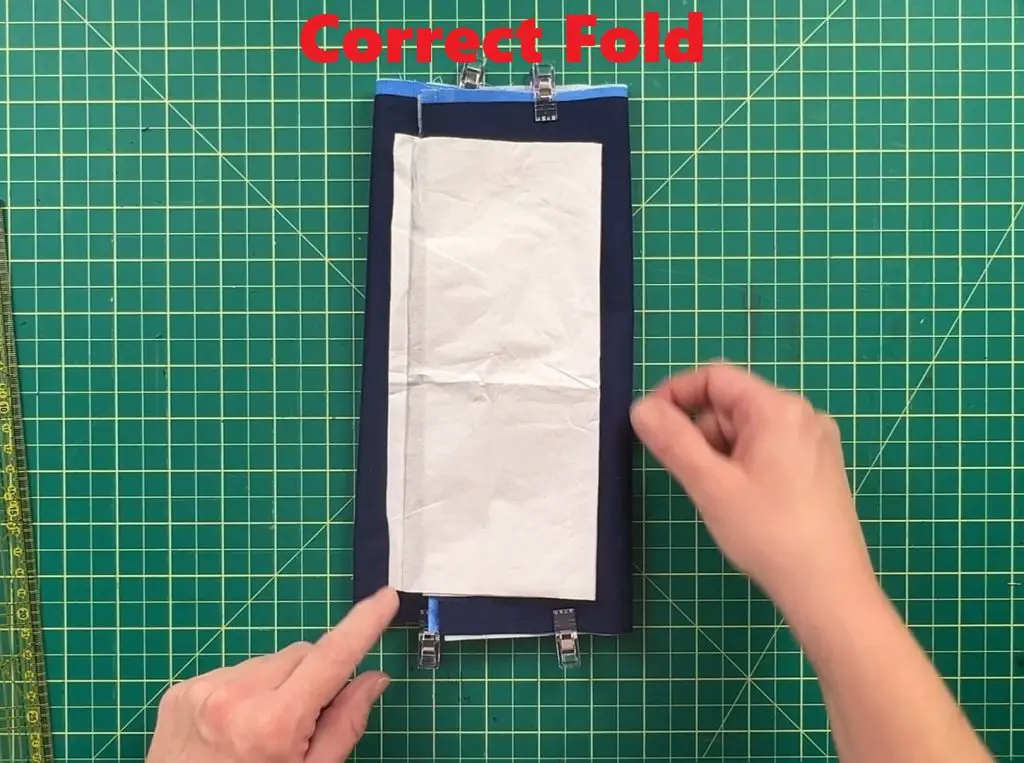
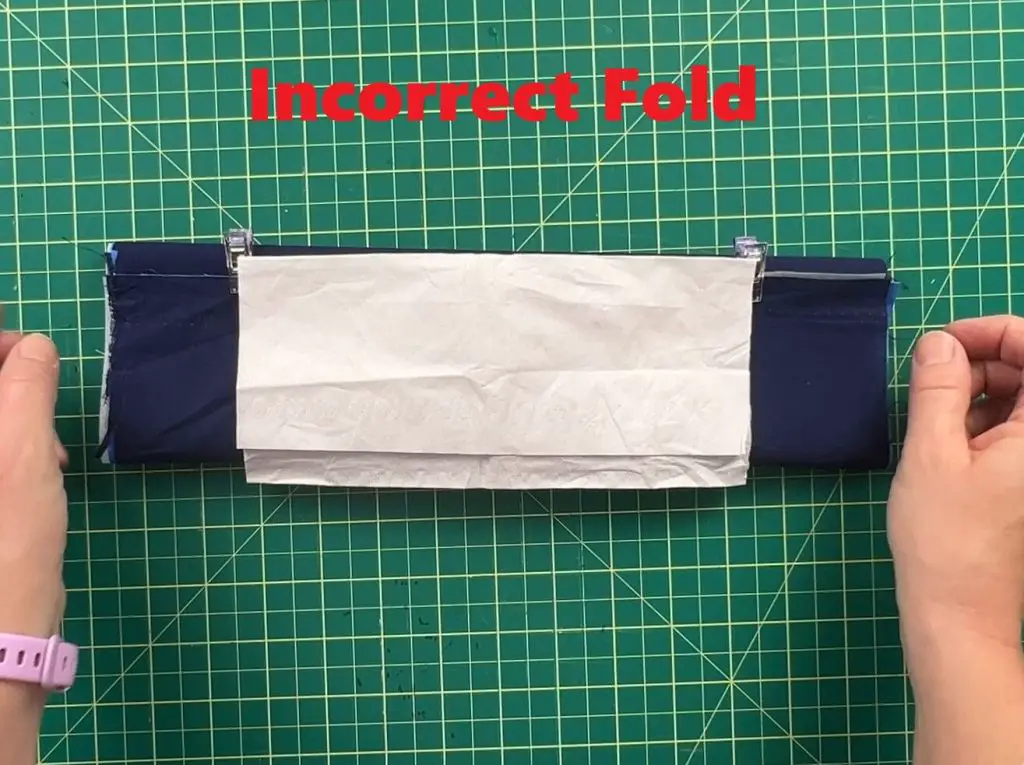
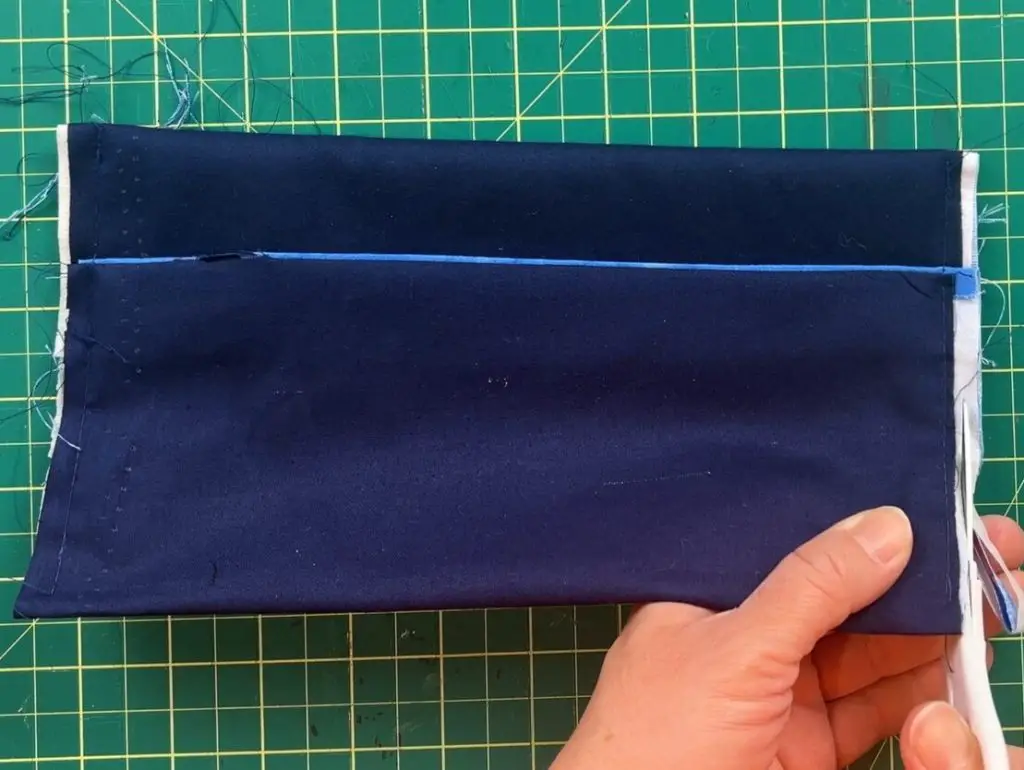
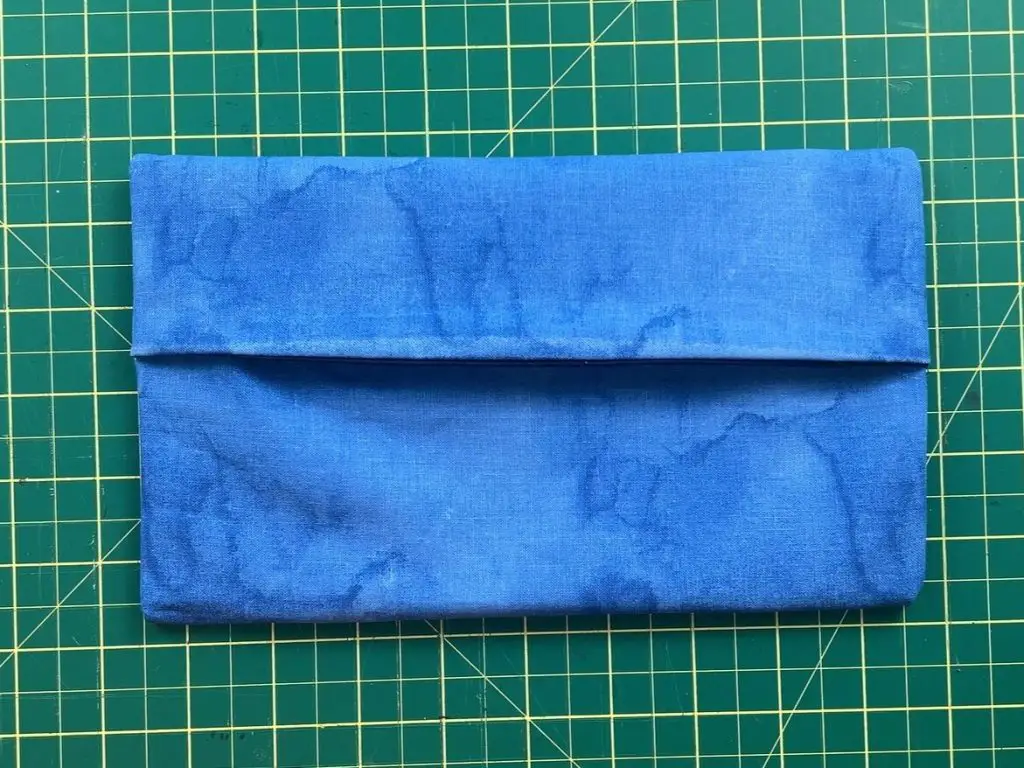
Lay the fabric flat, design side up. Place a tissue on top to check sizing while making the initial folds. Fold the fabric so one side overlaps more than the other—this creates a flap opening for pulling tissues out. Pin or clip the folded layers in place.
You want the underside to be folded at 2.5″ and the top side folded at 4″. The folds should overlap.
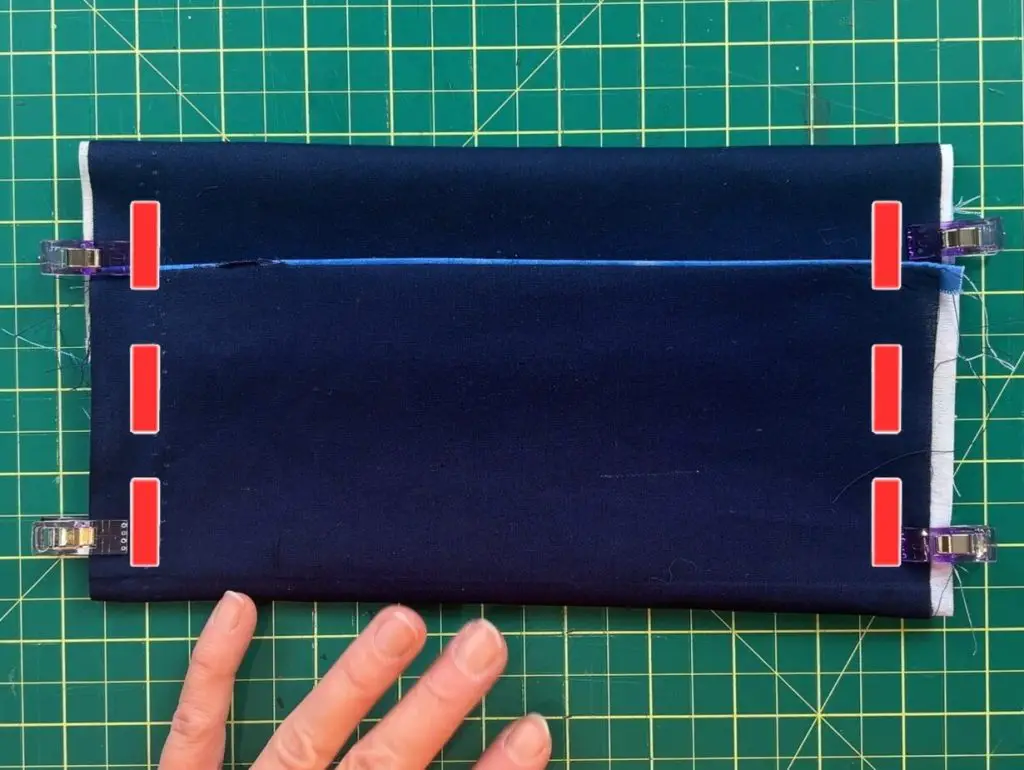
Sew a straight seam down each side of the pouch. To avoid uneven edges, sew from the bottom of the longer fold. This will avoid having a buckle in the fabric at the transition between the two folds. Do the same for both sides.
Trim, Flip and Fill
Trim off any extra fabric or threads along the sides.
At this point, if you want to add bias tape to the sewn edges to cover the fabric end, you are welcome to. I didn’t bother with that.
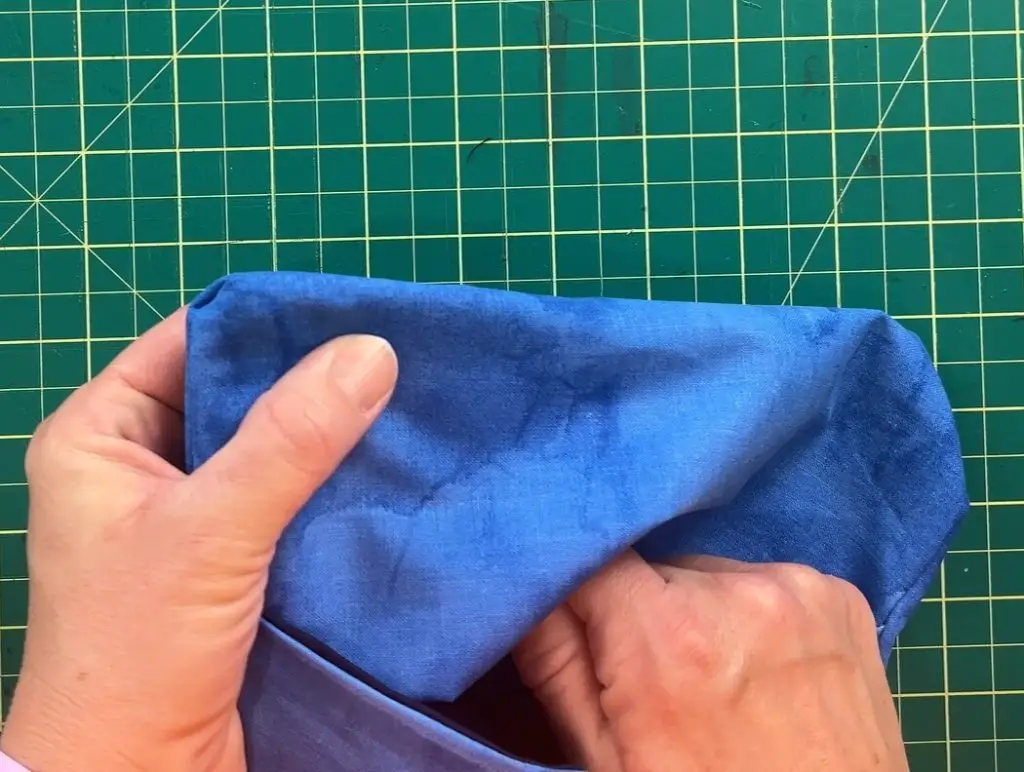
Flip the pouch right side out, gently pushing out the corners for a clean finish.
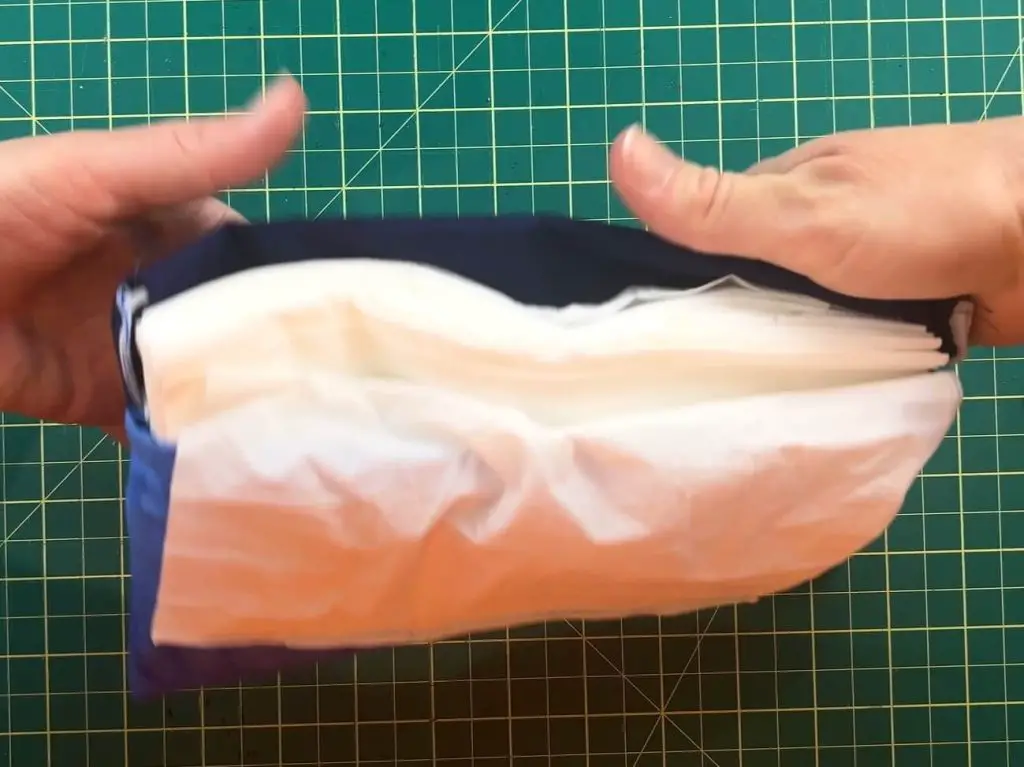
Fill the pouch with a stack of tissues (not the whole box, just enough for on-the-go). Pull one tissue through the flap opening so it’s ready to grab.
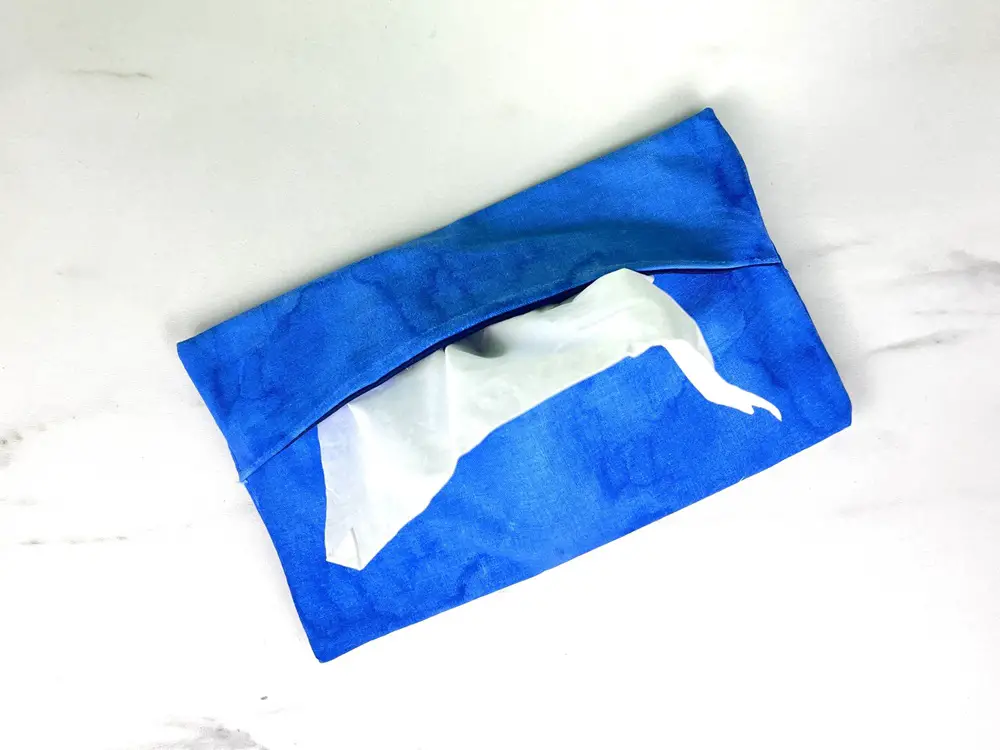
DIY Full-Size Tissue Pouch Complete!
And that’s it! You’ve created a reusable fabric tissue pouch that’s both practical and stylish. It’s perfect for cars, purses, diaper bags, or anywhere you need tissues handy without carrying a bulky box.
Things I Learned While Making the DIY Tissue Pouch
This was a fun project, and we have used these everywhere we go, so it has come in handy. But, while making this, I learned some things:
- When you are making your first sewing passes, double-check that you are sewing the 10″ side (short side) first. Sewing the short sides first is key to making sure the tissues fit correctly.
- Some fabrics fray or attract lint more than others—choose one that holds up well and doesn’t grab every bit of fuzz. I didn’t realize the fabric I was using for the inside lining was terrible!
- Adding interfacing gives the pouch a sturdier feel, but it’s completely optional.
- You can add bias tape to the inside edges, but as they are hidden when the pouch is in use, it is not necessary.
- When performing the last stitches, sew from the bottom of the long fold towards the small fold. I made one of these pouches and sewn from the short end, and I ended up with a weird buckle/messed-up seam. It wasn’t entirely visible after I flipped it, but it was there, and it still bothers me to this day.
- This is the project that killed my last sewing machine. I apologize for any bad pictures of sewn lines, as that was the beginning of the end, and I didn’t realize it!
Did you enjoy this tutorial on making a DIY Full-Size Tissue Pouch?
This quick sewing project is not only functional, but it also makes a thoughtful handmade gift. Try making a few in different fabrics—you’ll be surprised how handy they are! Let me know if you enjoyed this project and how it turned out!
If you enjoyed this DIY full-size tissue pouch, be sure to check out these other sewing projects:
- DIY Notebook Pen Holder – Easy Sewing Tutorial
- DIY Lined Pouch
- DIY Wine Glass Cozy – Custom Coaster
- Custom Card Game Pouch
- DIY Simple Mini Wallet
And you can check out all of my sewing projects here.