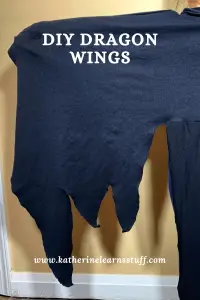
Dragons are a current theme in my house, so a dragon costume is essential. The best part about costumes is they can be simple or complicated to make, and dragon wings are simple. Let’s jump right in and DIY simple dragon wings for kids.
As an Amazon Associate, I earn from qualifying purchases. This post contains affiliate links. I may receive a commission if you purchase an item from one of my links. This will not change the price you pay.
Materials required for making dragon wings
- Fabric – our dragon needs to be black like Toothless from How to Train Your Dragon.
- Velcro – 3/4″ or 1″ works well. We used black.
- Ribbon – This will need to match the Velcro, so 3/4 or 1″ depending on what you use.
- Snaps – I have a multi-color set that works great for all occasions, and it has black as well.
- Sewing machine/Needle and Thread
Designing Simple Dragon Wings
We need to take some measurements for the dragon wings –
- Arm span of the child (or adult) – Measure the arm span when fully extended at shoulder height. This arm span can be a rough number, as the final wingspan will be slightly larger.
- Length of wings – Wings are for running and playing with, so this should be roughly from shoulders to thighs.
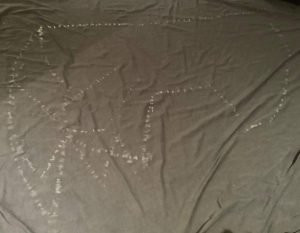
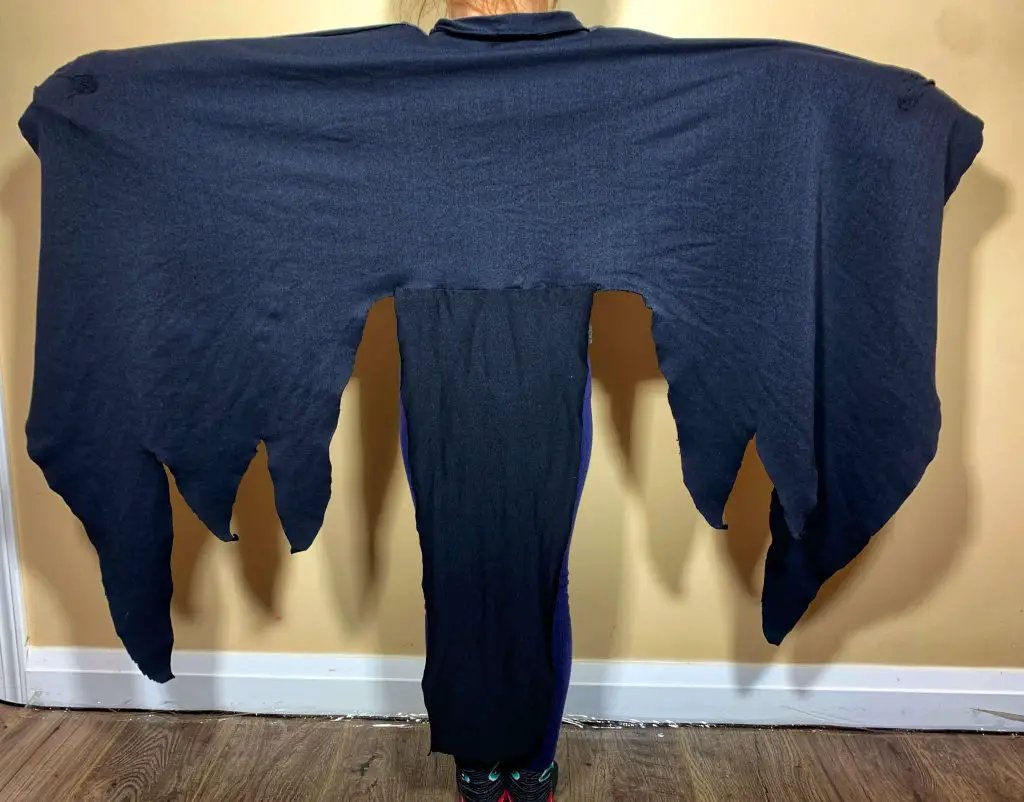
Once you have some rough measurements, it is time to sketch out the wings. I used an old thin bar of soap, but you can use a fabric marker.
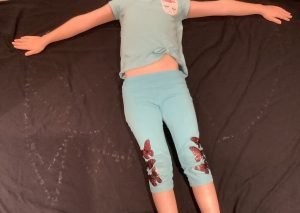
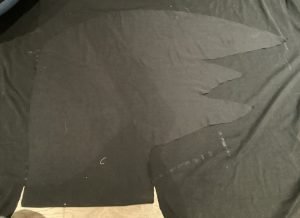
My sketch was only for one wing, as I wanted both sides to be the same. My daughter laid down on the fabric to ensure the size was correct before cutting. Once I was happy with the sketch and good with the size, I folded the fabric in half and cut both sides together.
Wearing the Dragon Wings
Wearing the dragon wings is simple. All you need is some wrist straps and a collar. These two features make it easy to put the wings on and keep them on.
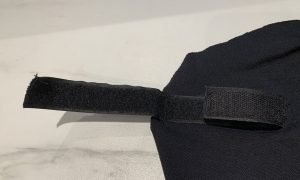
Wrist Straps
As we live in colder climates, I used our winter coat to measure the wrist circumference requirements, this way, we can wear the dragon wings outside, as well.
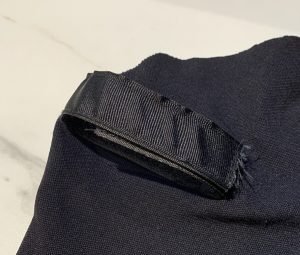
Each wrist strap will be comprised of ribbon and Velcro. The ribbon will be attached to the fabric, and the Velcro will be attached to the ribbon. This will allow for easy attachment around the wrists.
I made sure to have the hook portion of the Velcro facing away from the fabric of the wings and only used about 4 inches, to keep the damage zone smaller. Then I used about 6 inches of the loop portion of the Velcro. Make sure you test the way you are sewing them onto the ribbon so that you can wrap the Velcro around the wrist and connect without having to twist the ribbon.
The hooks and loops will be on opposite sides of the ribbon.
Once the Velcro is attached to the ribbon, you can now attach it to the wings. This measurement is Once the Velcro is attached to the ribbon, you can sew it to the wings. This measurement is critical. You need to measure where the wrist straps go. My daughter laid down on the center of the wings, and I marked where her wrists were. Sew the wrist cuffs onto the dragon wings.
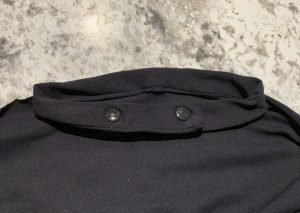
Making a Collar
Having only wrist cuffs is enough to wear the wings, however, they will slide down the back. If you do not want the wings sliding down your child’s back, you will want to add a collar.
Again, we have cold Halloweens here, so we needed to make sure the collar could fit around a winter jacket and hood, so I needed about 15 inches of length. All you need to do is make sure it fits around the neck loosely. Then you want the fabric to be about 2 inches wide. Fold the fabric in half and sew it together. This provides more rigidity in the collar, which you will find beneficial. You can leave a little gap in the seam to flip the fabric around and close the hole.
Again, finding the center of the wings, sew the collar onto the wings.
Once installed, add some snaps. I like 2 per side, so allow for size adjustments (ie: coat vs no coat).
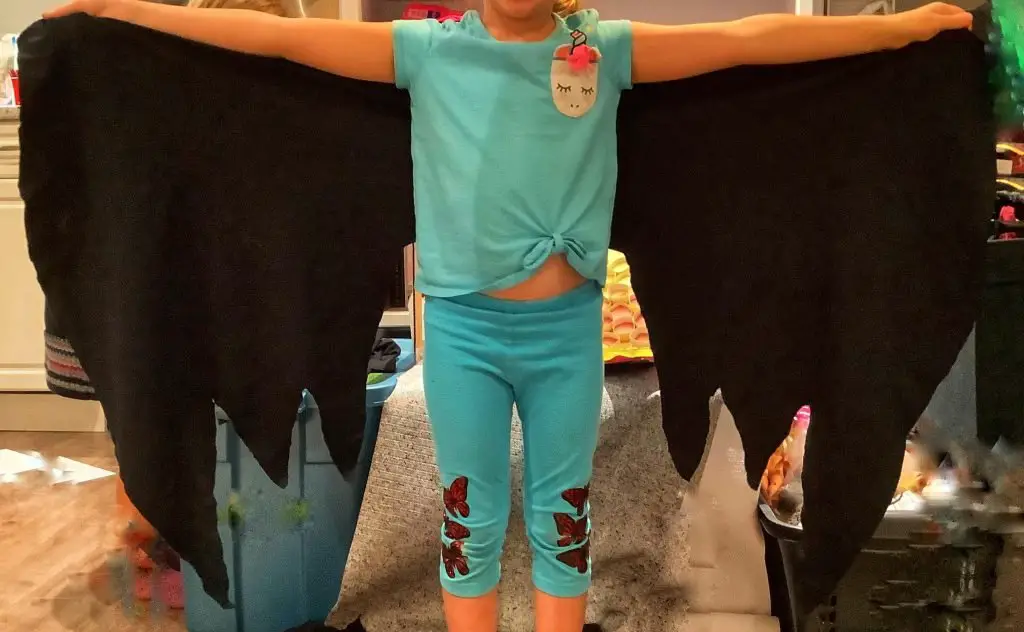
And that’s it! Your Dragon Wings are Complete!
Things I learned while Trying to DIY Simple Dragon Wings For Kids
- When I was making these wings, they were to be part of a larger costume and did not need a tail. Hindsight being 20:20, I should have cut a tail at the bottom-center of the wings so the wings could be as a stand-alone costume. I had to sew one on afterward as a result.
- I used a ribbon to attach the Velcro to the fabric. I could have just sewn the hook and loop together and attached it to the wings, but I find that Velcro tends to fall apart over time, so having some extra reinforcement helps.
- If you do not get the measurement/location of the wrist cuffs to match, there will be a slight difference in each wrist strap location. This may not seem like an issue to you, but can be problematic for kids, so keep in mind, measure this location twice.
- I used snaps for the collar instead of Velcro because I am not a fan of the hook portion of Velcro being up against the face. Velcro could have easily been used instead of snaps.
Did you find this Tutorial to DIY Simple Dragon Wings for Kids Helpful?
Did you find this tutorial to DIY simple dragon wing for kids helpful? Let me know in the comments below! Or check out other sewing projects here
Don’t forget to sign up for my newsletters! You’ll get inside tips on upcoming posts and additional behind the scenes details about what’s happening on the site!