Tulips are a funny flower. When they first come out of the ground, they are these tight flowers, and when they open up more, they are messy-looking flowers. I prefer when they are fully opened and that is what I had in mind when I was making these paper tulips. And that is how the DIY paper tulips came to be.
As an Amazon Associate, I earn from qualifying purchases. This post contains affiliate links. I may receive a commission if you purchase an item from one of my links. This will not change the price you pay.
Supplies Needed to make DIY Paper Tulips
As with all our crafts, we need to review the required supplies. So, let’s review:
- Cardstock – I have listed full-size sheets of cardstock but you can use much smaller pieces per flower. I made several flowers, so I used the full sheets and then some, but only making one, much smaller pieces can be used.
- 8.5” x” 11” pink or purple cardstock
- 8.5” x” 11” yellow cardstock
- 8.5” x” 11” green cardstock
- Glue – I used my crafting glue to make and shape the flowers.
- Metal stems – there are many types of metal stems that you can use. I am currently using these ones, but I have picked them up at the dollar store in the past. I will mention that flower stems coated in a paper film on top work better because the glue has something to adhere to.
- Paper Tulip Cut File – This is a simple craft to cut out with scissors if you like cutting with scissors. I am not a fan of that, and I have created a file you can use to cut with a cutting machine. You can get a copy of my file here.
- Cutting machine – I use my Cricut Explore Air 2, but any cutting machine will work.
- Cutting Mats – needed for using a cutting machine
- Scissors – you will need scissors to make some cuts during assembly.
- Black/Dark Marker – this is needed to add some final touches to the flower center.
Now that we have all our supplies in order, it is time to get this project started.
How To Make Your DIY Paper Tulips
As I mentioned above, you can get a copy of my file here.
How To Use DIY Paper Tulips SVG File
How To Import The Diy Paper TulipsSVG File
Once you have the file saved to your computer, you will need to perform the following steps:
- Unzip the file –
- Right-click on the file with your mouse and select Unzip
- Select a location where you want the file to be saved.
- Hit Enter and your file will be unzipped and saved.
- Upload the file to Cricut Design Space.
- Select the Upload Icon on the left side of your screen.
- Select the Upload Image button.
- Select the File from the location where the file was saved from above.
- Select the file from your DS Recently Uploaded documents. There should be a green rectangle around it.
- Hit the Add to Canvas button.
Modifying The DIY Paper Tulip SVG File
This SVG File is a simple one, so no real modifications are required, but I just want to review the size with you.
Select the design that has been uploaded onto your Canvas.
When making this project, I set the width to 4”. This makes a good-sized flower. The larger the main flower petal, the larger your flower. So, if you want a larger flower you can increase the size.

Duplicate the design as many times as you would like to create as many flowers as desired.
Now the file is ready to cut. Click Make and cut the design on a cardstock setting.
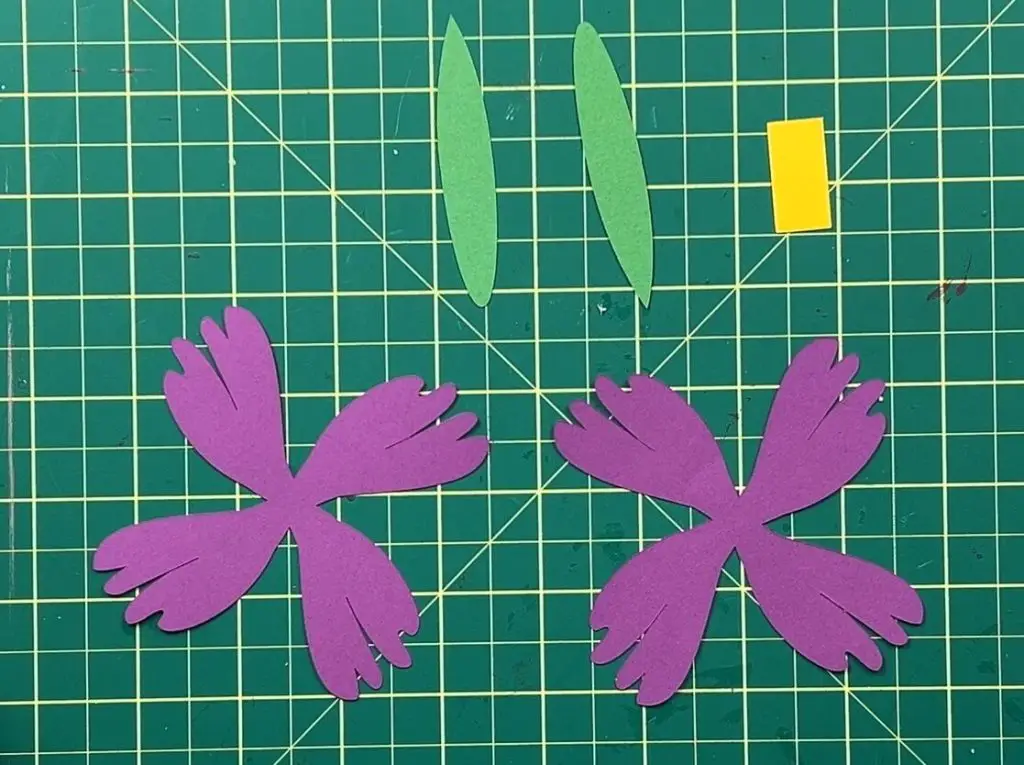
Reviewing The Cut Pieces
Even though this design is simple, let’s review the cut pieces – each paper tulip should have:
- 2 purple flower petals
- 1 yellow rectangle,
- 2 green leaves.
How to Assemble the DIY Paper Tulips
Assembling the flower petals
There are a few steps that we need to take to the flower petals assembled.
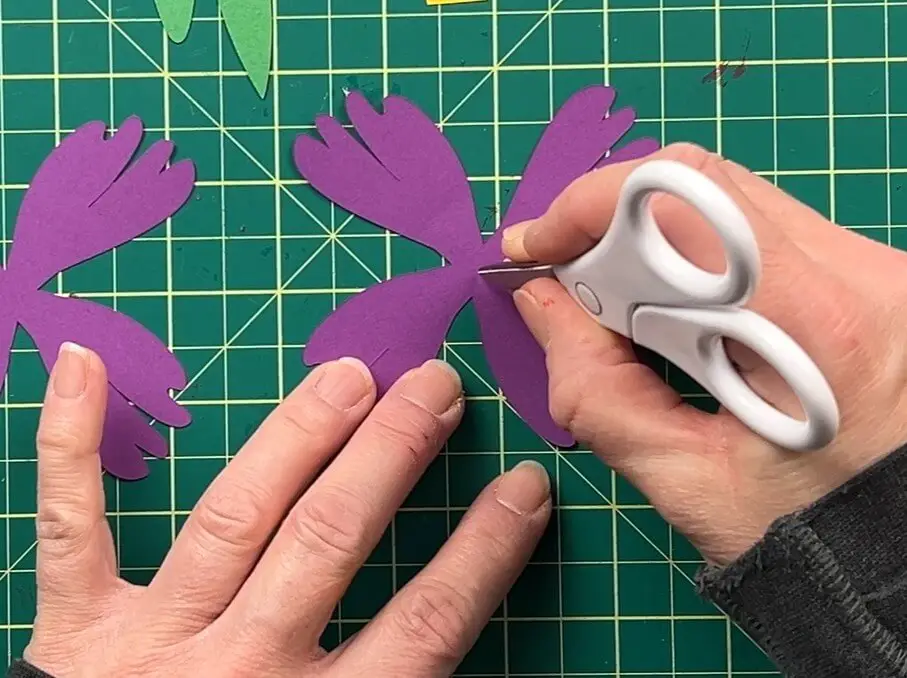
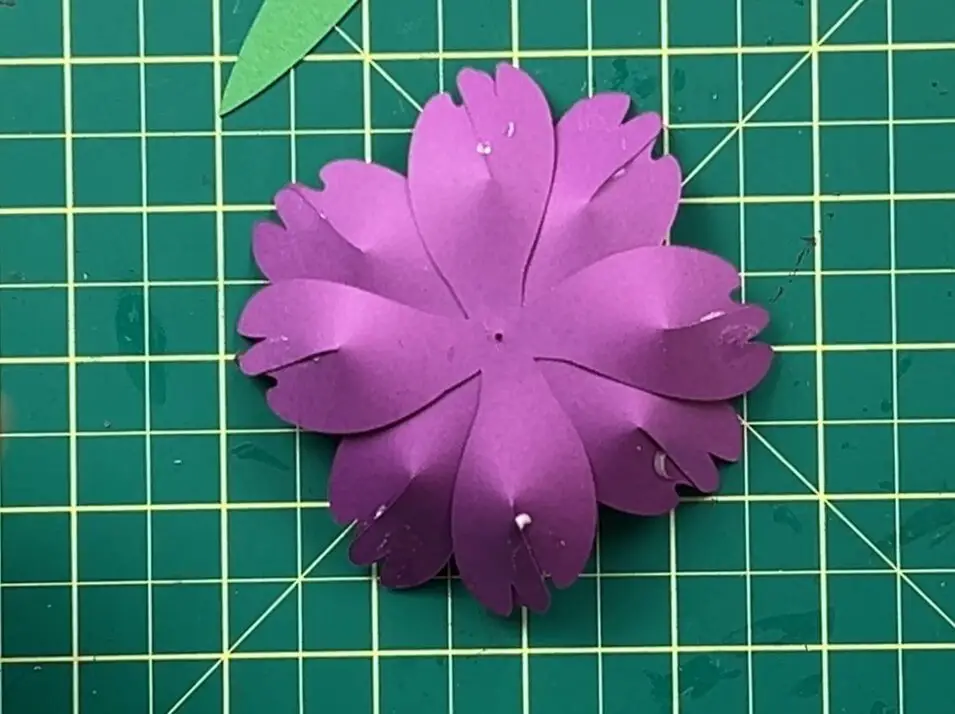
In the design, I didn’t include a center hole in the petals. I find small holes like this do not cut well with a cutting machine, so I recommend you take the point of your scissors, place it in the middle of the flower petals, and spin the petals around. Repeat this for the second flower petals as well.
Slide one of the flower petals onto the stem. Then, apply some glue to the center of the petal and slide the second petal onto the stem. I do this so that the holes we poked will line up. Once the glue dries, you can remove the petals from the stem.
When sliding the petals onto the stem, the petals do not need to be in the same direction. The choice is yours.
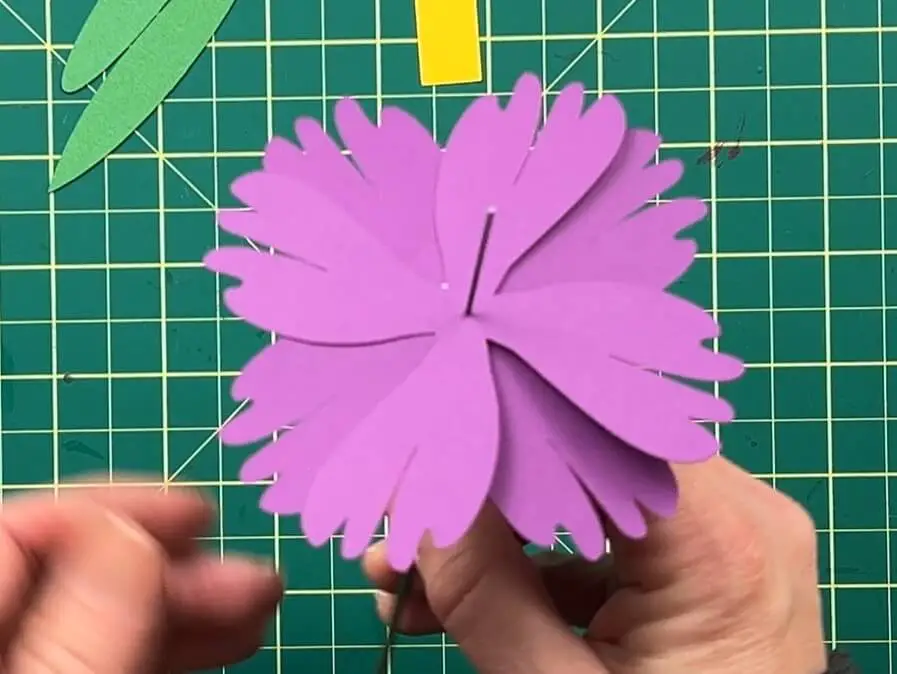
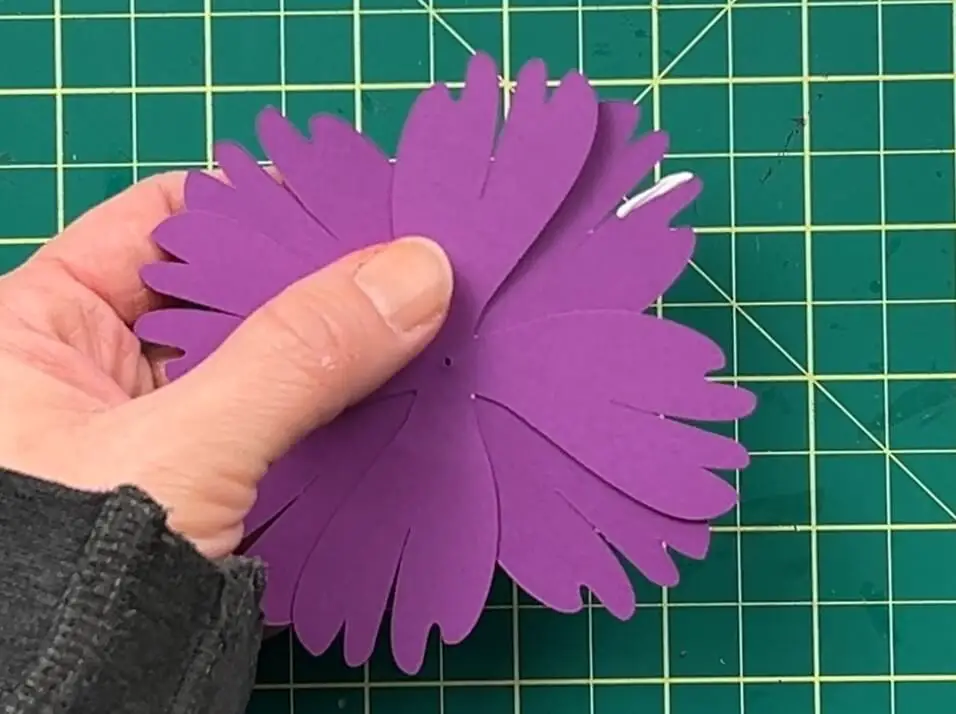
Next, we are going to glue the petals together. Each petal is divided into 4 sections, and each section has 2 smaller parts. This is what we are going to be working with first. You want to apply a small dab of glue onto the inner edge of the smaller section and glue it on top of the other half. This will force the petals to curl. You will repeat this for all 8 petals. I recommend starting with the petals that are on the inside of the flower first.
Attaching the Tulip to the Stem
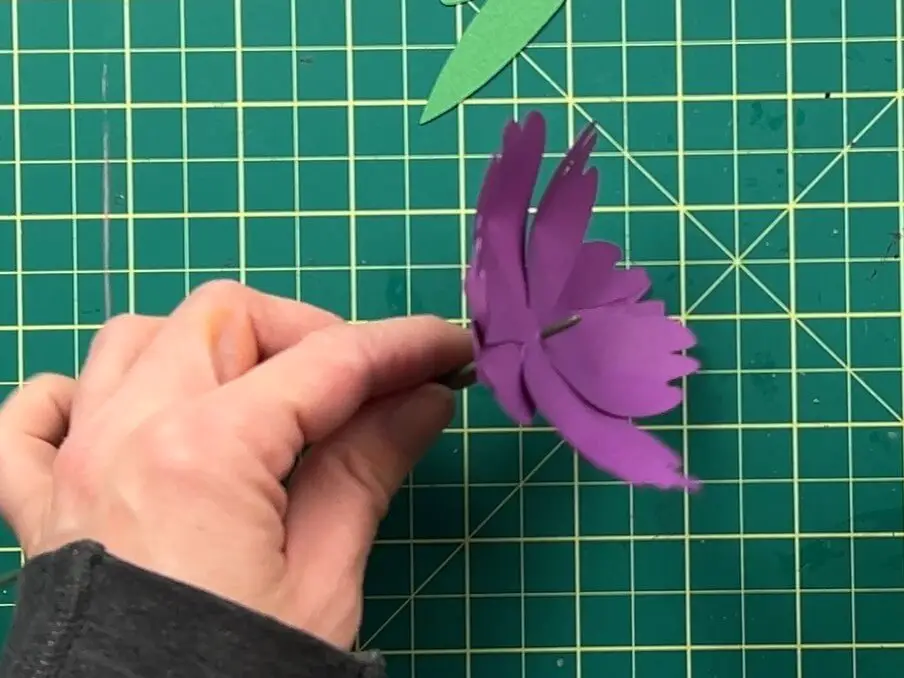
Once the flower petals are dry, we can pull the stem through the pin hole we made previous. All you need to do is pull the stem through the center of the tulip petals. The holes we made initially will be tight, which is good.
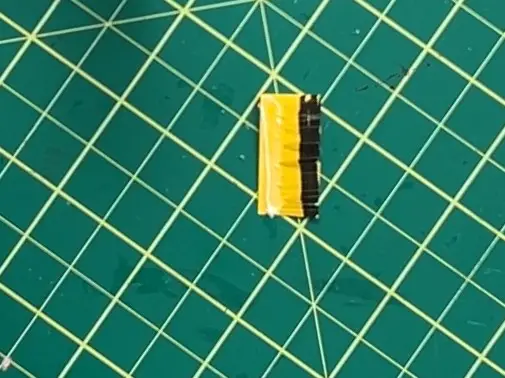
Making the Tulip Center
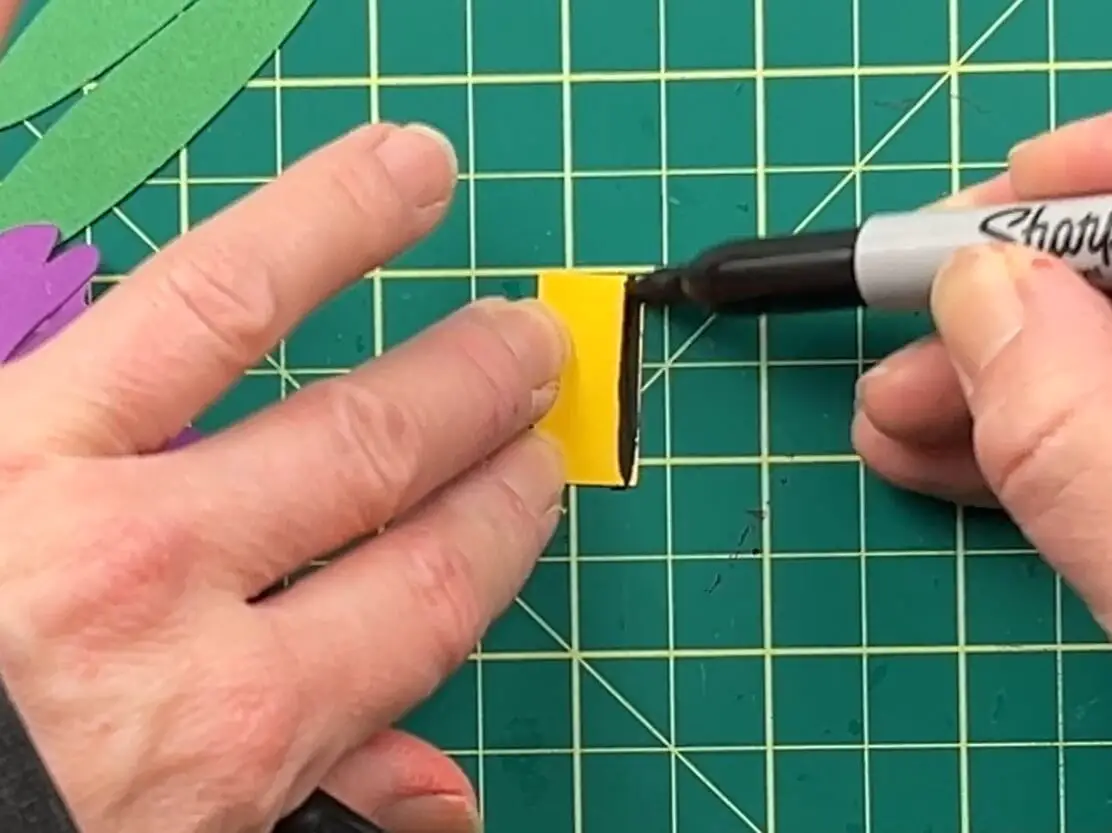
It’s time to pull out our black or dark marker. Grab the small yellow rectangle and draw a black line along one of the long edges. Repeat this on both sides.
Next, using scissors, cut small notches into the rectangle, the full length, along the area that was made dark. You want to cut about 1/2 way into the rectangle.
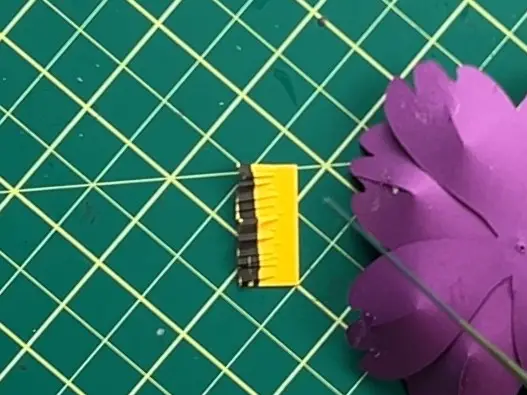
Apply glue on one side of the rectangle and roll it onto the end of the flower stem. You want the end of the stem to line up with the tip of the black marker, or slightly in.
Once the glue is dried, you can fan the flower center to give it depth.
You can additionally add glue to the bottom of the flower center to attach it to the tulip petals.
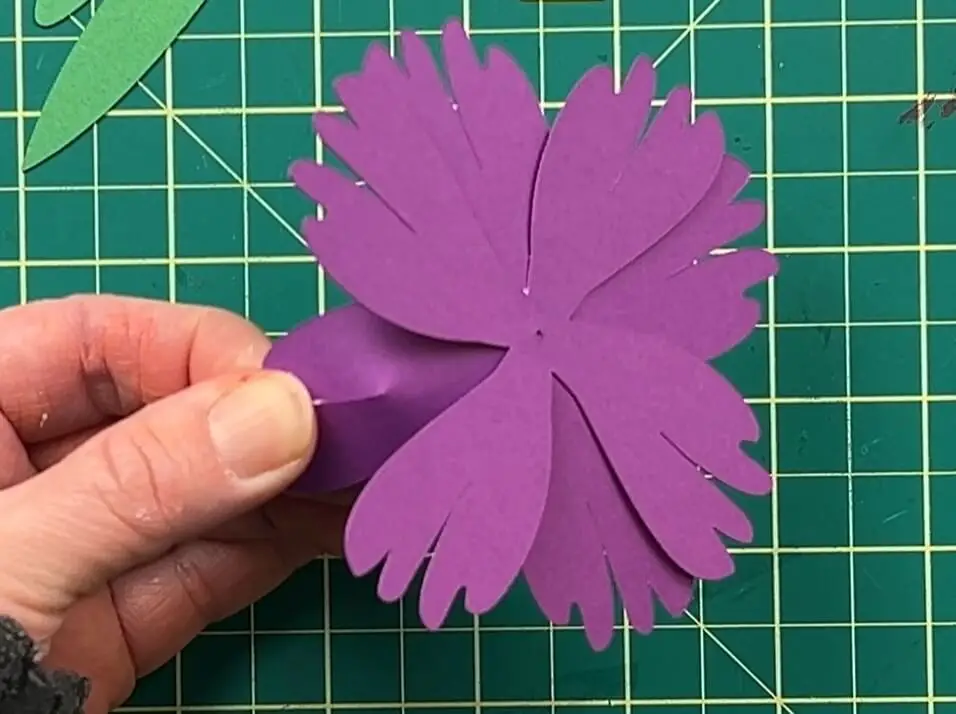
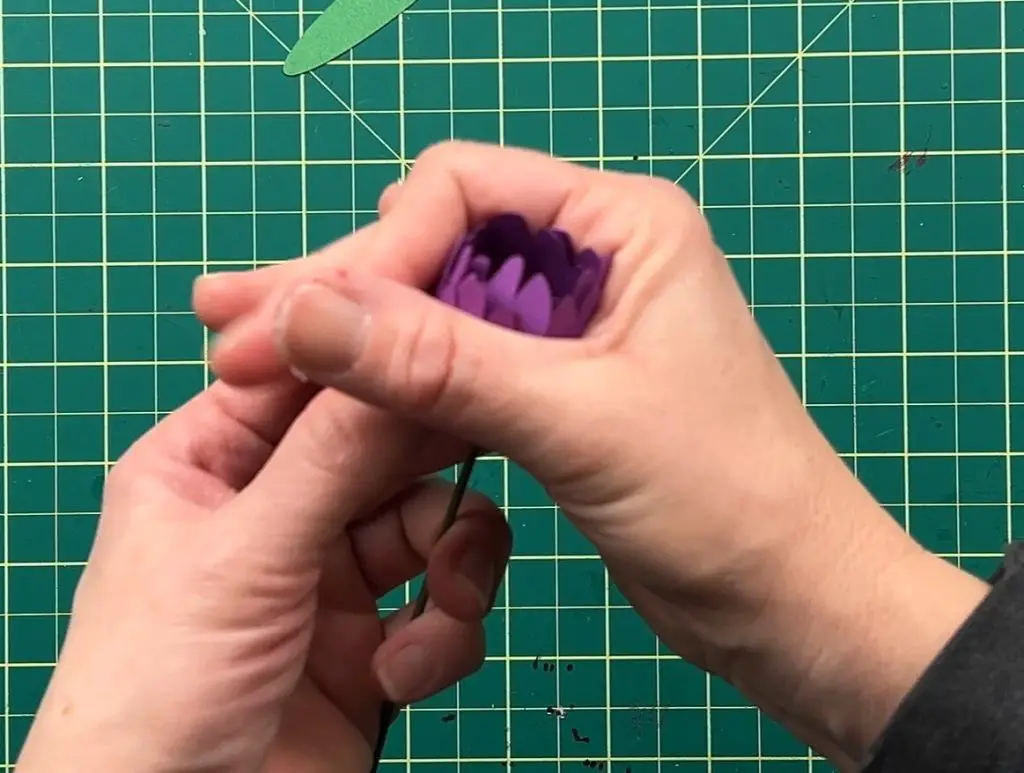
Shaping the Tulip Petals
The final step for working with the tulip petals is to give the flower some shape. To do this, you can bend the bottom of the petals, close to the stem to force them to stay up.
Or you can squish the whole tulip closed with your hands.
Both methods work to provide the tulip with a round shape.
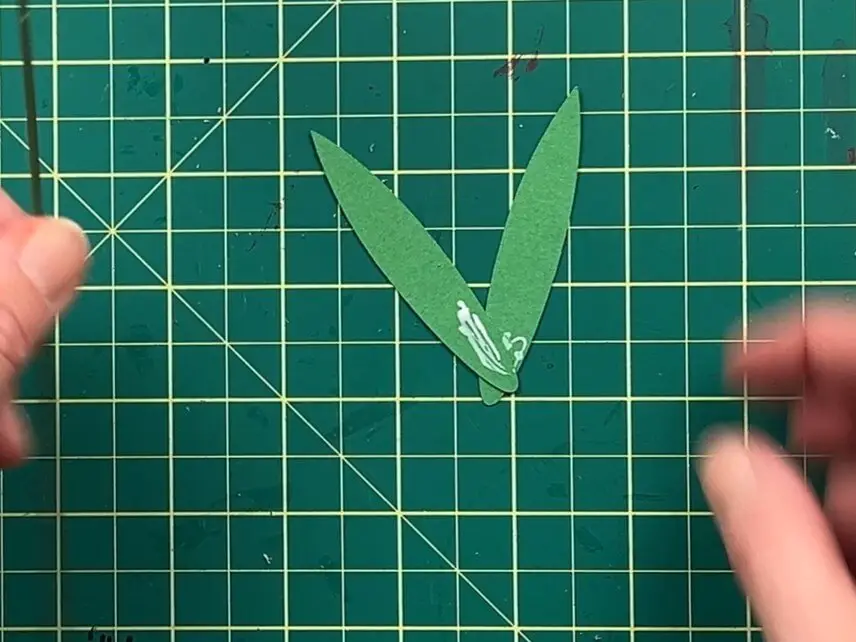
Attaching the Leaves to the Paper Tulips
The final step is to attach the stems to the tulips. Apply a small dab of glue to one green leaf. Roll it along the stem to hold it in place. Repeat this for the second leaf.
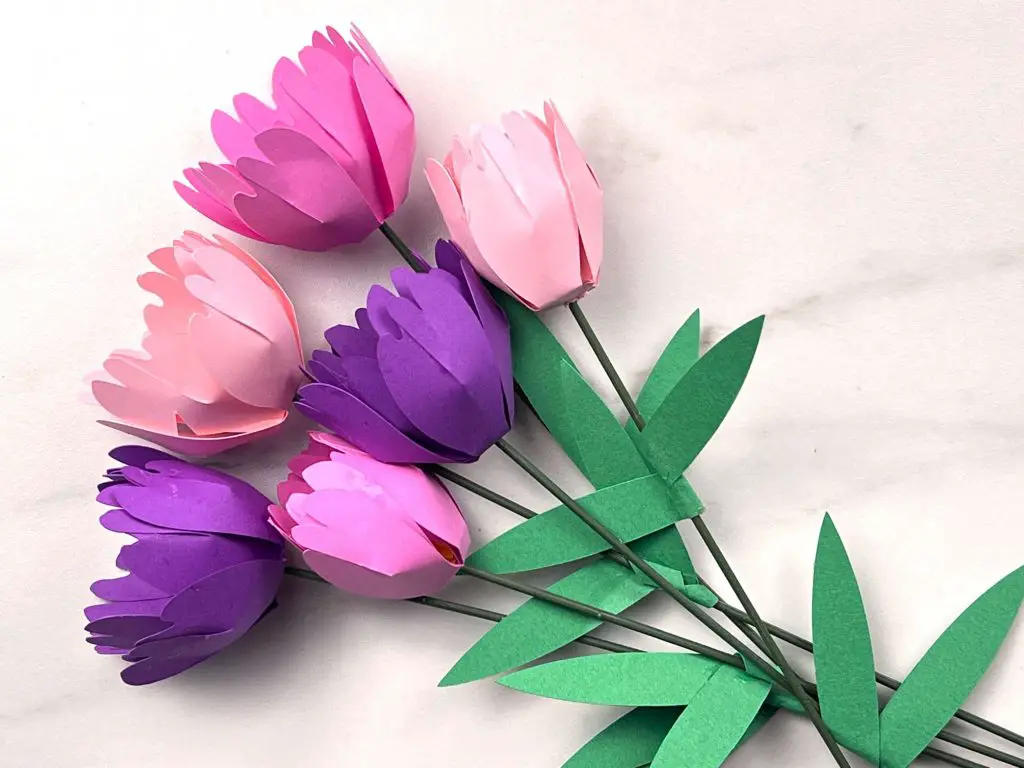
And there you have it! Your DIY paper Tulips are complete!
Things I Learned while making these paper tulips
Working with paper is always fun, but there are always new challenges that come along the way. Here are the latest things I learned while making these DIY paper tulips:
- I really don’t like adding leaves to flowers. No matter how I try to roll them, they always overlap. Always.
- When I made these paper tulips, I wanted them to be open, not tightly shut. And I think I accomplished that. I will have to figure out how to work with paper to make tightly closed tulips as well.
- When making these paper flowers I made about 10 or 12 at a time. I think for a bouquet of tulips to really look nice, I will need to add more to my collection.

Did you enjoy Making these paper flowers?
Did you enjoy learning how to DIY Paper Tulips? Let me know in the comments below. If you tried this out, let me know how it turned out and if you have any suggestions on how to make this better!
If you enjoyed this craft, check out my other projects listed below: