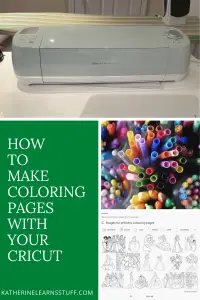
Coloring is a Great activity For little kids
My girls love to color. And they love princesses. We have colored through all of our coloring books in the house as well. As it so happens, I have lots and lots of white paper for them to color on.
I have recently taught them how to make coloring pages with a Cricut Explore Air 2. They use an old iPad and Cricut Design Space. They find the picture they want and take screenshots on the iPad. I have also taught them how to upload those pictures into Cricut Design Space. They will spend anywhere from 20 minutes to over an hour cleaning up the drawing. Once it is clean, my Cricut will draw it. I have also taught them how to set up the paper and the machine, so they do the bulk of the work.
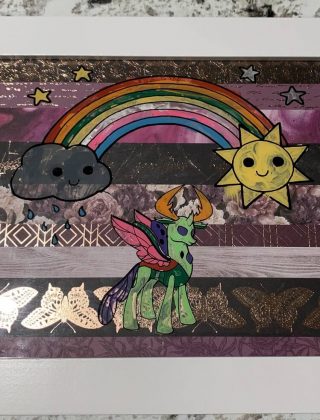
Once the picture is complete, my kids get to color it. This whole activity can take up to three hours. Which gives me three hours of not having to find other activities for them to do 🙂
Coloring Pages with Your Cricut
We are going to make coloring pages with our Cricut. I used my Cricut Explore Air 2, although as the software is the same for the Cricut Maker, the steps are the same.
This tutorial uses my iPad, so the pictures below will be slightly different if you are using your desktop.
Also, please keep in mind, I do this for 2 reasons:
- I don’t have a printer
- It can occupy my kids for several hours, providing some quiet time.
As an Amazon Associate, I earn from qualifying purchases. This post contains affiliate links. I may receive a commission if you purchase an item from one of my links. This will not change the price you pay.
What you need
- A Cricut Explore Air 2, or Cricut Maker
- Cricut Design Space (DS)
- A Cricut pen/marker OR a pen/marker that is compatible with your Cricut (learn which ones are here)
- White Paper
Let’s Begin!
Find the coloring page you want
Go to Google and find a coloring page. For this tutorial, I’m going to Google Princess Coloring Pages. Your search will show up with a multitude of coloring pages. See the image to the right.
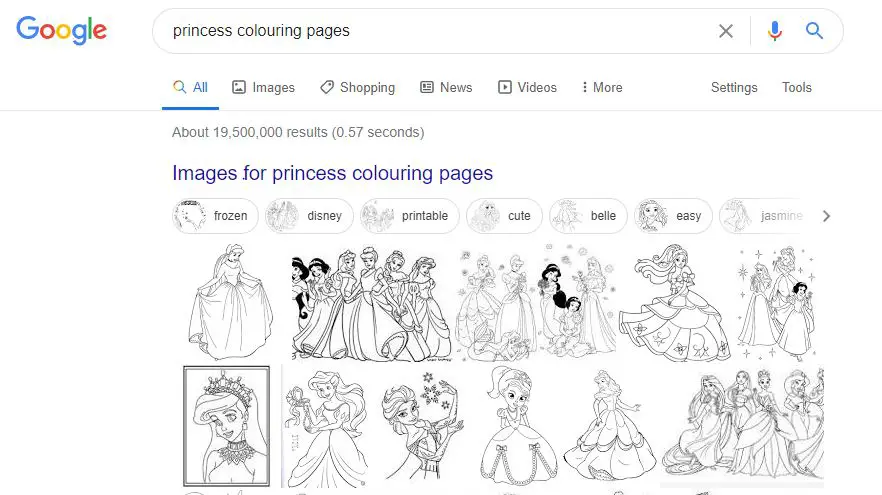
Find the Perfect Princess. Or, as in my case, your little girls do that.
For best results, use black and white coloring pages from your Google search. You can use color pictures and clean them up in the same fashion, but they don’t always work.
Take a screenshot/copy the picture of the perfect princess and make sure you save the file somewhere where you can find it.
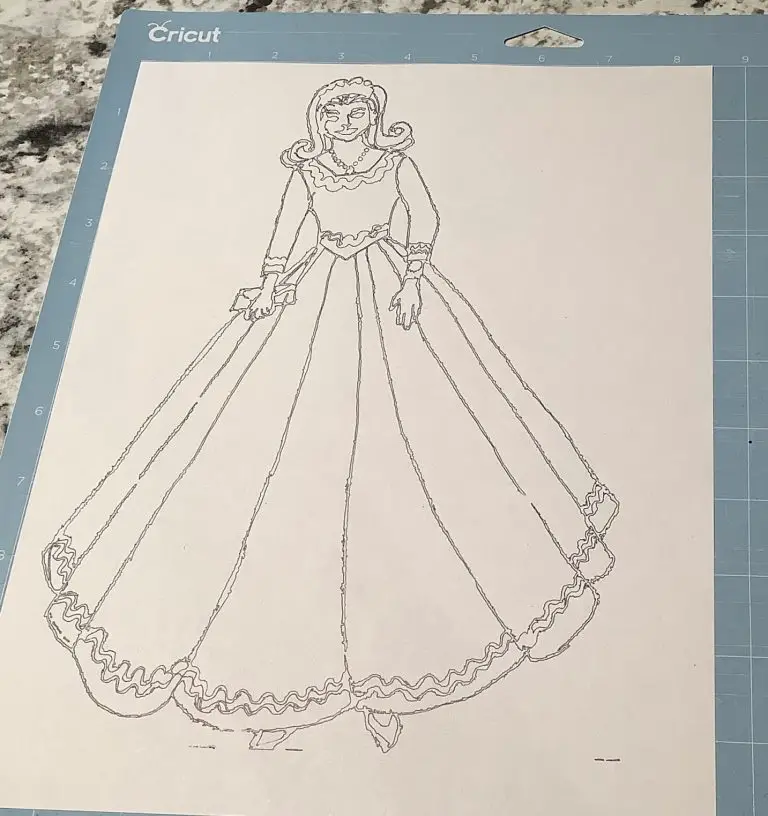
For this tutorial, I’m using a personal drawing as I don’t want to be sued by Disney (or anyone else) for using their pictures. So I have to apologize for the quality.
Clean-up in Design Space
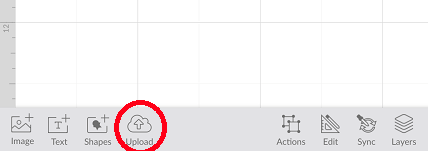
Upload the image into Cricut Design Space (DS). Click on the upload cloud with the arrow, and select the picture from where you saved it.
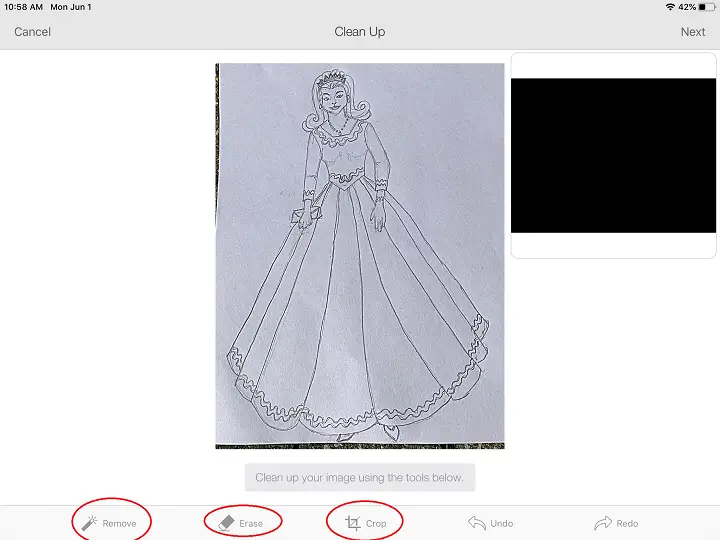
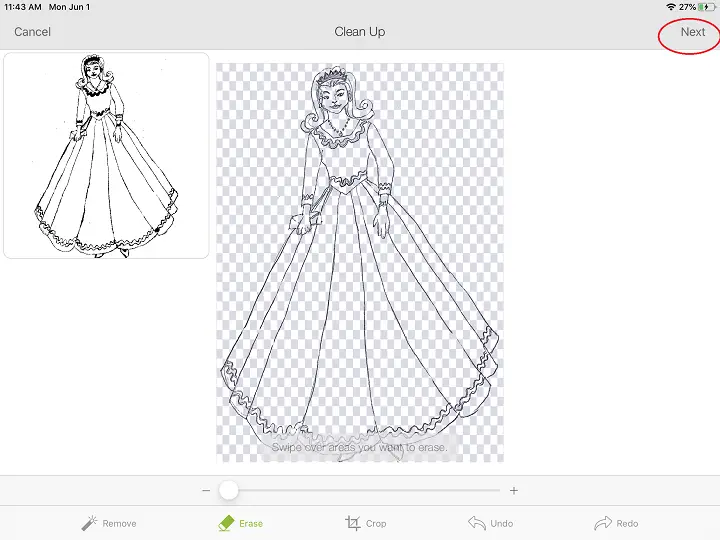
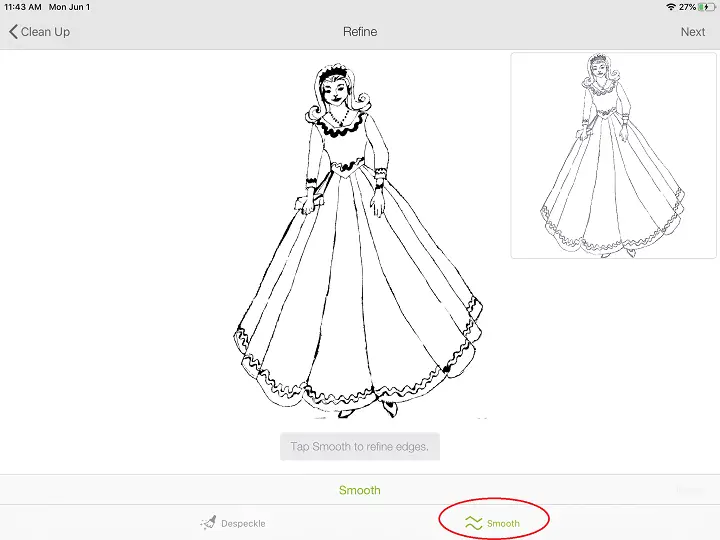
Once you have uploaded your file, it will appear with a black window on your screen, as shown below. This window shows how DS sees the picture. You will need to use the Remove, Erase, and Crop icons to clean-up the image. Once the image has been cleaned-up, you have the option to Smooth out the lines and Despeckle. For coloring pages, I rarely do this. Now your drawing should look almost exactly like the picture you copied from Google.
I let my kids do all of these tasks as they enjoy them so much.
Final Editing Touches
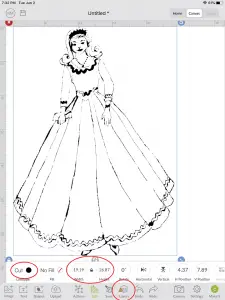
Once you have finished editing the drawing, save it under a name that you like and upload it to your working screen. The picture will look similar to the picture on the right. You will notice there is a ! on top of your Layers button. Your image is too large, and you need to decrease the height to fit on a standard 8.5″x 11″ piece of paper.
NOTE: if you just want to have an image to cute, this is where you stop
You will also need to change the Linetype from Cut to Draw.
Draw it!
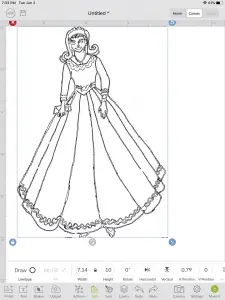
Once you have completed all the changes, your drawing should look similar to the one on the left.
There are options to contour and remove more of the lines, but this will take additional time. For coloring pages for little kids, it’s not worth the effort.
Hit the Make It button and use a blue mat to draw this.
And that’s it! You’re done!
Was this Tutorial Helpful?
Did you find this tutorial on making coloring pages with a Circut helpful? Let me know your thoughts in the comments below!
If you liked this tutorial, be sure to check out my other tutorials here.


I have always wondered at the process of making coloring pages. I feel as if you’ve literally pulled the veil from my eyes. Thank you.
I’m glad it helped! It took me a while to get it figured out myself, but now my kids have taken over and taken charge… so it’s great!
Thanks for this explanation as I might try to use for property maps …